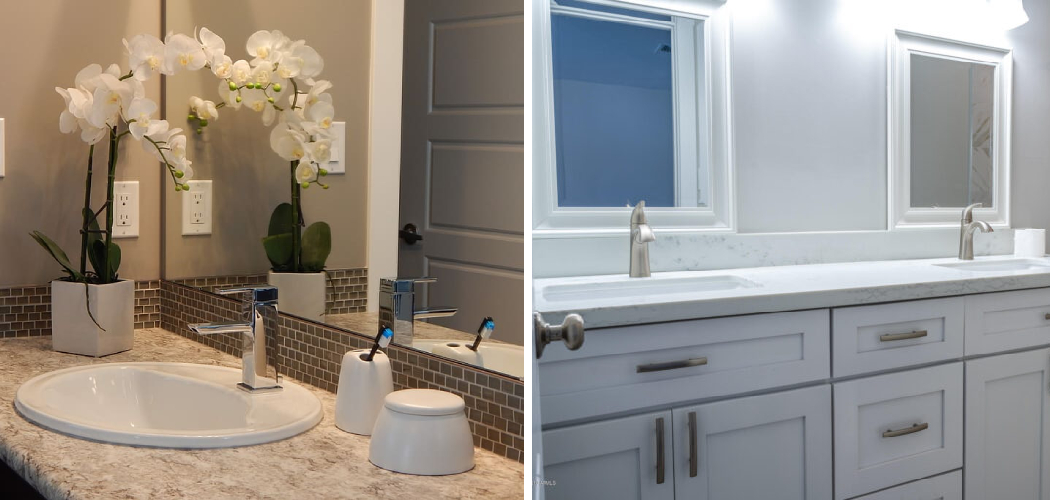
Are you looking to improve the look of your bathroom with a vanity backsplash? Installing a vanity backsplash is a great way to spruce up the look of your bathroom with minimal effort and cost.
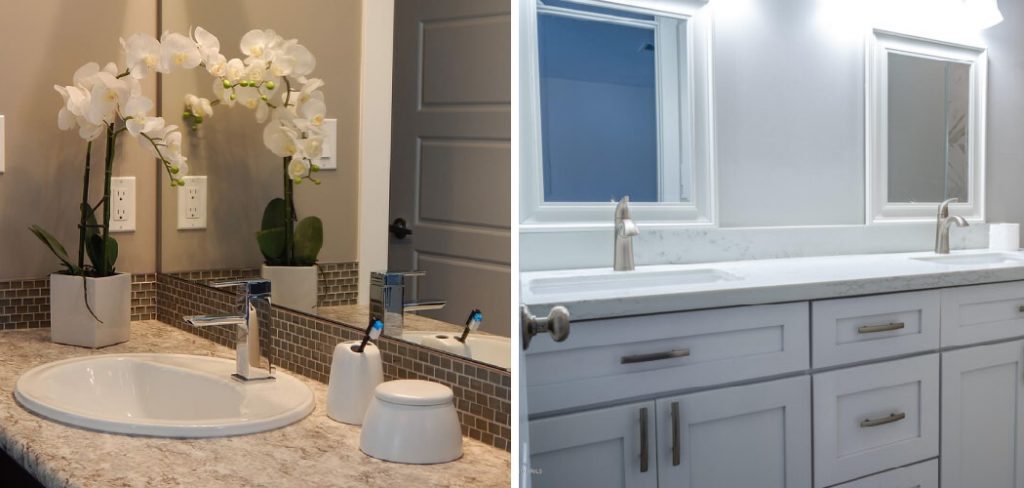
Installing a vanity backsplash in your bathroom can provide an aesthetically pleasing look that also serves a practical purpose. Adding the right tile can bring more style and personality to your room while preventing water damage from occurring behind the sink walls.
In this blog post, we’ll walk through everything you need to consider when installing vanity backsplash, including choosing what type of tile materials are best for wet areas, measuring and cutting accurate shapes, setting mortar correctly, and more.
Read on to learn all about how to install vanity backsplash!
What Will You Need?
Before beginning your vanity backsplash installation, you’ll need to have the right materials on hand. Here are a few of the items you’ll need to make sure you have in order to complete the installation:
- Tiles
- Mortar or adhesive
- Large and small trowels
- Notched trowel
- Tile spacers
- Grout and grout sealer
- Tile cutter
- Sponge and bucket
- Safety goggles and gloves
- Measuring tape or ruler
- Leveler
Once you have these items, you’ll be ready to begin the installation process.
10 Easy Steps on How to Install Vanity Backsplash
Step 1. Chose Your Tile Material
The first step in preparing to install your vanity backsplash is choosing the right tile material. It’s important to select a tile material that can withstand high moisture levels and wear. Glass, porcelain, ceramic, and natural stone are all good options for vanity backsplashes in wet areas.
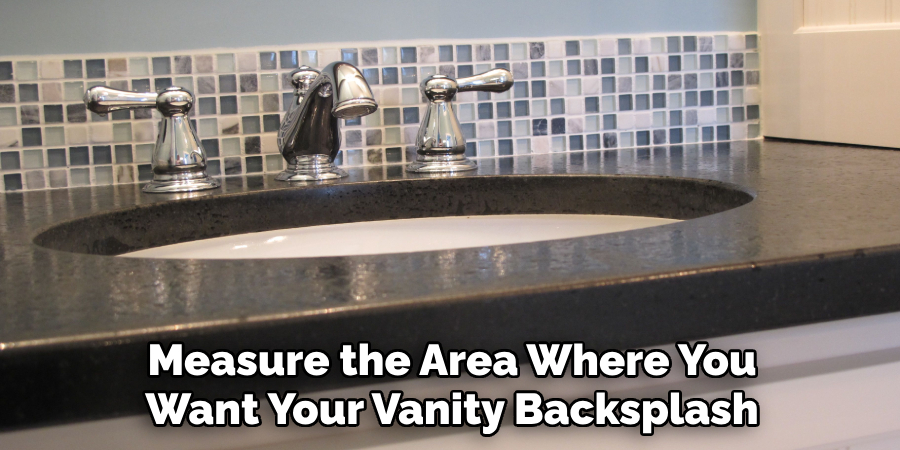
Step 2. Measure the Area
Measure the area where you want your vanity backsplash to be installed so you know how many tiles you will need and what size they should be. Be sure to leave enough space between the countertop and the wall for grout lines. As a general rule, use a 1/8-inch grout line.
Step 3. Cut the Tiles
Using a tile cutter or wet saw, cut the tiles into the proper sizes and shapes for your desired design. Make sure to follow safety guidelines when using power tools, such as wearing safety goggles and gloves. Try to get the cuts as accurate as possible for a professional-looking finish.
Step 4. Set the Mortar
Mix and set the mortar onto the wall using a notched trowel. Spread it evenly over the entire area where you will be installing your vanity backsplash to ensure a secure base for your tiles. Remember to wear safety goggles and gloves when working with mortar.
Step 5. Place the Tiles
From one corner, place the tiles onto the wall in a uniform pattern, leaving enough space between each tile for grout lines. Use tile spacers to ensure all your tiles are evenly spaced out and level with one another. If you’re working with a patterned tile, lay them out in the desired order.
Step 6. Secure with Adhesive
Once all of your tiles are laid out on the wall, use an adhesive to ensure they stay put before grouting. Another option is to use mortar, which will require more time and effort. It will depend on the material of your tiles.
Step 7. Grout the Tiles
Fill in the gaps between each tile with your chosen type of grout, pressing it firmly into place for a secure and even finish. Wipe away any excess with a damp sponge and allow the grout to dry completely before proceeding to the next step. As a reminder, always wear gloves when handling grout.
Step 8. Seal the Grout
Once your grout has had time to dry, use a sealer designed specifically for your type of grout to help protect it from dirt and moisture buildup over time. You can use a brush or aerosol spray to apply the sealant evenly across your grout lines.
Step 9. Clean Up
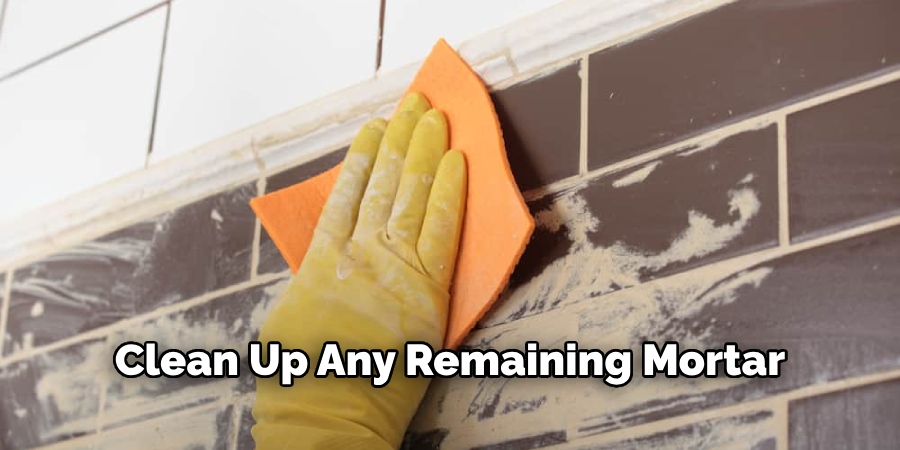
Clean up any remaining mortar or adhesive residue on the walls using a damp cloth and warm water. As mentioned, use gloves when dealing with mortar or adhesive. Otherwise, you risk contact with any toxic chemicals.
Step 10. Enjoy the Results
You’ve done it! Now sit back and enjoy your new vanity backsplash. You can be proud of your work and enjoy the improved look of your bathroom for years to come.
We hope this guide has provided you with everything you need to know about installing vanity backsplash in your bathroom. With these tips, you’ll be able to achieve professional-looking results without spending hours on the project.
5 Additional Tips and Tricks
1. Prep your space in advance and remove any existing fixtures or tiles. Make sure to check the wall for unevenness or cracks and fill them in with a patching compound before installing the vanity backsplash.
2. Measure twice, cut once! When cutting around outlets, you’ll want to measure out the exact size of tile pieces you need for each outlet so that the tile fits properly when you install it.
3. Use a level to make sure your lines are even! Install one line of grout first and then use a level to ensure that all other lines are perfectly straight and evenly spaced apart.
4. After applying adhesive, leave your backsplash alone for 24 hours before installing grout between the tiles; this will give the glue time to set and help ensure a secure fit.
5. When grouting, use a damp sponge to gently wipe away excess grout from each tile and make sure there are no gaps between them. Allow the grout to dry for 24-48 hours before sealing it with a sealant.
With these tips in mind, you’ll be able to install your vanity backsplash like a pro!
5 Things You Should Avoid
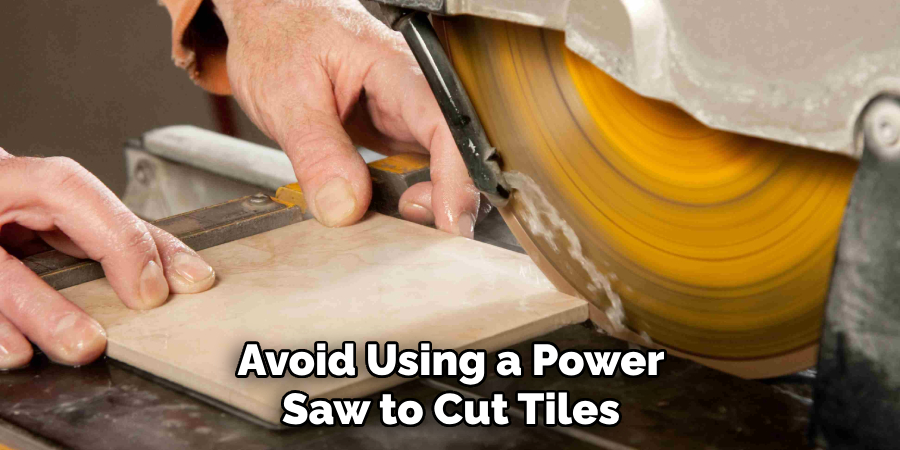
1. Avoid using a power saw to cut tiles, as it could cause chips or cracks in the tile.
2. Never apply adhesive directly to the wall; always apply adhesive to the back of each tile instead.
3. Don’t forget to wear safety goggles and gloves when cutting tiles.
4. Avoid leaving gaps between tiles, as this will reduce the effectiveness of your vanity backsplash and could lead to water damage down the line.
5. Don’t use a regular sealant on your grout; use a specialty sealant designed specifically to protect it from water damage and ensure that it lasts longer without fading or cracking over time.
Follow these simple tips and tricks to ensure your vanity backsplash installation goes off without a hitch!
Where Should You Not Put Backsplash?
It’s important to remember that only some walls are suitable for a backsplash. While covering up an unattractive area can be tempting, it isn’t recommended to put vanity backsplashes in bathrooms or other areas with high humidity.
Additionally, if the walls of your home are made of wood or drywall, it is best to avoid installing a backsplash on them as this could cause water damage over time. In addition, you should also never install a vanity backsplash directly onto the wallpaper, as this could cause the paper to peel away from the wall.
By taking these simple precautions and following installation instructions closely, you can install your vanity backsplash without any problems!
Should Backsplash Tile Be Vertical or Horizontal?
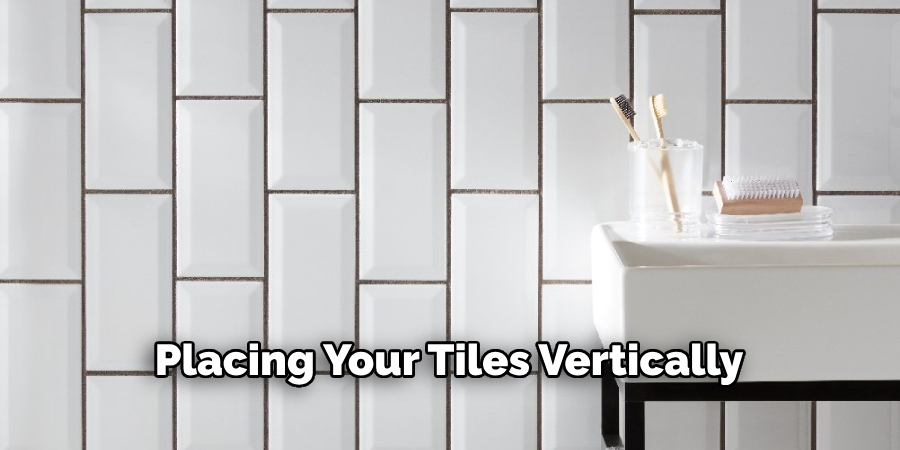
When it comes to backsplash tile, there is no right or wrong answer when it comes to vertical or horizontal placement. However, the consensus is that a more traditional look can be achieved by using horizontal tiles. This will help create a cohesive look and visually accentuate cabinets or countertops.
On the other hand, if you’re looking for a bolder style, placing your tiles vertically will add some visual interest to the space. Ultimately, this decision should come down to personal preference as both options have unique advantages. Whatever direction you choose, just remember to measure twice and cut once so that everything lines up perfectly!
With these tips, you can install your vanity backsplash like a pro! Take the necessary precautions and follow installation instructions closely so your vanity backsplash looks as good as the day it was installed.
Conclusion
Installing a vanity backsplash is a great way to improve the look and function of any bathroom. You can choose from a wide selection of ready-made materials for your backsplash, or you could even create one using tile adhesive and glass tiles for a more customized design.
If you’re uncomfortable performing the installation yourself, consider hiring professional tile installers with the experience and knowledge necessary to get the job done right.
No matter which route you choose, having a beautiful vanity backsplash will add elegance and style to your bathroom. So pick out your materials, lay them out, stick them in place, and enjoy the new look of your space!
Hopefully, the article on how to install vanity backsplash has provided you with everything you need to know for a successful installation. Good luck!

