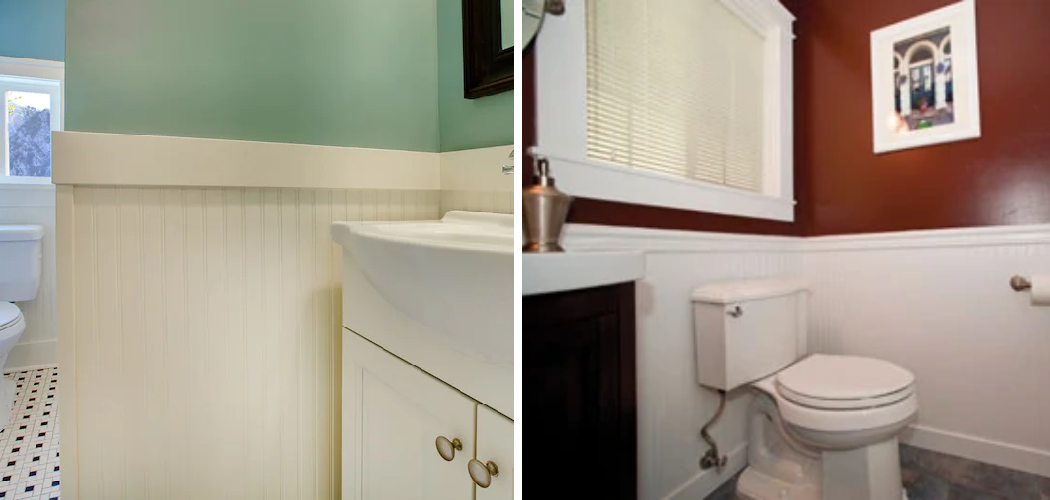
Installing wainscoting panels in your bathroom not only enhances its aesthetic appeal but also provides additional protection to your walls from moisture and wear.
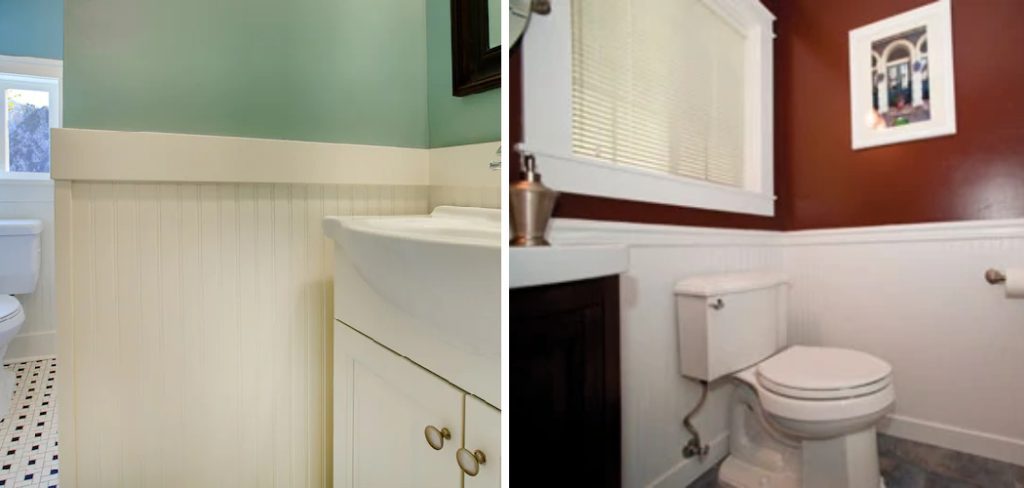
This classic design element, with its roots in the traditional homes of the 18th century, has evolved to fit a wide range of interior styles, from the most traditional to the sleekly modern. Despite its seemingly complicated appearance, the installation process can be surprisingly straightforward if approached methodically.
In this guide on how to install wainscoting panels in bathroom, we will walk you through the entire process of selecting, preparing, and installing wainscoting panels in your bathroom, turning it into a space of elegance and comfort. Whether you’re a seasoned DIY enthusiast or a novice looking to elevate your home’s design, this step-by-step guide will equip you with everything you need to successfully enhance your bathroom with beautiful wainscoting.
What is Wainscoting?
Wainscoting is a decorative wall paneling that typically covers the lower half of a wall. It can be made from various materials, such as wood, MDF, PVC, or tile, and comes in a variety of styles and designs. Its primary purpose is to protect walls from moisture and damage while adding visual interest and character to a room.
You can choose from a range of wainscoting styles, including beadboard, raised panel, flat panel, and shaker. Each style has its own unique design elements that can complement different interior styles. For example, beadboard wainscoting is perfect for a farmhouse or coastal-inspired bathroom, while raised panel wainscoting adds a touch of elegance to a traditional or classic bathroom design.
Different Types of Wainscoting
There are several types of wainscoting to choose from, each with its own unique characteristics and benefits. Some popular options for bathroom installations include:
Beadboard:
This type of wainscoting features narrow vertical planks with a groove (or “bead”) in between. It is commonly made from wood or MDF and is often used in traditional or coastal-inspired bathrooms.

Raised Panel:
This type of wainscoting features a central panel that is raised above the surrounding frame. It adds an elegant and sophisticated touch to any bathroom design.
Flat Panel:
Similar to raised panel wainscoting, flat panel wainscoting features a central panel that is flush with the surrounding frame. It offers a more minimalist look and is often seen in modern or contemporary bathrooms.
Shaker:
Inspired by the simple and functional design of Shaker furniture, this type of wainscoting features clean lines and minimal embellishments. It’s perfect for adding a touch of elegance to a bathroom without being too ornate.
Things to Consider Before Installing Wainscoting Panels in Bathroom
Before you begin your wainscoting installation project, there are a few things you should consider:
Budget:
Wainscoting panels can vary greatly in price depending on the material, style, and size. It’s essential to set a budget beforehand that includes all necessary materials and tools.
Material:
As mentioned earlier, wainscoting panels come in various materials, each with its own unique qualities. Consider the level of maintenance required for each material and choose one that fits your lifestyle and budget.
Style:
Choose a wainscoting style that complements your bathroom’s overall design aesthetic. Take into consideration the existing colors, textures, and patterns in your bathroom to ensure a cohesive look.
Measurements:
Accurate measurements are crucial for a successful wainscoting installation. Measure the length and height of each wall you plan to install wainscoting on, taking into account any obstacles such as windows or doors.
10 Steps Guide on How to Install Wainscoting Panels in Bathroom
Now that you have considered all the necessary factors, it’s time to start the installation process. The following steps will guide you through installing wainscoting panels in your bathroom:
Step 1: Gather Materials and Tools
Before starting, make sure you have all the necessary materials and tools for the job. This includes:
Wainscoting Panels:
Choose the type of wainscoting panel that best fits your budget and style preference.
Adhesive:
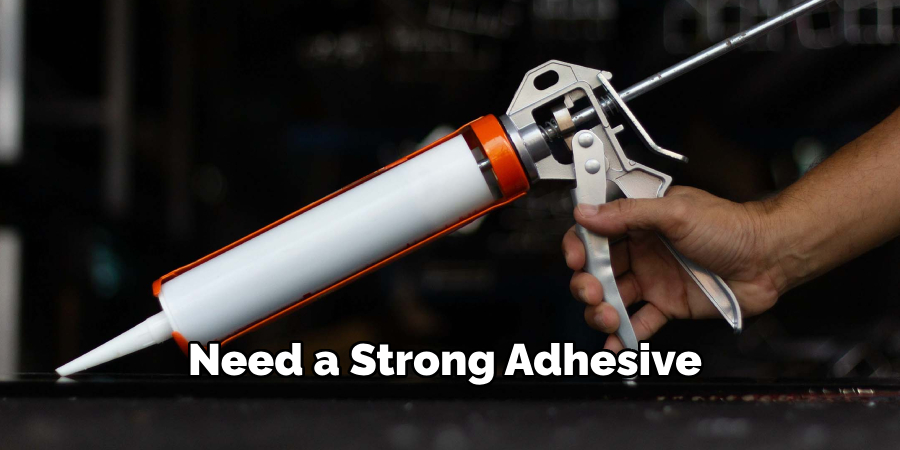
Depending on the material of your wainscoting panels, you may need a strong adhesive to secure them to the wall.
Nails/Screws:
If your wainscoting panels are made of wood or MDF, you will need nails or screws to attach them to the wall.
Level:
A level is necessary to ensure that your wainscoting panels are installed straight and evenly.
Saw:
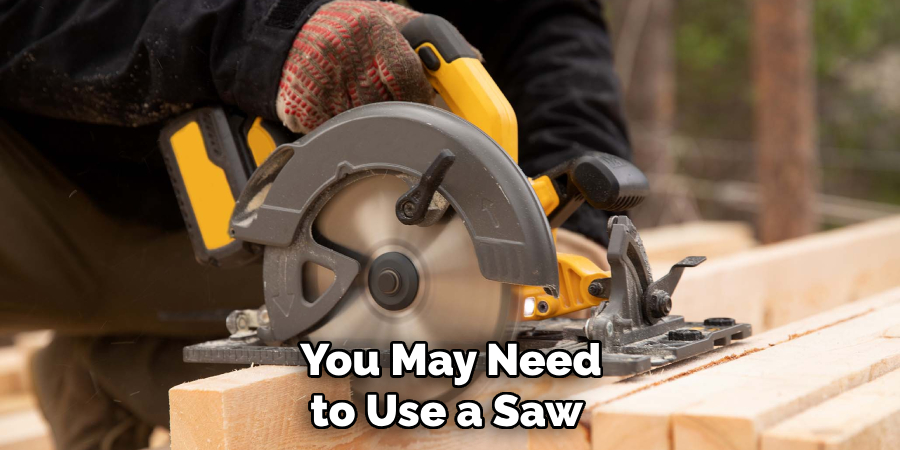
You may need a saw to cut your wainscoting panels to fit specific areas, such as corners or edges.
Measuring Tape:
As mentioned before, accurate measurements are crucial for this project, so a measuring tape is essential.
Step 2: Prepare the Walls
Before installing the wainscoting panels, make sure the walls are clean, dry, and smooth. Remove any existing baseboards or trim that may interfere with the installation process. It’s also a good idea to fill in any holes or cracks with spackling compound and sand them down for a smooth surface.
The walls should also be painted with a primer to ensure the adhesive or paint will properly adhere. But, if you’re using pre-finished wainscoting panels, then painting may not be necessary.
Step 3: Cut the Panels
Measure and cut your wainscoting panels to fit each wall. Remember to account for obstacles such as outlets or light switches. You may need to use a saw to make precise cuts. It’s always better to measure and cut multiple times instead of making one large mistake.
The panels should fit together snugly but not too tight. You can use sandpaper to smooth any rough edges. It’s also a good idea to label each panel according to its designated wall.
Step 4: Install the Panels
Apply adhesive or attach with nails/screws, starting at the bottom and working your way up. If using adhesive, make sure it is evenly spread across the back of each panel to ensure a secure attachment. Use a level periodically to ensure the panels are straight.
For corners, cut the panels at a 45-degree angle and use caulk to fill in any gaps. You may also need to cut panels to fit around outlets or light switches. The final panel should fit snugly into the top piece.
Step 5: Add Trim and Baseboards
Once all the panels are installed, you can add trim to give it a finished look. This can be done with either matching or contrasting wood or MDF trim pieces. You may also choose to add baseboards at this point. But it’s important to note that baseboards may need to be adjusted for the height of the wainscoting panels.
You may need to use a saw to cut the trim pieces to fit properly. It’s always best to practice this step on scrap pieces before making any cuts on the actual trim. However, if pre-finished wainscoting panels with built-in trim are used, this step may not be necessary.
Step 6: Fill in Nail Holes
If you used nails or screws to attach your wainscoting panels, now is the time to fill in any nail holes with wood filler. Sand down any excess and touch up with paint if necessary. But, if using adhesive and no visible nail holes, you can skip this step.
It’s always a good idea to have extra paint on hand for touch-ups throughout the process. The final step would be to caulk any gaps between the wainscoting panels and trim for a seamless look. It’s best to use paintable caulk for this step.
Step 7: Paint or Stain
If you chose unpainted wainscoting panels, now is the time to paint or stain them to your desired color. It’s always a good idea to use a primer first before adding the final coat of paint or stain.
Make sure to follow the manufacturer’s instructions for drying time between coats. But, if using pre-finished wainscoting panels, you can skip this step. The final product should have a smooth, even finish.
Step 8: Add Finishing Touches
Once everything is installed and painted or stained, you can add any finishing touches to complete the look.
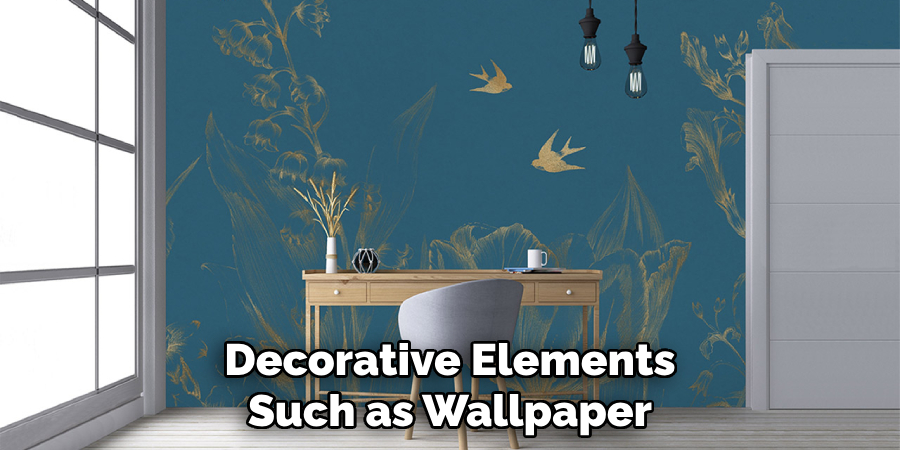
This may include adding decorative elements such as wallpaper or tile above the wainscoting panels or hanging artwork or shelves on the upper half of the wall. Be mindful of the overall design aesthetic and choose elements that complement the wainscoting. If using wallpaper, make sure to use a waterproof option for a bathroom setting.
Step 9: Clean Up
After completing the installation, make sure to clean up any debris or excess materials. Wipe down the walls and surfaces to remove any dust or adhesive residue. It’s also a good idea to check for any touch-ups or adjustments that may be needed.
You can also take this time to organize and put away any tools or materials used throughout the process. It’s always best to leave the space cleaner than when you started.
Step 10: Enjoy Your New Wainscoting
Congratulations, you have successfully installed wainscoting panels in your bathroom! Take a step back and admire your hard work. Not only does wainscoting add a touch of elegance to any space, but it also adds protection to your walls from moisture and wear. With proper maintenance, your wainscoting can last for many years to come.
Remember to regularly clean and inspect the panels for any signs of damage or wear. If desired, you can always update the look by repainting or changing out the decorative elements above the wainscoting.
Following these steps on how to install wainscoting panels in bathroom and using proper tools and materials, you can easily transform your bathroom into a luxurious retreat with the addition of wainscoting. But don’t limit yourself to just bathrooms – wainscoting can also be installed in other areas of your home for a classic and timeless look. Get creative and have fun with it!
Maintenance and Care
Proper maintenance and care are essential for preserving the beauty and functionality of your wainscoting panels. Here are some tips to keep them looking great:
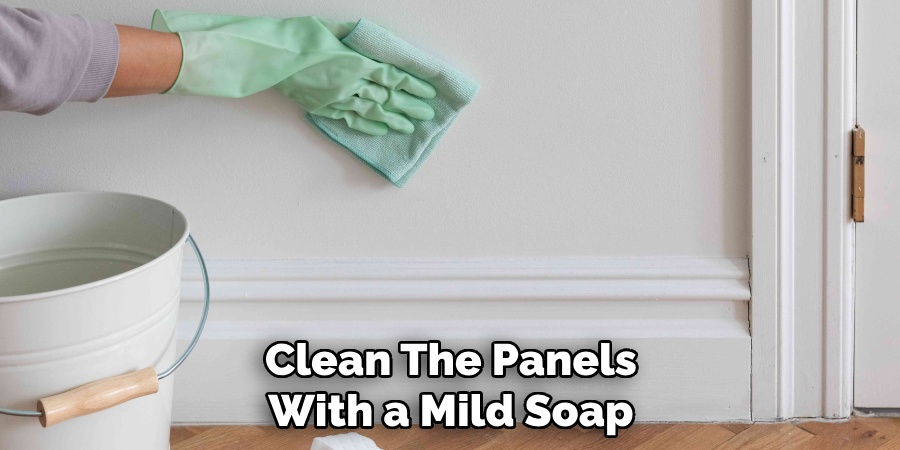
- Regularly clean the panels with a mild soap and water solution, making sure to dry them thoroughly afterward.
- Avoid using harsh chemicals or abrasive cleaners on the panels as they can damage the finish.
- Inspect for any signs of damage or wear, such as cracks, chips, or water damage. If found, address the issue immediately to prevent further damage.
- In case of minor damages or scratches, you can use a wood filler and touch up with paint or stain.
- Keep an eye out for mold or mildew growth in areas with high moisture levels. Use a mixture of bleach and water to clean and prevent further growth.
- Avoid hanging heavy or sharp objects on the wainscoting panels as they can cause damage. Use proper hanging techniques for any decorative elements.
- If repainting, make sure to properly prepare the surface by sanding and priming before adding a new coat of paint.
By following these maintenance tips, your wainscoting panels can continue to add charm and elegance to your space for years to come. So, sit back, relax, and enjoy your newly installed wainscoting!
Alternatives and Customization Options
If wainscoting panels are not your style or don’t fit the design of your space, there are other options for adding decorative elements to your walls. Some alternatives include:
Beadboard:
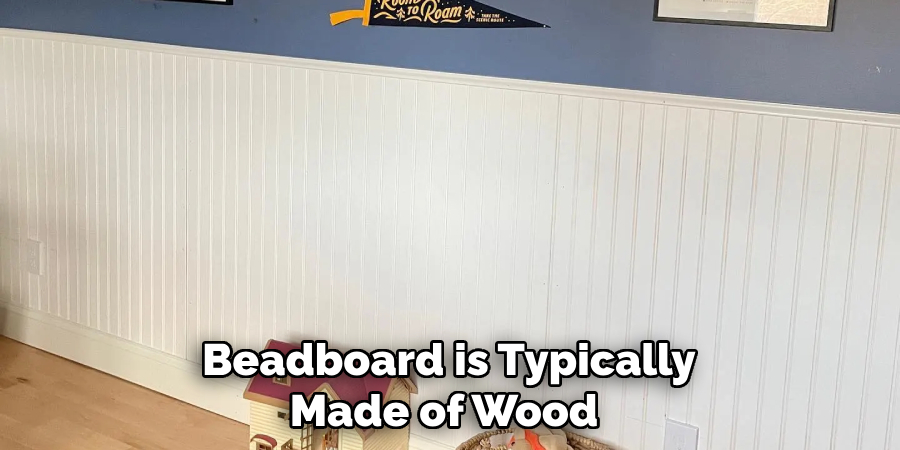
Similar to wainscoting, beadboard is a type of paneling that features narrow vertical planks with a distinctive groove in between. It can be installed to cover the lower half of a wall or fully as an accent wall. Beadboard is typically made of wood, but there are also options available in vinyl or PVC for easy maintenance.
Shiplap:
Shiplap is another type of paneling that has gained popularity in recent years. It features wide horizontal planks with a small gap in between, creating a rustic and farmhouse aesthetic. Shiplap can be installed on the lower half of a wall or as an accent wall and is available in various materials such as wood, MDF, or vinyl.
Wallpaper:
If you prefer a less permanent option, wallpaper is a great alternative to wainscoting panels. It comes in endless designs and patterns and can be easily applied and removed. Make sure to use a waterproof option for bathrooms or other high-moisture areas.
Customization Options:
Wainscoting panels can also be customized to fit your desired aesthetic. From the type of wood used to the height and style of the paneling, there are many options available. You can also mix and match different panel designs or add decorative elements, such as molding or trim, to create a unique look.
The possibilities are endless when it comes to customizing wainscoting for your space. So don’t be afraid to get creative and make it your own!
Frequently Asked Questions
Q: Can I Install Wainscoting Panels on My Own, or Do I Need to Hire a Professional?
A: With the right tools and materials, installing wainscoting can be a DIY project. However, if you are uncertain about your skills or feel overwhelmed by the process, it may be best to hire a professional for the installation.
It’s important to ensure the panels are properly installed to avoid any potential damage or safety hazards.
Q: How Do I Determine the Height and Style of Wainscoting for My Bathroom?
A: The height and style of wainscoting will depend on personal preference and the overall design aesthetic of your bathroom.
For a classic look, traditional wainscoting with panels that cover about one-third to half of the wall is often used. You can also choose to mix and match different styles of wainscoting for a unique look.
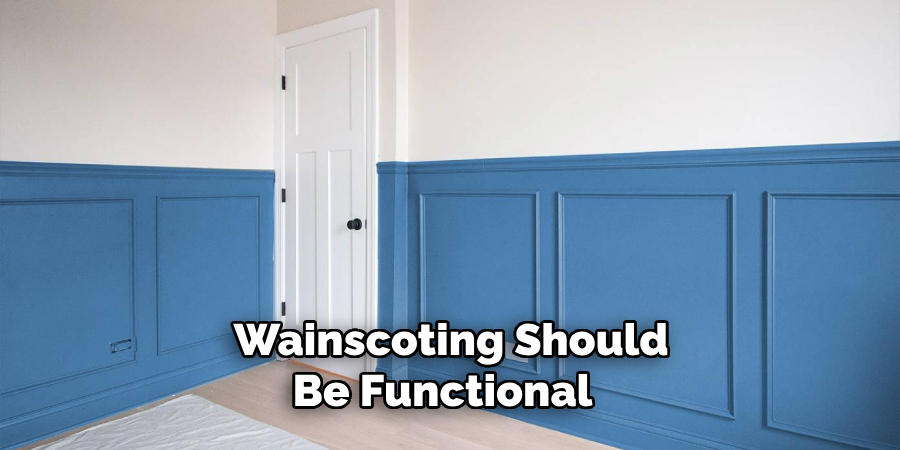
As for the height, it’s best to measure and mark the desired height before installing any panels. Keep in mind that the wainscoting should be functional and aesthetically pleasing.
Q: Can Wainscoting Be Installed Over Existing Tile or Wallpaper?
A: Wainscoting over existing tiles or wallpaper is not recommended as it may affect the stability and durability of the panels. It’s best to remove any existing materials before installing wainscoting for a smoother and more secure installation.
It’s also important to properly prepare the wall surface before starting the installation process. The wall surface should be clean, dry, and level so that the panels adhere properly.
Q: How Do I Maintain and Clean Wainscoting Panels?
A: To maintain wainscoting panels, regularly dust them off or wipe them down with a damp cloth. For deeper cleaning, use a mild soap or cleaner suitable for your specific type of panel material.
Avoid using harsh chemicals or abrasive materials that may damage the panels. It’s also a good idea to regularly check for any signs of wear or damage and make repairs as needed to ensure the longevity of your wainscoting.
Conclusion
Installing wainscoting panels in your bathroom is a great way to add both style and functionality to the space.
With the right tools and materials, it can be a relatively simple DIY project. Remember to properly prepare the wall surface, measure and plan out the installation process, and take your time to ensure a smooth and secure installation.
And don’t forget to add personal touches and finishing elements to complete the look. Thanks for reading this article on how to install wainscoting panels in bathroom.

