A wall-mounted toilet brush holder offers numerous advantages that make it a practical and stylish addition to any bathroom. Its space-saving design keeps the floor area clear, creating a more streamlined and organized look.
Additionally, the elevated brush placement enhances hygiene by avoiding direct floor contact, reducing the risk of germs and bacteria accumulating around the base. The aesthetic value of a wall-mounted holder further elevates the overall bathroom décor with its clean and modern appearance.
However, achieving these benefits depends heavily on proper installation. Securely mounting the holder ensures stability and prevents accidental detachment, contributing to a long-lasting and functional setup.
This article aims to provide a comprehensive guide on how to install wall-mounted toilet brush holders, offering clear, step-by-step instructions to help you complete the task effortlessly while avoiding common pitfalls. Following these guidelines will result in a practical and durable installation.
Choosing the Right Wall-Mounted Toilet Brush
Selecting the perfect wall-mounted toilet brush involves considering several important factors to ensure functionality, durability, and aesthetic harmony with your bathroom.
Types of Wall-Mounted Toilet Brushes
When deciding between fixed and removable holders, each option has distinct advantages. Fixed holders offer a sturdy and permanent solution, reducing the risk of movement or wear over time. However, removable holders provide greater flexibility, making them easier to clean and replace. Depending on your preferences and cleaning routine, one may suit your needs better than the other.
Materials
Wall-mounted toilet brushes are available in various materials such as plastic, stainless steel, and ceramic. Plastic is lightweight and cost-effective, but may lack durability. Stainless steel offers a sleek, modern look and is highly durable, resistant to rust, and easy to clean. Ceramic holders provide a more elegant aesthetic but can be fragile and require careful handling.
Considerations for Selection
When choosing a toilet brush, size and design are critical factors. Ensure it fits within the available space while complementing your bathroom décor. Additionally, please pay attention to its weight capacity to ensure the wall mount can securely support the brush without risk of detachment.
Matching with Bathroom Fixtures
Coordinate the toilet brush design with your existing bathroom fixtures to achieve a cohesive look. Opt for finishes and colors that blend seamlessly with elements like faucets, towel racks, and other accessories, enhancing the overall visual appeal of your space.
Tools and Materials Needed
Essential Tools
- Drill, screwdriver, level, measuring tape, and pencil.
- Wall anchors and screws appropriate for your wall type (e.g., drywall, tile, etc.).
Materials
- Wall-mounted toilet brush holder kit (typically includes screws, anchors, and the holder).
- Optional: silicone adhesive for extra security (recommended for tile surfaces).
Safety Gear
- Protective eyewear and gloves are required to ensure a safe installation process.
The right tools and materials are crucial for a smooth and successful installation. The drill and screwdriver allow precise mounting, while the level ensures the holder is aligned correctly. Wall anchors and screws tailored to your wall type provide reliable support.
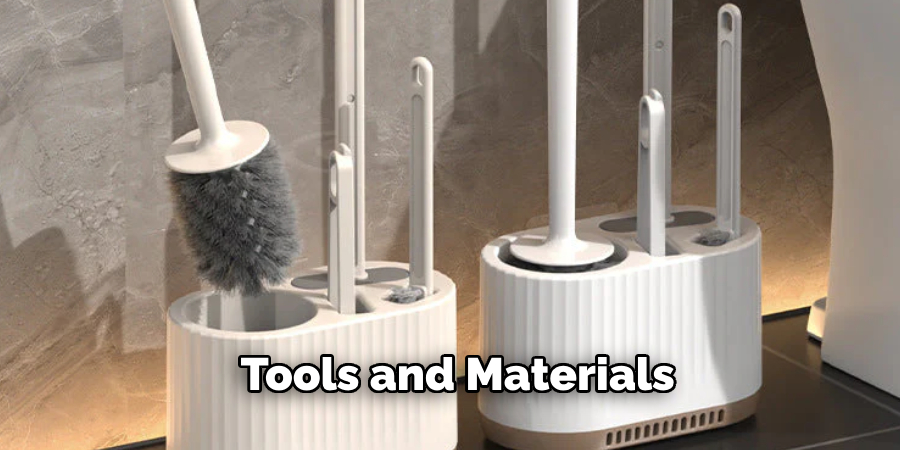
Silicone adhesive can be added for increased durability, especially when attaching the holder to tile surfaces. Don’t forget to use safety gear, such as protective eyewear and gloves, to safeguard against potential accidents during installation.
Choosing the Best Location for Installation
Ideal Height and Placement
Determining the proper height and placement for installation is essential for both functionality and comfort. The standard height for accessory installations, such as a toilet paper holder, is typically around 12 to 18 inches from the floor. This ensures the holder is within easy reach while maintaining a streamlined look in the bathroom.
Additionally, consider the distance from the toilet itself. The holder should be installed close enough to provide convenient access but positioned to avoid overcrowding the space or interfering with other bathroom fixtures.
Wall Surface Considerations
Selecting the right wall surface is another important factor in ensuring stability and longevity. For maximum sturdiness, opt for tiled walls or other solid surfaces rather than drywall, which may require additional reinforcement.
When choosing the exact spot, it is vital to avoid areas where pipes, wiring, or other obstructions might be hidden within the wall. Using a stud finder or consulting a professional can help identify safe zones for drilling or mounting.
Using a Level and Measuring Tape
Precise measurements are key to achieving an accurate and professional-looking installation. Based on the above considerations, start using a measuring tape to mark the desired height and placement. Once marked, use a level to confirm the lines are straight and even. Double-check your measurements before drilling or adhering the holder to ensure proper alignment and eliminate the need for adjustments later.
Preparing the Wall for Mounting
Drilling into Tile or Drywall
Using the correct tools and techniques is crucial when drilling into tiles to avoid cracks or damage. A masonry drill bit is specifically designed for this purpose, as its tip is able to cut through tile material with precision. Start by placing masking tape over the area where the hole will be drilled to help prevent the drill bit from slipping.
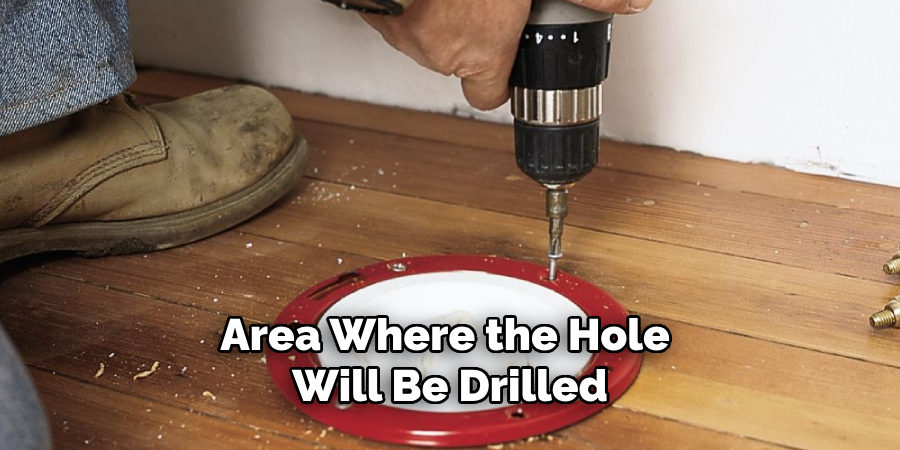
Use a slow and steady speed to penetrate the tile gradually. For drywall, ensure you’re using the appropriate wall anchors based on the weight of the mounted item. Straightforward plastic anchors are suitable for lightweight items, while heavy-duty anchors or toggle bolts are better for heavier loads.
Marking the Holes
Accurate and level placement is vital for a successful mounting process. Begin by using a pencil to mark the desired positions for the screws lightly. A level ensures that these marks are aligned, avoiding any lopsided installations. Take the time to double-check all measurements and placements against any reference lines or guidelines. Ensuring precision at this stage can save you the hassle of adjustments later.
Installing Wall Anchors
Once the holes have been drilled, carefully insert the wall anchors into the pre-drilled openings. For tiles, tapping the anchor gently with a hammer may be necessary to secure it in place. Anchors provide a sturdy base for the screws, ensuring firm support for your mounted object, whether placed on drywall or tile. After this step, you’ll be ready to attach the item securely.
How to Install Wall-Mounted Toilet Brush: Mounting the Toilet Brush Holder
Attaching the Mounting Bracket
Begin by aligning the mounting bracket with the pre-marked holes on your wall, ensuring it is level for a neat and professional appearance. Use a level tool to double-check the alignment before proceeding. If necessary, drill pilot holes into the wall through the designated holes on the bracket to simplify screw insertion.
Once the pilot holes are in place, insert screws into the wall anchors, tightening them securely to hold the bracket in place. This step ensures the bracket is firmly attached and capable of bearing the holder’s weight.
Securing the Holder to the Wall
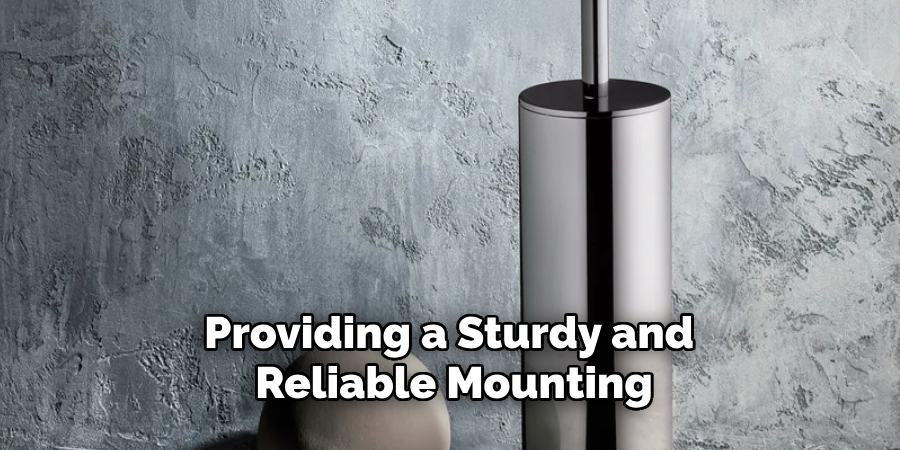
Next, position the toilet brush holder onto the mounted bracket. Use the provided screws or hardware to fix the holder to the bracket securely. Tighten the screws carefully, being mindful not to overtighten as this could damage the wall or strip the screws. This step is critical to ensure the holder is properly affixed to the bracket, providing a sturdy and reliable mounting.
Final Adjustment
After securing the holder, check its stability by gently applying pressure. Ensure there is no wobbling or looseness. If adjustments are required, slightly loosen or tighten the screws as needed until the holder feels firm and stable. Once the holder is secure, you can place the toilet brush in its designated spot. With everything in place, your toilet brush holder is ready for use, offering functionality and a tidy, organized bathroom space.
Attaching the Toilet Brush and Final Checks
Placing the Toilet Brush
Carefully insert the toilet brush into the holder to ensure it fits securely. The brush should rest comfortably in its designated spot, without slipping or feeling too tight. A snug fit will provide easy access for use while maintaining a clean, organized appearance.
Final Stability Test
Once the brush is placed, gently tug on the holder to confirm it is securely mounted. Check that there is no movement or looseness, ensuring the holder remains in place during regular use. If any instability is detected, make the necessary adjustments by tightening or securing the screws further.
Cleaning Up
Lastly, remove any pencil marks or debris left from the installation process. Use a damp cloth to wipe the surrounding area, ensuring the space looks neat and polished. With these final steps, your holder is now ready for use, providing a functional and tidy solution.
Common Mistakes to Avoid
Drilling Too Deep or Shallow
One of the most common installation mistakes is drilling too deep or too shallow. Drilling too deep can risk puncturing wires or pipes hidden inside the wall, while drilling too shallow may not allow the anchors to sit securely. Always measure carefully and use a depth stop on your drill to prevent such issues.
Incorrect Placement
Another frequent error is installing the holder at an inconvenient height. Regular use can be uncomfortable and impractical if installed too high or too low. Before drilling, take time to determine the optimal height and location, factoring in who will be using the holder most frequently.
Overtightening the Screws
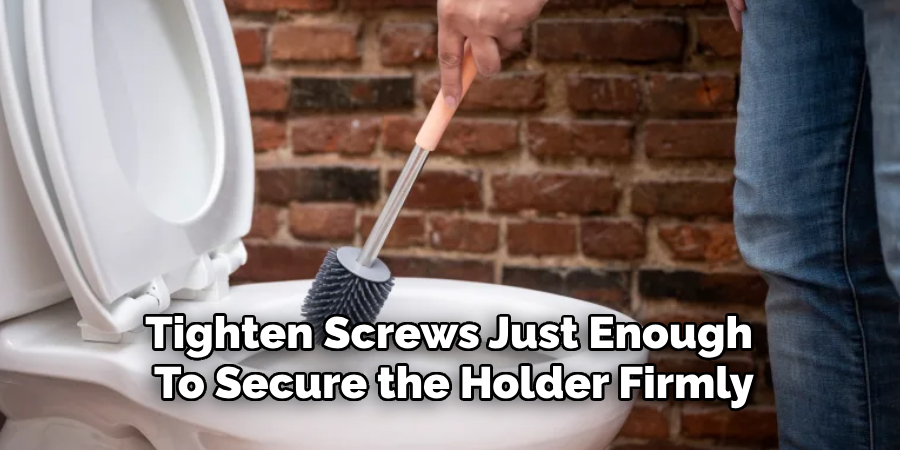
Applying excessive force while tightening screws can lead to cracked tiles or damaged drywall, especially in delicate areas. Tighten screws just enough to secure the holder firmly without risking unnecessary damage to your wall.
Conclusion
Properly learning how to install wall-mounted toilet brush holders ensures both functionality and durability. Start by selecting the right holder that complements your bathroom’s design and meets your needs. Carefully prepare the wall by choosing the appropriate location and checking for obstacles. During installation, securely fasten the mount without overtightening screws to prevent damage.
By following these steps, you can achieve a secure and long-lasting setup that enhances your bathroom’s convenience. Lastly, remember to periodically check the mounting to ensure it remains stable over time, ensuring continued reliability and satisfaction with your installation.

