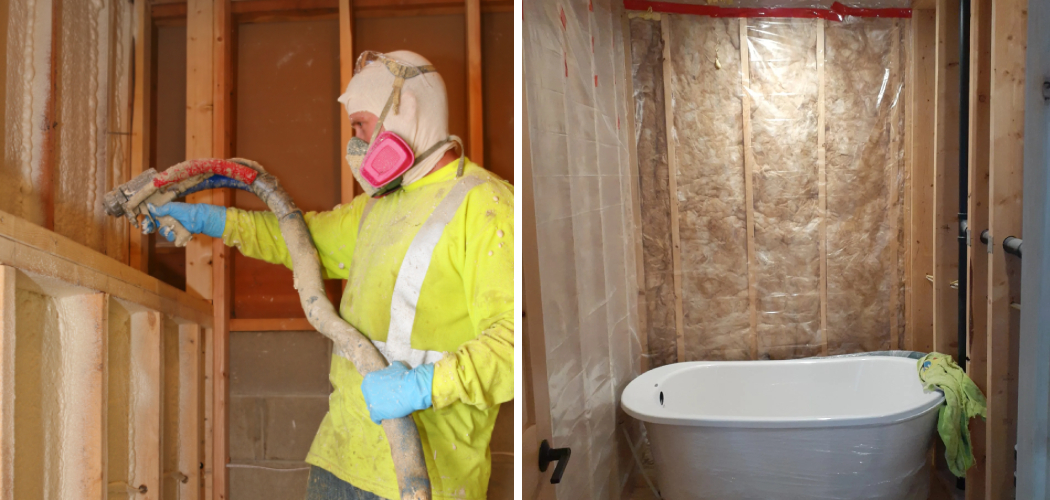
Are you looking to make your bathroom more energy efficient? If so, then insulation is key. By properly insulating your bathroom walls and floors, you’ll be able to keep the heat in during cold seasons and cool air in when it’s hot outside.
If your bathroom walls are not properly insulated, you’re likely dealing with cold drafts and extra moisture in the air. Plus, who doesn’t want a cozy place for their morning shower?
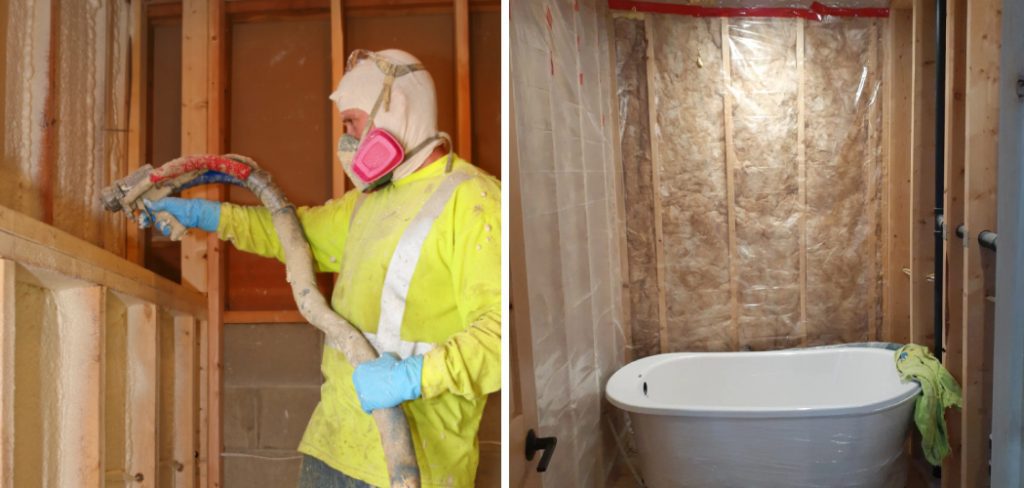
In this blog post, we will explain all the steps on how to insulate a bathroom needed to successfully insulate a bathroom. We will cover materials used, advice on how much insulation to install based on individual needs, get into proper ventilation techniques for humidity control – plus much more! So stick around if you’re ready to dive deep into the world of home improvement projects!
Why Do You Need to Insulate a Bathroom?
If you want to take your bathroom insulation project seriously, it’s important to understand why it needs to be done in the first place.
1. To Keep the Temperature Right
Insulation traps air and helps keep the temperature at a comfortable level while preventing drafts. Installing insulation can also help reduce noise levels in your home and lower energy bills as well.
2. To Stop Moisture Buildup
Insulation acts like a barrier, keeping out moisture from the outside air and preventing it from being drawn up into your walls and ceilings. This helps prevent mold growth in moist areas, which can make your bathroom unsafe to use.
3. To Help With Ventilation
Proper insulation also ensures that you have enough ventilation in your bathroom so that steam and odors can escape. A good ventilation system is essential for keeping humidity levels low and preventing mold from forming.
Now that you know why insulation is important for your bathroom, let’s look at the materials you need to get started on your project.
Materials Needed For Insulating a Bathroom
When it comes to insulating your bathroom, you’ll need the right materials. Here are some of the items you’ll need to get started:
- Insulation Batts or Blankets – These come in a variety of thicknesses and widths, so make sure to choose one that is suited to your climate and needs.
- Vapor Barrier – A vapor barrier helps prevent moisture from seeping in through your walls and floors. Make sure to get one that is waterproof and designed for bathrooms.
- Caulk or Weather Stripping – Both are used to seal up any gaps around windows, doors, plumbing fixtures, and other areas that need air-tight sealing.
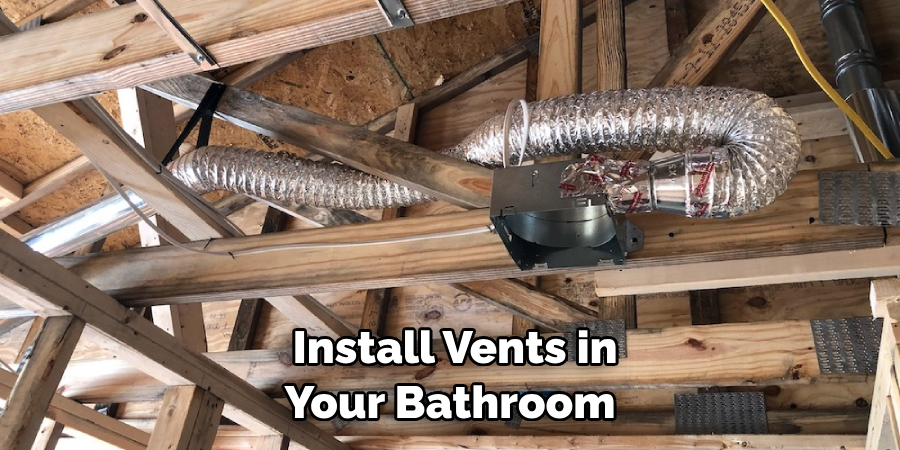
- Vents – You’ll also need to install vents in your bathroom so that the air can circulate and humidity levels don’t get too high.
10 Ways How to Insulate a Bathroom
Now that you have all the materials needed to insulate a bathroom, it’s time to start the installation process! Here are 10 simple steps to get you started:
1. Measurement
Start by measuring your bathroom walls and floors so that you can choose the right insulation material for the job. Also, measure any openings or gaps that need to be sealed. If you don’t have the right measuring tools, it’s best to hire a professional.
2. Preparing the Walls and Floors
Before insulating your bathroom walls and floors, make sure to remove any dirt, dust, or debris from the surfaces. You can use a vacuum cleaner or damp cloth to clean up the area before you start installing insulation.
3. Cut Your Insulation
Cut your insulation to the right size and shape that you need. Make sure to measure twice and cut once so you don’t have any waste material.
4. Install Your Vapor Barrier
Now it is time to install your vapor barrier, which helps prevent moisture from seeping in through the walls and floors. Make sure that all seams are properly sealed for maximum protection.
5. Install Your Insulation Batts or Blankets
This is the most important step in insulating your bathroom walls and floors, so take your time and do it right! Make sure that all seams are properly sealed and that you have enough material to cover the entire area.
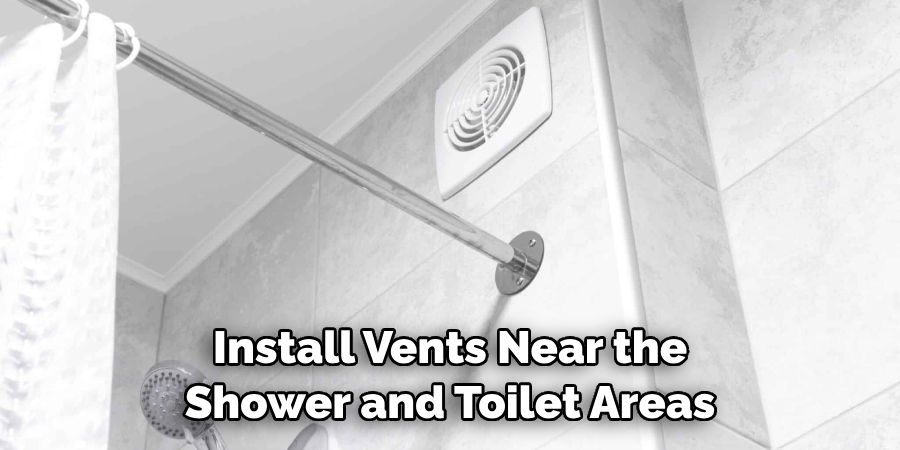
6. Place Vents
Ventilation is key in preventing moisture buildup, so make sure to install vents near the shower and toilet areas. Make sure that all openings are properly sealed, and don’t let in any drafts! Placing a fan in the bathroom is also a good idea.
7. Seal Up Gaps and Cracks
Using caulk or weather stripping, seal up any gaps or cracks around windows, doors, plumbing fixtures, and other areas that need air-tight sealing.
8. Add Insulation Tape
Once you’ve installed your insulation and sealed all the gaps and cracks, it’s time to add insulation tape. This helps keep your insulation in place and prevents any air from leaking out.
9. Install Mold-Resistant Drywall
To further protect against mold growth, you can install mold-resistant drywall on top of your newly insulated walls and floors. This will help prevent moisture buildup and make your bathroom more energy-efficient.
10. Paint and Finish
Now it’s time to paint and finish off the walls and floors of your bathroom! You can choose from a variety of colors, textures, and finishes to achieve the look you want for your bathroom.
That concludes our 10 steps on how to insulate a bathroom. By following these tips and using the right materials, you can make sure that your bathroom is properly insulated and ready to be enjoyed for years to come.
8 Maintenance Tips
After insulating your bathroom, you need to make sure that the insulation is working properly and staying in place. Here are 8 maintenance tips for keeping your bathroom insulated:
- Check the sealant around windows and doors regularly. Make sure there is a tight seal around all openings in your bathroom. Look for any gaps or cracks where air could be getting in.
- Inspect the attic insulation periodically to make sure it hasn’t shifted or become damp from humidity. If necessary, replace any damaged insulation material. Inspecting the insulation will also alert you to any potential air leaks.
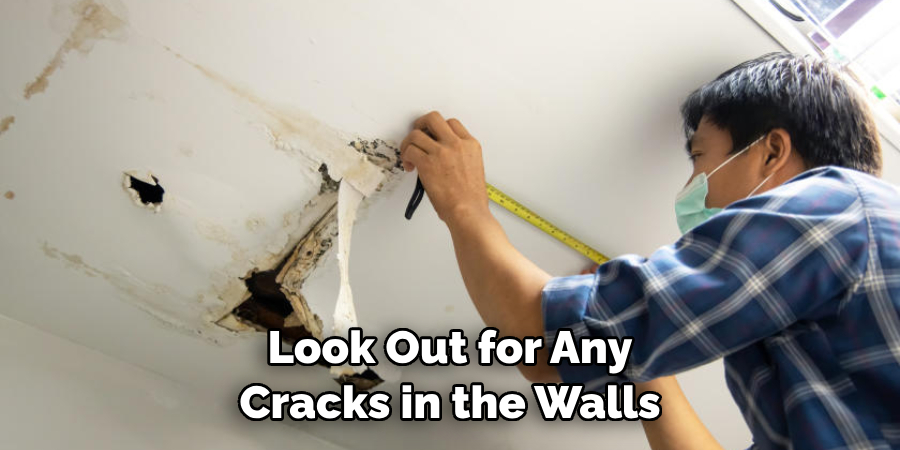
- Look out for any cracks in the walls or ceilings of your bathroom and seal them with caulk or foam insulation. Looking for cracks will also help you identify any areas where the insulation has shifted or become damaged.
- Check ventilation fans and make sure they are in good working order. Ventilation fans help remove excess moisture from the air, so it’s important to ensure that they are in proper working condition.
- Make sure your windows are sealed properly and that no air can escape through them. Making sure to close your windows when you leave the house is also a great way to conserve energy.
- Check for any drafts around window frames, door frames, and other cracks in the bathroom walls or ceilings. Sealing these up with caulk or foam insulation can prevent air from seeping into your bathroom.
- Test all of your appliances for proper ventilation. Make sure that all kitchen and bathroom appliances, such as stoves, bathtubs, and toilets, are ventilated properly to prevent the buildup of heat or moisture in your bathroom.
- Look out for any signs of condensation on windows or walls. If you notice any moisture accumulation, then it’s time to investigate further to see if there is a problem with your insulation.
By following these maintenance tips, you can ensure that your bathroom stays insulated and comfortable all year round. It’s important to remember that regular inspections and maintenance of your insulation are key to maintaining an energy-efficient home. With proper care, you can enjoy the benefits of a well-insulated bathroom for years to come.
Frequently Asked Questions
How Long Will It Take to Finish the Project?
It all depends on the type and scope of the project. A full bathroom insulation job can take anywhere from a few hours to several days, depending on the size of the room and how much insulation needs to be installed. If you’re just installing insulation around pipes or window frames, this process should only take an hour or two.
What Type of Insulation Is Best for Bathrooms?
Insulating your bathroom is an important step to help keep it warm and energy efficient. The most common type of insulation used in bathrooms is fiberglass batt insulation, which can be cut and installed between the studs in walls or ceilings.
This type of insulation provides good thermal performance while also blocking out moisture and air infiltration. You can also use spray foam insulation, which is more expensive but can help seal air leaks around windows and door frames.
What Tools Will I Need for the Project?
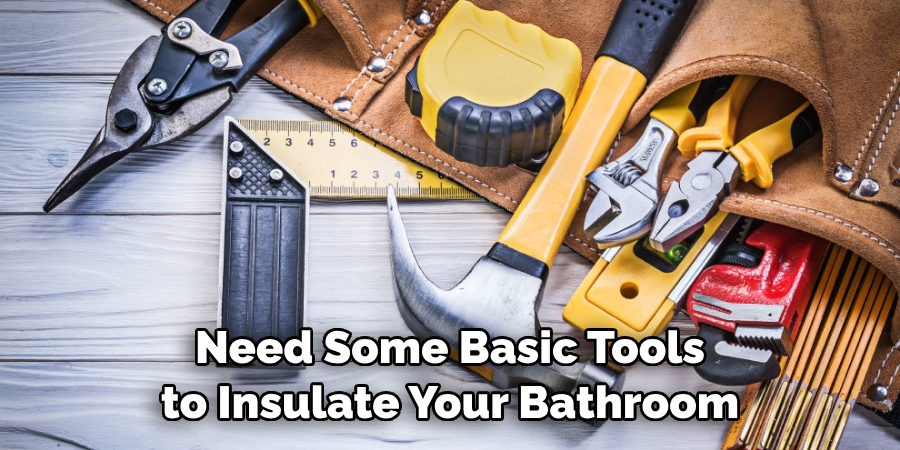
You’ll need some basic tools to insulate your bathroom, such as a utility knife, measuring tape, stapler or hammer and nails, and safety glasses. You may also need specialized tools like a reciprocal saw, cordless drill, or insulation knife. Additionally, you may want to invest in a stud finder to help locate where the wall and ceiling studs are located.
Conclusion
In conclusion, insulating a bathroom is an important way to reduce energy waste and make your home more comfortable. Different types of insulation provide various benefits and are better suited for different applications judging on the thicknesses available. The use of foil bubble wrap, wool, or polyester insulation can be used effectively depending on the cost-benefit trade-off that best fits your pocket and needs.
Furthermore, when installing insulation in damp areas like the bathroom, it is a must that you take extra care in preventing additional humid conditions due to condensation. Finally, remember to inspect the walls and corners to ensure that there are no gaps or exposed wiring after completing the insulation process.
With careful consideration and attention to detail, following these steps on how to insulate a bathroom should help you successfully insulate your bathroom like a pro!

