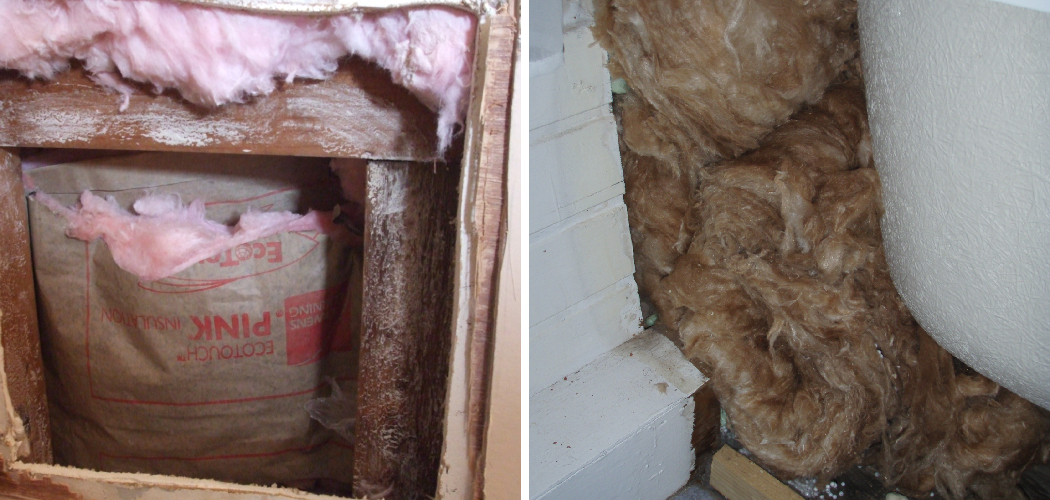
Insulating a bathtub is a worthwhile home improvement project that can lead to numerous benefits, including improved energy efficiency and enhanced comfort during baths.
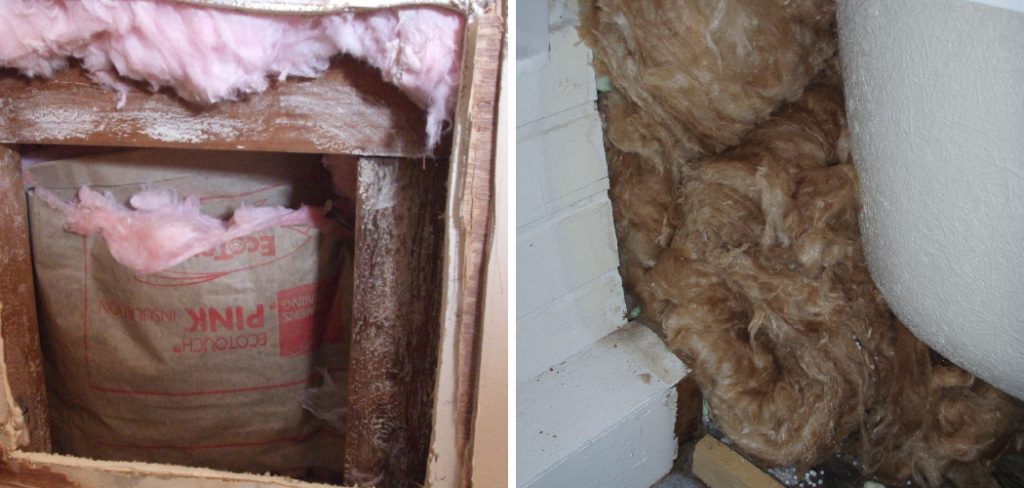
Proper insulation helps maintain the water temperature for a longer period, allowing for a more relaxing experience while also reducing energy costs associated with reheating water.
This guide on how to insulate a bathtub will walk you through the necessary steps to insulate your bathtub effectively, ensuring a combination of practical advice and safety considerations.
What is Bathtub Insulation?
Bathtub insulation refers to the process of adding a layer of insulation material around the bathtub, typically on its walls and bottom. The goal is to create a barrier that prevents heat loss from the water in the tub, keeping it at an optimal temperature for as long as possible.
You can find various types of insulation materials in the market, including foam boards, spray foam, and fiberglass. Each type has its advantages and disadvantages, so it’s important to choose one that suits your needs and budget.
Why is Bathtub Insulation Important?
Insulating your bathtub offers several benefits, both in terms of comfort and cost savings. These include:
Improved Energy Efficiency:
As mentioned earlier, insulating your bathtub helps maintain the water temperature for longer periods, reducing the need to reheat it frequently. This results in lower energy consumption and reduced utility bills.
Enhanced Comfort:
Nothing ruins a relaxing bath more than having to constantly add hot water to maintain the desired temperature. With proper insulation, you can enjoy a longer and more comfortable bath without having to worry about the water getting cold too quickly.
Reduced Condensation:
Insulation also helps prevent condensation from forming on the walls and floors around your bathtub. This not only protects your bathroom from potential water damage but also reduces the risk of slips and falls on slippery surfaces.
8 Step-by-step Guidelines on How to Insulate a Bathtub
Step 1: Gather the Necessary Materials
Before you start insulating your bathtub, make sure you have all the necessary materials on hand. These include:
- Insulation Material (Foam Boards, Spray Foam, or Fiberglass)
- Measuring Tape
- Utility Knife
- Caulk Gun
- Adhesive Caulk
- Protective Gear (Gloves, Goggles, and Mask)
Step 2: Measure the Bathtub Dimensions
Accurate measurements are crucial for ensuring that the insulation material fits properly around your bathtub. Using a measuring tape, carefully measure the length, width, and height of your bathtub’s walls and bottom.
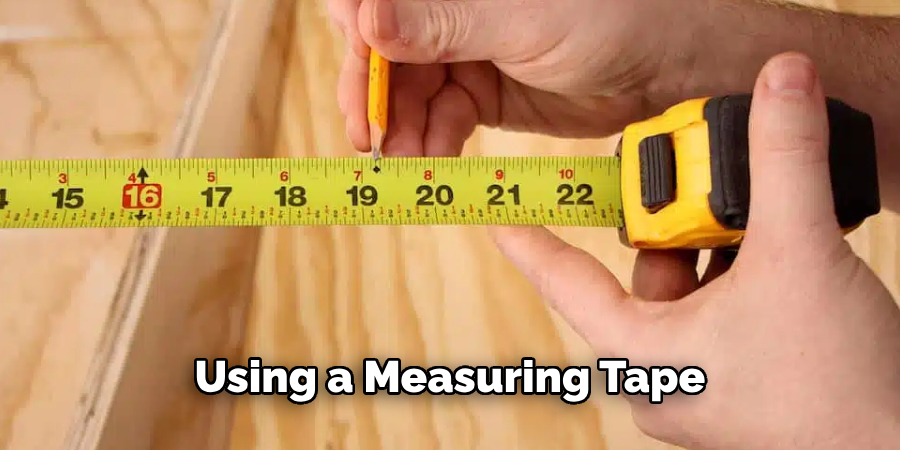
Take note of these dimensions, as you will need them to cut the insulation material to the correct size. It’s a good idea to double-check your measurements to prevent any errors that could lead to gaps or overlaps in the insulation, which would reduce its effectiveness.
Step 3: Choose the Insulation Material
Selecting the right insulation material is a critical step in ensuring the effectiveness of your bathtub insulation. There are three main types of insulation materials commonly used: foam boards, spray foam, and fiberglass. Each has its own set of advantages and disadvantages.
Foam Boards:
These are rigid panels that can be easily cut to fit the dimensions of your bathtub. They offer good thermal insulation and are relatively easy to install. However, they can be bulky and may require more precise cutting to fit snugly around curved surfaces.
Spray Foam:
This type of insulation is applied using a spray gun, allowing it to expand and fill any gaps or irregular spaces. Spray foam provides excellent thermal insulation and creates an airtight seal. The downside is that it can be messy to apply and requires proper protective gear to handle safely.
Fiberglass:
Often found in batt or roll form, fiberglass insulation is flexible and can be fitted around various shapes and sizes. It is cost-effective and widely available, but it must be handled with care to avoid skin irritation and inhalation of fibers.
Consider your specific needs, budget, and installation capabilities when choosing the insulation material. Make sure to read the manufacturer’s instructions and safety guidelines for whichever material you select.
Step 4: Cut the Insulation Material
Once you have chosen the appropriate insulation material, it’s time to cut it to the dimensions of your bathtub. Lay the insulation material on a flat surface and use the measurements you took earlier to mark the cutting lines with a straight edge or ruler to guide you; carefully cut along the marked lines using a utility knife.
When cutting foam boards, ensure that the cuts are clean and straight to allow for a snug fit around the bathtub. For spray foam, follow the manufacturer’s instructions for application, but keep in mind that it may require trimming after it has expanded and cured. If you are using fiberglass, wear protective gloves and a mask to avoid skin irritation and inhalation of fibers, and use scissors or a utility knife to cut it to size.
Step 5: Prepare the Bathtub Surface
Before you begin applying the insulation material, it is essential to prepare the surface of your bathtub. Start by thoroughly cleaning the exterior walls and bottom of the bathtub using a mild detergent and water.
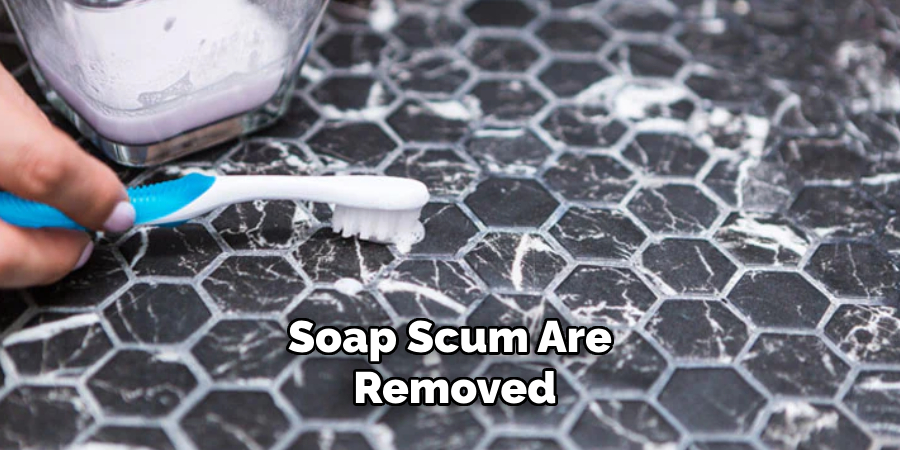
Ensure that all dirt, grime, and soap scum are removed, as any debris can prevent the insulation material from adhering properly.
After cleaning, allow the bathtub to dry completely. You can use a clean, dry cloth to wipe down the surface or simply let it air dry. It’s crucial to have a dry surface to ensure the adhesive or insulation material sticks effectively.
Step 6: Apply Adhesive Caulk
To ensure that the insulation material stays firmly in place, apply adhesive caulk to the exterior surface of the bathtub where the insulation will be attached.
Use a caulk gun to evenly distribute the adhesive along the walls and bottom of the bathtub. Focus on creating a continuous line of caulk along the edges and any areas that will be covered by the insulation material.
Work in small sections to prevent the caulk from drying before you have a chance to apply the insulation. Remember to press the caulk firmly into any crevices or irregular surfaces to create a strong bond.
Be careful not to use too much caulk, as excess adhesive can squeeze out and create a mess. Once the adhesive is applied, you are ready to position the insulation material onto the surface.
Step 7: Install the Insulation Material
Beginning at one corner, carefully place the insulation material onto the adhesive caulk and press it firmly into place. Use your hands to smooth out any air bubbles or wrinkles in the material, ensuring a tight fit against the bathtub surface. Continue placing and smoothing out sections of insulation until the entire exterior wall and bottom of the bathtub are covered.
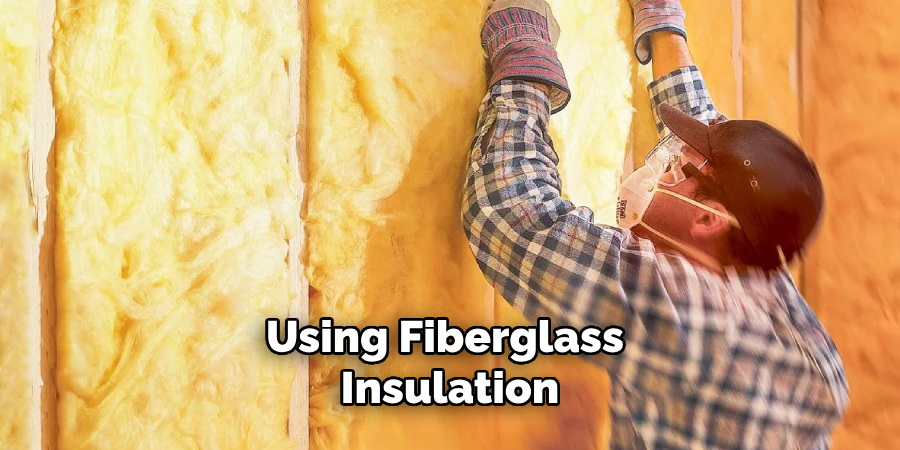
If you are using fiberglass insulation, take extra care not to compress or flatten it as this will reduce its effectiveness. For foam boards and spray foam, ensure that there are no gaps between sections of insulation material and that they fit snugly against each other. Once all the insulation is installed, use a utility knife to trim any excess material from the edges for a clean and neat finish.
Step 8: Allow Time to Dry
After completing the installation, allow time for the adhesive caulk or spray foam to dry completely before using your bathtub.
Follow the manufacturer’s instructions for recommended drying times. This step is crucial as it ensures that the insulation adheres properly and stays in place without any movement or shifting.
Once everything is fully dried and set, you can enjoy a more comfortable and energy-efficient bath experience with your newly insulated bathtub! Remember to check the insulation periodically for any signs of wear or damage and replace it as needed to maintain its effectiveness.
With proper installation and maintenance, your bathtub insulation can provide long-lasting benefits for years to come.
Additional Tips for Proper Bathtub Insulation
- Consider using a reflective barrier material along with your chosen insulation to enhance its thermal properties.
- For added protection against moisture and mold, use a moisture-resistant insulation material such as closed-cell spray foam.
- If your bathtub is located near a window or exterior wall, consider insulating those areas as well to prevent heat loss.
- Regularly clean and maintain the surface of your bathtub insulation to ensure its effectiveness and longevity.
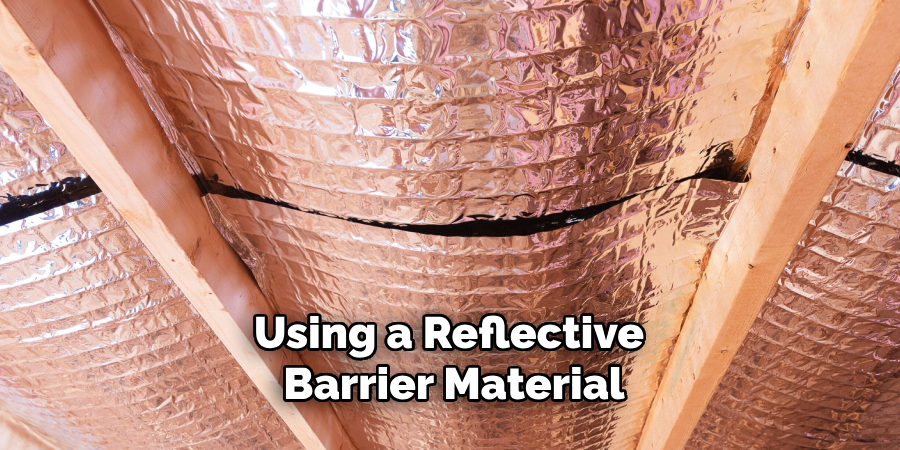
By following these steps and tips on how to insulate a bathtub, you can successfully insulate your bathtub and improve its thermal efficiency for a more comfortable bathing experience. Say goodbye to cold tubs and high energy bills with proper bathtub insulation!
Conclusion
Properly insulating your bathtub is an effective way to enhance your comfort during baths and reduce overall energy costs.
By following the step-by-step guide on how to insulate a bathtub provided here, you can ensure a thorough and professional insulation job that will serve you well for years to come. From choosing the right insulation material to meticulous installation and maintenance, every step plays a crucial role in achieving optimal thermal efficiency.
With your bathtub now well-insulated, you can look forward to enjoying warm baths, even on the coldest of days, while also benefiting from energy savings. Remember, a well-insulated bathtub is not just a luxury—it’s an investment in comfort and efficiency.

