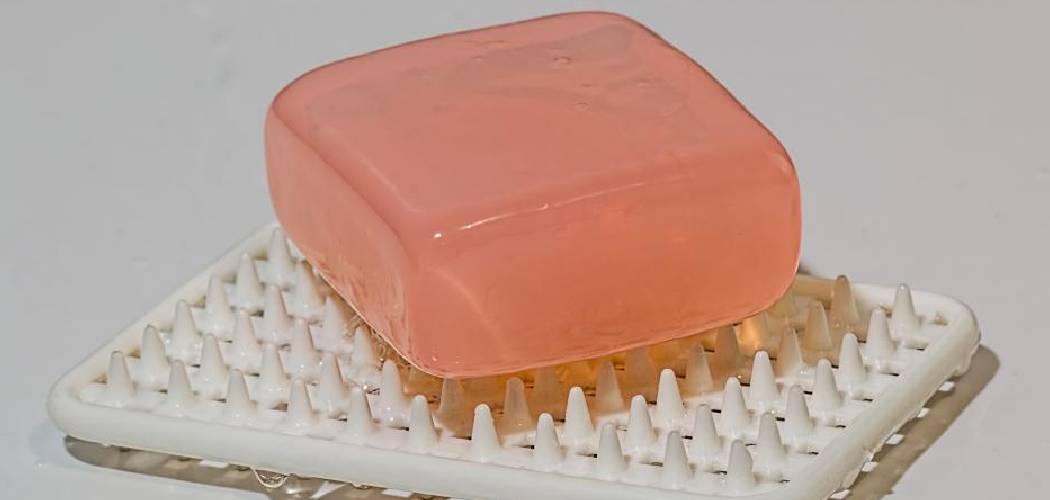
Are you tired of constantly dealing with a wet and messy soap dish in your bathroom? Don’t worry, you’re not alone.
Keeping a soap dish dry and tidy is essential for maintaining hygiene and prolonging the life of your soap. A damp and messy soap dish can become a breeding ground for bacteria, mold, and unpleasant odors, causing soap to dissolve prematurely.
With a few simple strategies, you can ensure your soap dish remains clean, and your soap stays intact, providing you with a fresh and pleasant washing experience every time.
In this guide on how to keep a soap dish dry and tidy, we’ll explore different methods and tips to help you maintain a clean and organized soap dish in your bathroom. From choosing the right soap dish to daily cleaning routines, we’ve got you covered.
What Are the Benefits of a Dry and Tidy Soap Dish?
Before we dive into the tips, let’s first understand why keeping your soap dish dry and tidy is essential.
- Hygiene: A wet and messy soap dish can harbor bacteria and other germs that can transfer onto your hands when using the soap. Keeping your soap dish clean and dry will reduce the risk of spreading harmful bacteria.
- Prolongs Soap Life: When a soap dish is damp or constantly exposed to water, it can cause the soap to dissolve or become mushy, resulting in wasted product. By keeping your soap dish dry, you can prolong the life of your soap and save money in the long run.
- Aesthetics: A tidy soap dish can add to the overall appearance of your bathroom. No one wants to see a cluttered and messy soap dish, especially if you have guests over. Keeping it clean and organized will make your bathroom look more inviting and appealing.
These are just a few reasons why it’s essential to keep your soap dish dry and tidy. Now, let’s move on to some practical tips.
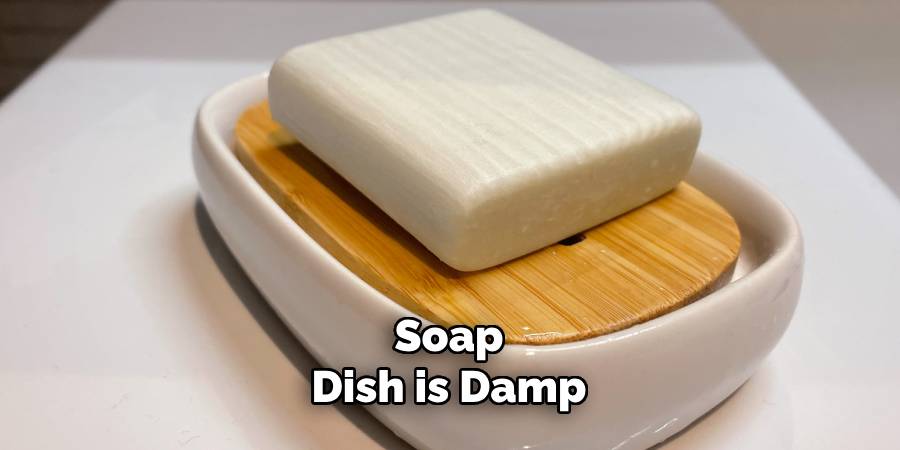
What Will You Need?
Before we begin, gather the following items:
- A soap dish
- A scrub brush or sponge
- Dishwashing liquid or a mild soap
- White vinegar or hydrogen peroxide
- Baking soda (optional)
Once you have these items ready, let’s get started!
10 Easy Steps on How to Keep a Soap Dish Dry and Tidy
Step 1: Remove the Soap
Start by taking the soap out of the dish to ensure you have an empty surface to work on. Place the soap on a clean, dry towel or a temporary tray to keep it from getting dirty or wet while you clean the dish.
This simple step helps prevent soap residue buildup and makes it easier to clean the dish thoroughly without obstruction. If the soap has turned mushy, gently pat it dry with a cloth before setting it aside. Taking care of the soap during this process ensures it remains usable and fresh.
Step 2: Rinse the Soap Dish
After removing the soap, take the soap dish to the sink and rinse it thoroughly under warm running water. This helps wash away any loose soap residue, grime, or dirt that may be stuck on the surface.
If your soap dish has grooves or drainage holes, rinse those areas carefully, as soap remnants can often accumulate. Rinsing prepares the dish for more effective cleaning in the next steps, preventing further dirt from building up.
Step 3: Scrub the Soap Dish
Apply a small amount of mild dish soap or cleaning solution to a soft sponge or brush. Gently scrub the entire surface of the soap dish, paying special attention to grooves, drainage holes, or any textured areas where soap scum tends to build up.
Use circular motions to lift stubborn residue without scratching the material. For tougher grime, allow the soap to sit on the dish for a minute or two before scrubbing. This step ensures a thorough cleaning and helps maintain the appearance and functionality of your soap dish.
Step 4: Rinse and Dry Thoroughly
Rinse the soap dish under warm running water to remove any remaining soap or cleaning solution. Ensure all grooves, drainage holes, and crevices are free from residue.
Once rinsed, dry the soap dish entirely with a clean towel or let it air dry in a well-ventilated area. Drying the soap dish prevents water spots and minimizes mold or mildew growth, keeping it clean and hygienic for regular use.
Step 5: Regular Maintenance
Establish a routine cleaning schedule to keep your soap dish in optimal condition. Remove any excess water and soap residue daily to prevent buildup and keep the surface clean. Once a week, repeat the deep cleaning process outlined above to ensure that the soap dish remains free of grime and bacteria.
Consistent maintenance will extend the life of your soap dish and promote a cleaner, more hygienic bathroom environment.
Step 6: Placement and Usage Tips
Choose an appropriate location for your soap dish to enhance its functionality and longevity. Place it in a well-drained area, ideally on a flat, stable surface near the sink, shower, or bathtub.
Ensure that the soap dish has adequate ventilation to allow it to dry between uses, reducing the chance of it becoming mushy.
For soap dishes with drainage holes, position them so that excess water can easily flow away without pooling. These small adjustments can help keep your soap dish cleaner for longer and improve your overall bathroom organization.
Step 7: Inspect and Replace as Needed
Regularly inspect your soap dish for signs of wear and tear, such as cracks, discoloration, or damaged drainage holes. A damaged soap dish can accumulate residue and bacteria more easily, reducing its effectiveness.
If you notice significant wear or if cleaning becomes increasingly difficult, consider replacing the soap dish with a new one. Opt for a durable material and design that fits your bathroom’s needs and aesthetics to maintain both functionality and style.
Step 8: Maintain a Regular Cleaning Routine
Establish a consistent cleaning routine to ensure your soap dish remains hygienic and functional. Aim to clean the soap dish at least once a week to prevent the buildup of soap scum and bacteria. Use warm water, a mild detergent, and a soft brush or sponge to remove residue.
Rinse thoroughly and dry the soap dish before placing it back in its designated spot. Regular maintenance will prolong the life of your soap dish and keep your bathroom looking tidy and fresh.
Step 9: Use a Soap Saver
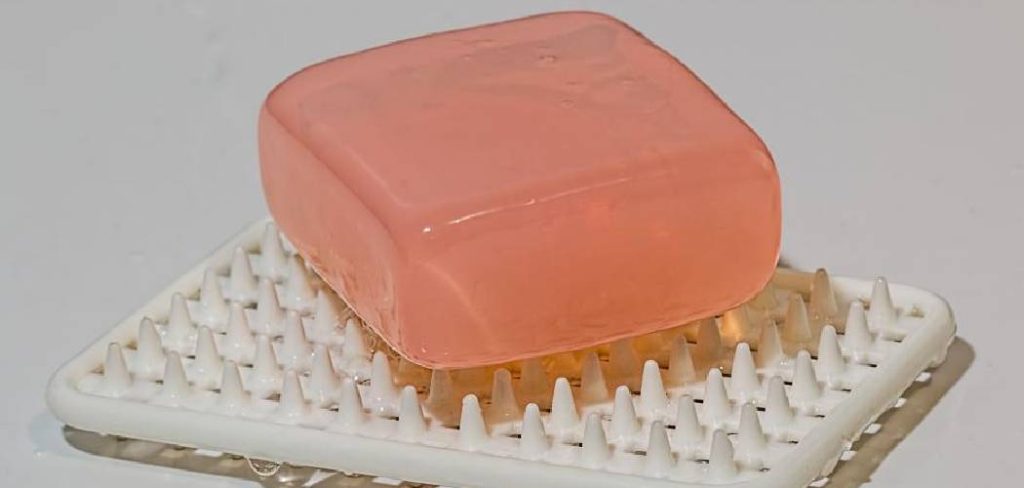
To maximize the lifespan of your soap and keep your soap dish cleaner for longer, consider using a soap saver. Soap savers are small inserts or mats designed to elevate the soap, allowing water to drain away and preventing the soap from sitting in pooled water.
This reduces the chances of soap disintegration and minimizes residue buildup in the soap dish. Choose a soap saver that fits well within your soap dish and complements its design for added convenience and hygiene.
Step 10: Replace Your Soap Dish When Necessary
Over time, even with proper maintenance, soap dishes can wear out, become discolored, or develop cracks that make cleaning difficult. Inspect your soap dish periodically for signs of damage or excessive wear.
If you notice these issues, it’s a good idea to replace them with a new one to maintain cleanliness and functionality in your bathroom. Investing in a durable, high-quality soap dish can also reduce the frequency of replacements and ensure long-term satisfaction.
By following these simple steps and incorporating regular maintenance into your cleaning routine, you can keep your soap dish looking clean and fresh while promoting a hygienic bathroom environment.
5 Things You Should Avoid
- Leaving Soap Residue Uncleaned: Allowing soap residue to accumulate in the dish can create a sticky mess and encourage the growth of mold or bacteria. Regularly clean the soap dish to prevent buildup.
- Placing the Dish on a Flat, Non-Drainable Surface: Positioning the soap dish on a flat surface without drainage can lead to water pooling and cause the soap to dissolve prematurely. Opt for a dish with proper drainage or grooves.
- Using a Dish Too Small for the Soap Bar: A soap dish that doesn’t fit the soap bar properly can result in soap spillage and untidiness. Always ensure the soap dish comfortably accommodates the size of your soap.
- Ignoring Ventilation in the Bathroom: Poor ventilation can trap moisture and prolong the drying process, creating a damp environment for the soap dish. Ensure good airflow, or use a fan to reduce humidity.
- Not Replacing the Soap Dish When Worn Out: Using a damaged or outdated soap dish can compromise functionality, making it harder to keep dry and tidy. Replace it as needed to maintain cleanliness and efficiency.
Conclusion:
Maintaining a dry and tidy soap dish requires attention to a few key practices. Regularly cleaning the dish, choosing a design with proper drainage, and ensuring it fits the soap bar are essential.
Good bathroom ventilation and replacing worn-out soap dishes can also help preserve cleanliness and functionality. By incorporating these habits, you can extend the longevity of your soap and keep your bathroom neat and organized.
Hopefully, the article on how to keep a soap dish dry and tidy has provided helpful tips for maintaining a clean and efficient bathroom. Remember to avoid common mistakes like neglecting soap residue, using an improper dish size, or placing the dish on flat surfaces without drainage.

