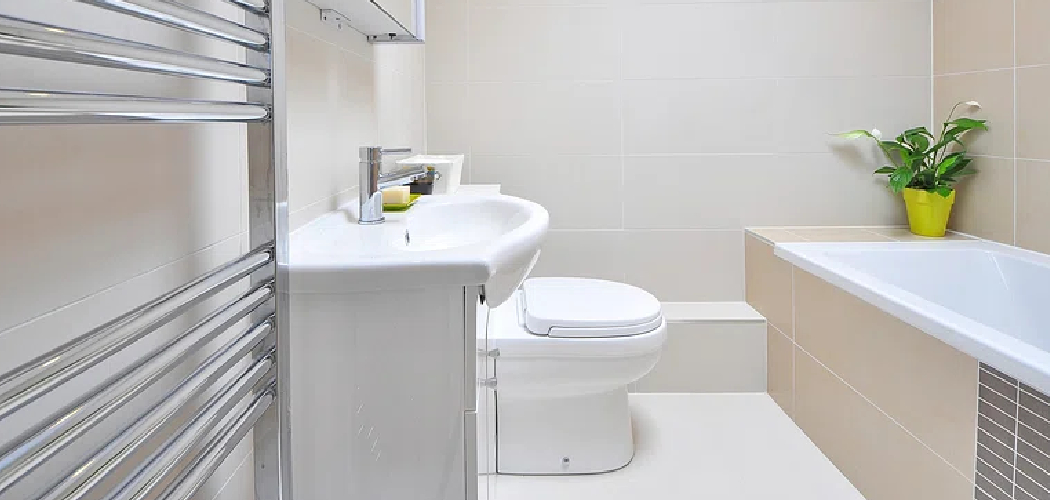
Keeping the grout clean in your shower is more than just a matter of aesthetic appeal; it’s a crucial aspect of maintaining a healthy and hygienic bathroom environment. The warm, moist conditions of a shower make it a breeding ground for mold, mildew, and bacteria, which not only pose health risks but can also cause unsightly staining and discoloration of grout.
These common issues are exacerbated by soap scum, hard water deposits, and body oils that accumulate over time, adhering to the porous surface of grout and leading to a dull, grimy appearance. Understanding how to keep grout clean in shower can significantly contribute to the overall cleanliness of your bathroom, ensuring it remains a safe and welcoming space.
Effective maintenance and regular cleaning routines are essential in preventing the buildup of dirt and microbes, preserving the pristine condition of your shower grout for years to come.
Understanding Grout and Its Challenges
Grout is a composite material, primarily a mixture of water, cement, sand, and sometimes fine gravel, used to fill the gaps and seal the joints between tiles in your shower. Its porous nature, while effective for its intended purpose, unfortunately, makes it susceptible to absorbing moisture and trapping dirt, which can lead to a host of problems if not properly maintained.
The most common issues include grout discoloration, a result of mold and mildew growth, as well as staining from hard water, soap scum, and body oils. These contaminants not only mar the appearance of your shower but can also weaken the grout’s structure over time.
Regular cleaning and maintenance are vital in addressing these challenges. By understanding the composition and vulnerabilities of grout, homeowners can implement more effective cleaning strategies that prevent the buildup of harmful substances. This proactive approach not only maintains the aesthetic appeal of the shower but also extends the life of the grout.
Keeping the grout clean in shower areas requires a combination of daily practices — like wiping down surfaces to remove excess water — and weekly deep-cleaning sessions that target grout lines directly. This routine helps mitigate the risks posed by the porous nature of grout, ensuring that your shower remains a clean, healthy, and visually appealing space.
Establishing a Cleaning Routine
A. Setting a Regular Schedule for Cleaning Shower Grout
Establishing a consistent cleaning schedule is essential for maintaining the appearance and longevity of shower grout. Experts recommend cleaning shower grout at least once a week to prevent the accumulation of soap scum, hard water deposits, and mildew.
For households with high shower usage, a biweekly cleaning may be necessary to keep grout looking its best. Marking specific days on your calendar as “shower cleaning days” can help ensure that this important task isn’t overlooked amidst the busyness of daily life.
B. Choosing Suitable Cleaning Products and Tools for Shower Grout Maintenance
The right cleaning products and tools are crucial for effective grout maintenance. Opt for pH-neutral or mildly alkaline cleaners to ensure that the grout is cleaned without causing damage. Commercial grout cleaners specially formulated for bathroom use or a homemade solution of equal parts white vinegar and water can be effective options.
For scrubbing, use a soft-bristled brush or an old toothbrush; these tools are gentle enough not to damage the grout while still effectively removing grime. Additionally, consider investing in a grout sealer to apply after cleaning, which can protect against future staining and make subsequent cleanings easier.
C. Implementing Simple Cleaning Techniques to Prevent Buildup of Grime and Soap Scum
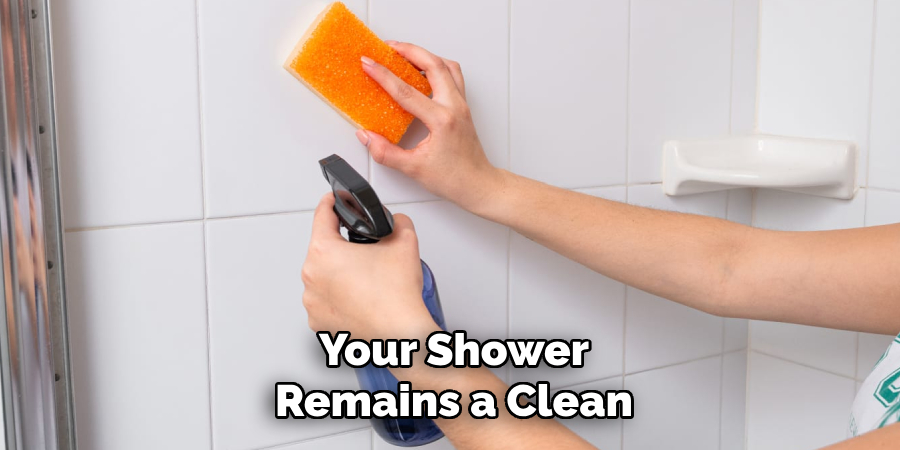
Regular maintenance is key to preventing the buildup of grime and soap scum that can darken and weaken grout. After each shower, use a squeegee or towel to remove excess water from tile surfaces and grout lines. This simple step greatly reduces moisture and the likelihood of mold and mildew formation.
For weekly cleanings, apply your chosen cleaner to the grout lines and let it sit for several minutes before scrubbing. This dwell time allows the cleaning solution to penetrate and loosen dirt and grime, making it easier to scrub away. Rinse thoroughly with water after scrubbing, and dry the area to remove any residual moisture.
Preparing the Shower Environment
Before undertaking the task of cleaning, preparing the shower environment properly can significantly enhance the cleaning process’s effectiveness and efficiency. The first step involves removing all personal items, such as soaps, shampoos, conditioners, and accessories, from the shower area.

This not only provides easy access to the grout lines and shower tiles but also prevents any cleaning products from damaging these items. Next, pre-wetting the grout lines and tiles with warm water serves an important role; it opens up the pores of the grout, making it more receptive to the cleaning solutions, thereby enhancing their effectiveness.
Additionally, ensuring adequate ventilation and air circulation within the bathroom is crucial for preventing the development of mold and mildew. This can be achieved by opening windows or using an exhaust fan during and after the cleaning process. When followed diligently, these preparatory measures pave the way for a more thorough and effective cleaning of the shower grout, contributing to the overall maintenance and longevity of the shower area.
How to Keep Grout Clean in Shower: Selecting Effective Cleaning Products
Choosing the right cleaning products is crucial for ensuring the long-term health and appearance of shower grout. The market offers a wide range of options, from commercial cleaners designed specifically for bathrooms to homemade solutions that can be just as effective.
A. Exploring Different Types of Grout Cleaners
When selecting a grout cleaner, homeowners have the option between commercial cleaners and homemade solutions. Commercial cleaners often contain potent cleaning agents that can quickly cut through grime and mold. However, it’s important to select a product designed specifically for bathroom grout to avoid potential damage.
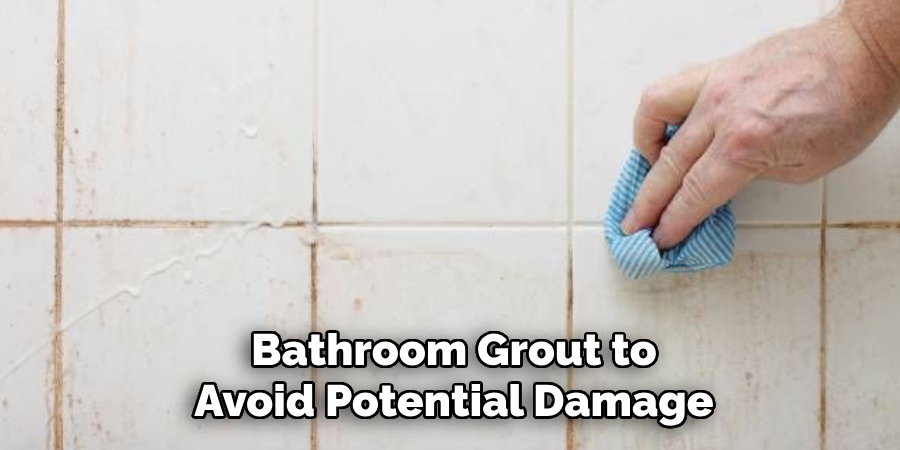
On the other hand, homemade solutions, such as a mixture of baking soda and vinegar or hydrogen peroxide, offer a more natural and eco-friendly alternative. These solutions can be highly effective for regular maintenance and minor stains but may require more elbow grease or repeated applications for tougher buildup.
B. Considering pH-Neutral or Mild Cleaning Solutions to Avoid Damage to Grout and Tiles
To safeguard the integrity of both grout and tiles, opting for pH-neutral or mildly alkaline solutions is advised. Harsh chemicals or acidic cleaners can erode the grout over time, leading to deterioration and potential damage to the tiles. Mild, pH-neutral cleaners effectively clean without risking harm to the grout’s structure, ensuring both safety and cleanliness.
C. Reading Manufacturer Recommendations and Safety Guidelines for Cleaning Products
Always read and adhere to the manufacturer’s recommendations and safety guidelines when using commercial cleaning products. These guidelines provide critical information on the proper application, necessary protective gear, and precautions to avoid accidental damage to surfaces or health risks during use. Being well-informed ensures not only the effectiveness of the cleaning process but also the safety of those involved in the task.
How to Keep Grout Clean in Shower: Scrubbing and Brushing Techniques
Effective scrubbing and brushing are critical to maintaining the cleanliness and integrity of shower grout. This process not only removes the surface dirt and grime but also prevents the growth of mold and mildew, which can compromise the grout’s durability and appearance. Below are some techniques to ensure thorough cleaning while safeguarding the grout.
A. Using Soft-Bristled Brushes or Toothbrushes to Scrub Grout Lines
Soft-bristled brushes or old toothbrushes are ideal for scrubbing grout lines without causing damage. These tools are gentle enough not to erode the grout while effectively removing accumulated dirt. When scrubbing, ensure that the brush reaches into the depths of the grout lines to extract hidden grime.

B. Applying Gentle Pressure and Circular Motions to Lift Dirt and Stains from Grout
When cleaning grout, it’s essential to use gentle pressure combined with circular motions. This technique helps to lift dirt and stains effectively without compromising the grout’s integrity. Harsh scrubbing can cause grout to crack or erode, leading to more significant issues over time. Circular motions allow for comprehensive coverage of the grout lines, ensuring that no area is overlooked.
C. Rinsing Thoroughly with Clean Water to Remove Residual Cleaner and Grime
After scrubbing, it is crucial to rinse the area thoroughly with clean water. This step ensures that all residual cleaner and loosened grime are completely washed away, leaving the grout clean and refreshed. Failing to rinse properly can result in the build-up of cleaning solution, which can attract more dirt or even damage the grout over time. After rinsing, wipe the area with a clean, dry towel to remove any lingering moisture, further preventing mold and mildew growth.
Addressing Mold and Mildew
Mold and mildew growth in shower grout is not only unsightly but can also lead to health problems if not addressed promptly and effectively. These fungi thrive in damp, warm environments, making bathrooms an ideal breeding ground.
A. Treating Mold and Mildew with Vinegar, Hydrogen Peroxide, or Bleach Solutions
Natural and chemical options are available for treating mold and mildew. Vinegar, a mild acid, offers a non-toxic solution that can kill most mold species. Simply applying undiluted vinegar to the affected grout, letting it sit for an hour, then scrubbing and rinsing can be effective.
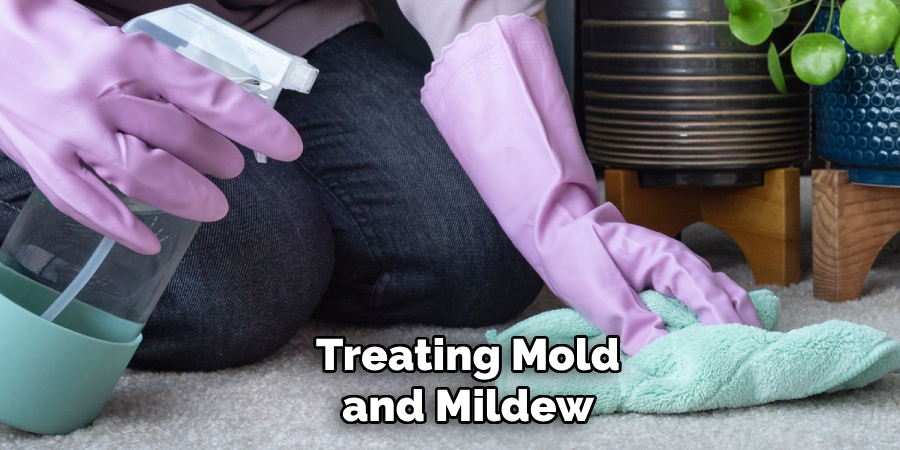
Hydrogen peroxide, another safe option, can be used in a similar manner, with its bubbling action helping to lift mold from the grout. For severe infestations, a diluted bleach solution (1 part bleach to 10 parts water) can be used, but with caution due to its harshness. It is paramount to ensure proper ventilation when using stronger solutions like bleach.
B. Allowing Sufficient Dwell Time for Cleaning Solutions to Penetrate Grout Surface
Regardless of the chosen cleaning agent, allowing it sufficient time to dwell on the surface is crucial for deep cleaning. This dwell time permits the solution to penetrate the porous grout, attacking mold and mildew at their roots.
Depending on the severity of the mold, leaving the solution on the grout for anywhere from 15 minutes to an hour can significantly increase its effectiveness. During this period, occasional scrubbing may enhance the solution’s penetration and removal efficiency.
C. Using Grout Sealer or Mold Inhibitors to Prevent Future Growth of Mold and Mildew
After successfully cleaning the grout and eradicating mold and mildew, taking preventive measures is essential to avoid future growth. Applying a grout sealer can create a protective barrier, reducing the moisture absorption of the grout and thereby limiting mold and mildew development.
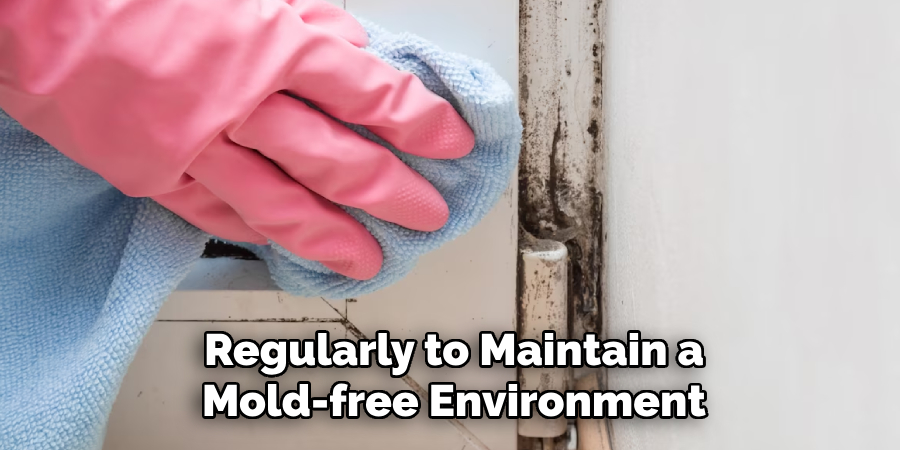
Additionally, using mold inhibitors, available in many cleaning products, can further protect the grout from fungal growth. It is recommended that grout sealers be re-applied annually and that the shower area be cleaned regularly to maintain a mold-free environment.
Implementing Preventive Measures
Preventive measures play a crucial role in maintaining the cleanliness and longevity of shower grout and tiles. By minimizing the conditions that foster mold and mildew growth, you can significantly reduce the need for frequent deep cleanings and repairs.
- Installing Shower Curtains or Doors to Minimize Water Splashes and Moisture Exposure
Installing shower curtains or glass doors effectively contains water within the shower area, significantly reducing moisture exposure on walls and floors outside the shower. This containment helps in maintaining a drier bathroom environment, which is less conducive to mold and mildew growth.
- Using Squeegees or Towels to Wipe Down Shower Surfaces After Each Use
Employing a squeegee or towel to wipe down shower walls, doors, and floors after each use is a simple yet effective way to remove excess water and prevent watermarks. This action aids in drying the area more rapidly, further discouraging mold and mildew from taking hold in grout lines.
- Applying Grout Sealer Regularly to Protect and Seal Grout Against Stains and Moisture
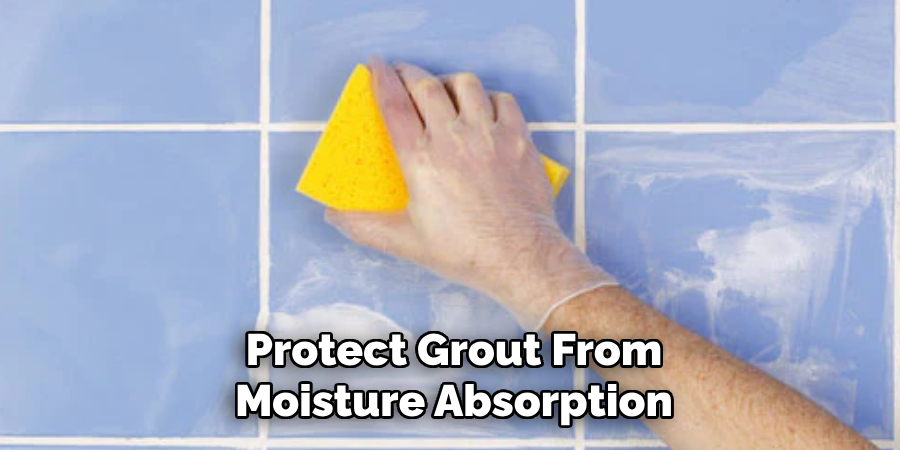
Regular application of a high-quality grout sealer can protect grout from moisture absorption and staining. Sealers create a barrier on the grout surface and prevent water penetration, effectively reducing the risk of mold and mildew development. It’s advisable to apply grout sealer annually or as recommended by the product manufacturer, ensuring continued protection against moisture and contaminants.
Regular Inspections and Touch-Ups
Maintaining the integrity and cleanliness of shower grout over time requires regular inspections and timely touch-ups. This proactive approach can prevent minor issues from escalating into major problems that necessitate extensive repairs.
A. Conducting Periodic Inspections of Shower Grout for Signs of Wear or Damage
It is essential to periodically inspect the shower grout for any signs of wear, damage, or discoloration. These inspections should be done at least every few months or more frequently in high-use areas. Look for cracks, crumbling, or areas where the grout seems to be thinning out. Early detection of these signs allows for prompt intervention, helping to maintain the shower’s aesthetic appeal and functionality.
B. Addressing Small Cracks or Chips in Grout Lines with Grout Repair Kits or Sealants
When small cracks or chips are identified during inspections, they can often be easily repaired using grout repair kits or sealants available at hardware stores. These products are designed for DIY application, enabling homeowners to seal or fill in minor imperfections without the need for professional assistance. Ensuring these repairs are made swiftly can prevent water infiltration and subsequent damage to the underlying surfaces.
C. Monitoring Grout Condition and Performance Over Time to Ensure Continued Cleanliness
Regularly monitoring the grout’s condition is crucial for maintaining its appearance and hygiene. This includes keeping an eye on the effectiveness of previous repairs or sealant applications. Over time, even well-applied sealants can wear down, reducing their protective capabilities. By staying vigilant and addressing any deterioration early, homeowners can ensure their shower remains a clean, healthy, and inviting space.
Deep Cleaning and Restoration
Deep cleaning and restoration of shower grout are essential steps in maintaining a bathroom’s overall hygiene and appearance. Over time, grout can accumulate stubborn stains, mold, and mildew, which are unsightly and compromise the integrity of the shower structure. Addressing these issues through deep cleaning and restoration can extend the life of your shower and maintain its aesthetic appeal.
A. Performing Deep Cleaning of Shower Grout Annually or as Needed
An annual deep cleaning of shower grout is recommended to remove buildup that regular cleaning cannot tackle. This can involve using more potent cleaning solutions or techniques that are designed to penetrate deeper into the porous surfaces of grout.
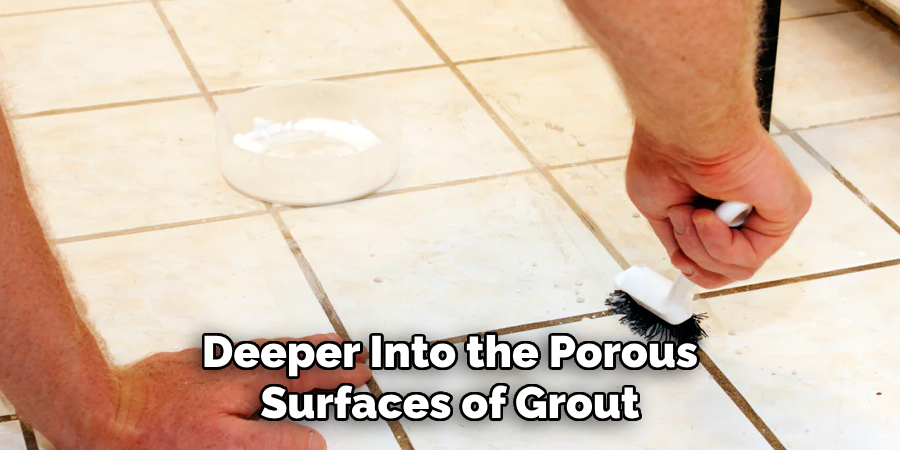
It might require more time and effort, but the process can significantly improve the look and hygiene of the bathroom. More frequent deep cleanings may be necessary for households with high shower usage to maintain optimal conditions.
B. Using Steam Cleaners or Grout Cleaning Machines for Deep Penetration and Removal of Stubborn Stains
Steam cleaners or specialized grout cleaning machines offer excellent results for an effective deep cleaning process. These tools work by delivering high-pressure steam or cleaning solutions deep into the grout lines, effectively loosening and removing mold, mildew, and tough stains. The advantage of steam cleaners is that they can sanitize the grout without harsh chemicals, making them a safer, eco-friendly option.
C. Consulting Professional Cleaners or Restorers for Severe Grout Problems or Renovation Needs
When grout problems are severe, or if the bathroom is undergoing renovation, consulting with professional cleaners or restorers may be beneficial. Professionals can assess the condition of the grout and employ advanced techniques and materials for cleaning, repairing, or even replacing grout.
They can also offer valuable advice on the best types of grout to use for specific applications, ensuring long-term durability and resistance to mold and mildew growth. Engaging professionals can be particularly advantageous for tackling extensive damage or when the bathroom requires a comprehensive refresh to restore its beauty and functionality.
Conclusion
In summary, the key to mastering how to keep grout clean in shower lies in adopting a multifaceted approach that combines regular maintenance, timely repairs, and proactive preventive measures. Strategies such as employing daily drying techniques, applying sealer to protect grout, and conducting periodic inspections ensure that grout remains in pristine condition, thus maintaining the cleanliness and aesthetic appeal of the shower.
The significant factors for successful grout maintenance include the consistent application of gentle cleaning solutions, the use of appropriate tools, and the vigilance to address minor issues before they escalate. Additionally, the importance of regular cleaning and the adoption of preventive measures like ventilating the bathroom and using water repellents cannot be overstated, as these practices play a vital role in preventing mold, mildew, and staining.
This guide has provided a comprehensive roadmap for homeowners who aim to preserve the integrity and appearance of their shower spaces through effective grout maintenance. By adhering to the tips and techniques outlined herein, readers are well-equipped to maintain a clean, healthy, and inviting shower environment for years to come.

