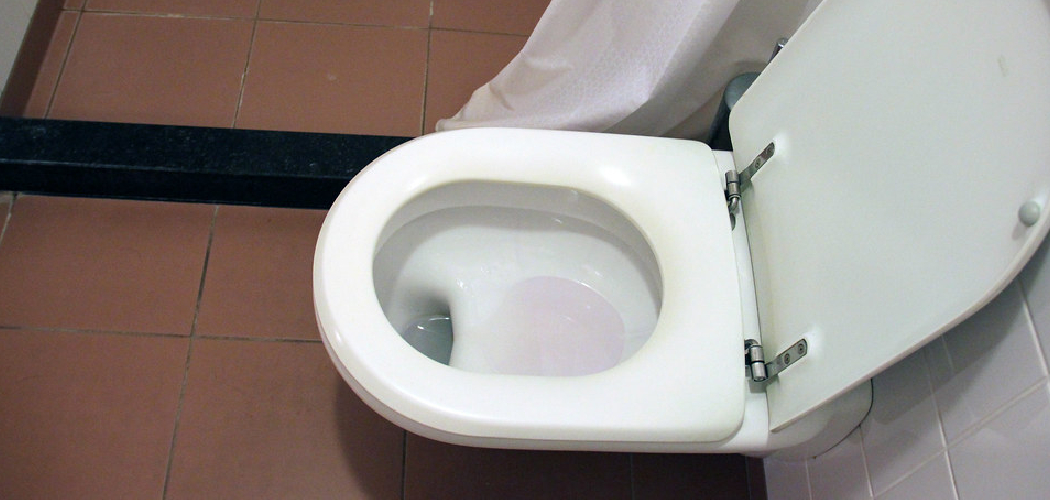
Leveling a toilet is an essential task to ensure it is properly aligned with the floor, preventing common issues such as leaks, wobbling, or uneven pressure on the plumbing. An unlevel toilet can lead to long-term damage, including wear to the plumbing connections or even structural issues with the bathroom floor. Ensuring a balanced toilet not only maintains the functionality and integrity of the plumbing but also provides greater comfort and stability during use.
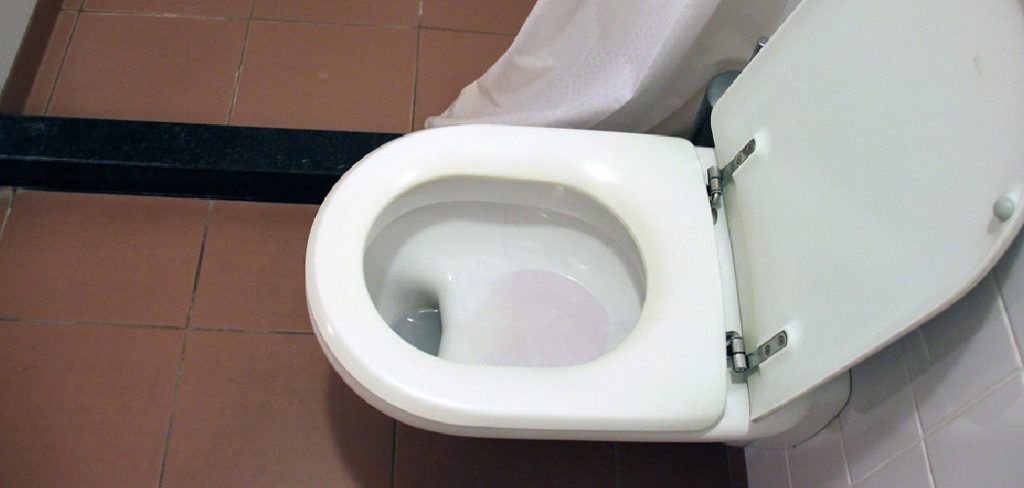
The importance of addressing leveling issues cannot be overstated, as neglecting a wobbly or misaligned toilet may result in costly repairs down the line.
This article provides a comprehensive, step-by-step guide on how to check and adjust a toilet’s level using simple tools and techniques. With easy-to-follow instructions, you’ll learn the proper methods to secure your toilet and effectively address issues related to uneven bathroom surfaces. Learn today how to level a toilet effortlessly!
Materials and Tools Needed
When leveling a toilet, having the right materials and tools is crucial for a smooth and efficient process. Below is a list of essential items you’ll need for this task:
Essential Materials
- Adjustable Wrench – Used to tighten or loosen bolts securely.
- Toilet Leveling Kit or Shim – Needed to stabilize and level the toilet on uneven flooring.
- Wax Ring Replacement – Optional, but necessary if you need to reinstall the toilet after adjustments.
- Caulk – Can be used to seal and secure the base of the toilet for added stability (optional).
Tools You’ll Need
- Level (Spirit Level or Laser Level) – To accurately check if the toilet is leveled.
- Putty Knife or Scraper – Useful for removing the old wax ring before reinstalling the toilet.
- Screwdriver – For adjusting or securing bolts into place.
- Clean Cloth or Towel – Helps keep the area clean and dry during the process.
By gathering these materials and tools ahead of time, you’ll be prepared to efficiently level your toilet and prevent any further complications down the line. Always ensure safety by working steadily and following steps carefully.
Identifying the Need to Level the Toilet
Ensuring your toilet is leveled correctly is essential to maintain its functionality and avoid potential damage. Recognizing the signs of an unlevel toilet can help you address issues early and save time and money in the long run.
Signs of an Unleveled Toilet
- Wobbling or rocking – If the toilet wobbles or rocks when you sit down or touch it, it’s a clear indicator that it’s not properly secured or leveled.
- Leaks around the base – Water pooling around the base or seeping out can suggest that the wax ring seal is compromised due to imbalance.
- Uneven gaps – Visible gaps between the toilet base and the floor may highlight that the toilet is not sitting flush against the surface.
Potential Causes of Uneven Toilet Installation
- Settling of the floor or foundation – Over time, a building’s foundation may shift or settle, causing uneven surfaces that affect the toilet’s stability.
- Improper installation – A toilet not installed correctly, such as uneven tightening of floor bolts, can result in instability.
- Warped flooring material – Materials like wood or laminate can warp due to moisture exposure, creating an uneven surface underneath the toilet.
Identifying these signs and their causes promptly is crucial to preventing further issues and ensuring a secure, functional installation.
How to Level a Toilet: Step-by-Step Guide
Step 1: Preparing the Area
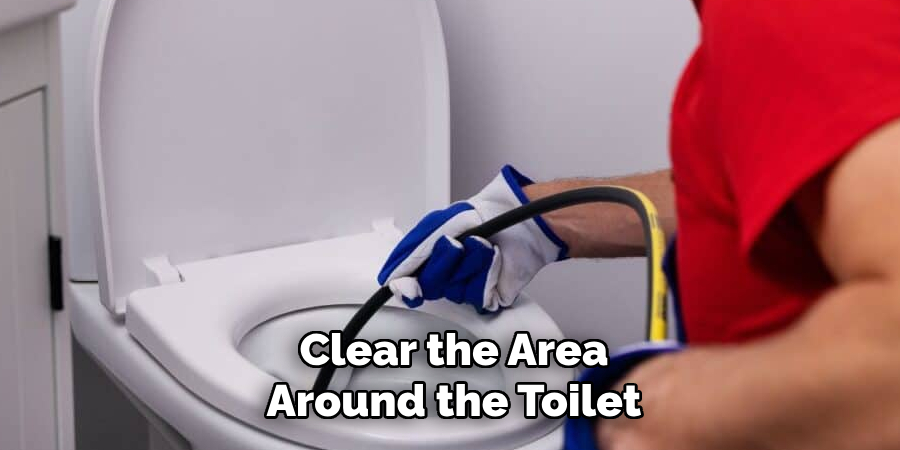
Clear the area around the toilet, and ensure the water supply is turned off. Flush the toilet to empty the tank and bowl, and remove any remaining water from the base using a sponge or towel. Clean the floor around the toilet to remove dirt or debris that could interfere with the leveling process.
Step 2: Checking the Toilet’s Level
Place a spirit level on the toilet tank or seat to check if it’s level from side to side and front to back. Ensure the bubble in the level is centered to determine if adjustments are needed. If the toilet isn’t level, note whether the unevenness is more pronounced on one side, the front, or the back, which will guide your next steps.
Step 3: Adjusting the Toilet Bolts
Using an adjustable wrench, carefully tighten or loosen the bolts securing the toilet to the floor. Adjust them incrementally, alternating between bolts to evenly distribute the tension. Avoid overtightening the bolts, as this could crack the porcelain base of the toilet.
Step 4: Adding Shims for Stability
If the toilet remains unsteady or uneven, use plastic or rubber toilet shims to stabilize it. Gently slide the shims into the gaps beneath the toilet base, focusing on areas where the wobbling occurs. Once the toilet feels stable, use a utility knife to trim any excess shim material protruding from the edges.
Step 5: Securing the Toilet
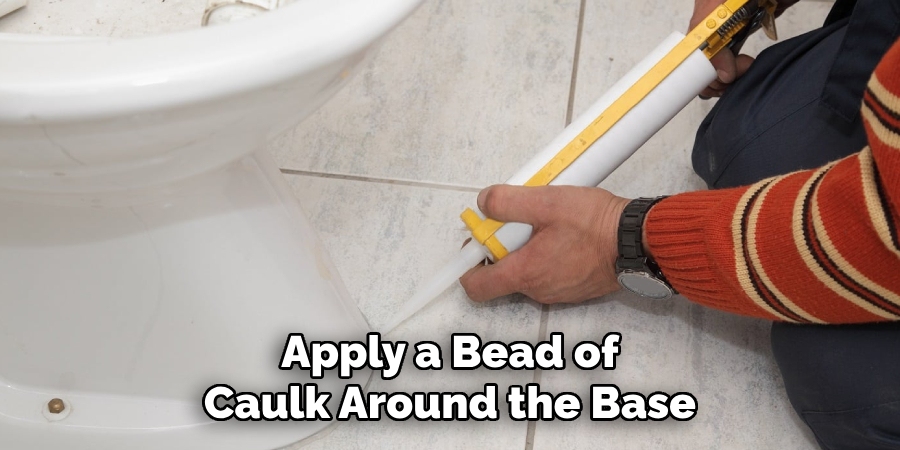
Recheck the toilet level using a spirit level. If everything is even and stable, tighten the bolts slightly more to secure the toilet firmly to the floor. Be sure not to overtighten. Finish by caulking around the base of the toilet for added stability and to prevent moisture from seeping underneath.
Dealing with Floor or Toilet Base Damage
If adjustments don’t resolve the issue, you may need to inspect both the toilet base and the floor to identify the underlying problem. This process involves a few careful steps to ensure a stable and functional installation.
Step 1: Removing the Toilet
Start by turning off the water supply and draining the toilet tank and bowl. Loosen the nuts securing the toilet to the flange and gently lift the toilet off the floor. Place the toilet on a soft surface or tarp to protect it from damage while you work on the base or floor.
Step 2: Inspecting the Wax Ring
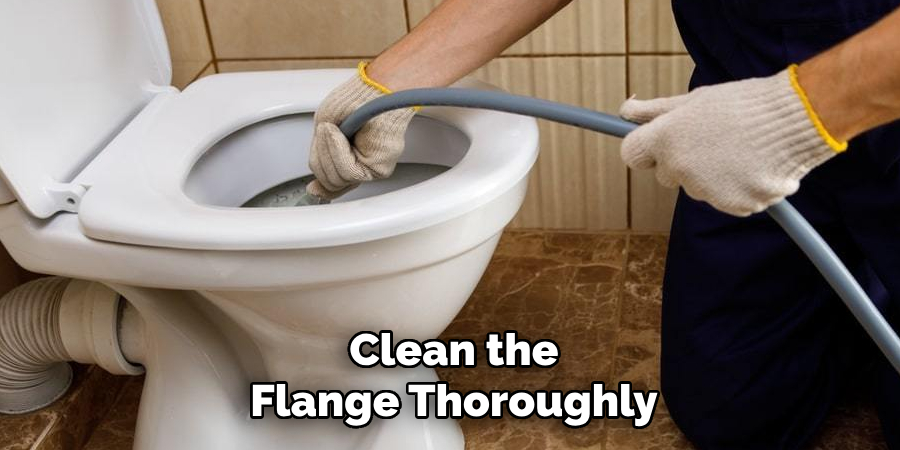
With the toilet removed, inspect the wax ring at the base. A damaged or worn wax ring can lead to leaks and instability. If the wax ring is deteriorated, scrape it off completely using a putty knife and clean the flange thoroughly. Install a new wax ring before reinstalling the toilet to ensure a proper seal.
Step 3: Releveling or Repairing the Floor
Examine the condition of the floor around the toilet area. If the floor is uneven or damaged, consider applying a floor-leveling compound to create a flat surface. Alternatively, a thicker shim may be used to provide additional support where needed. Also, check that the flange is securely fastened to the subfloor, ensuring it provides a stable base for the toilet. Proper leveling and repairs at this stage are crucial for the long-term stability of your toilet installation.
Reinstalling the Toilet
Step 1: Installing a New Wax Ring
Place a new wax ring on the flange, ensuring it’s aligned properly. The wax ring creates a secure and watertight seal between the toilet base and the drainpipe, preventing leaks. Be sure to choose a wax ring of the correct size and thickness suitable for your toilet model and flange height.
Step 2: Reattaching the Toilet
Carefully lower the toilet back onto the flange, ensuring it is centered over the drainpipe. Take your time to gently but firmly press the toilet down to compress the wax ring and create a proper seal. Align the bolt holes in the toilet base with the holes in the flange bolts. Once the toilet is in position, attach the bolts and tighten them evenly on both sides, alternating to prevent cracking the porcelain. The toilet should sit snugly and flush with the floor.
Step 3: Checking the Level Again
Use a spirit level to check that the toilet is perfectly level from side to side and front to back. If adjustments are needed, you can use plastic shims to raise one side slightly before retightening the bolts. Take care not to overtighten, as this can damage the toilet base. A properly leveled toilet ensures stability and prevents future operational issues. Once the toilet is level and securely fastened, reconnect the water supply.
Securing the Toilet Base
Step 1: Sealing Around the Toilet
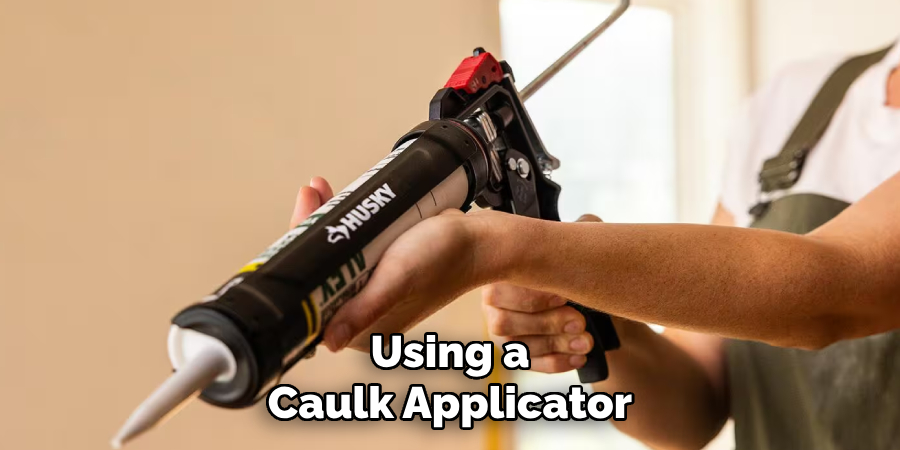
After ensuring the toilet is level and stable, apply a bead of caulk around the base. This step is essential for creating a seal that prevents water from seeping underneath the toilet, which could lead to damage over time. Using a caulk applicator or a steady hand, apply the caulk evenly around the entire base, ensuring there are no gaps. Smooth the bead with your finger or a caulk tool for a clean finish. Allow the caulk to set according to the product’s instructions before proceeding further.
Step 2: Final Tightening of Bolts
Once the caulk has been applied, perform a final check on the securing bolts. Tighten the bolts carefully, ensuring the toilet remains stable and securely fastened. Avoid overtightening, as excessive force can crack the ceramic toilet base or damage the flange underneath. Work gradually, alternating between bolts for even tension. Once complete, the toilet should feel firm without any wobbling or movement. This final adjustment ensures the toilet installation’s longevity and proper function. After completing these steps, your toilet base is fully secured, and you can proceed to connect and test the water supply.
Conclusion
Learning how to level a toilet is an essential skill for ensuring a properly functioning and leak-free fixture. The process involves carefully checking the level, adjusting the toilet bolts, using shims for stability, and, if necessary, releveling the floor or replacing the wax ring. Proper installation not only improves the toilet’s performance but also extends its lifespan. Regular maintenance is crucial—inspect for signs of wobbling or leaks periodically, particularly in cases where the floor may have settled or shifted over time. By following these steps, you can prevent future issues and keep your toilet installation stable and reliable.

