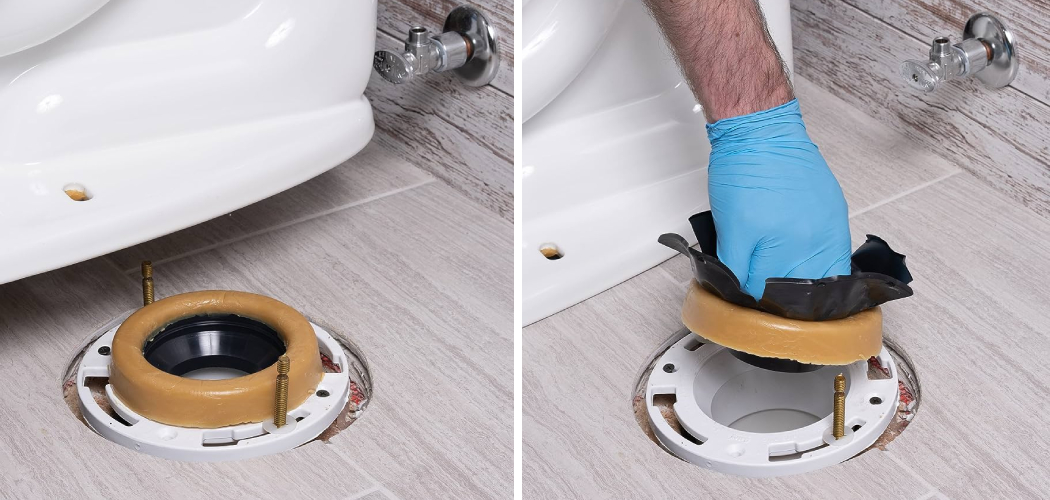
Are you having issues with a toilet that rocks, feels loose, won’t hold water or leaks? It’s likely the fault of your toilet flange. This essential piece of plumbing technology works as the anchor for your entire fixture and must be on level to ensure that your toilet functions correctly.
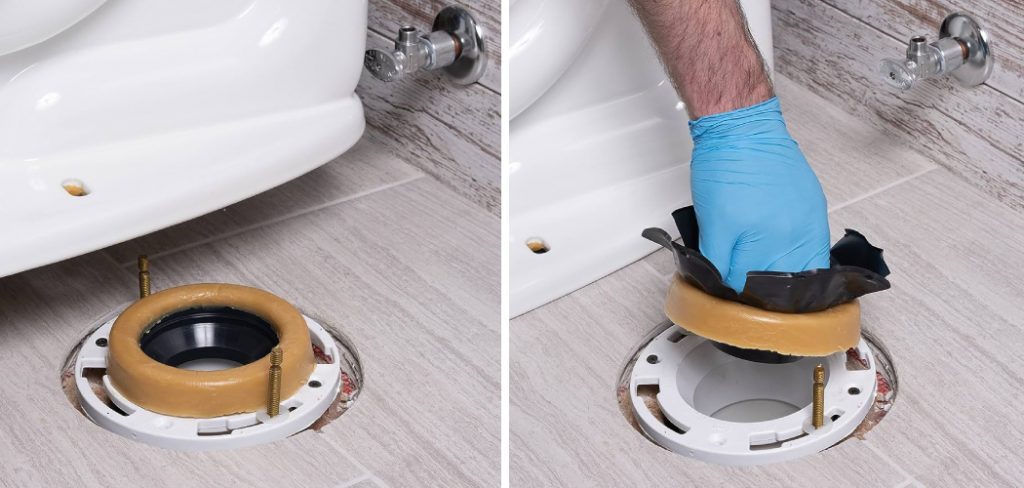
So, what do you do when it isn’t? If you feel capable enough to tackle this issue yourself, here is everything you need to know about how to level a toilet flange so that your bathroom remains trouble-free!
What is Toilet Flange?
A toilet flange is a metal or PVC ring that anchors the bottom of the toilet to the floor. It secures the drain pipe connected to your home’s sewer line and connects other components, like wax rings and bolts, to the toilet bowl itself. Toilet flanges should be installed level on all sides in order for your bathroom fixture to work properly.
When a toilet flange is out of level, it can cause your toilet to wobble or rock, making it unstable and unsafe. It may even prevent a good seal between the base of the toilet and the wax ring that sits beneath it. This could lead to leaks and other issues that require costly repairs to fix.
Needed Materials
Given below are the materials required to level a toilet flange:
- Screwdriver
- Socket Wrench
- Level
- Pliers or Adjustable Wrench
- Shims – Plastic, Cardboard, Wood, Etc.aaaa
11 Step-by-step Instructions on How to Level a Toilet Flange
Step 1: Shut Off the Water Supply
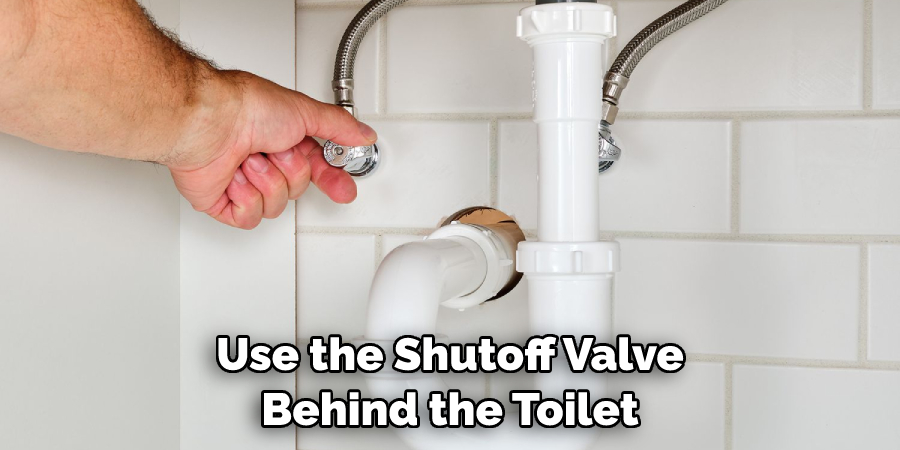
Use the shutoff valve behind the toilet to turn off the water and flush the toilet several times. If there is standing water in the bowl, use a sponge to remove it. This will ensure that no water is left in the bowl or basin while you work. It is also important to disconnect the water supply line to prevent any leaks.
Step 2: Unscrew the Toilet Bolts
Use either a screwdriver or socket wrench to loosen and remove both bolts that are connected to the flange. You may need additional tools if your bolt heads are stripped, corroded, or stuck. Although this step may be difficult, it is important to remove the bolts so you can properly assess the flange.
Step 3: Check for Levelness with a Level
Place your level on top of the toilet flange and check that it is even across all sides. If it isn’t, use shims to adjust it until it’s level. You can use plastic, cardboard, wood or other materials for this. If the flange is too far out of level, it may need to be replaced entirely. This is a job best left to a professional. But if the level isn’t too far off, you can shim it out.
Step 4: Place the Shims
Place shims in any gaps between the flange and floor until it is level. Use pliers or adjustable wrenches to tighten them if needed. Be sure not to over-tighten as this could cause damage to your flange. It is also important to use shims that are the correct size for your flange. If necessary, you can cut down shims with a utility knife. You can also use a hammer to gently tap the shims into place.
Step 5: Reinstall the Toilet Bolts
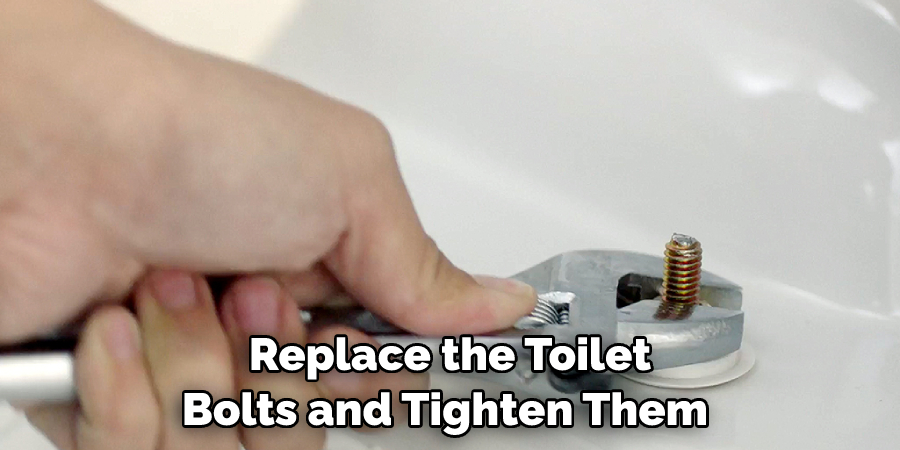
Replace the toilet bolts and tighten them with a screwdriver or socket wrench. Be sure not to overtighten, as this could cause damage to your flange. It is important to use bolts that are the correct size for your flange. But if the bolts are too long, you can trim them with a hacksaw.
Step 6: Test the Flange for Levelness
Use your level to check that your toilet flange is level. If it is, you have successfully leveled your toilet flange and can continue to install your toilet. This step is vital to ensure that your flange will remain level and won’t cause any issues in the future. It is important to check the level of your flange before continuing.
Step 7: Reattach the Water Supply Line
Reconnect the water supply line to your toilet and turn on the shutoff valve behind the toilet. Test for any leaks to ensure a good seal between the base of the toilet and the wax ring. You may need to tighten the connection if needed. But be sure not to over-tighten as this could cause damage to your toilet.
Step 8: Insert a New Wax Ring
Remove any old or worn-out wax rings and replace them with new ones. Place the wax ring around the drain hole of your toilet and press it into place. Ensure that it is secured before continuing. This is an important step to prevent any leaks or other issues. However, make sure not to use too much pressure as this could cause damage.
Step 9: Install Your Toilet
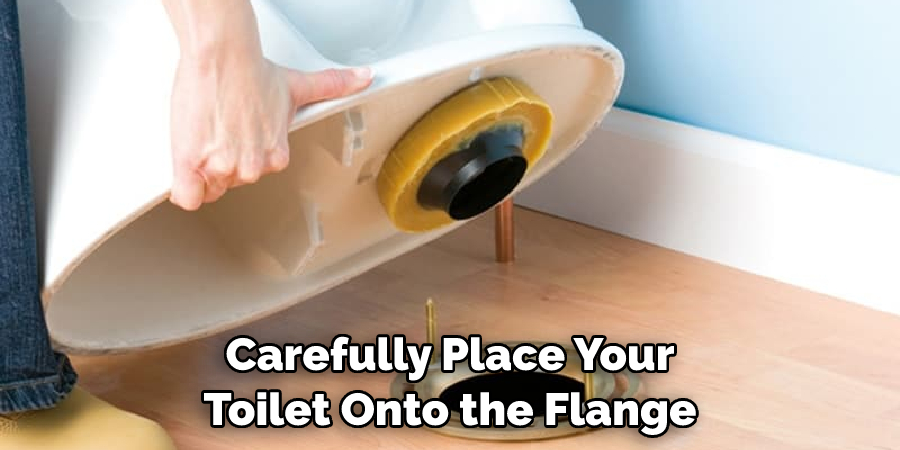
Carefully place your toilet onto the flange, ensuring that it is properly aligned. Gently rock the bowl or press down on the top of the flange to ensure a good seal between the wax ring and the base of your toilet. Once this is done, secure your toilet in place by tightening both bolts until they are flush with the floor. It is important to not overtighten the bolts as this could cause the wax ring to break.
Step 10: Check for Levelness Again
Place your level on top of the toilet and check that it is even across all sides. If it isn’t, use shims to adjust it until it is level. Be sure not to over-tighten as this could cause damage to your flange. But if the level isn’t too far off, you can shim it out. You may need to adjust the shims several times before it is properly leveled.
Step 11: Turn On the Water
Turn on the shutoff valve and test for any leaks. If there are none, your toilet is now properly level. Flush it several times to ensure that it is working correctly. Always follow the manufacturer’s instructions when using your toilet. If your toilet is still not level, you may need to repeat the steps above.
This is all you need to know about how to level a toilet flange! Now that you have leveled your fixture, you will be able to enjoy a safe and stable toilet without the risk of leaks. If you encounter any difficulties during this process, don’t hesitate to reach out to a professional for help.
Tips & Warnings
- Make Sure All Your Tools Are in Working Condition Before Attempting to Level the Flange.
- Take Extra Precaution When Removing Bolts, as They May Be Corroded or Stuck.
- Be Sure Not to Over Tighten Anything, as This Could Cause Damage to Your Plumbing.
- If You Are Uncertain About Any Steps, Contact a Professional for Help.
Frequently Asked Questions
Q: How Often Should I Check if My Toilet Flange is Level?
A: It’s a good idea to check the levelness of your toilet flange every few months. This will ensure that any warping or settling is caught early on and can be corrected to prevent any costly repairs down the road.
Q: How Can I Tell if My Toilet Flange is Corroded?
A: If there are signs of rust on your toilet flange, it is likely corroded. This can be difficult to spot, so it’s best to use a flashlight and take a close look at the metal. If there are any signs of corrosion, contact a professional for assistance.
Q: What Should I Do if My Toilet Flange is Not Level?
A: The most important thing to do is to make sure that your toilet flange is level. This can be done by using shims and adjusting the bolts until it is even on all sides. If you find that this isn’t working, it may be time to replace the toilet flange altogether. Contact a professional for assistance if needed.
Q: What Should I Do if My Toilet Flange is Damaged?
A: If your flange is damaged, the best course of action would be to replace it. This will ensure that your toilet still functions correctly and won’t cause any leaks or damage down the road. Contact a professional for help with replacing your toilet flange if needed.
Conclusion
In conclusion on how to level a toilet flange, leveling a toilet flange is a relatively simple task, but it can be inconvenient and tedious. Learning how to level your toilet flange properly will help you avoid any future plumbing issues that may result from an unleveled flange.
Not only will leveling your toilet flange keep water off the floor and out of the surrounding space, but also it can help ensure better bowl stability and easier wax ring seating. If you have never done this before, consider hiring a professional to do the work for you and help save yourself time and energy down the road.
Even if you are more comfortable going about it on your own, always make sure to reference trusted online resources or manuals to ensure accuracy in your measurements and installation processes. With knowledge and proper preparation, you will be able to level your toilet flange with ease!

