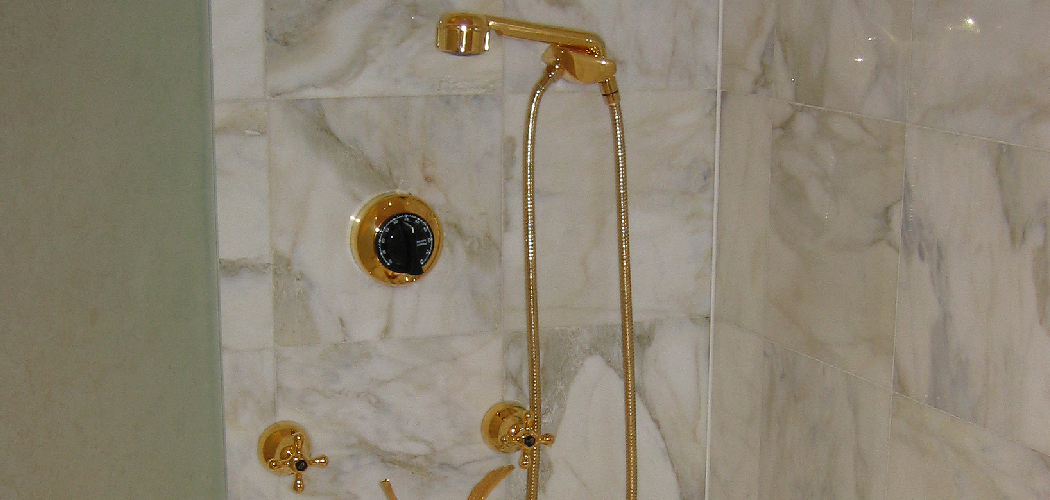
Lowering the height of a shower head can greatly enhance the comfort and convenience of your showering experience, especially for individuals of shorter stature or those with mobility limitations. Whether your shower head is positioned too high for optimal use or you simply prefer a lower placement, making this adjustment is a relatively simple task. By lowering the shower head to a more comfortable height, you can ensure better coverage and water distribution during showers.
In this guide, we’ll explore various methods on how to lower shower head height. From adjusting the mounting hardware to installing a new shower arm or extension, we’ll provide comprehensive instructions to help you achieve the ideal shower head height for your needs. Say goodbye to awkward stretching or straining and enjoy a more enjoyable and accessible shower experience.
Importance of Adjusting Shower Head Height
Adjusting the height of a shower head is more than a matter of personal preference—it’s about enhancing the overall usability and comfort of your showering experience. A shower head that is too high can lead to water spray that feels less powerful and more diffuse, making it harder to rinse thoroughly.
On the other hand, a shower head positioned too low might require constant bending or uncomfortable postures, which could strain the back or neck over time.
Furthermore, for households with members of varying heights, including children and adults with mobility challenges, a properly adjusted shower head height ensures that everyone can have a more enjoyable and effective shower. This adjustment not only caters to the physical comfort but also contributes to water conservation by optimizing water flow and reducing wastage.
Common Reasons for Needing to Lower the Shower Head
Many households find the need to lower their shower head for various practical and comfort-related reasons. One of the most common reasons is the accommodation of children and individuals of shorter stature. Having a shower head that is too high can make it difficult for them to enjoy a comfortable and efficient showering experience, as they may struggle to adjust the water flow or direction.
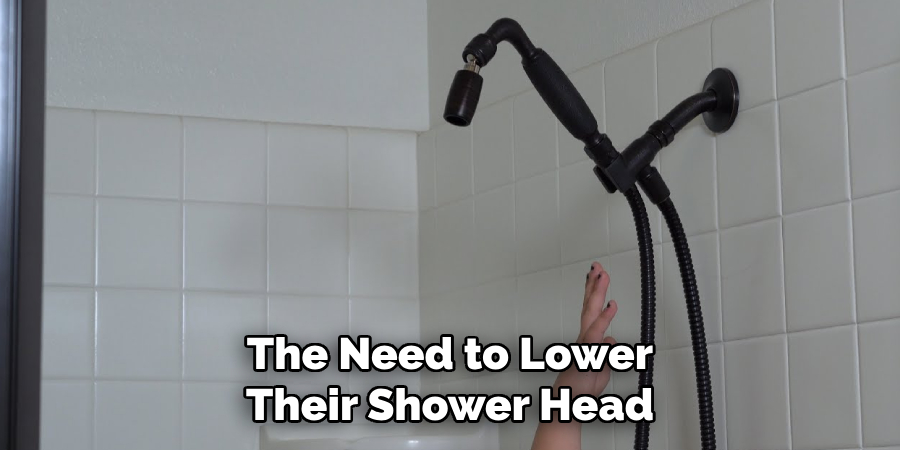
Similarly, individuals with mobility challenges or those who require the use of a shower chair benefit significantly from a lowered shower head, as it provides easier access and greater control over their showering environment.
Another reason pertains to the design and size of the shower space itself. Smaller shower stalls or low-ceiling bathrooms may necessitate a lower shower head to avoid water splashing excessively or hitting the ceiling, which can lead to moisture damage and mold growth over time.
Additionally, those who prefer a more direct water flow for rinsing or have specific hair care routines often find a lower shower head placement more conducive to their needs. Ultimately, adjusting the shower head height to a more suitable level enhances the functionality and enjoyment of the shower space for everyone.
Assessing the Current Shower Head Setup
Before proceeding with the task of lowering the shower head, it’s crucial to assess your current setup. This initial evaluation involves examining the type of shower head installed, its connection to the water supply, and the existing hardware supporting it.
Start by identifying whether your shower head is a fixed model, mounted directly to the wall, or a handheld variant attached via a flexible hose. Understanding the type of connection – whether it’s screwed on or integrated into the wall – will help you determine the appropriate tools and approach for the adjustment.
Additionally, gather information about the shower arm — the piece that extends from the wall and connects to the shower head. Check its length, diameter, and the angle at which it projects. The material and finish of your current shower setup should also be noted, especially if you aim to maintain a consistent look after making adjustments.
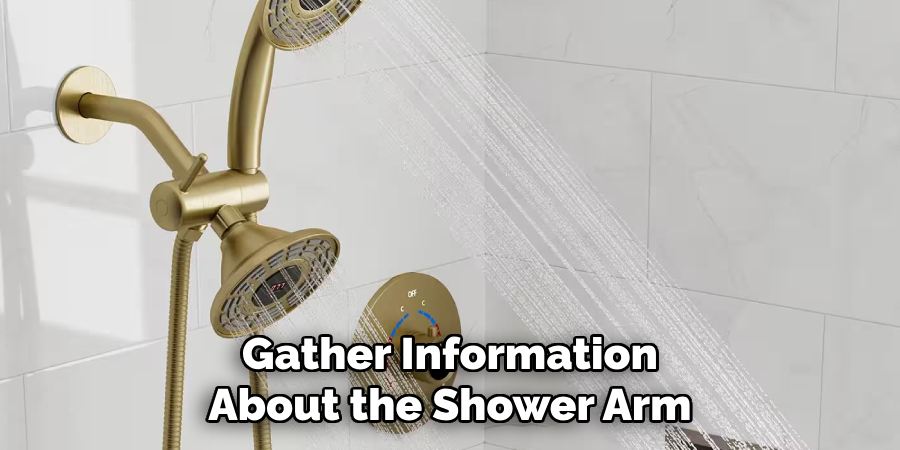
By comprehensively assessing the current shower head setup, you lay the groundwork for a smooth and efficient lowering process, ensuring that the end result meets your needs and expectations.
Measuring the Current Height from the Floor or Ceiling
Once you’ve assessed your current shower head setup, the next step is to accurately measure the current height of the shower head from both the floor and the ceiling. This critical step ensures that you have a clear benchmark from which to adjust the height to your desired level.
To measure from the floor, you will need a tape measure. Start by placing the end of the tape measure on the floor directly below the shower head and extend it vertically until you reach the connection point of the shower head. Note this measurement down as the “Current Height from Floor.”
Similarly, to measure the height from the ceiling, place the end of the tape measure against the ceiling directly above the shower head and extend it downwards to the same connection point. This measurement, noted as the “Current Height from Ceiling,” is particularly important for bathrooms with low ceilings to ensure that any adjustments made do not cause the shower head to be uncomfortably close to the ceiling.
Having precise measurements of both the current height from the floor and from the ceiling allows you to plan your adjustments accurately. It gives you a clear understanding of how much you can lower the shower head without compromising on functionality or aesthetics, ensuring a comfortable and suitable showering experience for all users.
Identifying the Type of Shower Head and Mounting Mechanism
Before proceeding with any modifications to adjust the shower head height, identifying the specific type of shower head and its mounting mechanism is essential. Shower heads primarily fall into two categories: fixed and handheld.
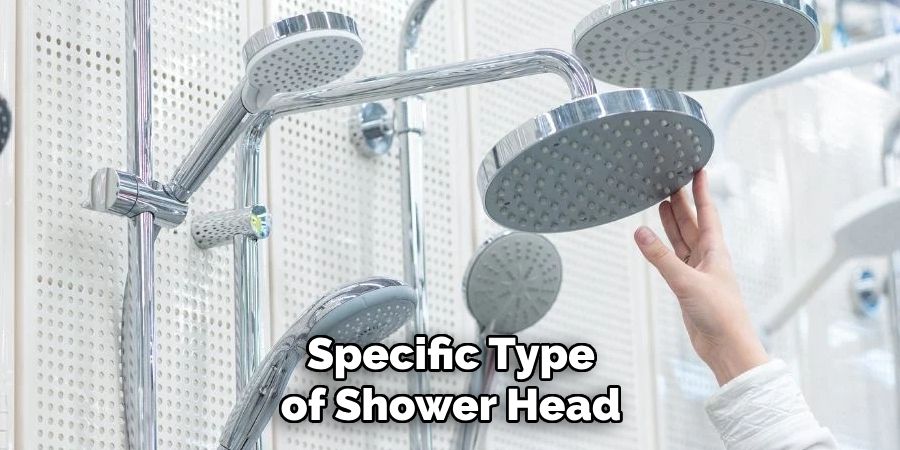
A fixed shower head is mounted directly to the wall or ceiling and doesn’t offer manual adjustability in terms of direction. In contrast, a handheld shower head is connected to the water supply through a flexible hose, allowing for greater flexibility and ease of use, especially for targeted rinsing or when mobility is limited.
The mounting mechanism of the shower head plays a crucial role in the adjustment process. Fixed shower heads are commonly attached to an arm that extends from the wall, secured by threading onto a nipple—a short, threaded pipe protruding from the wall.
Handheld shower heads, on the other hand, might be attached to a mounting bracket on the wall, secured in place with screws, or may include a slide bar mechanism allowing for height adjustment without needing to alter the plumbing.
Understanding the type of shower head and mounting mechanism you have is crucial for selecting the appropriate tools and methods for adjustment. Additionally, this knowledge aids in purchasing the correct replacement parts or accessories, ensuring they are compatible with your existing setup.
Before any adjustment, ensure you have this information at hand to facilitate a smooth and effective modification process, enhancing your showering experience without unnecessary complications.
Potential Limitations or Constraints
When considering adjustments to the shower head height, it’s imperative to acknowledge potential limitations or constraints that might affect the process. One significant constraint involves the plumbing structure and layout of the bathroom.
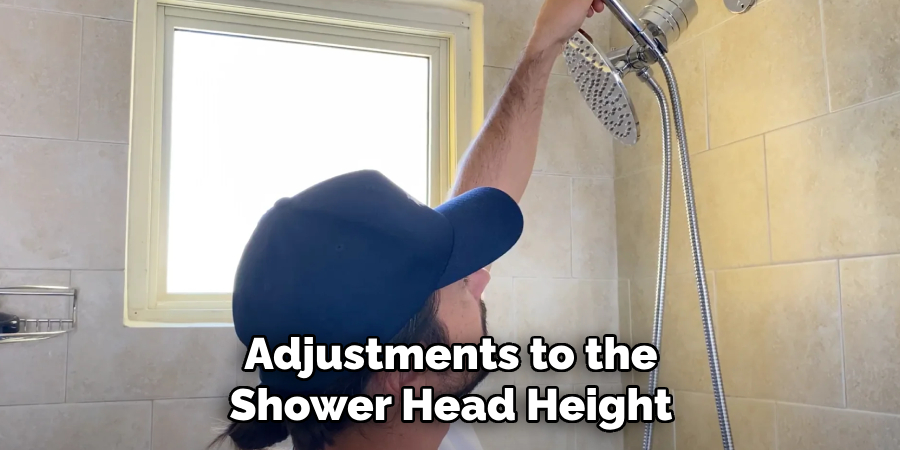
Fixed shower heads, for example, are connected to pipes embedded within the walls. Altering the height might require extensive plumbing modifications, which can be costly and time-consuming. Additionally, local building codes and regulations could impose restrictions on such modifications, necessitating professional consultation and possibly, permits before proceeding.
Another limitation is the existing hardware and finishes. Matching new components with the old can be challenging, especially if the original fixtures are of a unique style or finish no longer readily available in the market. This issue could lead to aesthetic inconsistencies that might affect the overall look of the bathroom.
Structural limitations within the bathroom, such as the position of beams or studs in the wall, can also restrict the extent to which adjustments can be made. These elements are crucial to the integrity of the wall and cannot be altered without potentially compromising the structure.
Lastly, the cost associated with adjusting the shower head height can be a significant constraint for many. Beyond the potential need for new hardware, professional plumbing services may be required to ensure that any changes made do not affect the functionality of other bathroom fixtures or the overall plumbing system.
Considering these potential limitations and constraints is crucial for planning and executing shower head height adjustments. It helps set realistic expectations and prepares individuals for the challenges that may arise during the process.
10 Methods How to Lower Shower Head Height
1. Adjusting the Existing Shower Arm:
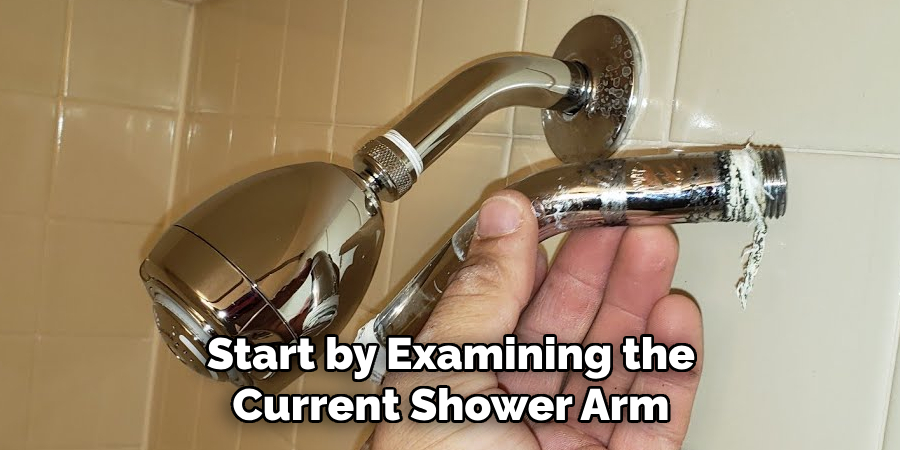
Start by examining the current shower arm to see if it can be adjusted downward. Many shower arms feature a swivel joint that allows you to change the angle of the shower head. Loosen the locking nut or screw on the shower arm using a wrench or pliers, then gently rotate the arm downward to lower the shower head height. Once in the desired position, tighten the locking nut or screw to secure the adjustment.
2. Installing a Lower Shower Arm:
If the existing shower arm cannot be adjusted to the desired height, consider replacing it with a shorter one. Measure the distance from the floor to the desired height of the shower head and purchase a new shower arm of appropriate length. Turn off the water supply to the shower and use a pipe wrench to unscrew the existing shower arm from the wall. Install the new shower arm by screwing it into the existing pipe connection, ensuring it is securely tightened.
3. Using a Shower Arm Extension:
In cases where the shower arm cannot be adjusted downward or replaced with a shorter arm, a shower arm extension can be used to lower the shower head height. Shower arm extensions are available in various lengths and styles to accommodate different preferences and requirements. Simply attach the extension to the existing shower arm and install the shower head onto the extension. Ensure the extension is securely tightened to prevent leaks or wobbling.
4. Utilizing a Adjustable Shower Head Holder:
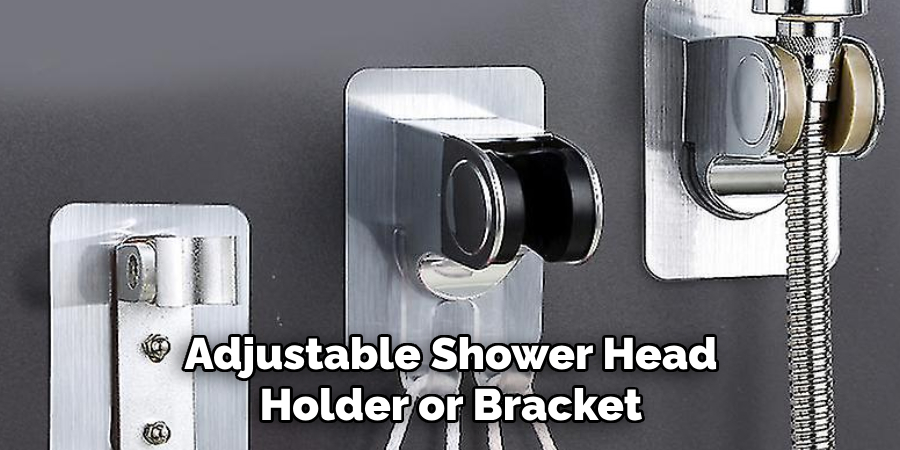
Another option for lowering the shower head height is to use an adjustable shower head holder or bracket. These holders typically feature a sliding mechanism or adjustable arm that allows you to position the shower head at different heights along the wall. Install the holder at the desired height using screws or adhesive, then adjust the position of the shower head to achieve the desired height and angle.
5. Modifying the Shower Head Mounting Bracket:
Some shower heads come with a mounting bracket that can be modified to lower the height of the shower head. Remove the shower head from the bracket and examine the bracket for any adjustment options. In some cases, there may be multiple holes or slots in the bracket that allow you to change the mounting height. Use a screwdriver or drill to create additional holes or enlarge existing ones if necessary.
6. Using a Shower Arm Diverter:
A shower arm diverter can be used to lower the height of the shower head by redirecting the water flow downward. Install the diverter onto the existing shower arm, then attach the shower head to the diverter outlet. Adjust the angle of the diverter to direct the water flow at a lower height. This method is particularly useful for temporarily lowering the shower head height without making permanent modifications to the plumbing.
7. Installing a Flexible Shower Hose:
Flexible shower hoses offer flexibility and versatility in adjusting the height of the shower head. Replace the existing fixed shower arm with a flexible hose that allows you to move the shower head to different heights as needed. Install the hose according to the manufacturer’s instructions, ensuring it is securely attached to the water supply and shower head.
8. Mounting the Shower Head on a Slide Bar:
A slide bar provides a convenient way to adjust the height of the shower head to accommodate users of varying heights. Install the slide bar vertically on the wall using screws or adhesive, then mount the shower head onto the sliding bracket. Adjust the height of the shower head by sliding it up or down along the bar and lock it into place at the desired height.
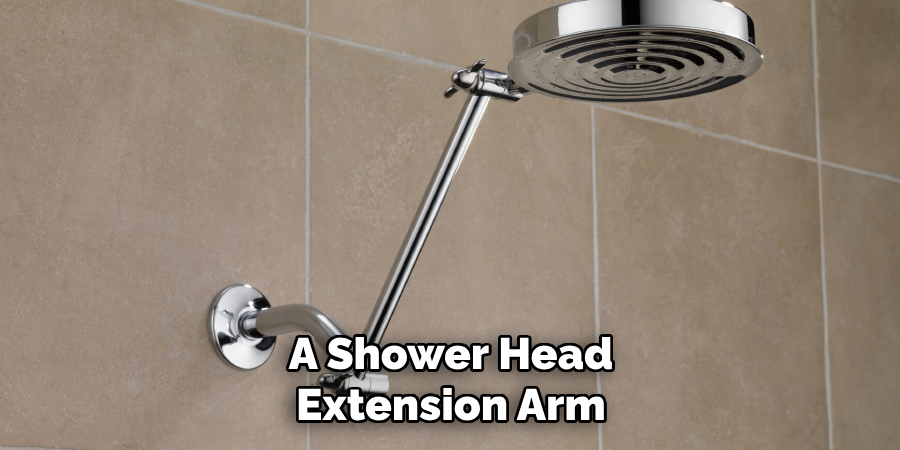
9. Using a Shower Head Extension Arm:
A shower head extension arm can be used to lower the height of the shower head while maintaining the existing shower arm. Install the extension arm onto the existing shower arm using the provided fittings, then attach the shower head to the end of the extension arm. Adjust the angle of the extension arm to position the shower head at the desired height and angle.
10. Consulting a Professional Plumber:
If you’re unsure how to lower the shower head height or if you encounter any challenges during the process, consider consulting a professional plumber for assistance. A plumber can assess your specific situation, recommend appropriate solutions, and ensure that any modifications are made safely and effectively.
Testing and Adjusting the New Shower Head Setup
Once you have successfully installed or modified your shower setup to lower the shower head height, it’s essential to test the new setup to ensure it works correctly and meets your needs. Turn on the water and observe how the water flows from the shower head. Check for any leaks around the connections, especially where you’ve made adjustments or added new components. If you notice any leaks, turn off the water and tighten the connections as necessary.
Adjust the shower head angle and height, if applicable, to find the most comfortable and efficient position for your needs. Test different settings if your shower head or setup allows adjustments to water flow patterns or pressure. It’s also vital to ensure that the water drains properly and does not spray out of the shower area.
After making any final adjustments, use the shower as you normally would to assess the overall comfort and functionality of the new setup. It may take a few uses to determine if the height and angle are perfect or if further adjustments are needed to optimize your showering experience fully.
Remember, it’s always essential to test for any leaks or issues after making changes to your shower setup. If you encounter any significant problems or are not satisfied with the results, consult a professional plumber for further assistance and advice. With proper installation and adjustments, you can enjoy a comfortable and customized shower experience without compromising on water pressure or drainage.
Conclusion
In conclusion, adjusting the height of your shower head can greatly enhance your showering experience, ensuring comfort and convenience for users of all heights. By exploring the DIY methods outlined in this guide, such as installing a height-adjustable shower arm, using a shorter shower arm, or opting for a wall-mounted or handheld shower head, you can effectively lower the shower head to your desired level.
Testing and adjusting the new setup ensures proper alignment and stability, while considering specific needs such as mobility concerns or preferences for children or shorter individuals can further personalize the solution. Thanks for reading, and we hope this has given you some inspiration on how to lower shower head height!

