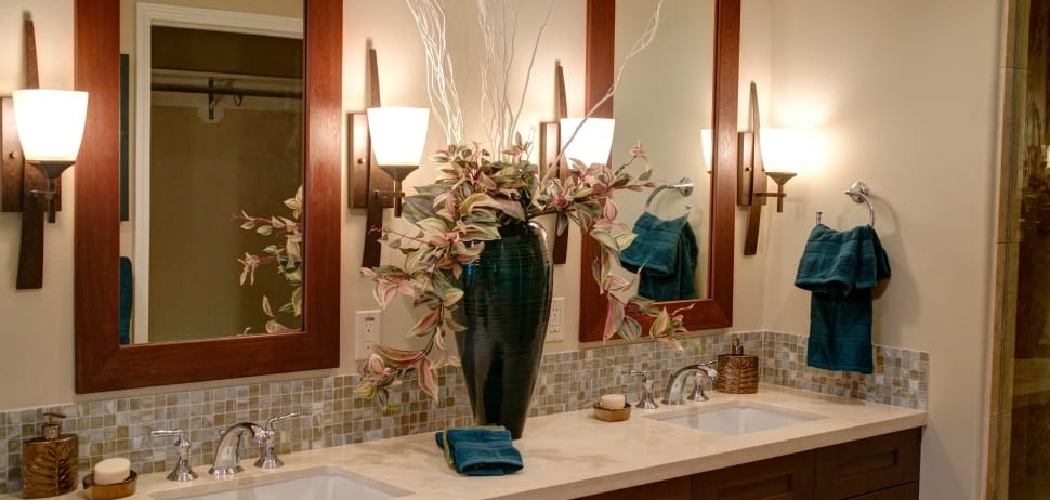
Making a bathroom mirror frame is a fantastic way to add style, personality, and a custom touch to your bathroom décor. A framed mirror not only enhances the aesthetic appeal of the space but also adds dimension and visual interest to an otherwise utilitarian fixture.
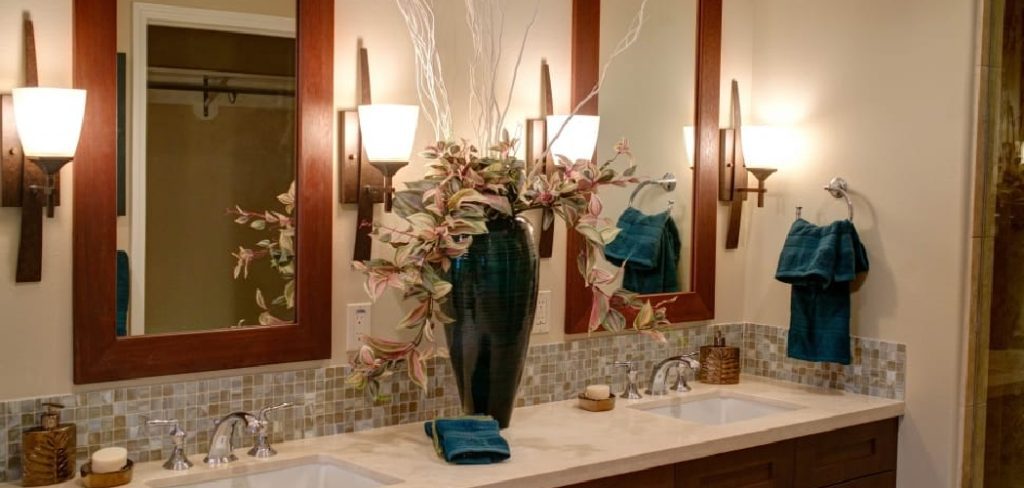
Whether you’re looking to update an existing mirror or create a statement piece from scratch, making a mirror frame allows you to tailor the design to suit your taste and complement the overall theme of your bathroom. From selecting the right materials and tools to choosing a design that matches your décor style, there are endless possibilities for creating a unique and eye-catching frame.
In this article, we’ll explore a variety of techniques and ideas for how to make a bathroom mirror frame, offering step-by-step instructions and inspiration to help you embark on this rewarding DIY project. Join us as we delve into the art of mirror framing and discover how to elevate your bathroom’s look with a custom-made frame.
Importance of A Well-Framed Bathroom Mirror
A well-framed bathroom mirror is more than just an aesthetic addition; it serves as a focal point that can significantly influence the ambiance and perceived space within the bathroom. Not only does it add a layer of sophistication and style, but it also has the power to transform the room’s overall appearance, making it appear larger and more inviting.
A mirror with a bespoke frame can tie together various design elements, creating a cohesive look that enhances the room’s decor. Furthermore, the choice of frame material and design can add texture and contrast, contributing to a more dynamic and visually interesting space.
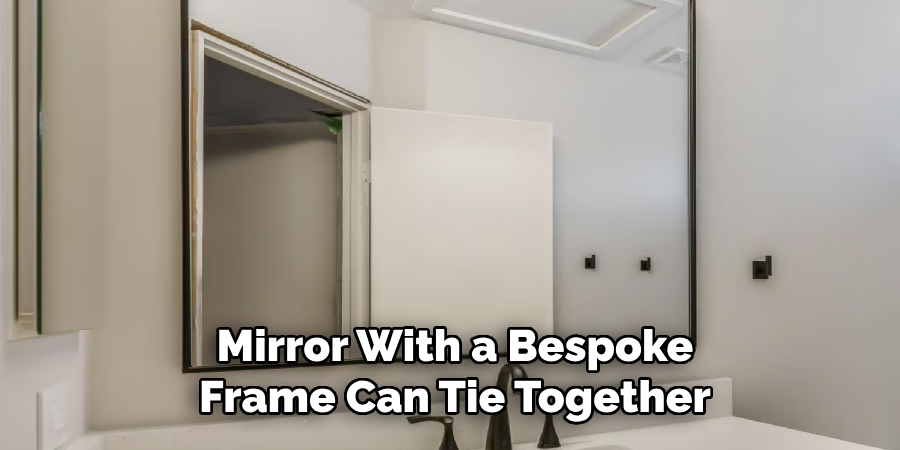
Beyond its decorative value, a framed mirror can also conceal imperfections on the wall or the mirror’s edges, providing a polished and finished look. In essence, investing the time and effort to craft or select the perfect frame for your bathroom mirror can significantly elevate the room’s design and functionality.
Benefits of Adding a Custom Frame to A Bathroom Mirror
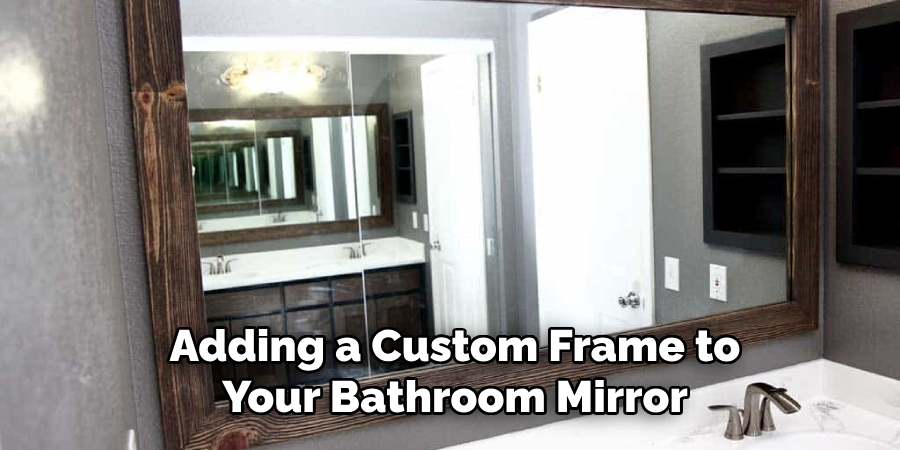
Adding a custom frame to a bathroom mirror comes with a multitude of benefits that extend beyond mere aesthetics. Firstly, it offers an instant upgrade to the bathroom’s appearance, infusing it with a sense of luxury and elegance.
Custom frames allow for personalization that can reflect your unique style and the overall theme of your home, ensuring that the bathroom feels integrated with the rest of your living space. This level of customization also provides the freedom to select materials and designs that can withstand the humid bathroom environment, ensuring durability and longevity of the mirror.
Secondly, custom frames can enhance the functionality of a bathroom mirror. For example, the right frame can add depth to the mirror, making the space appear larger and brighter as it reflects more light. This is particularly beneficial in smaller bathrooms, where maximizing light and space is essential. Additionally, custom frames can be designed to include extra features such as built-in lighting, which can improve visibility and add a warm ambiance to the room, further highlighting the mirror as a focal point.
Lastly, the process of choosing and adding a custom frame to your bathroom mirror can increase the overall value of your home. A well-designed bathroom with unique, high-quality finishes is a selling point that can attract potential buyers, should you decide to sell. Even if selling isn’t in your immediate plans, the personal satisfaction and enjoyment derived from a beautifully framed bathroom mirror contribute to a more pleasant and refined home experience.
Planning and Design
Before you start creating your custom bathroom mirror frame, it’s essential to invest some time in planning and design. This preliminary step involves considering various factors that will influence your project, such as the size and shape of your mirror, the style of your bathroom, and the materials you wish to use for the frame. Begin by measuring the mirror to determine the necessary dimensions for your frame, keeping in mind any existing fixtures or features that the frame will need to accommodate.
Next, think about the overall design aesthetic of your bathroom. Whether it’s modern, traditional, rustic, or eclectic, your frame should complement the room’s existing decor. Look for design inspiration in home improvement magazines, online galleries, or Pinterest to gather ideas that resonate with your vision.
When it comes to selecting materials, consider both their appearance and suitability for the bathroom environment. Wood, metal, tile, and even reclaimed materials can offer unique textures and colors, but ensure they are treated or sealed to withstand moisture and humidity common in bathrooms.
Sketching your design or using design software can help visualize the final look of your framed mirror, allowing you to make adjustments before you commence the building process. This planning and design phase is crucial in setting the foundation for a successful DIY project, ensuring that the end product is both beautiful and functional, perfectly matching your bathroom’s style and your personal preferences.
Assessing the Size and Shape of the Bathroom Mirror
Before you begin the physical work of framing your bathroom mirror, a critical step is to accurately assess its size and shape. This assessment will guide you in choosing the right dimensions and design for your frame, ensuring a seamless fit and a visually appealing outcome.

For rectangular or square mirrors, measure the height and width to the nearest millimeter or sixteenth of an inch, as precision is vital for a snug frame fit. For mirrors with unusual shapes or curves, creating a paper template can be incredibly helpful. Trace the outline of the mirror onto paper, then use this template as a guide for cutting your frame material.
Remember to consider the mirror’s placement and function in the bathroom space. A mirror above a vanity, for example, might benefit from a frame that complements the vanity’s style and dimensions, while a full-length mirror might require a simpler, more streamlined frame to maintain its functionality and aesthetic balance.
Always account for any potential obstructions, like light fixtures or taps, that could influence the frame’s design. Ultimately, understanding the mirror’s size and shape is foundational in achieving a framed mirror that enhances both its utility and the surrounding décor.
Selecting Materials and Tools
When it comes to selecting materials for your custom bathroom mirror frame, it’s important to choose those that not only match your desired aesthetic but also are suitable for the high-moisture environment of a bathroom.
Common materials include wood (treated or painted for water resistance), metal (such as aluminium or stainless steel for their anti-corrosive properties), or even PVC and other water-resistant composites for a more modern look. Each material offers a unique texture and appearance, allowing for customization that can complement any bathroom décor.
For the construction and installation of the frame, a variety of tools will be required. Basic tools include a tape measure for accurate measurements, a saw (hand saw or power saw depending on your comfort level and the material thickness), sandpaper for smoothing edges, and a drill for assembling parts.
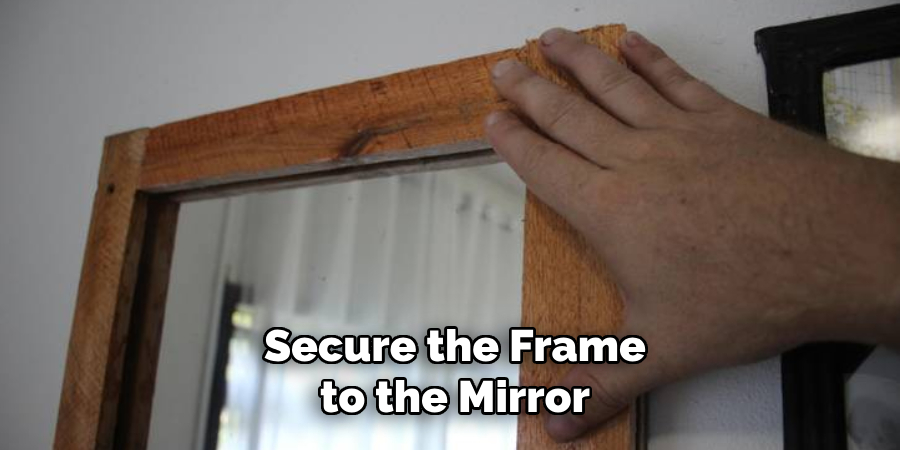
Additionally, a level is critical to ensure your frame hangs straight, and adhesive or mounting brackets are needed to secure the frame to the mirror or wall. If you’re opting for a more ornate design or intricate details, more specialized tools may be required.
Selecting the right adhesive is also paramount, especially for a bathroom setting where humidity can affect the bond. Silicone adhesive or construction adhesive designed for wet environments can provide a durable hold. Finally, if you’re considering adding a finish to your frame, look for paint or sealant that is designed to withstand moisture and prevent mold and mildew growth.
Careful selection of materials and tools is crucial for creating a durable, beautiful frame that enhances your bathroom space. By ensuring that all selected materials are appropriate for the bathroom environment, and by gathering the correct tools before beginning your project, you can streamline the construction process and achieve professional-looking results.
Preparing the Frame Materials
Once you have selected the optimal materials for your custom bathroom mirror frame, the next crucial step is to prepare these materials properly before the assembly process begins. This preparation phase includes measuring, cutting, and treating the materials to ensure they are ready for installation.
Start by using your previously taken measurements to mark the exact lengths needed on your chosen material, whether it’s wood, metal, or another substance. Precision here is key to ensuring that all the pieces will fit together perfectly around your mirror. Use a saw to cut the materials to the correct size, following the lines you have marked.
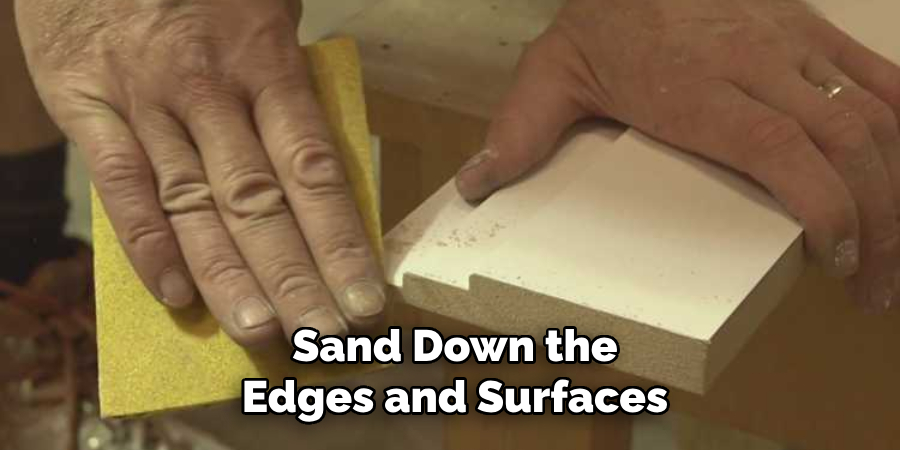
If you’re working with wood, sand down the edges and surfaces to remove any splinters or rough areas that could compromise the final aesthetic or lead to injury during installation.
For those using wood or another moisture-sensitive material, applying a water-resistant sealant or paint is an essential step. This treatment will protect your frame from the humid environment of the bathroom, preventing warping, swelling, or mold growth that could mar its appearance or reduce its lifespan. Make sure the treatment is evenly applied and fully dried according to the product instructions before proceeding.
If your design includes any decorative elements or requires assembly before attaching to the mirror, now is the time to prepare these components as well. Drill any necessary holes for fixtures, and dry-fit the pieces together to ensure they align correctly before final assembly.
Recommendations for Appropriate Tools for the Project
For a successful bathroom mirror framing project, having the right set of tools is essential. This not only makes the process smoother but also ensures a professional-looking finish. Here is a recommended list of tools and why they are important for your project:
- Tape Measure: Essential for accurate measurements, ensuring your frame fits the mirror perfectly.
- Saw: A fine-toothed hand saw or a circular saw for those comfortable with power tools. The choice depends on the material thickness and hardness. Precision in cutting is vital for a seamless fit.
- Sandpaper or a Sanding Block: Crucial for smoothing out edges and surfaces, preventing any sharp or rough edges that could cause injury or impede the assembly.
- Drill with Various Drill Bits: Used for making pilot holes for screws or for assembling the frame parts if necessary. Ensure you have bits that are suitable for the material of your frame.
- Level: A must-have to ensure your frame is perfectly horizontal once installed. An uneven frame can detract from the aesthetics of your project.
- Adhesive or Mounting Brackets: Depending on your preference and the weight of the frame, the right adhesive or brackets are crucial for securely attaching the frame to the mirror or wall. Silicone adhesive or construction adhesive suitable for wet environments is recommended.
- Paintbrush or Roller and Sealant/Paint: If you’re sealing or painting the frame, having a good-quality brush or roller is important for a smooth, finish. Choose a sealant or paint that is suitable for humid conditions to prevent mold growth and ensure durability.
- Screwdriver or Power Drill with Screwdriver Bits: For assembling parts of the frame that might require screws, a screwdriver or a power drill with interchangeable bits can save time and effort.
- Protective Gear: Always wear protective eyewear and gloves when cutting, sanding, or drilling to prevent injuries.

10 Methods How to Make a Bathroom Mirror Frame
1. Assessing Mirror Size, Shape, and Placement:
Begin by carefully assessing the size, shape, and placement of your bathroom mirror. Measure its dimensions accurately, taking into account any beveled edges or irregularities. Consider the mirror’s position in the room and how the frame will complement the surrounding decor.
2. Selecting Premium Frame Materials:
Choose high-quality materials for your mirror frame to ensure durability and longevity. Opt for premium hardwoods such as oak, maple, or cherry for a timeless and luxurious look. Alternatively, consider metal or composite materials for a sleek and modern aesthetic.
3. Exploring Diverse Frame Styles and Designs:
Delve into a world of design possibilities by exploring diverse frame styles and designs. From classic and traditional to contemporary and avant-garde, there’s a style to suit every taste and preference. Consider incorporating intricate carvings, geometric patterns, or ornate details for added flair.
4. Customizing Frame Profiles and Molding:
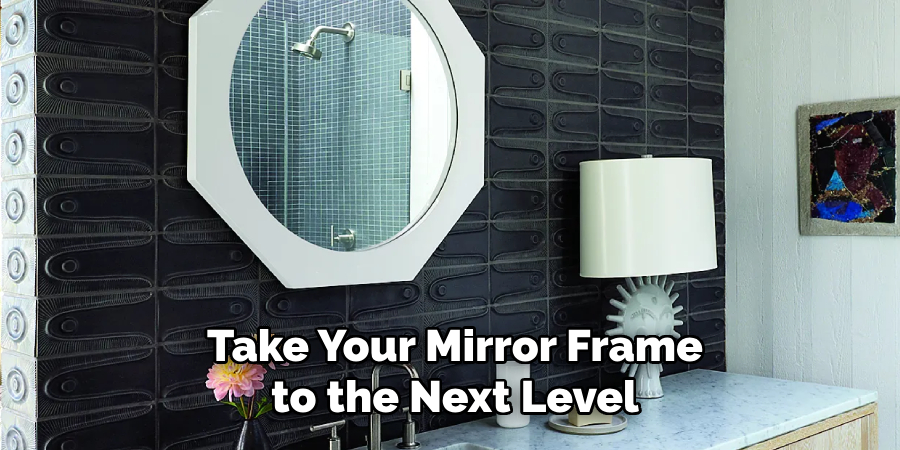
Take your mirror frame to the next level by customizing its profile and molding details. Experiment with different profiles, such as flat, rounded, or beveled edges, to create depth and dimension. Add decorative molding elements such as crown molding, dentil molding, or rosettes for an opulent finish.
5. Precision Cutting and Joinery Techniques:
Achieve flawless results by mastering precision cutting and joinery techniques. Use a table saw, miter saw, or band saw to cut your frame components with accuracy and precision. Employ advanced joinery methods such as mitered corners, mortise and tenon joints, or dowel joints for seamless assembly.
6. Impeccable Surface Preparation and Finishing:
Prioritize impeccable surface preparation and finishing to ensure a flawless final product. Sand the frame components meticulously, starting with coarse-grit sandpaper and progressing to finer grits for a smooth and refined surface. Apply multiple coats of high-quality stain, paint, or lacquer for a professional finish.
7. Incorporating Luxurious Inlays and Embellishments:
Elevate the elegance of your mirror frame by incorporating luxurious inlays and embellishments. Consider adding mother-of-pearl, abalone, or precious metal inlays for a touch of opulence. Embellish the frame with intricate scrollwork, filigree designs, or hand-painted motifs for added visual interest.
8. Installing Integrated Lighting Features:
Enhance the functionality and ambiance of your bathroom mirror frame by installing integrated lighting features. Incorporate LED strips, recessed lighting, or backlit panels into the frame design for soft, flattering illumination. Create a spa-like atmosphere with customizable lighting options for different tasks and moods.
9. Implementing Advanced Attachment Methods:
Ensure secure and stable attachment of your mirror frame by implementing advanced attachment methods. Use heavy-duty mirror clips, brackets, or adhesive mounting systems for maximum stability. Consider reinforcing the frame with additional support brackets or anchors for added peace of mind.
10. Showcasing Personalized Artistry and Craftsmanship:
Infuse your mirror frame with personalized artistry and craftsmanship to make it truly one-of-a-kind. Sign your work with a discreet signature or monogram for added authenticity. Showcase your creativity and attention to detail by incorporating unique design elements that reflect your individual style and personality.
Conclusion
In conclusion, making a bathroom mirror frame is a creative and rewarding DIY project that can transform the look and feel of your bathroom. By following the techniques and ideas outlined in this article, you’ve gained valuable insights into the process of crafting a custom frame that reflects your personal style and enhances the overall aesthetic of your space.
Whether you choose a rustic wooden frame, a sleek modern design, or a decorative embellished look, the possibilities for customization are endless. Adding a frame to your bathroom mirror not only adds a decorative element but also serves as a practical upgrade that elevates the entire room. Thanks for reading, and we hope this has given you some inspiration on how to make a bathroom mirror frame!

