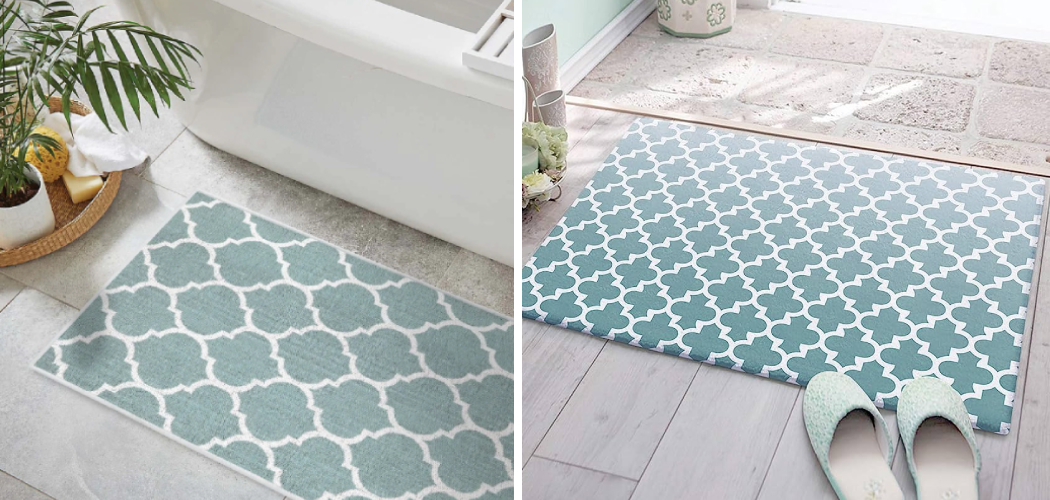
Do you have a beautiful bathroom rug that keeps slipping every time you step on it? You don’t have to hide the rug in the back of your linen cupboard for fear of slipping and falling! We all know the feeling of stepping onto a wet and slippery bathroom rug, which can result in a nasty fall.
For those who are tired of dodging their rug, there is hope! Making your bathroom rugs non-slip doesn’t require an extensive remodel – with a few simple materials and tools, you can make any rug slip-proof in no time.
With just a few simple steps on how to make a bathroom rug non slip, you can make any bathroom rug non-slip without compromising its original look and feel. In this blog post, I will provide an easy set of instructions to help turn your slipping hazard into a comfortable non-slip surface – perfect for the slippery tiles that can be found in most bathrooms. So read on and get ready to experience safe footing in no time at all!
Why Do You Need to Make a Bathroom Rug Non-Slip?
1. To Reduce Hazard
Making a bathroom rug non-slip is important for many reasons. Slippery rugs can pose a potential hazard in the bathroom, especially if you need to stand on it while using the bath or shower. Non-slip rugs also provide more stability when walking through your bathroom, helping to avoid slips and falls, which can lead to serious injuries.
2. To Improve Comfort
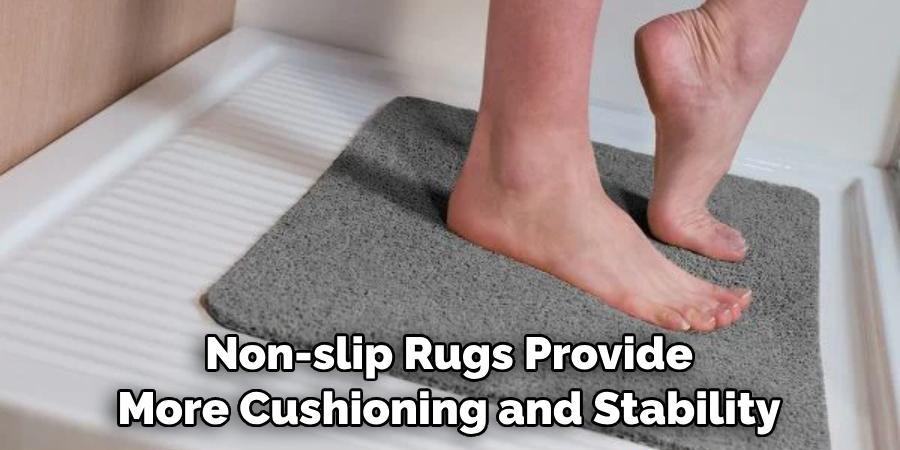
Making a bathroom rug non-slip also improves comfort, as a slippery surface can be uncomfortable to stand on for long periods of time. Non-slip rugs provide more cushioning and stability when stepping into the bathroom, making it a much more comfortable experience.
3. To Enhance Aesthetics
Non-slip rugs can also help to enhance the aesthetics of your bathroom, as they don’t slip or bunch up. This can make a big difference in the overall look of your bathroom and can give it a much more polished appearance.
Now that you know why making a bathroom rug non-slip is important, let’s get into the details on how to do it.
Required Items
To make a bathroom rug non-slip, you will need the following materials:
- A non-slip mat or liner of your choice
- A sharp pair of scissors
- Fabric glue or double-sided tape
10 Ways How to Make a Bathroom Rug Non Slip
1. Purchase an Anti-Slip Mat or Rug Pad
The first step in making your bathroom rug non-slip is to purchase an anti-slip mat or rug pad. This will provide a layer of cushioning as well as a grippy surface that will prevent the rug from slipping and bunching up.
2. Cut the Mat to Fit Your Rug
Next, you will need to cut the non-slip mat or rug pad to fit your existing bathroom rug. Make sure that you have a sharp pair of scissors on hand to make precise cuts and ensure an accurate fit. Cutting the mat to fit your rug will ensure that it provides maximum coverage and grip.
3. Secure the Mat with Glue
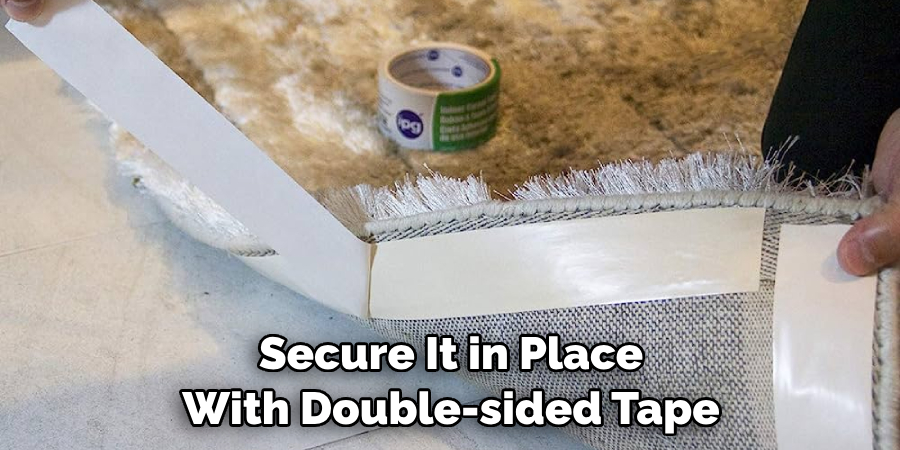
After you have cut the non-slip mat or rug pad to size, secure it in place with fabric glue or double-sided tape. You can find these items at most craft stores. Applying a small amount of glue or tape will help to ensure that the mat stays in place and does not move around.
4. Let It Dry
Once the glue or tape has been applied, let it dry for a few hours before walking on the rug. Allowing it to dry fully will ensure that it provides maximum protection against slips and falls. Letting it dry overnight is always best.
5. Vacuum the Rug
Once the glue or tape has dried, vacuum your rug to remove any excess residue that may have been left behind. Vacuuming will also help to ensure that there are no bumps or lumps under your feet when you step on the rug.
6. Place a Non-Slip Rug Pad Underneath
If you are still concerned about your rug slipping, you can also purchase a non-slip rug pad to place underneath the rug. This will help to provide an extra layer of cushioning and grip, making it even more slip-proof.
7. Place Rubber Bumpers on the Corners
Rubber bumpers can be placed in each corner of the rug to help keep it in place. These can be found at most craft stores and are relatively inexpensive. Placing them in each corner will help to keep the rug from slipping and bunching up.
8. Use a Non-Slip Spray
If you want an extra layer of protection, you can also use a non-slip spray on your rug. This spray is designed to provide an extra layer of grip, keeping the rug firmly in place and reducing slips and falls.
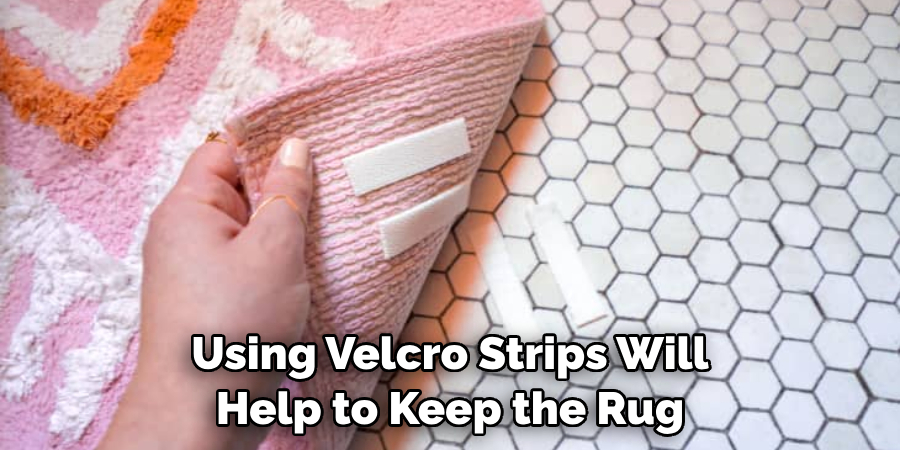
9. Use Velcro Strips
You can also use velcro strips to keep the rug in place. Simply cut the strips to size and attach them to the underside of your rug, then press them onto the floor for a secure fit. Using velcro strips will help to keep the rug in place and reduce slipping.
10. Test It Out
The last step is to test out your non-slip bathroom rug to make sure it provides enough grip and cushioning. Have a few family members or friends stand on it as well to get an accurate gauge of its level of traction.
And there you have it! Now you know how to make a bathroom rug non slip. With these simple steps, you can enjoy the beauty of your rug without having to worry about slipping and falling. So get started today and experience safe footing in no time at all!
8 Maintenance Tips to Make Your Non-Slip Bathroom Rug Last
Non-slip bathroom rugs are a great way to add comfort, safety, and style to your bathroom. But without proper maintenance, they won’t last long. Here are 8 tips for maintaining your non-slip rug so it stays in top condition:
- Vacuum regularly. Vacuuming your non-slip bathroom rug on a weekly basis is an important part of keeping the fibers healthy and free from dust, dirt, and debris. Vacuuming also helps to keep the rug looking great.
- Spot clean spills promptly. Stains can set in quickly with non-slip bathroom rugs, so it’s important to spot-clean any spills as soon as they occur. Make sure you use a gentle cleanser and a soft cloth to prevent damage to the fibers or backing of the rug.
- Trim away frayed edges. Frayed edges are not only unsightly, but they can also be a safety hazard as well. To keep your non-slip bathroom rug in top condition, trim away any frayed fibers or loose threads with sharp scissors so the rug looks neat and tidy.
- Place the rug on a solid surface. Non-slip bathroom rugs work best when placed on a solid, flat surface such as tile or hardwood. Placing the rug on carpeting can reduce its effectiveness and may cause it to slip or bunch up.
- Use anti-skid spray. To increase the non-slip properties of your non-slip bathroom rug, spray an anti-skid spray onto the back of the rug. This will help to ensure that your rug stays in place and won’t slip on wet surfaces.
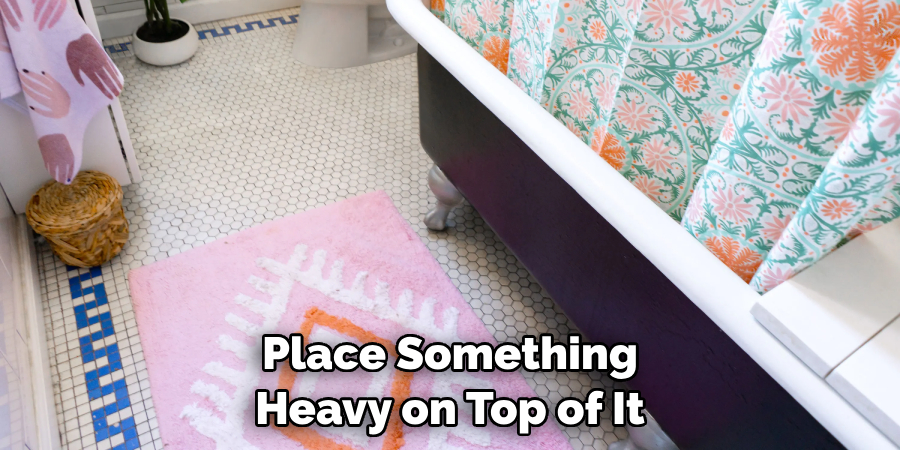
- Place something heavy on top of it. If you have to clean your non-slip bathroom rug or need to move it, placing a heavy object such as books on top of it can help to keep it in place. This is especially useful when you’re using a vacuum cleaner or mop on the floor.
- Replace regularly. Non-slip bathroom rugs tend to wear out faster than regular rugs, so it’s important to keep an eye on the condition of your rug and replace it when necessary in order to maintain its effectiveness.
- Protect it from moisture. Moisture can cause your non-slip bathroom rug to wear out more quickly, so make sure you keep it away from sources of water or steam, such as showers, bathtubs, and sinks. Additionally, if the rug is wet, make sure you hang it up to dry before putting it back in place.
These 8 tips will help you to keep your non-slip bathroom rug in top condition and looking great for years to come. Don’t forget to vacuum regularly, spot clean spills, trim away frayed edges, and use anti-skid spray in order to ensure its maximum effectiveness. Taking just a few minutes each week can make all the difference!
Conclusion
Making your bath rug non-slip does not have to be a hassle or overly expensive. From applying rubberized adhesive backing to mixing fabric glue with cornstarch, there are many budget-friendly and simple solutions that will keep your rug in place while making it look as good as new.
Remember to experiment with techniques if the first one you try doesn’t quite work out, and remember that these solutions should not be used on newly purchased rugs because they could devalue them or damage them.
Lastly, using store-bought nonslip backing is always an option if you don’t want to take the DIY approach. No matter what route you choose, making your bath rug non-slip is easy enough that anyone can do it. Now you can stand firmly on your own two feet – no slipping or sliding into the tub required.
Follow these steps on how to make a bathroom rug non slip, and you can enjoy the comfort of a slip-proof bathroom rug in no time at all!

