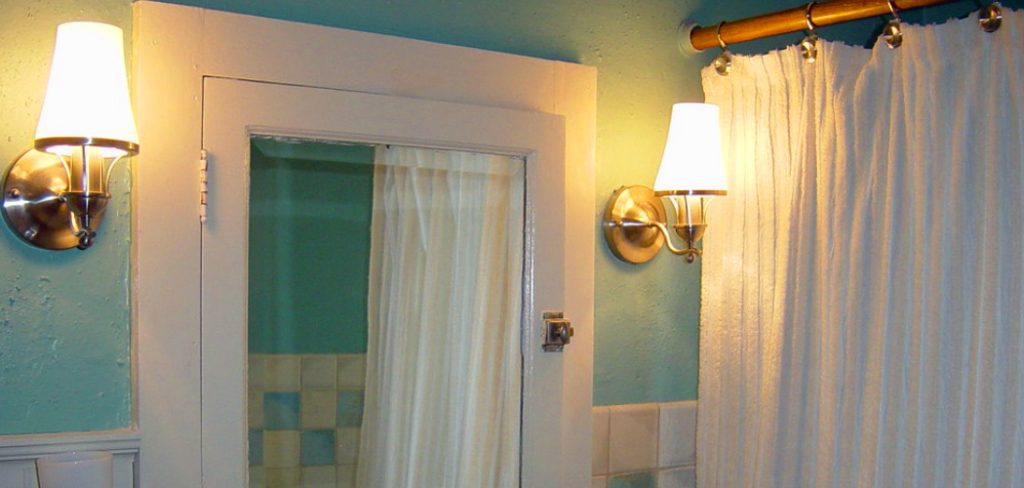
Are you tired of looking at the same old boring shower curtains in your bathroom? Why not make your own unique DIY shower curtain?

Creating your DIY shower curtain is a fun and rewarding project that allows you to customize your bathroom decor while showcasing your style. Whether you’re looking to save money, upcycle materials, or craft something unique, making a shower curtain at home is easier than you might think. With just a few supplies, some creativity, and a little bit of time, you can design a functional and visually appealing shower curtain that perfectly matches your vision.
This guide on how to make a DIY shower curtain will take you through the steps to create a shower curtain that’s both practical and stylish.
What Are the Benefits of Making Your Shower Curtain?
Making your shower curtain has a variety of benefits, including:
- Customization: When you make your shower curtain, you have complete control over the design and materials used. This allows you to create something that perfectly matches your style and fits in with the overall look of your bathroom.
- Cost-effective: DIY shower curtains are often much more affordable than store-bought options. You can use budget-friendly materials like fabric or repurpose items from around your home for a unique and inexpensive shower curtain.
- Eco-friendly: By using upcycled or sustainable materials, you are reducing waste and helping the environment. Making a DIY shower curtain is a great way to be environmentally conscious while creating something beautiful.
- Creativity: Making a DIY shower curtain allows you to tap into your creativity and create something unique. You can experiment with different patterns, colors, and textures to make a one-of-a-kind piece for your bathroom.
What Will You Need?
Before you get started, gather the following supplies:
- Fabric: You can use any type of fabric for your shower curtain, but it’s best to choose a water-resistant material that is easy to clean. Some popular options include cotton, polyester, and nylon.
- Shower Curtain Liner: This is a crucial addition to prevent water from splashing out onto your bathroom floor. Look for a liner that is waterproof and mildew-resistant.
- Grommets: These are small metal rings that will be used to hang your shower curtain. You can find them at most craft or hardware stores.
- Sewing Machine: If you are comfortable with sewing, a sewing machine can make creating your shower curtain easier and more precise. However, you can also hand-sew your shower curtain if needed.
- Scissors: You will need a good pair of fabric scissors to cut your fabric and liner to the desired size.
- Tape Measure: To ensure that your shower curtain is the correct size for your specific shower, use a tape measure to get accurate measurements.
- Iron: An iron will be needed to smooth out wrinkles in the fabric and make it easier to work with.
Once you have all of your supplies, it’s time to start creating!
8 Easy Steps on How to Make a DIY Shower Curtain
Step 1: Measure and Cut Your Fabric and Liner
Start by using your tape measure to determine the dimensions of your shower space. Standard shower curtains are typically 72 inches wide by 72 inches tall, but ensure these measurements suit your needs. Once you have your measurements, lay your fabric and liner flat on a clean surface and use the tape measure and fabric scissors to cut both the fabric and liner to the desired size. Leave an extra inch or two on all sides for hems.

Step 2: Pin and Iron the Hems
To give your shower curtain a neat and professional look, fold the edges of the fabric and the liner inward by about an inch. Use straight pins to secure the folds in place. Once the edges are pinned, use an iron to press the folds flat, creating crisp hems that will be easier to sew. Be cautious with your iron settings to avoid damaging the fabric or liner, especially if made from delicate materials.
Step 3: Sew the Hems
Set up your sewing machine with a thread that matches or complements your fabric and liner. Carefully sew along the folded edges, removing the straight pins. Use a straight stitch to secure the hems, ensuring that your stitches are even and neat. Take your time, especially around the corners, to create a polished finish. If you don’t have a sewing machine, you can also sew the hems by hand, though this will take a bit more time. Once finished, trim any excess thread for a cleaner appearance.
Step 4: Attach the Liner to the Fabric
Now that both the fabric and the liner are hemmed, it’s time to combine them. Lay the fabric flat with the right side facing down, and then place the liner on top with its right side facing up. Align the edges of the fabric and liner carefully. Use straight pins or sewing clips to hold the layers together, ensuring they remain even and do not shift.

Next, stitch the two layers together along one edge, sewing as close to the edge as possible without compromising the integrity of the fabric. Repeat this process for all sides, removing the pins or clips. When finished, check your stitches to ensure both layers are securely attached, creating a seamless and professional result. You can also sew a decorative trim or ribbon along the edges for an added touch.
Step 5: Finish the Edges
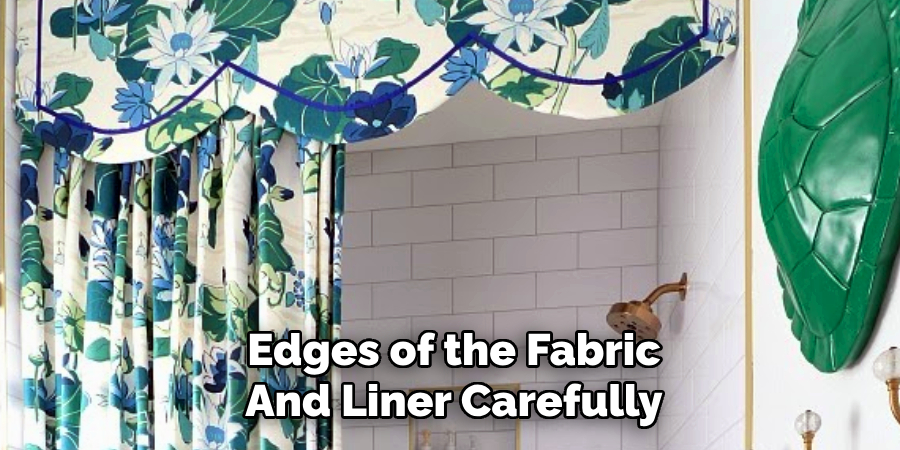
To give your project a polished look, finishing the edges is essential. Use a zigzag stitch or a serger to reinforce the seams and prevent fraying over time. If you don’t have access to a serger, the zigzag stitch on a standard sewing machine works just as well. Carefully run the stitch along all the edges you’ve sewn, ensuring an even and secure finish. Once completed, trim any loose threads and press the edges with an iron for a crisp, professional look. Your project is now ready to use or display!
Step 6: Add Final Decorations
Consider incorporating final decorative elements to personalize and add a unique touch to your project. This could include embroidery, appliqué, fabric paint, or embellishments that enhance your design. Carefully plan your decorations before applying them to ensure they align with your vision. When sewing or attaching embellishments, use appropriate techniques and materials to secure them properly. Take your time to achieve precise details, and once completed, admire your finished creation. Your handmade project is truly one-of-a-kind!

Step 7: Care for Your Creation
Now that your project is complete, caring for it properly is essential to ensure its longevity. Follow any care instructions specific to the materials used, such as washing on a gentle cycle, hand washing, or dry cleaning. Store your creation in a clean, dry place to prevent damage from moisture or pests. Proper care will help maintain its quality and allow you to enjoy your handmade project for years. Celebrate your accomplishments and take pride in your craftsmanship!
Step 8: Share Your Creation
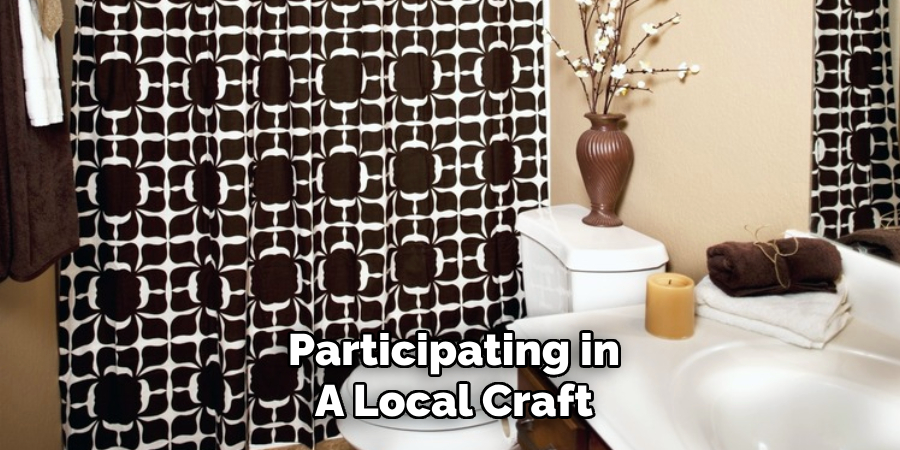
Once your handmade project is complete and adequately cared for, consider sharing it with others. Whether gifting it to a loved one, showcasing it on social media, or participating in a local craft fair, sharing your work allows you to connect with others and inspire creativity. Take photos to document your process and finished product, and explain the story or inspiration behind your creation. Sharing not only celebrates your hard work but also encourages others to explore their creative endeavors.

By following these steps, you can easily create a DIY shower curtain that fits your style and needs perfectly.
5 Things You Should Avoid
- Using the Wrong Fabric: Avoid selecting non-waterproof or non-durable fabrics. Materials like cotton or linen without water-resistant liners can absorb moisture and develop mold or mildew over time.
- Ignoring Proper Measurements: Never skip measuring your shower area accurately. A curtain that is too short or narrow won’t provide sufficient coverage, leading to water leakage.
- Neglecting Reinforcements for Holes: Failing to reinforce the holes for hooks or rings can cause tearing over time. Always use grommets or other reinforcement tools to secure these areas.
- Skipping Waterproof Treatments: Don’t forget to apply a waterproof coating using non-waterproof fabric. This step ensures durability and prevents water seepage and fabric damage.
- Overlooking Aesthetic Balance: Avoid clashing patterns or mismatched colors that don’t complement your bathroom decor. A cohesive design enhances the overall appearance of your DIY project.
By avoiding these five mistakes, you can ensure that your DIY shower curtain is functional, durable, and visually appealing.
Conclusion
How to make a DIY shower curtain is a rewarding project that combines creativity and practicality.
By carefully selecting materials, following precise measurements, and incorporating proper reinforcements, you can craft a unique and durable curtain tailored to your space. Remember to apply waterproof treatments where needed and pay attention to aesthetic balance to enhance the overall look of your bathroom.
With attention to detail and some effort, your homemade shower curtain can be a beautiful and functional addition to your home.

