Are you tired of your soap slipping off the edge of your sink every time you take a shower or wash your hands? Do you want to add a touch of creativity to your bathroom decor? Then, making a DIY soap dish at home is the perfect solution!
How to make a DIY soap dish at home is a fun and rewarding project that allows you to craft a practical item tailored to your style. Whether you’re looking to reduce waste, save money, or simply enjoy a creative activity, this guide will help you make a soap dish using materials you likely already have around the house.
You can design something functional and unique to complement your bathroom or kitchen decor with just a little effort.
What Are the Benefits of Making Your Soap Dish?
There are several benefits to making your soap dish at home. Here are a few reasons why you should consider trying this DIY project:
- Cost-effective: Instead of buying a soap dish, you can save money by using materials you already have at home.
- Customization: With a DIY soap dish, you can choose the size, shape, and design that best fits your needs and personal style.
- Eco-friendly: By repurposing materials or using natural ingredients for your soap dish, you reduce waste and contribute to a more sustainable lifestyle.
- Creative Outlet: Making something with your hands is not only satisfying but can also be therapeutic. Designing and creating your soap dish allows you to express your creativity and have a unique item in your home.
What Will You Need?
Before you start crafting your DIY soap dish, here are some essential materials you’ll need to gather:
- Base material: You can use various materials for the base of your soap dish, such as wood, ceramic, or stone.
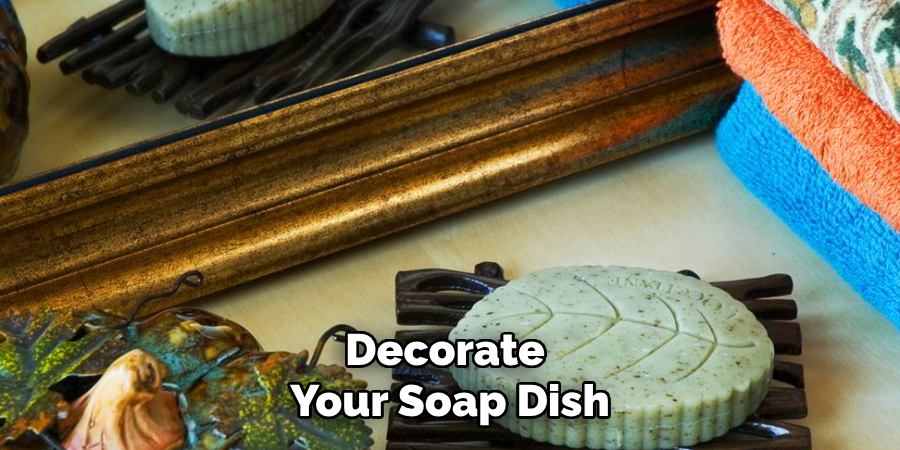
- Decorative elements: This is where you get to add your personal touch and creativity. You can decorate your soap dish with seashells, mosaic tiles, beads, or even paint.
- Adhesive: Depending on the materials you choose for your soap dish and how you want to customize it, you may need glue, epoxy resin, or grout to secure the decorative elements.
- Protective coating: If you’re using porous materials like wood or unglazed ceramics, adding a layer of protective coating is essential to prevent water damage and prolong the life of your soap dish. You can use varnish, sealant, or food-grade mineral oil.
10 Easy Steps on How to Make a DIY Soap Dish at Home
Step 1: Choose Your Base Material
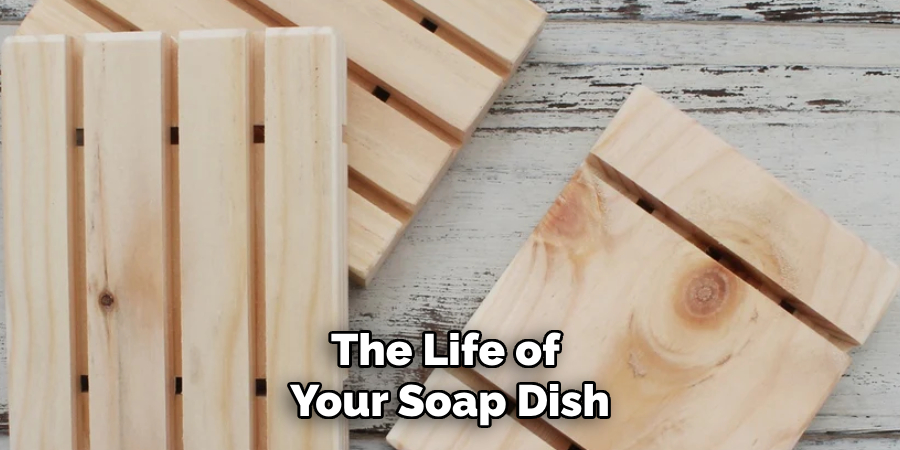
Select the base material for your soap dish. Consider factors such as durability, aesthetics, and water resistance. For example, wood gives a natural look, ceramic offers a polished finish, and stone provides a sturdy and elegant appearance. Make sure the size and shape of your chosen base material meet your needs.
Step 2: Measure and Mark the Dimensions
Using a ruler or measuring tape, determine the dimensions you want for your soap dish. Consider the size of the soap bars you’ll be using and leave enough space for water drainage if desired. Mark the measurements with a pencil or chalk on your chosen base material. If you’re planning to create grooves, holes, or slits for drainage, map their placement clearly as well.
Accurate marking at this stage ensures your soap dish is functional and adequately proportioned during assembly.
Step 3: Cut and Shape the Base Material
Carefully cut your base material according to the dimensions you have marked. Use appropriate tools such as a saw for wood, a tile cutter for ceramic, or a stone cutter for more rigid materials. Ensure your cuts are precise and smooth to avoid rough edges. Use sandpaper or a file to refine the edges and achieve the desired shape if necessary. Taking your time during this step ensures a clean and professional-looking soap dish.
Step 4: Assemble the Soap Dish
Begin assembling the soap dish by attaching additional components, such as side panels or drainage features, to the base. Use appropriate adhesives, nails, or screws depending on the material you’re working with. Ensure each piece is securely attached and aligned correctly to maintain stability and functionality. If you’re creating drainage grooves or holes, carefully carve or drill them out at this stage.
Double-check your work as you go to make sure the structure is sturdy and balanced. A well-assembled soap dish will effectively serve its purpose and last long.
Step 5: Finishing Touches
Once the soap dish is fully assembled, it’s time to add the finishing touches. Sand down rough edges to ensure a smooth surface, making it safe to handle and visually appealing. If desired, apply paint, stain, or a waterproof sealant to protect the material from moisture and enhance its appearance. Choose a finish that complements the soap dish’s design and matches your style or bathroom decor.
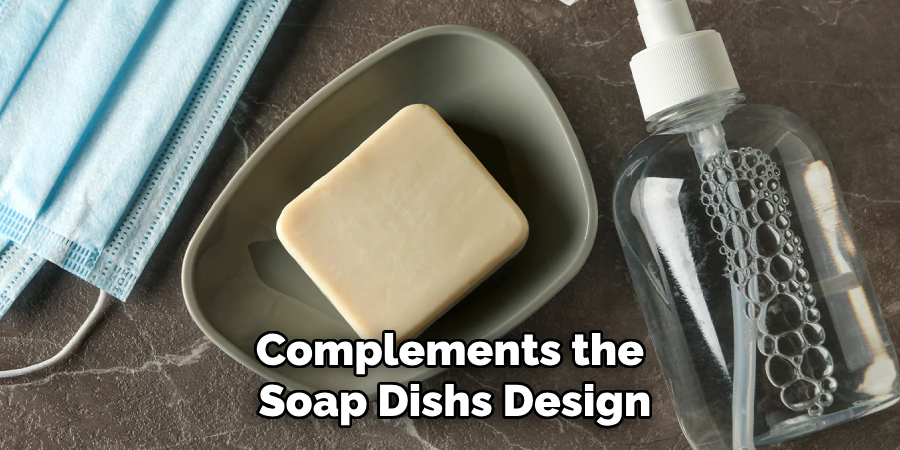
Allow any coatings or sealants to dry before use thoroughly. The final touches will not only improve the durability of your soap dish but also give it a polished and professional look.
Step 6: Testing and Using Your Soap Dish
After completing the assembly and finishing touches, it’s essential to test your soap dish to ensure it functions as intended. Place it in its designated spot, whether on a bathroom sink, shower ledge, or another surface and check for stability. Add a soap bar to confirm that it sits securely and that any drainage grooves or holes effectively channel water away. Regularly clean your soap dish to prevent soap buildup and prolong its lifespan.
Testing and maintaining your soap dish allows you to enjoy a functional and aesthetically pleasing addition to your bathroom.
Step 7: Maintaining Your Soap Dish
Regular maintenance is key to keeping your soap dish in optimal condition. Clean the soap dish weekly by rinsing it under warm water to remove leftover soap residue. Use a gentle brush or sponge with mild dish soap for more stubborn buildup. If the soap dish is made of wood, periodically apply a food-safe mineral oil or beeswax to keep the material from drying out and to maintain its luster.
For metal soap dishes, ensure they are thoroughly dried after cleaning to prevent rust. Taking time to care for your soap dish will ensure it remains functional and attractive for years.
Step 8: Replacing Your Soap Dish
Despite proper care and maintenance, there may come a time when your soap dish needs replacing. Signs that it’s time for a replacement include cracks, chips, or warping in the material, persistent soap residue that cannot be removed, or rust that compromises the functionality of metal dishes. When choosing a new soap dish, consider one that matches your bathroom’s decor, offers adequate drainage, and is made from durable, easy-to-clean materials.
Replacing your soap dish when necessary ensures your bathroom remains practical and visually appealing.
Step 9: Recycling or Repurposing Old Soap Dishes
Before discarding your old soap dish, consider whether it can be recycled or repurposed. Many soap dishes made of glass, metal, or certain plastics can be recycled through local programs, helping reduce waste. Alternatively, repurpose your old soap dish as a small tray for holding jewelry, keys, or other items around the house. Upcycling it into a plant holder or decorative item can also breathe new life into it.
Recycling or repurposing can minimize environmental impact while getting creative with your old household items.
Step 10: Keep Exploring Your Creativity
Now that you’ve mastered making a simple soap dish, why not experiment with different materials, shapes, and designs to create unique and personalized versions? You can add embellishments like mosaic tiles and beads or even personalize them with hand-painted designs. The possibilities are endless when it comes to creating your soap dish.
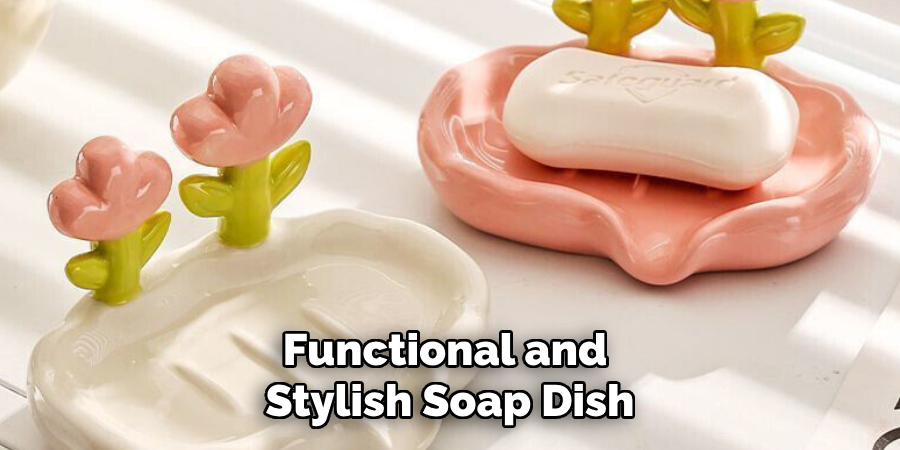
By following these steps, you can create a functional and stylish soap dish that adds a personal touch to your bathroom.
5 Things You Should Avoid
- Using the Wrong Material: Avoid selecting materials that can quickly rot, rust, or deteriorate over time, such as untreated wood or non-water-resistant metals. These materials won’t hold up well in a moist environment.
- Skipping Proper Measurements: Failing to measure accurately can result in a soap dish that’s too small or too large for your soap, making it unusable or messy.
- Neglecting Drainage Holes: Not including drainage holes can cause water to pool in the soap dish, leading to soap that dissolves too quickly and an unhygienic residue buildup.
- Using Toxic Paints or Finishes: If you plan to decorate your soap dish, avoid toxic paints or finishes that might come into direct contact with your soap, as they could pose health risks.
- Overcomplicating the Design: Keep the design simple and functional. Overcomplicated or overly intricate designs can make the soap dish impractical or difficult to clean.
Conclusion
How to make a DIY soap dish at home can be a rewarding and practical project.
You can craft a functional and safe soap dish that meets your needs by carefully selecting durable materials, accurately measuring dimensions, incorporating proper drainage, and using non-toxic finishes. Keeping the design simple ensures the soap dish remains easy to use and maintain.
With attention to these key factors, you can enjoy a handmade accessory that adds a personal touch to your space while being practical and hygienic.

