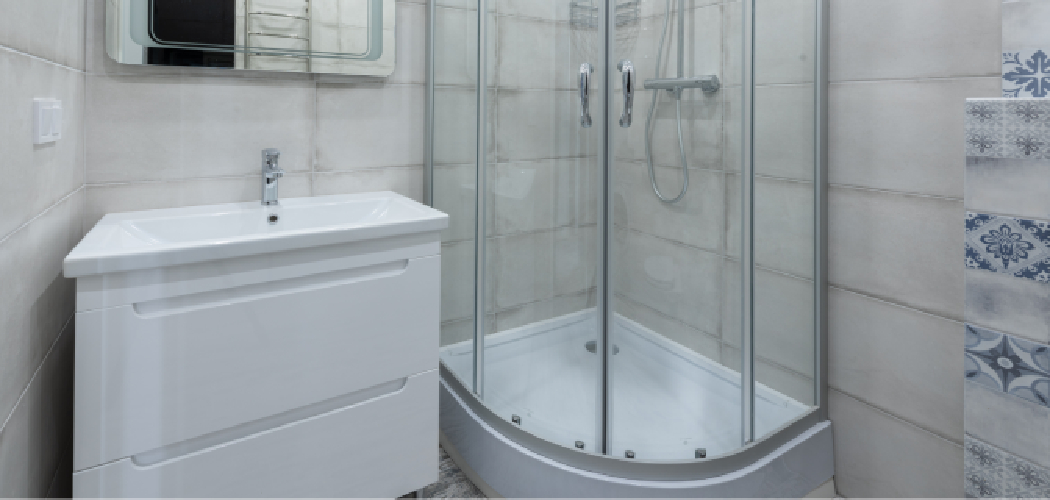
Do you want to give your shower a facelift without breaking the bank? Fiberglass showers may not be the most elegant or luxurious-looking fixtures, but updating them can go a long way in improving their appearance.
In this blog post on how to make a fiberglass shower look better, we’ll discuss ways you can make a fiberglass shower look better with simple and inexpensive solutions. Read on for tips and tricks from experienced DIYers that will have your fiberglass shower looking like new in no time.
What is Fiberglass Shower?
Fiberglass showers are made up of a molded fiberglass core that is then reinforced with a resin, creating a solid and durable structure. While they may not be the most luxurious-looking bathroom fixtures, they can still look good with some simple improvements.
Necessary Materials
Given below are some of the materials that you may need in order to make your fiberglass shower look better:
Cleaner and Degreaser:
A cleaner specifically made for fiberglass showers will help to remove dirt and grime from the surface, while a degreaser can be used to remove stubborn grease and oil.
Sandpaper:
Light sanding with coarse-grit sandpaper may be necessary to remove any rust or scratched areas on the fixture.
Primer:
A primer will help seal the surface and provide a smooth base for painting. Be sure to use a fiberglass-specific primer as other types of primers may not work properly.
Paint:
Choose a paint specifically designed for fiberglass showers, which are typically epoxy paints. These paints come in a variety of colors, so you can choose one that best fits your aesthetic.
10 Step-by-step Guides on How to Make a Fiberglass Shower Look Better:
Step 1: Clean the Surface
Using a cleaner specifically designed for fiberglass showers, thoroughly clean the entire surface to remove dirt and grime. If necessary, use a degreaser to remove any stubborn grease and oil.
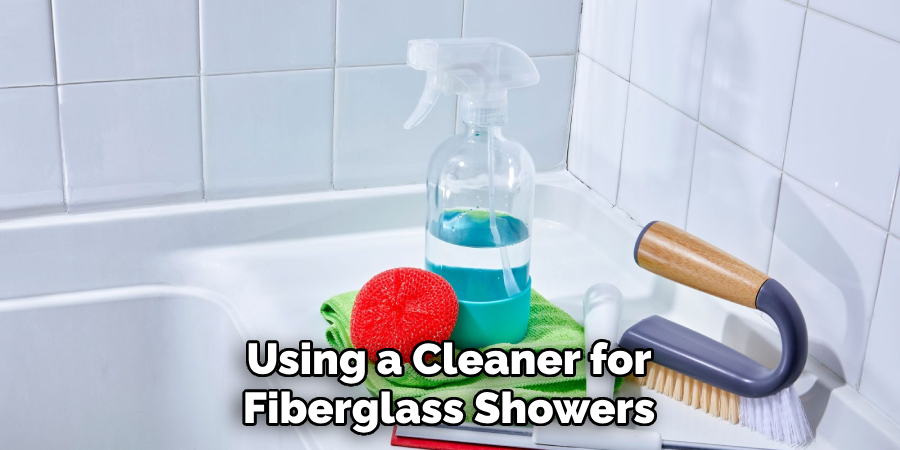
But make sure to follow the instructions on the product’s label. If the surface is rusty or scratched, lightly sand it to remove any imperfections. Be sure to wear protective eyewear and a mask while sanding.
Step 2: Degrease the Surface
Use a degreaser to remove any stubborn grease or oil residue that may be present on the fixture. It’s important to make sure that all of the residue is removed before you begin painting. This step can be done with a brush or cloth, depending on the product you use. It may take several applications to get the surface completely clean.
Step 3: Sand Down Any Rust or Scratches
Lightly sand down any areas that are rusty or have visible scratches using a coarse-grit sandpaper. It is important to sand in the same direction as the grain of the fixture.
After sanding, wipe down the surface with a damp cloth to remove any dust or dirt. But make sure the surface is completely dry before moving on to the next step. That way, you will get a better finish with the primer and paint.
Step 4: Apply Primer
Using an appropriate fiberglass-specific primer, apply a thin coat of primer over the entire surface of the shower, making sure to cover all corners and crevices. Allow it to dry completely before moving on to step 5. If using a spray primer, make sure to follow the instructions on the product’s label.
This step is important in ensuring that the paint adheres properly to the surface. It is also important to take into account how many coats of primer you will need to achieve the desired finish.
Step 5: Paint the Surface
Using epoxy paint specifically designed for fiberglass showers, apply a thin coat of paint. Allow the first coat to dry completely before applying a second and third coat, if necessary. This will give you a better finish and ensure that the paint sticks to the fixture. It step is best done with a sprayer, as it ensures that the paint evenly covers the entire surface of the shower.
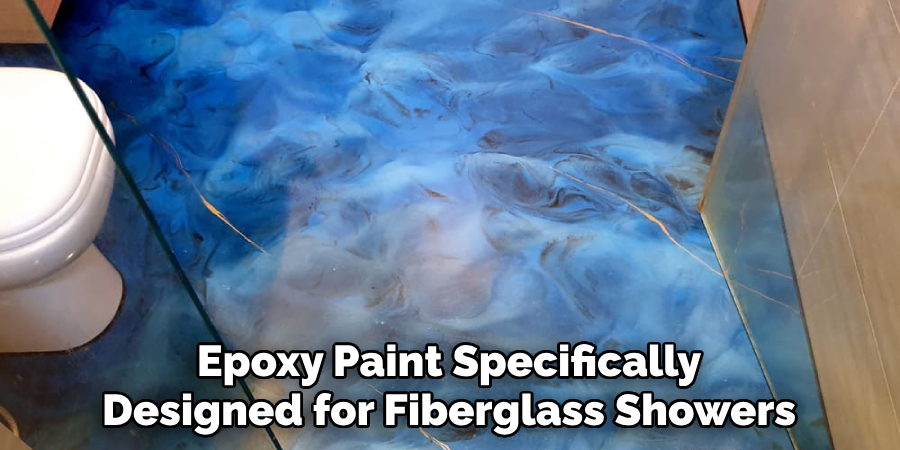
You can also use a brush, however, it may require multiple coats to get an even finish.
Step 6: Sand Down Any Rough Areas
If you notice any rough or uneven areas in the painted surface, lightly sand them down with fine-grit sandpaper and then re-coat with another layer of epoxy paint as needed. Although sanding down rough areas may take a bit of time, it will be worth it in the end. It will give your shower a smooth and even finish.
Step 7: Apply Sealant
Once the painting is complete, apply a sealant specifically made for fiberglass surfaces to protect it from future damage. This will also help maintain its new look for longer. But make sure to follow the instructions on the product’s label. If you are using a spray sealant, make sure to stand back and avoid inhaling the fumes. So, it’s best to do this step in a well-ventilated area.
Step 8: Install Decorative Trim
You can further enhance the look of your fiberglass shower by adding decorative trim around the edges. This could include wood, plastic or metal trims in a variety of designs and colors that will give it more of an elegant feel.
It’s important to make sure that the trim fits securely in place and is sealed with a silicone sealant. This will prevent water from getting under the trim and potentially causing damage. Make sure to use a sealant specifically made for fiberglass surfaces.
Step 9: Hang Decorative Accessories
Adding some lovely decorative accessories to your shower can help make it look more inviting and stylish. Consider hanging a plant, painting, or any other type of art piece that will add to the overall aesthetic. If you have a curtain, consider changing it out for something more modern or colorful.
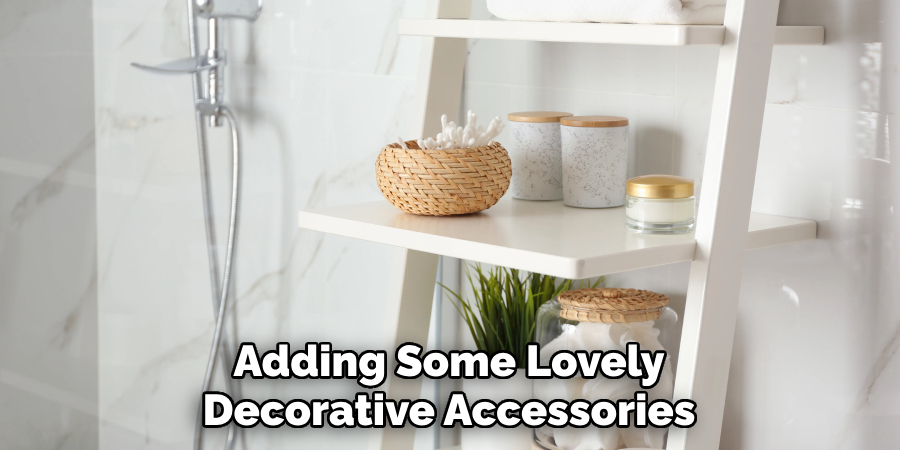
Doing so will give your fiberglass shower a fresh new look that everyone will be sure to love. It’s also important to make sure that all of the accessories are securely fastened to the wall or ceiling so as not to fall and become a safety hazard.
Step 10: Replace Old Fixtures
Lastly, replacing old fixtures with new ones is a great way to give your shower an updated look. Consider upgrading with newer faucets, handles, knobs or even showerheads for maximum effect. It’s important to make sure that the fixtures you choose are made for fiberglass showers and fit properly.
This way, you can be sure they won’t leak or cause any other damage. Always be sure to follow the instructions and use any necessary tools when installing your new fixtures. It’s also a good idea to hire a professional to help you with this task if you are unsure of what to do. This will ensure that the job is done right and your shower looks its absolute best.
By following the above steps on how to make a fiberglass shower look better, you can easily make a fiberglass shower look better in no time. It is also important to regularly clean and maintain the fixture to keep it looking its best for longer. With these simple yet effective tricks, your fiberglass shower will soon be the envy of everyone who visits your bathroom!
Do You Need to Hire a Professional?
Making your fiberglass shower look better is a fairly straightforward task that can be done by anyone with basic DIY skills. However, if you are not comfortable completing the steps yourself, it may be best to hire a professional who has experience in such matters. They will have the necessary tools and knowledge to get the job done quickly and correctly.
Frequently Asked Questions
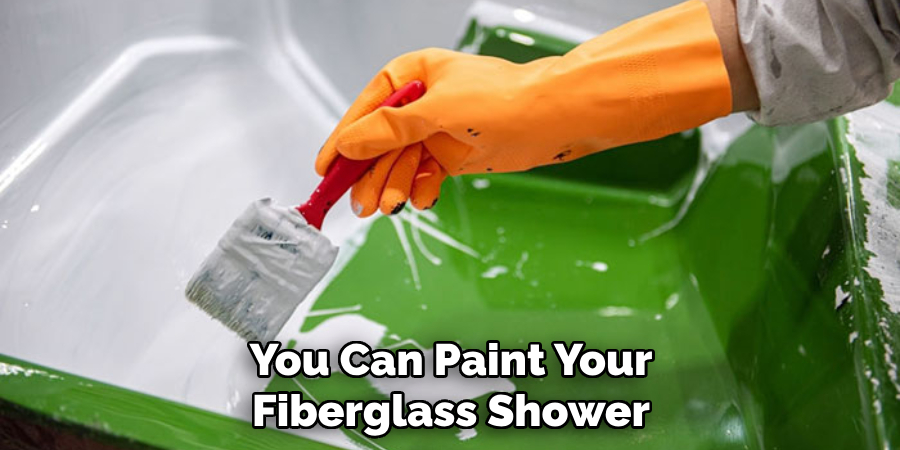
Q: Can I Paint Over a Fiberglass Shower?
A: Yes, you can paint over a fiberglass shower with the right primer and epoxy paint. Make sure to prepare the surface properly before painting and use a fiberglass-specific primer for best results.
Q: How Often Should I Clean My Fiberglass Shower?
A: You should aim to clean your fiberglass shower at least once per week to prevent dirt and grime build-up. Additionally, it is important to degrease the surface every few months in order to remove any stubborn grease or oil residue that may be present.
Q: Can Fiberglass Showers Be Painted Any Color?
A: Yes, you can paint your fiberglass shower any color you like as long as you use epoxy paint specifically designed for fiberglass surfaces. This type of paint comes in a variety of colors, so you can easily find one that matches your aesthetic.
Q: How Do I Make My Fiberglass Shower Look New Again?
A: You can make your fiberglass shower look new again by cleaning the surface, priming and painting with epoxy paint, sanding down any rough spots, applying a sealant, and adding decorative trim. Additionally, it is important to regularly clean and maintain the fixture in order to keep it looking its best for longer.
Conclusion
Overall, giving your fiberglass shower an upgrade is a great way to give your bathroom a much-needed facelift. With so many options for sprucing up your shower, like tile covering kits, paint rejuvenation products, and even having a professional installer resurface the fiberglass, the possibilities are just about endless.
So take the time to do a little research and find the option that best suits your needs and budget, and believe us when we say that it will pay off in the end. Plus, you’ll have fun during all parts of the process – from picking out supplies to seeing how stunning your newly revamped shower looks at the finish line. The refreshed look of your bathroom won’t just make you feel proud but will help increase the value of your home as well.
So put on some musical motivation and get working – it’s worth it! Thanks for reading this article on how to make a fiberglass shower look better.

