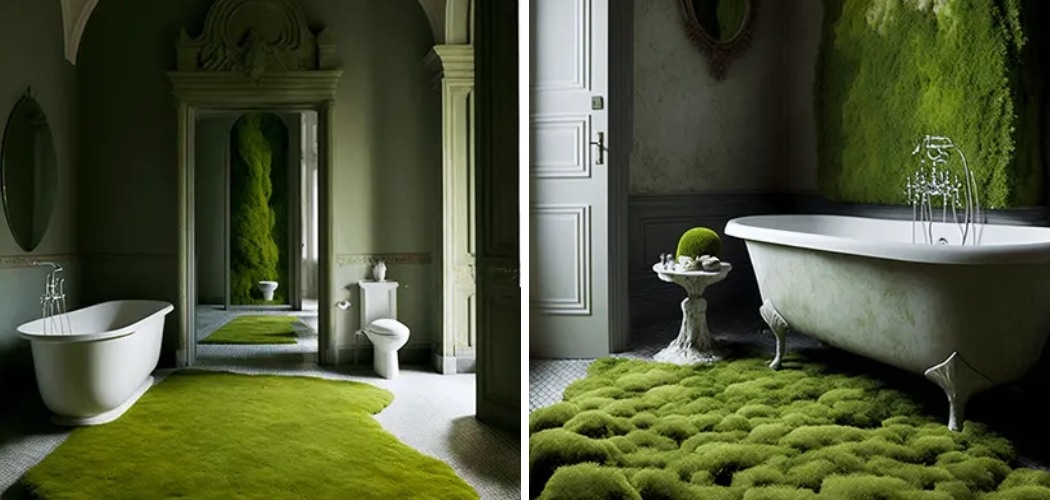
A moss bath mat is a unique and eco-friendly bath accessory made from real, living moss, perfectly suited for humid environments like bathrooms. This innovative mat offers numerous benefits, including a natural aesthetic that brings a touch of greenery and tranquility to your home decor. It is visually appealing, and the moss bath mat is also a low-maintenance option, requiring minimal effort to keep it healthy and vibrant. Moreover,
it naturally absorbs moisture, providing a soft and cushioned feel underfoot, enhancing your post-shower experience. In this article, we will delve into the materials needed to craft your own moss bath mat, provide a step-by-step guide for how to make a moss bath mat and share essential care tips for maintaining its health and beauty. Whether you’re seeking a sustainable alternative to traditional bath mats or simply wish to incorporate more nature into your living space, this guide will lead you through every step of the process.
Materials Needed for a Moss Bath Mat
To create a stunning moss bath mat, it’s crucial to gather the right materials that support the moss’s structure and health. Here are the essentials:
Wooden or Plastic Mat Base:
Choose a sturdy base, such as a bamboo mat or a plastic grid with drainage holes, to ensure proper water flow and optimal growth conditions for the moss. The drainage holes are vital as they prevent water accumulation, protecting the moss from excess moisture that could lead to mold.
Sheet Moss (or Other Varieties):
Select living moss varieties like sheet, cushion, or carpet moss. These types are soft and spongy and thrive in the humid environment typical of bathrooms, making them perfect for this project.
Moss Adhesive or Natural Glue:
It’s important to use a moss-safe adhesive that will securely attach the moss to the mat base without harming the plants. This ensures the moss remains firmly in place with regular use.
Spray Bottle (for Watering):
A spray bottle is essential for maintaining the moss’s moisture levels. Regular misting helps keep the moss healthy and vibrant, simulating its natural habitat’s damp conditions.
Optional: Soil Fabric or Mesh Layer:
Consider adding a layer of water-retentive fabric or mesh to the base. This optional layer aids in moisture retention and provides additional support to keep the moss securely attached to the mat.
Choosing the Right Type of Moss
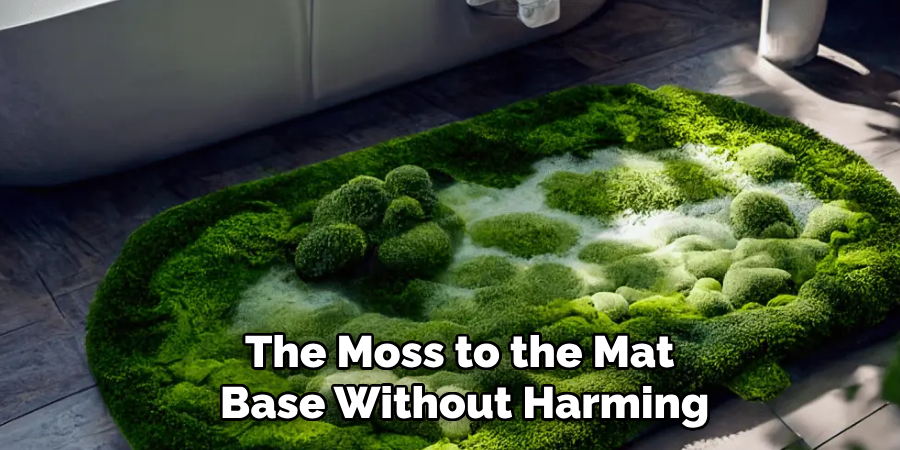
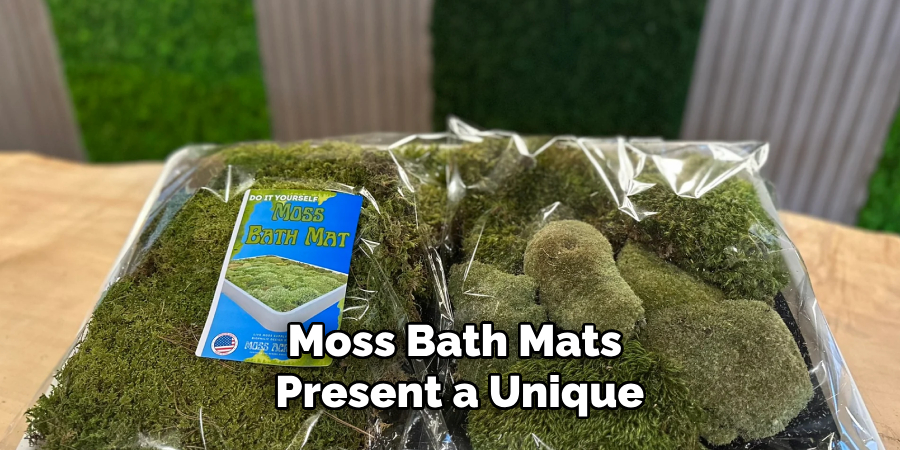
When selecting the right type of moss for your bath mat, it’s essential to consider the various types available and their suitability for a bathroom environment. Sheet moss, cushion moss, and reindeer moss are among the most popular choices due to their ability to thrive in humid conditions. Sheet moss offers a dense, flat coverage with a soft texture, making it ideal for a uniform look. Cushion moss, as the name suggests, has a plush feel and provides excellent padding underfoot with its rounded clumps. While technically a lichen, reindeer moss adds a unique texture and robust structure to the mat, making it a visually striking option.
When choosing moss, consider thickness, cushioning, and growth patterns. Sheet moss is thin but can be easily combined for added thickness. Cushion moss offers a more padded feel, while reindeer moss, with its bushy, branching growth, provides a sculptural look.
To source quality moss for your project, visit local nurseries or specialized online retailers that offer fresh, living moss varieties. Another option is to responsibly gather moss from the outdoors, ensuring the collection of small amounts without disrupting the ecosystem or local moss habitats.
Preparing the Bath Mat Base
Preparing the bath mat base is a crucial step in ensuring the stability and longevity of your moss bath mat. Start by thoroughly cleaning the base material you’ve chosen, whether it’s a wooden bamboo mat or a plastic grid. Use a mild soap and water solution to remove any dust, debris, or oils that could interfere with the adhesive bond. Rinse the mat and let it dry completely before proceeding to the next step.
Once the base is dry, position it in a well-ventilated area where you can work comfortably. If you’re using a plastic grid, make sure the drainage holes are free from obstructions to allow adequate water flow. Next, consider applying a thin underlayer of soil fabric or mesh if you’re using one. This optional layer can be attached with small strips of non-toxic glue, providing additional moisture retention and enhancing moss growth and attachment.
Finally, lay out your moss adhesive or natural glue. Apply it evenly across the surface of the mat base, focusing on areas where the moss will be placed. Spread the adhesive to create a consistent layer that securely holds the moss, preventing it from shifting over time. Be careful to apply it sparingly to avoid oversaturation, which could damage the moss. Once this prep work is complete, you’re ready to attach your chosen moss varieties to create a lush, verdant bath mat.
How to Make a Moss Bath Mat: Arranging and Attaching the Moss
Step 1: Cut Moss to Fit the Base
Begin by taking your selected moss varieties and cutting them into manageable sections that align with the dimensions of your mat base. Use a pair of sharp scissors to trim the moss pieces so that they fit snugly, ensuring the edges of each piece align closely with each other. It’s important to avoid large gaps by making precise cuts that follow the contours of the base, which will ensure seamless, continuous coverage.
Step 2: Press Moss Firmly onto the Base
With the moss sections prepared, carefully press each piece into place on the adhesive-coated mat base. Apply gentle yet firm pressure to ensure that the moss adheres properly, focusing on the edges to prevent any lifting. Take your time with this step, working systematically across the mat to ensure that each section forms a secure bond with the adhesive, reinforcing the durability of your bath mat.
Step 3: Fill in Gaps
Once the main pieces are attached, inspect the mat for any visible gaps or uneven areas. Utilize smaller moss fragments to fill these spaces, creating a denser and more uniform appearance. Press these small fragments into the adhesive just as firmly as the larger sections, ensuring they blend seamlessly with the surrounding moss to create an even, lush surface.
Step 4: Let the Moss Settle
After placing all the moss, allow the mat to sit undisturbed for 1-2 hours. This resting period is crucial for the adhesive to cure fully, securely binding the moss to the base. During this time, avoid moving or handling the mat to ensure the moss remains in perfect position and the bond is strong for long-lasting use.
Caring for Your Moss Bath Mat
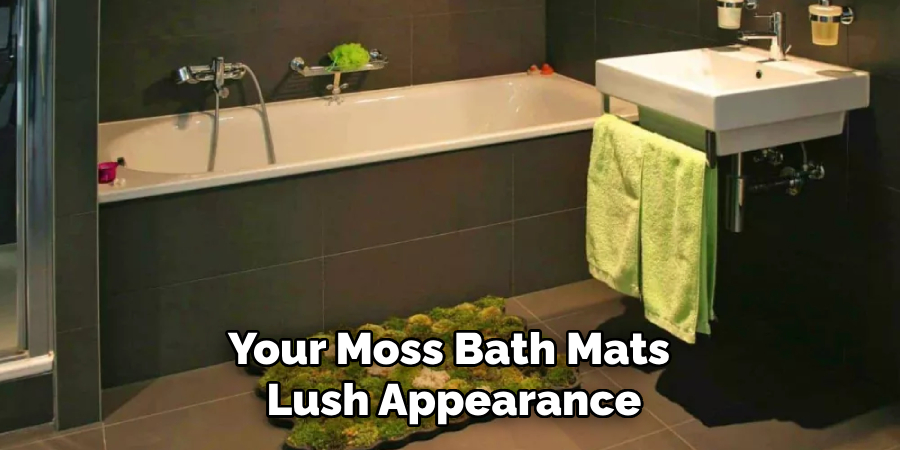
Proper care is essential to maintaining your moss bath mat’s lush appearance and health. By following a few simple maintenance steps, you can ensure its longevity and vibrant look.
Regular Misting
Moss thrives in moist environments, so it is vital to keep it well-hydrated. Use a spray bottle to mist the moss lightly with water every few days, ensuring even coverage without over-saturating. This mimics the natural conditions moss prefers, keeping it healthy and vibrant.
Avoid Direct Sunlight
Place your moss mat in an area where it is protected from direct sunlight. Excessive exposure to sunlight can dry out the moss, leading to potential damage or discoloration. Choose a spot in your bathroom that receives indirect light, preserving the moss’s vibrant green hues.
Clean the Mat as Needed
Over time, dust and debris may accumulate on your moss bath mat. To clean it, gently rinse the moss with lukewarm water, not using harsh scrubbing motions that could damage the plant. Allow the mat to air dry naturally, restoring its cleanliness and freshness.
Check for Overwatering or Mold
Monitor your mat for signs of overwatering or mold, especially if it’s situated in a less-ventilated bathroom. Look for dark, slimy patches or an unpleasant odor indicating mold growth. Reduce watering frequency if overwatering occurs and ensure the mat has adequate airflow to prevent moisture buildup. Observing these simple care practices will make your moss bath mat a lush and enduring feature in your home.
Placing the Moss Mat in Your Bathroom
Choosing the Ideal Location
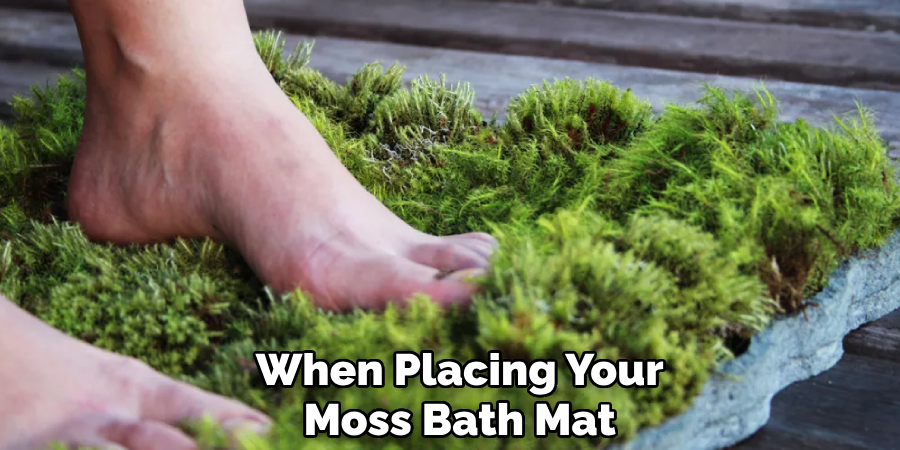
When placing your moss bath mat, select a spot in your bathroom where it can remain damp yet isn’t directly exposed to the constant flow of shower water. Ideal locations include adjacent to the bathtub or at the entrance of the shower, where moisture is present but doesn’t drench the mat, allowing it to thrive without being continuously submerged in water.
Ensuring Good Drainage
To prevent mold and ensure the mat’s longevity, place it with adequate airflow on all sides, allowing excess moisture to evaporate efficiently. Ensure the mat is flat and slightly elevated or on a well-drained surface to facilitate airflow underneath and avoid water pooling.
Maintenance Reminders for a Healthy Moss Mat
Maintain your moss’s health by misting it regularly, keeping it in indirect light, and monitoring moisture levels to prevent drying or overwatering. Periodically rotate the mat for even light distribution, ensuring every part receives the nourishment needed for continued growth and vibrancy.
Benefits of a Moss Bath Mat
Moss bath mats offer many eco-friendly and sustainable benefits, making them an attractive alternative to synthetic mats. Composed entirely of natural materials, these mats contribute to a low-waste lifestyle by reducing reliance on non-renewable resources and synthetic products. Moss’s natural moisture absorption is exceptional, as it efficiently absorbs and evaporates water from bathroom surroundings, promoting a dry and fresh
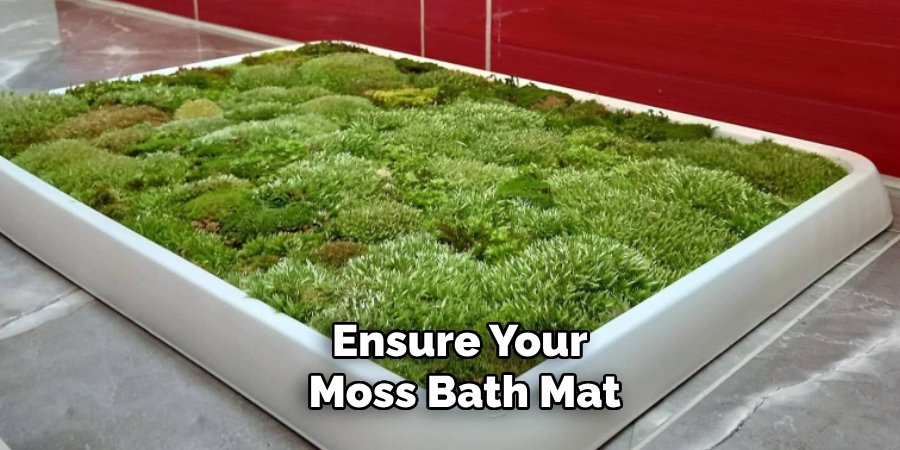
environment while reducing potential slip hazards. Besides their functional qualities, moss bath mats present a unique and aesthetically pleasing addition to bathroom decor. The verdant green hues and plush texture of moss bring a refreshing touch of nature into the home, creating a tranquil and spa-like atmosphere. By integrating a moss bath mat into your bathroom, you invest in an environmentally responsible option and enhance the space with its calming and natural beauty.
Troubleshooting Common Issues
Moss Turning Brown or Yellow
Moss discoloration is often a sign of too much sunlight, insufficient humidity, or underwatering. If your moss turns brown or yellow, first assess its light exposure and move it to a spot with indirect light if necessary. To boost humidity, increase misting frequency but ensure you don’t overwater. Consider using a humidifier in the bathroom if the air is particularly dry. Gently remove any severely discolored sections and replace them with healthy moss fragments. Regular hydration and placement adjustments can often revitalize the moss.
Mold Growth
Mold can develop if the moss mat remains too wet or doesn’t receive adequate airflow. Combat mold by reducing the misting frequency and ensuring the mat has sufficient airflow on all sides. Place it in a well-ventilated area to aid drying. You can also gently apply a diluted vinegar solution to the affected area, using it sparingly to avoid harming the moss. Regular monitoring and adjustments can help maintain a healthy moss mat and prevent mold recurrence.
Adhesive or Moss Loosening from Base
If sections of moss begin to loosen over time, the adhesive may need refreshing. Carefully lift the detached moss piece, clean off any old adhesive residue, and reapply a suitable, non-toxic adhesive. Press the moss firmly back into place and allow it to set undisturbed for a few hours to ensure a strong bond. Regular checks and maintenance will ensure your moss bath mat remains durable and intact.
Conclusion
Creating and maintaining a moss bath mat requires only a few straightforward steps, emphasizing an easy DIY approach. From selecting the ideal moss to positioning it in the bathroom, these steps guarantee an eco-friendly and stylish addition to your decor. By understanding “how to make a moss bath mat,” you embrace a unique experience combining craft and nature. The ongoing care, such as regular misting and ensuring proper light and airflow, sustains its lushness.
Enjoy the serene ambiance and relaxation of this green decor, ensuring long-lasting beauty and tranquility in your home.

