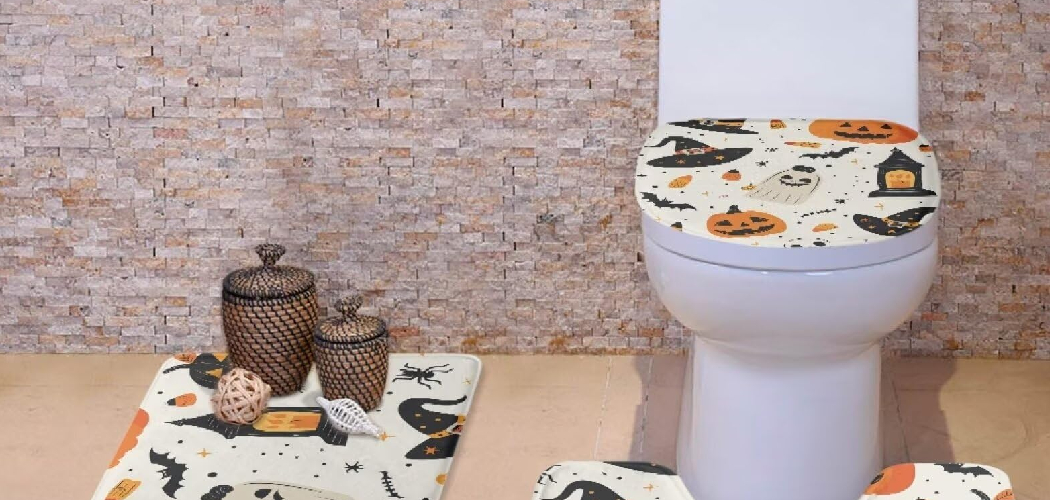
Toilet lid covers are a simple yet effective way to enhance the aesthetics of any bathroom while providing added comfort and protecting the toilet lid from everyday wear and tear. They come in a variety of styles, fabrics, and designs, but making a custom toilet lid cover offers a unique opportunity to showcase your creativity. You can create a functional and
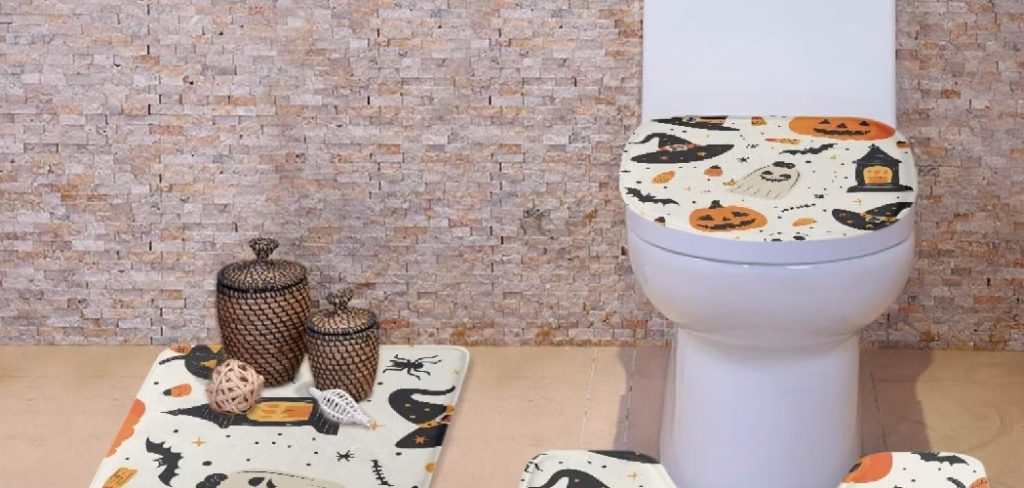
personalized accessory that fits perfectly into your bathroom decor by choosing specific fabrics, colors, and patterns. Understanding how to make a toilet lid cover involves a few straightforward steps, including gathering the right materials, taking accurate measurements, and employing basic sewing techniques. Whether you’re a seasoned DIY enthusiast or taking on this type of project for the first time, crafting a custom lid cover is an enjoyable way to add a touch of personality and practicality to your bathroom space.
Choosing the Right Materials
Fabric Selection
The first step in crafting a toilet lid cover is selecting the right fabric. Opting for fabrics like cotton offers breathability and a soft texture, making it a popular choice for households seeking comfort and ease of cleaning. Fleece provides a cozy and warm feel, ideal for colder months or adding a plush touch to your bathroom. Waterproof materials, such as vinyl or laminated fabric, are excellent for ensuring durability and protection against moisture, making them particularly useful in humid environments. When choosing fabric, it’s essential to consider practicality and aesthetics. Select colors and patterns that complement your bathroom decor to achieve a harmonized and cohesive look.
Elastic or Velcro
Elastic or Velcro are practical options to secure the cover to the lid effectively. Elastic can be sewn into the edges, allowing the cover to snugly fit the lid without slipping out of place. Conversely, Velcro provides an adjustable and easy-to-remove solution, which is especially handy if frequent washing is required. Both options ensure convenience and functionality while keeping the cover securely attached.
Optional Additions
Consider incorporating decorative elements like embroidery, fun patterns, or trims such as lace or piping for a personalized touch. These enhancements elevate the visual appeal of your toilet lid cover and allow you to infuse a unique sense of style into your design.
Gathering Tools and Supplies
Before starting your project, gathering all the necessary tools and supplies is essential to ensure a seamless crafting experience. The core tools you’ll need include scissors for cutting fabric, a measuring tape for accurate dimensions, a sewing machine or needle for

stitching, thread in a matching or complementary color, and pins to hold the fabric in place while working. For additional supplies, consider using fabric chalk for marking guidelines, an elastic band if opting for a snug fit, or Velcro strips for an adjustable closure.
To streamline your workflow, organize all materials in a dedicated workspace. Keep items like pins and scissors within easy reach, and pre-thread your needle or set up the sewing machine beforehand. Laying out the fabric on a flat surface with marking tools readily available will save time and reduce interruptions, ultimately making the process smoother and more efficient.
Measuring the Toilet Lid
Accurate measurements are crucial for creating a well-fitting toilet lid cover. Follow these step-by-step instructions to ensure precise measurements and allow for a snug, professional-looking result.
Step-by-Step Measurement Guide
- Measure the Length: Use a measuring tape to measure the distance from the back edge to the front edge of the toilet lid. Ensure the tape is flat and runs straight along the surface for accuracy.
- Measure the Width: Next, measure the widest point across the lid, spanning from one side edge to the other.
- Measure the Depth: For a true custom fit, measure the depth by placing the tape over the side edge of the lid, from the top surface down to the underside where it ends.
- Add Seam Allowance: Add at least ½ to 1 inch to each of your measurements to account for stitching and flexibility. This extra allowance helps create a snug fit and avoids any gaps.
Creating a Template
Once your measurements are complete, use them to create a paper template. Lay out a large piece of paper or kraft paper on a flat surface. Draw a rectangle or oval shape based on the dimensions, adding the seam allowance to each side. Carefully cut out the template, then check its fit by placing it on the lid. Adjust if needed to ensure the final cover will conform perfectly. A well-made template ensures precision in fabric cutting, saving time and material during crafting.
How to Make a Toilet Lid Cover: Cutting and Preparing the Fabric
Cutting the Fabric
Place your paper template onto your chosen fabric, ensuring that the template is well-aligned with the grain of the fabric for a more uniform look and sturdiness.
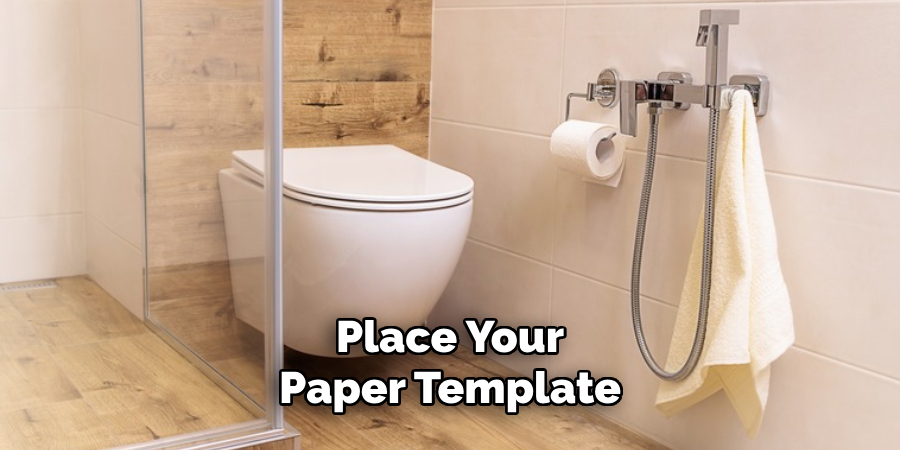
Use weights or pins to secure the template in place, preventing any movement as you work. Carefully trace around the edges of the template with the tailor’s chalk or a fabric-safe marker. Once the outline is complete, use sharp fabric scissors to cut along the marked lines, ensuring clean and precise edges.
Adding a Lining
For added durability and comfort, consider incorporating a lining. A soft lining, such as a flannel, can protect delicate surfaces, while a waterproof lining, such as PUL (polyurethane laminate), offers protection against spills and moisture. Use the paper template to cut the lining fabric like the outer fabric to ensure a perfect match for assembly.
Marking and Pinning
Before sewing, mark your seam lines on both the outer fabric and lining to guide you during stitching. Use pins or fabric clips to connect the layers, aligning the edges precisely. Pin strategically, focusing on corners and curves to ensure a smooth fit. This preparation step will make assembling and sewing much easier and more accurate.
How to Make a Toilet Lid Cover: Sewing the Toilet Lid Cover
Sewing the Edges
To ensure a clean and professional finish for your toilet lid cover, it is crucial to sew the edges neatly to prevent fraying. Start by folding the raw edges of both the outer fabric and the lining inward by about ¼ inch and press them flat with an iron. Next, fold the edges again, creating a double-fold hem, and press again. This will encase the raw edges and prevent fraying over time.
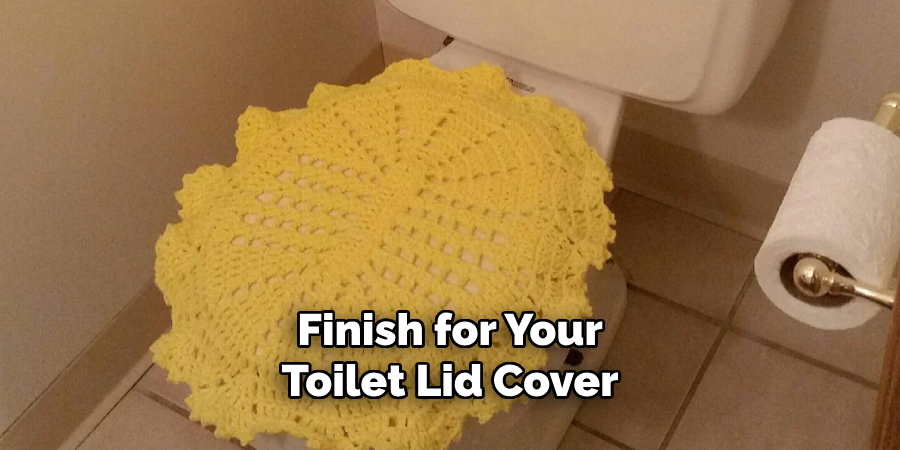
Using a sewing machine, stitch along the inner edge of the hem using a straight stitch. Keep the stitches close to the fold for a polished look. Use a tight whip stitch or slip stitch to ensure durability if you are hand-stitching. For added security, consider using a zigzag or overlocking stitch along the raw edges before folding, especially if you are working with fabrics prone to fraying, such as cotton or flannel. Take your time and sew steadily to achieve smooth, even stitches around corners and curves.
Inserting Elastic or Velcro
To secure the cover, you can either insert elastic or attach Velcro strips, depending on your preferred method. For a stretchy finish, sew a casing by folding the outer edge of the fabric inward about ½ inch and stitching close to the fold, leaving a small gap open. Cut a length of elastic slightly shorter than the perimeter of the toilet lid. Attach a safety pin to one end of the elastic and thread it through the casing, ensuring it gathers the edge evenly. Once the elastic is fully threaded, overlap the ends and sew them securely together. Close the gap in the casing with a few final stitches, either by hand or machine.
If you prefer Velcro, cut strips to match the width of the fabric edge. Sew one side of the Velcro strips onto the cover’s fabric edge, spacing them evenly, and attach the other side of the strips to the corresponding points on the lining. Be sure to test the fit by placing the cover on the lid and adjusting as needed.
Adding Decorative Elements
To elevate the design of your toilet lid cover, consider adding decorative elements such as trims, embroidery, or appliques. For trims like lace or bias tape, pin the trim along the edge of the cover and sew it carefully in place using a straight stitch.
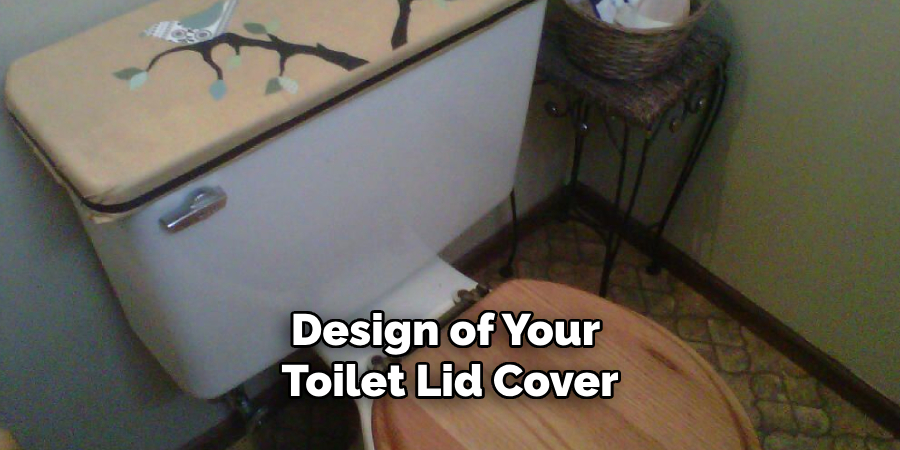
For embroidery, trace your desired pattern onto the fabric with a temporary marking pen, and use embroidery floss to add the design by hand before assembling the cover.
Appliques can be added by cutting your chosen shapes from decorative fabric or felt. Position the appliques on the cover, securing them with fabric glue or pins, and sew them on using a zigzag or satin stitch. These decorative touches allow you to personalize the cover and make it a unique addition to your bathroom.
Testing the Fit and Adjustments
Fitting the Cover
Carefully place the finished cover onto the toilet lid, ensuring it aligns properly with the shape and size of the lid. Adjust the edges so that the cover sits snugly and evenly without any bunching or gaps. Check that the elastic or Velcro holds the cover securely in place.
Making Adjustments
If the fit is too loose, tighten the elastic by pulling it slightly and securing the excess with a few stitches. For Velcro closures, reposition the strips as needed to achieve a closer fit.

Conversely, if the cover is too tight, release some of the elastic or reposition the Velcro for additional slack.
Final Touches
Trim any loose threads to give the cover a neat finish, and inspect the seams and closures for durability. Ensure the cover is sturdy and ready for regular use while adding a polished, professional look to your project.
Maintenance and Care Tips
Clean your toilet lid cover regularly to maintain hygiene and keep it looking its best. Machine wash the cover using a mild detergent on a gentle cycle, or hand wash it if made from delicate fabrics. Avoid using bleach or harsh chemicals, as these can damage the material. After washing, air dry the cover or use a low-temperature setting in the dryer to prevent shrinking. For seasonal or decorative covers not in use, store them in a dry, sealed container to protect them from dust, moisture, and pests, ensuring they remain fresh and ready for future use.
Conclusion
Making a custom toilet lid cover is a simple yet rewarding project that enhances bathroom decor while providing a personal touch. By learning how to make a toilet lid cover, you can create a functional piece that complements your style and adds charm to your space. The process is straightforward and offers plenty of room for creativity, allowing you to experiment with various fabrics, colors, and designs. Beyond the aesthetic benefits, crafting something uniquely your own creates a sense of accomplishment. Start today and enjoy your homemade creations’ blend of practicality and artistry!

