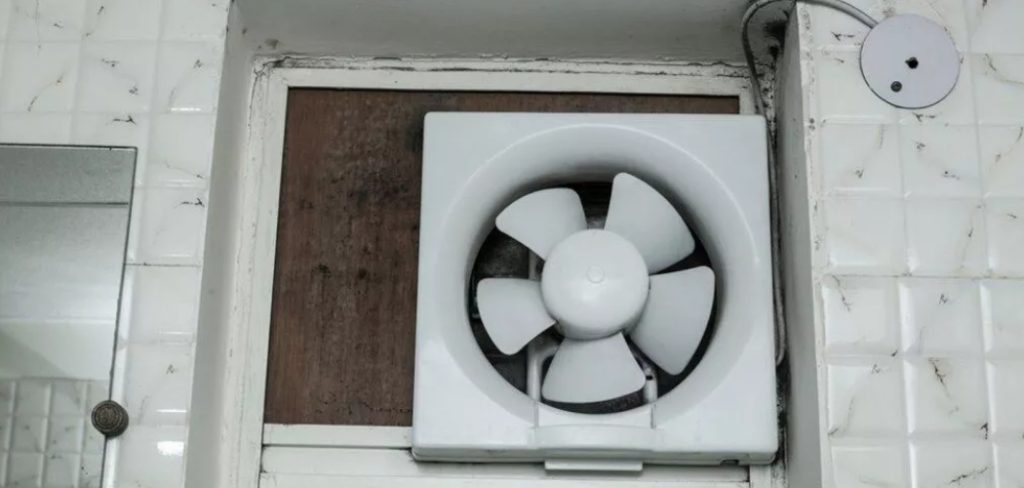
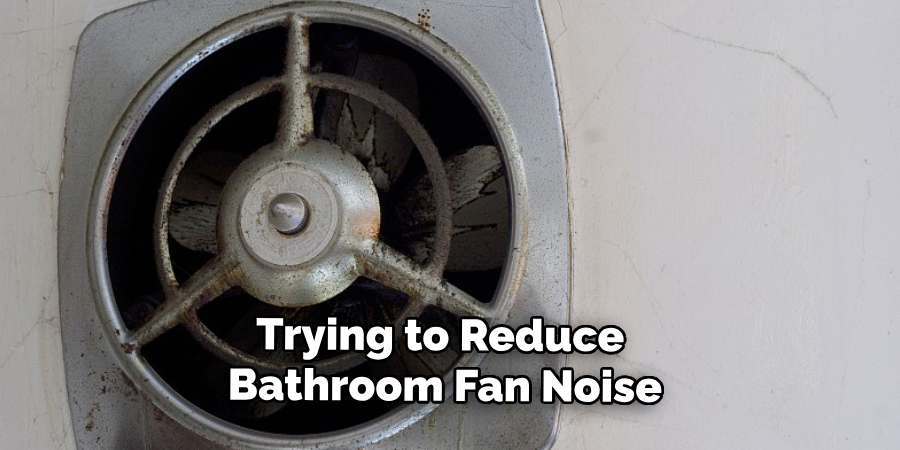
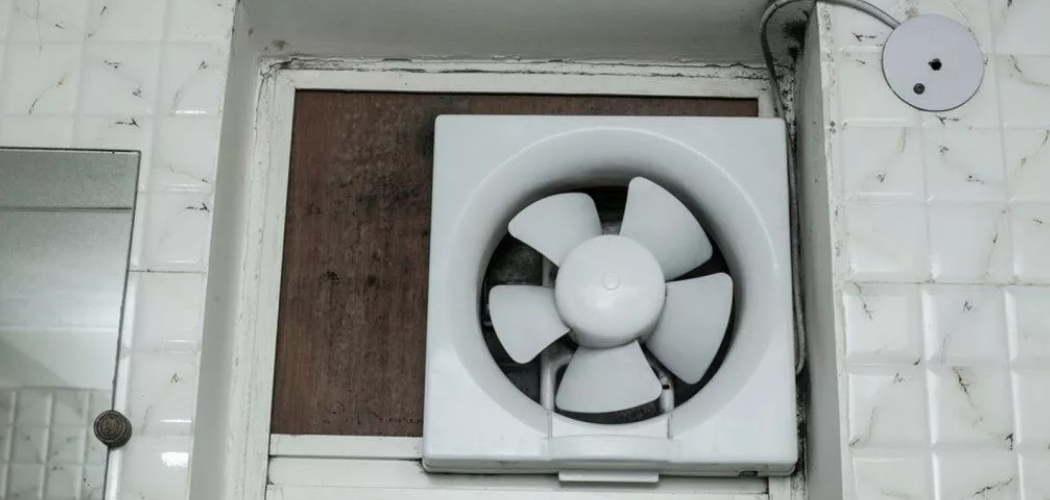
A noisy bathroom fan can be a source of annoyance and discomfort in any home. Whether it’s a rattling sound or an incessant hum, a noisy fan can disrupt the tranquility of your space. Fortunately, there are several ways to address this issue and enjoy a quieter, more peaceful bathroom experience. This guide will outline essential tips and techniques for how to make bathroom fan quieter, enhancing both comfort and functionality.

Common Issue of Noisy Bathroom Fans
Noisy bathroom fans are a frequent complaint among homeowners, primarily caused by various factors that can range from operational wear and tear to incorrect installation. One common issue is the accumulation of dust and debris, which can obstruct the fan blades and motor, causing excessive noise. Another potential culprit is a loose or improperly secured fan housing, which can result in vibrations and rattling sounds.
Additionally, old or low-quality fans may inherently operate at a louder decibel level due to outdated or inferior motor designs. Addressing these common issues is crucial in ensuring your bathroom fan operates smoothly and quietly, contributing to a more serene bathroom environment.
Importance of a Quiet Bathroom Fan
A quiet bathroom fan is essential for maintaining a peaceful and comfortable home environment. The tranquility offered by a noise-free fan contributes to a more relaxing atmosphere, which is particularly important for restrooms, as they often serve as places for unwinding or preparation in the morning. Moreover, a quiet fan is indicative of efficient performance, as excess noise often suggests
underlying issues that could compromise the fan’s function. Effective ventilation is crucial for reducing humidity levels and preventing the growth of mold and mildew, which can damage structures and pose health risks. Thus, ensuring your bathroom fan operates quietly and effectively not only enhances comfort but also supports the longevity of your home’s infrastructure and promotes a healthier indoor air quality.
10 Methods How to Make Bathroom Fan Quieter
1. Clean the Fan Regularly to Reduce Noise
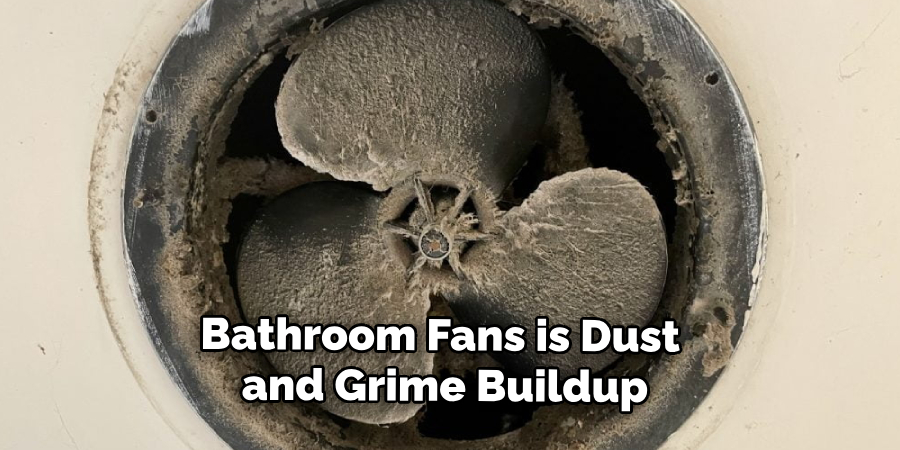
A common cause of noise in bathroom fans is dust and grime buildup, which disrupts the fan’s normal operation. When dust accumulates on the fan blades, motor, and housing, it can cause the fan to work harder and louder than necessary. Start by disconnecting power to the fan for safety, then remove the cover and clean each component carefully.

Use a brush or vacuum attachment to remove dust from the blades, motor, and surrounding areas. Be thorough, as even a small amount of dust can lead to additional noise over time. Once clean, reassemble and test the fan to see if the sound has improved. Regular cleaning can keep the fan running smoothly and quietly.
2. Install Rubber Gaskets to Dampen Vibrations
Many fans produce noise because of vibrations, especially when the housing or mounting brackets are in direct contact with the ceiling joists. To minimize this vibration, consider installing rubber gaskets or foam padding between the fan housing and the ceiling. These materials absorb vibrations and prevent them from transferring to the surrounding structure, reducing noise significantly.
Rubber gaskets can be found at most hardware stores, or you can use self-adhesive foam weatherstripping as an alternative. Simply place the material between the fan housing and ceiling, securing it well, then reattach the fan. This method provides a simple yet effective way to dampen noise.
3. Tighten All Screws and Fastenings
Loose screws and fastenings are often responsible for a rattling fan, as they allow parts to move and shake when the fan is running. Start by turning off the power and accessing the fan components. Check each screw in the housing, motor mount, and cover to ensure it’s secure. Use a screwdriver to tighten any loose screws, but avoid over-tightening, as this could damage the housing.
If any screws are missing or stripped, replace them with new ones. This small maintenance step can make a noticeable difference, as a securely fastened fan will vibrate less, producing less noise.
4. Lubricate the Fan Motor for Smooth Operation
A dry or under-lubricated motor can cause the fan to run loudly, as friction builds up in the motor’s moving parts. To address this, apply a few drops of motor oil to the fan’s motor shaft, specifically on the bearing points where the motor meets the fan blades. Be cautious not to over-apply, as excess oil can attract dust and cause clogging.

Allow the oil to spread by turning the fan blades manually a few times before reassembling. Proper lubrication will reduce motor noise and friction, helping the fan operate more smoothly and quietly.
5. Upgrade to a Quieter Bathroom Fan Model
Older fans tend to be noisier than newer models, as technology has improved, and manufacturers now prioritize noise reduction. If your bathroom fan is particularly old or inefficient, consider replacing it with a modern, quieter model. Look for models rated with low sones (sound levels) for minimal noise output.
Ideally, choose a fan rated at 1.5 sones or less, as these models are designed specifically to operate quietly while maintaining effective ventilation. Although upgrading involves an initial investment, it can drastically improve noise levels and energy efficiency in the long term.
6. Install a Variable Speed Controller
A variable speed controller allows you to adjust the fan’s speed according to your needs, lowering the noise level when full power is unnecessary. For example, you might use high speed only after showers and reduce it to low speed for regular ventilation, which can help limit noise. Variable speed controllers are relatively easy to install and give you more control over the fan’s operation. This adjustment can not only make the fan quieter but also extend its lifespan, as it won’t need to run at full capacity constantly.
7. Insulate the Ductwork to Reduce Sound Transmission
Sometimes, the noise isn’t coming from the fan itself but rather from the air movement and vibrations in the ductwork. To address this, add insulation around the ducts connected to the fan. Duct insulation reduces the sound generated by moving air and prevents noise from vibrating through walls or ceilings.
You can use foam or fiberglass duct insulation for this purpose. Wrap the ducts carefully, paying attention to joints and bends where noise is most likely to occur. Proper insulation can make a significant difference, especially if your fan is connected to long or flexible ducts.
8. Replace Metal Ducts with Flexible Ducting
In some cases, switching to flexible ducting can reduce the noise produced by airflow. Rigid metal ducts are more prone to amplifying sound and vibrations than flexible ducts, which are softer and less likely to echo noise. Flexible ducts are also easier to install and can often be arranged to take a more direct route, reducing resistance and noise from airflow.

If you’re comfortable with DIY, you can replace the ducting yourself or hire a professional for the best results. This change will help dampen sound and make your fan much quieter.
9. Add a Noise-Reducing Fan Cover
Some bathroom fan covers are designed specifically to reduce noise by directing airflow and absorbing sound. These covers often come with a layer of foam or other noise-dampening material on the inside, which helps absorb sound waves and reduce fan noise. Installing a noise-reducing cover is usually a straightforward process, as they’re designed to fit over standard fan sizes.
Be sure to choose a cover compatible with your fan model for a secure fit and optimal noise reduction. This method is an easy upgrade that can make a noticeable difference with minimal effort.
10. Perform Regular Maintenance and Cleaning
One of the most effective long-term strategies for keeping a bathroom fan quiet is to establish a regular maintenance routine. Every few months, clean the fan blades and motor, check for loose screws, and ensure that all parts are in good condition. Perform periodic lubrication as needed and inspect any insulation or rubber gaskets for wear.
By keeping the fan well-maintained, you’ll prevent issues like dust buildup, loose components, or lack of lubrication, which can lead to increased noise. A few minutes of maintenance can keep your fan running quietly and effectively for years.
Common Mistakes to Avoid
When trying to reduce bathroom fan noise, it’s easy to overlook certain pitfalls that can compromise your efforts. First, avoid over-tightening screws, as this can lead to damage or cracking in the fan’s components, causing persistent noise issues. Similarly, refrain from using excessive lubricant, which can attract dust and result in motor clogging.
When selecting a new fan model, don’t mistakenly choose a unit based solely on price without considering the sones rating, which indicates noise level. Also, improper insulation or duct installation can lead to ineffective noise reduction, so ensure these tasks are performed correctly.

Conclusion
Implementing these strategies can significantly reduce the noise level of your bathroom fan, creating a more pleasant and relaxing environment. Whether you choose to perform simple maintenance tasks like tightening screws and lubricating the motor or opt for more substantial updates like upgrading the fan model or insulating ductwork, each step contributes to quieter operation. Regular upkeep is essential to maintain these improvements over time. So, there you have it – a quick and easy guide on how to make bathroom fan quieter.

