Having a functional bathtub plug is essential for anyone who enjoys relaxing baths or needs a reliable method for holding water in the tub. However, finding the right plug for your bathtub can sometimes be a challenge, especially if it is an older model or an unusual size. Fortunately, making a custom bathtub plug is a straightforward process that allows you to tailor it to your specific needs and preferences. In this guide, we will walk you through how to make bathtub plug.
What is a Bathtub Plug?
A bathtub plug, also known as a drain stopper, is a device used to block water from exiting the bathtub through the drain. Its primary function is to allow a bathtub to fill with water while preventing it from leaking out, enabling bathers to enjoy a full, relaxing soak. Bathtub plugs come in various types and styles, such as rubber stoppers, lever-operated pop-up stoppers, and twist-and-turn designs.
Each type of plug has its unique mechanism for securing the drain, making it essential for users to choose one that fits their bathtub’s design and their personal preferences for ease of use.
The Importance of a Bathtub Plug
A bathtub plug is a small yet vital component in the functionality of a bathtub. Its primary role is to seal the drain effectively, allowing the tub to hold water for bathing purposes. Without an effective plug, water would continuously drain away, making it impossible to enjoy a relaxing soak. This is particularly important for individuals who use their bathtub for therapeutic reasons, such as hydrotherapy, which requires the tub to maintain a specific water level for maximum benefit.
Moreover, a reliable bathtub plug can help conserve water and reduce utility costs, as it enables users to fill the tub quickly and efficiently without wasting water. Therefore, having a well-fitted and functional bathtub plug is crucial for both practicality and cost-effectiveness.
Types of Bathtub Plugs
When choosing a bathtub plug, it’s essential to consider the different types available, each offering unique advantages and features. The most common types include:
- Rubber Stopper: A simple and traditional option, rubber stoppers are easy to use and replace. They consist of a flexible rubber piece that fits snugly into the drain, creating an effective seal. Rubber stoppers are ideal for most standard bathtub drains and are often the most affordable option.
- Pop-Up Stopper: This type of stopper is integrated with a lever mechanism situated on the bathtub’s overflow plate. By toggling the lever, users can raise or lower the stopper to open or close the drain. Pop-up stoppers are convenient and eliminate the need for a separate plug piece.
- Twist-and-Turn Stopper: With this design, the user twists the stopper to either allow water to flow through the drain or to seal it shut. The stopper remains in the drain opening and serves both functions by rotating it slightly, offering an easy and mess-free solution.
- Trip Lever Stopper: Similar to the pop-up stopper, the trip lever uses a lever mechanism connected to either a plunger or a spring that engages the drain stopper. This type is often more robust, suitable for long-term use.
- Push-and-Pull Stopper: Operated by pushing down to close and pulling up to open, these stoppers are straightforward and user-friendly. They remain fixed in the drain, minimizing the risk of losing the stopper piece.
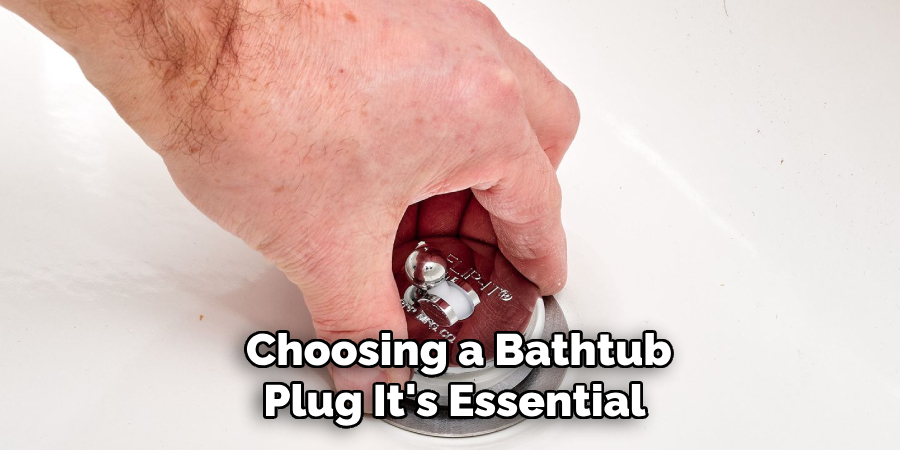
Each type of plug offers specific benefits and is suited to different bathtub designs and user preferences. When selecting a bathtub plug, users should consider the ease of installation, operation, and maintenance, ensuring they choose the best option for their individual needs and the design of their bathtub.
10 Creative Ways on How to Make Bathtub Plug
Have you ever drawn a bath only to realize you don’t have a plug? Whether you’ve misplaced yours or are looking for a quick fix, creating a DIY bathtub plug is easier than you might think. This listicle is tailored for DIY enthusiasts, homeowners, and plumbing beginners who want practical solutions without hiring a professional. Let’s explore ten creative methods to make your own bathtub plug using items you may already have at home.
1. Use a Jar Lid
A jar lid can be an excellent temporary plug for your bathtub. Simply find a lid that fits snugly over the drain, and press it down firmly to create a seal. This method works well for drains that are flat and not too deep.
2. Rubber Ball Solution
A small rubber ball can serve as a plug if it fits securely into your drain. Ensure the ball is slightly larger than the drain opening to provide a tight seal. This solution is easy to use and remove when you’re done.
3. Plastic Wrap and Rubber Band
If you’re in a pinch, plastic wrap can be a quick solution. Cover the drain with several layers of plastic wrap and secure it with a rubber band around the drain’s lip. Ensure the wrap is taut for the best seal.
4. Use a Washcloth
Fold a washcloth into a compact square, then press it firmly into the drain. This method provides a temporary seal but is best used for shallow baths due to potential leakage if not sealed tightly.
5. Recyclable Wine Cork
A wine cork can become a perfect plug with slight modifications. If the cork fits loosely, you can wrap it with a rubber band or tape until it fits snugly in the drain.
6. Tennis Ball Trick
For larger drains, a tennis ball might do the trick. Slice the ball in half and use the bottom part as a suction plug. This method might require some trial and error to fit it perfectly.
7. Custom Molded Silicone
Silicone is flexible and waterproof, making it an ideal material for a DIY plug. Simply shape silicone putty into a plug that fits your drain and let it cure as per the instructions. This option offers a more permanent solution.
8. Balloon Blocker
Blow up a small balloon and place it over the drain. The pressure from the water will help keep it in place, creating a surprisingly effective seal.
9. Old CD or DVD
An old CD or DVD can act as a make-shift plug. Place the disc over the drain hole and apply pressure to create a seal. Ensure it’s clean to avoid any residue left in the tub.
10. Kitchen Sponge Stopper
For a quick fix, use a kitchen sponge. Wet the sponge, squeeze out excess water, and stuff it into the drain. It will expand slightly, creating a seal. Be sure to have it properly sized for your drain.
Tips for Making a Bathtub Plug
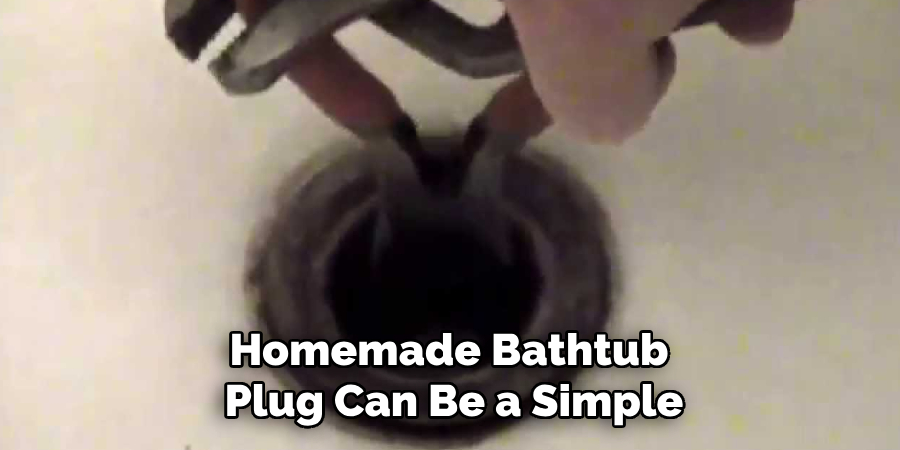
Creating a homemade bathtub plug can be a simple and efficient solution when you’re in need of a quick fix. Here are some tips to help you craft an effective and temporary plug using common household items:
- Test for Fit: Before committing to a solution, make sure the item you choose fits snugly in the drain. A proper fit is crucial for preventing leaks and ensuring the water remains in the tub.
- Seal Integrity: Ensure that whatever material is used forms a complete seal around the drain. You might need to add additional layers (e.g., plastic wrap) or use flexible materials (like silicone) to achieve the best seal.
- Check for Waterproof Properties: Items used should ideally be waterproof or have the ability to resist water absorption. Materials like silicone, rubber balls, or plastic are preferable to avoid water leakage.
- Easy Removal: After your bath, make sure the plug can be easily removed. Avoid forcing an item into the drain that could become stuck or damaged. Opt for items that you can effortlessly pull or twist out.
- Temporary Solutions: Remember that DIY plugs are often temporary fixes. Consider investing in a proper bathtub plug for long-term use to avoid potential issues or repeated improvisation.
- Test Before Use: Fill the tub slightly to check for any leakage before fully committing to using the DIY plug for a bath. This pre-test will save water and help identify any needed adjustments.
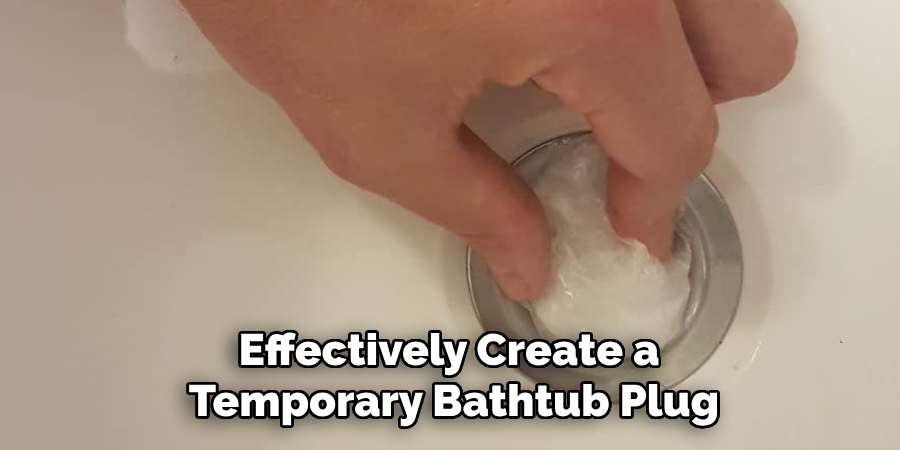
By following these tips, you can quickly and effectively create a temporary bathtub plug that meets your needs, using items already available in your home.
Conclusion
In a pinch, having the ability to create a temporary bathtub plug can be a game changer for those unexpected situations when the original plug is missing or malfunctioning. This guide has illustrated various creative solutions using everyday household items, emphasizing practicality and resourcefulness. Whether opting for a jar lid, a rubber ball, or even molding silicone, each method provides a unique way to preserve your bath experience without interruption.
While these DIY solutions are handy short-term fixes, investing in a reliable bathtub plug is always advisable for long-term use. Thanks for reading our blog post on how to make bathtub plug! We hope you found it helpful and informative.

