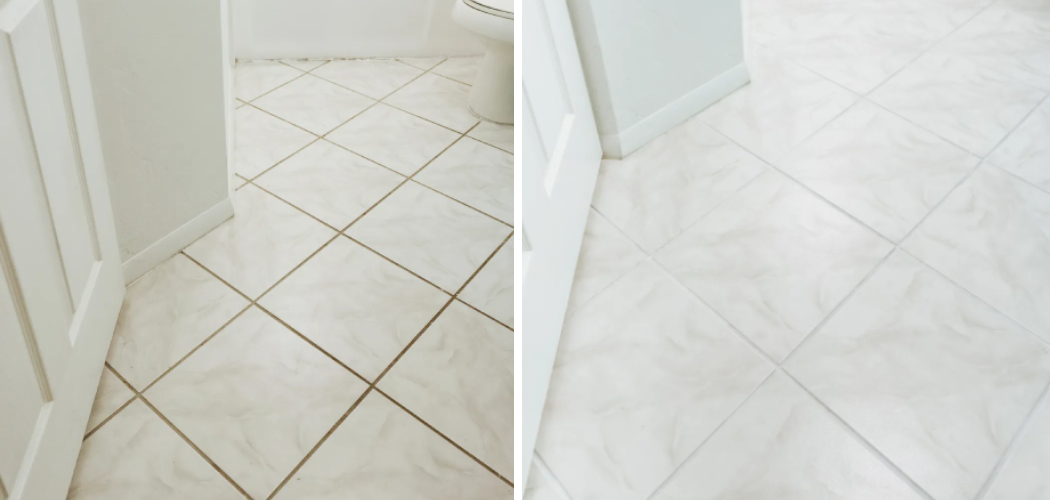
Have you ever stepped into the shower only to be met with grout that’s seen better days? Are you tired of looking at dirty, discolored shower grout? We’ve all been there! Grout can quickly become discolored or cracked due to a build-up of dirt, soap scum, and general wear and tear. Instead of undergoing an entire bathroom renovation in order to replace your outdated grout, why not try some simpler and more cost-effective solutions for making it look new again?
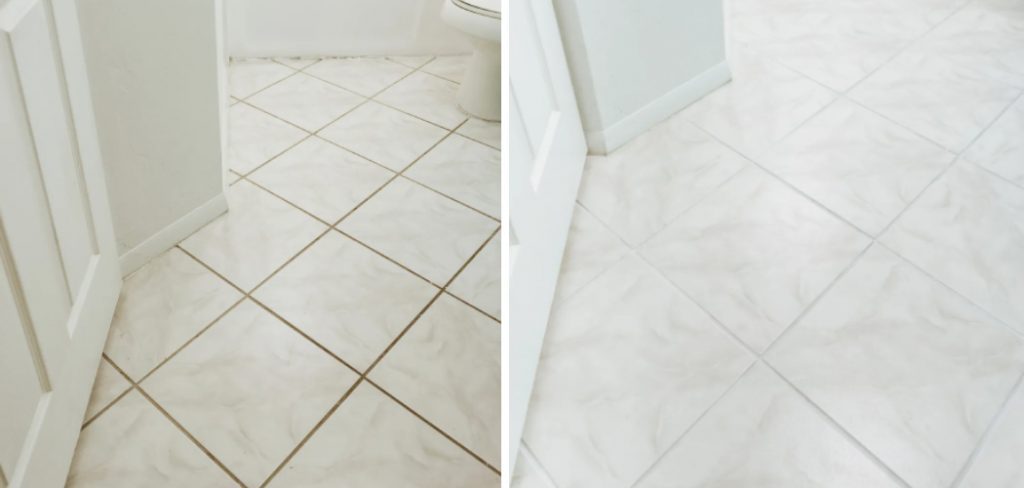
In this blog post, we’ll be exploring the best DIY tips for how to make shower grout look new. We’ll discuss options such as deep cleaning with bleaching agents, special sealants that protect against future staining, and more. Follow our step-by-step guide for tips on restoring your old shower grout to its original glory – or better! Read on if you’re ready to bring your dingy old grout back from the dead!
What is Shower Grout?
Shower grout is a type of mortar used to fill in the gaps between tiles in showers and other wet areas. It’s typically made from a mixture of Portland cement, sand, and water, though some may contain additional ingredients for added strength or flexibility. Unlike caulk or sealant, which is designed to remain flexible over time, shower grout is designed to remain rigid and will crack and crumble over time due to water exposure.
Things to Keep in Mind When Making Shower Grout Look New
Before attempting to make your shower grout look new, it’s important to remember several key points for safety and success.
- Always wear protective clothing, such as gloves, when cleaning grout with any type of chemical cleaner. It will protect your skin from harsh chemicals and potential irritation, which can occur with frequent exposure.
- Test a hidden area of the grout first to ensure that any products used won’t cause discoloration or damage. Hidden areas, such as the inside of a cabinet or closet, are ideal for this.
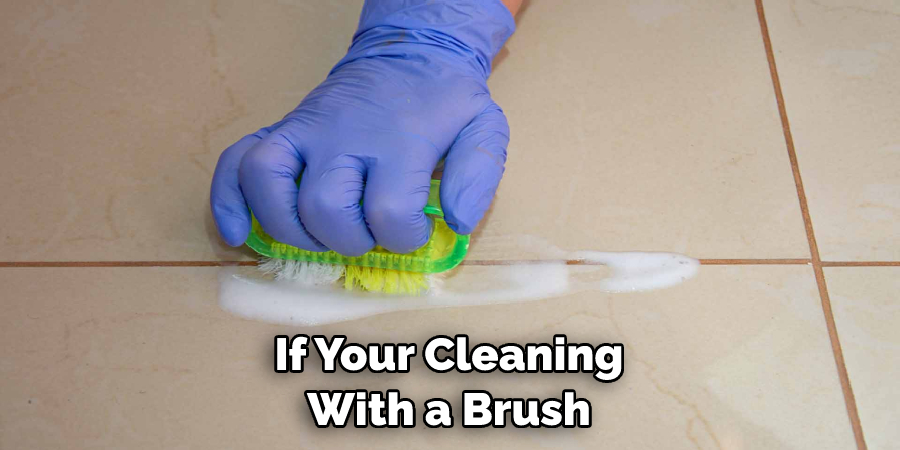
- Use gentle scrubbing techniques to avoid damaging the grout lines if you’re cleaning with a brush. Applying too much pressure can cause cracks in the grout, leading to more damage over time.
The Benefits of Making Shower Grout Look New
1. New Look
Making your shower grout look new again offers several benefits. Not only will it give your bathroom a fresh, updated look without having to go through the hassle of replacing tile, but it will also prevent future damage from dirt and water. Cleaning and sealing your grout can help protect it against staining, mold, mildew, and discoloring, so it will stay looking beautiful for years to come!
2. Health Benefits
Making your shower grout look new can also help you maintain a healthy home environment. Grout lines are a common place for mold and mildew to grow due to their tendency to be damp and dark – two of the prime conditions necessary for mold growth. Cleaning and sealing your grout can help prevent the growth of mold and mildew, which can lead to a variety of health problems.
How to Make Shower Grout Look New in 10 Easy Steps
Step 1: Clean Out
Start by cleaning the grout. Use a brush and warm water to scrub off any dirt or soap scum that’s built up on the surface, then rinse with clean water. You can also use a commercial tile cleaner for more difficult stains. While cleaning, be sure to use gentle scrubbing techniques in order to avoid damaging the grout.
Step 2: Apply Bleach
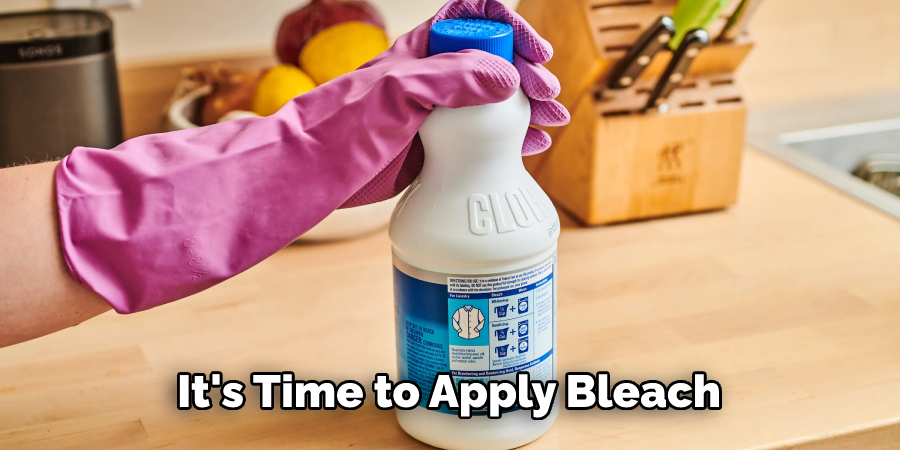
Once you’ve given your grout a good clean, it’s time to apply bleach. Bleach is one of the most effective ways to make shower grout look new again, as it helps remove deep-seated stains and discoloration. Mix a solution of 1 part bleach and 2 parts water, then use a cloth or brush to apply it to the grout lines. Let it sit for 10-15 minutes before rinsing with clean water.
Step 3: Clean Again
Once you’ve applied the bleach solution, give your grout another thorough cleaning using a mixture of warm water and dish soap. This will help remove any excess bleach solution that may have been left behind. Be sure to rinse with clean water afterward.
Step 4: Apply Sealer
Once you’ve finished cleaning, it’s important to apply a grout sealer in order to protect it from future staining and discoloration. Grout sealers come in a variety of forms – from aerosol sprays to paint-on solutions. Be sure to read the instructions on the packaging and apply according to the directions.
Step 5: Let Dry the Sealer
Let your grout sealer dry for several hours or overnight before applying any type of product that could damage it, such as tile cleaner or bleach solution.
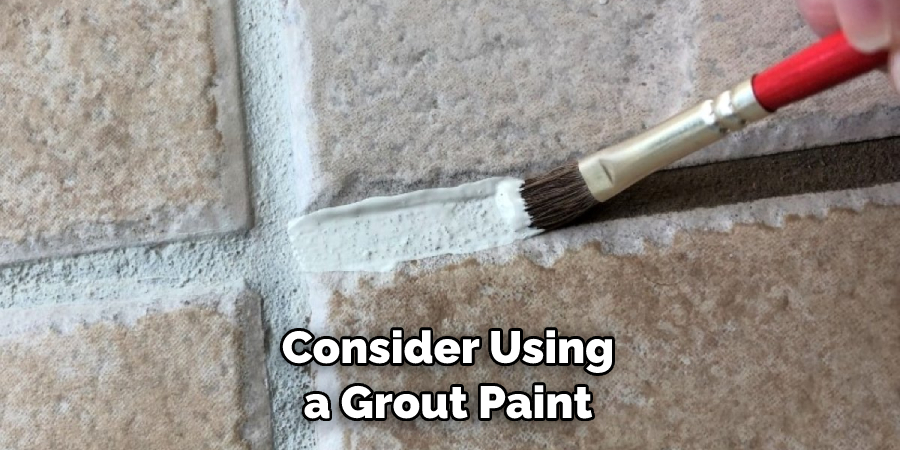
Step 6: Apply Grout Paint
If your grout still looks discolored after applying the sealer, you may want to consider using a grout paint. This is an easy solution that will temporarily cover up any discoloration or stains in the grout lines. You can find grout paints in a variety of colors to match your existing tile.
Step 7: Let Dry
Once you’ve applied the grout paint, let it dry for several hours or overnight before using the shower. This will ensure that the paint has had adequate time to set and won’t be damaged by water or steam.
Step 8: Seal Again
Once the paint has dried, it’s a good idea to apply another layer of grout sealer. This will help protect your freshly painted grout from future staining and discoloration. Be sure to read the instructions on the packaging before applying and follow the directions carefully.
Step 9: Let Dry
Let your second layer of grout sealer dry for several hours or overnight before using the shower. This will ensure that the sealer has had adequate time to set and won’t be damaged by water or steam.
Step 10: Enjoy Your New Grout!
Congratulations! You have successfully made your shower grout look new again. To keep it looking great, make sure to clean and seal your grout every 6-12 months. Doing so will help ensure that dirt and water don’t build up in the grout lines and cause discoloration or staining. Regular maintenance is key for keeping your shower grout looking like new!
Making shower grout look new can seem like a daunting task, but with the right tools and knowledge, it’s easier than you might think. With these 10 steps, you’ll be able to make your shower grout look new in no time!
8 Safety Precautions to Follow
You should always take safety precautions when cleaning your shower grout. Here are some tips to get you started:
- Wear protective gear like goggles and gloves while handling cleaners and chemicals. Otherwise, the substances can irritate your skin and eyes. Always check the label to see what protective gear you should wear.
- Ventilate your bathroom to keep it from becoming too hot or stuffy while cleaning. Open a window and/or turn on the fan if it’s available in your bathroom. Also, you should never mix chemical cleaners together as the combination can create dangerous fumes and chemicals
- Always read the instructions on any cleaning products you use to make sure you’re using them correctly. Never use too much of a product or it could damage your shower grout or tiles.
- Use a sponge or cloth to apply the cleaner and scrub lightly. This will ensure that you don’t damage the grout in your shower while cleaning it. Sponge mops may be too abrasive for cleaning grout.
- After applying the cleaner, let it sit for a few minutes before wiping it away with a damp cloth or rinsing your shower off with water. This will ensure that you don’t have to scrub as hard, and the cleaner can do its job more effectively.
- Rinse your shower off with water after cleaning it to remove any leftover residue from the cleaner. Rinse it with a steady stream of water.
- Check your shower grout regularly for signs of discoloration or mildew growth. Clean it if necessary to prevent further damage from occurring. If you see signs of mold, use a specialized cleaner to remove it.
- If you’re using heavy-duty cleaning products, make sure you wear protective breathing apparatus such as a mask or respirator. These products may give off dangerous fumes that can be hazardous if inhaled.
By following these safety precautions on how to make shower grout look new while cleaning your shower grout, you can make sure that the job is done safely and correctly. This will help prevent any further damage from occurring to your shower grout or tiles, as well as keep you safe while cleaning.
8 Tips for Keeping the Shower Grout Look New
Keeping your shower grout looking like new isn’t impossible – with a little know-how and the right resources, you can maintain your shower grout in pristine condition. Here are 8 tips for making sure that your shower grout continues to look new:
- Use high-quality sealant on new grout or newly repaired areas. This helps to protect the grout and makes it more resistant to water and bacteria. It will keep the grout looking new for longer.
- Clean your shower regularly, and scrub tile grout with a soft brush and an appropriate cleaner to remove soap scum and mold/mildew buildup. A mixture of baking soda, vinegar, and warm water can also be used to clean the tiles and grout.
- Clean your shower after every use with mild soap, then rinse it down well. Grime and dirt left behind from showering can cause buildup in grout lines, so getting rid of this debris regularly will help keep the grout looking new.
- Use a steam cleaner regularly to deep clean your entire shower, including the grout lines. This will help to remove bacteria and dirt from even those hard-to-reach areas of the shower.
- Re-seal your grout every 6-12 months to help it stay protected and look new. To keep it looking great, use a quality grout sealer.
- Try a grout cleaning product specifically designed to remove dirt and grim from shower walls and floors. This can help keep your grout looking new for much longer.
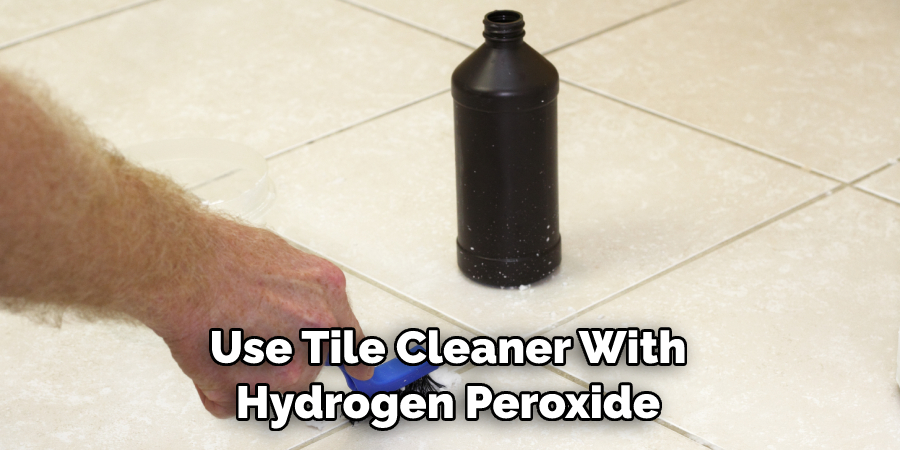
- Use tile cleaner with hydrogen peroxide, rather than bleach, when cleaning the tiles in your shower, as this will prevent discoloration of the grout over time.
- Use a squeegee after showering to help reduce the number of water spots that build up on the tiles and grout, leading to discoloration over time.
Following these tips on how to make shower grout look new will help you maintain your shower grout and keep it looking new for years to come. With some regular maintenance and care, your shower can look just as good as the day it was installed!
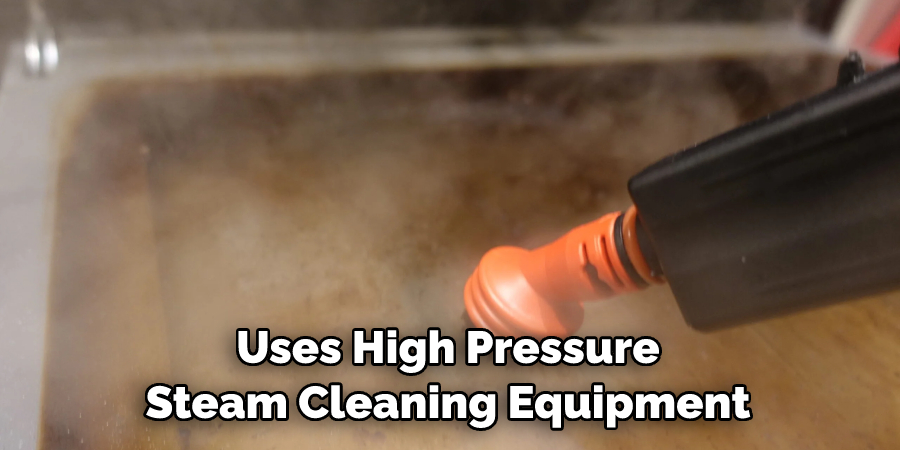
Using a professional grout and tile cleaning company can also help to bring back that like-new look in no time. This type of service uses high-pressure steam cleaning equipment, along with expert technicians, to clean and restore your grout lines in just one visit. It’s an effective way to deep clean your shower and maintain the grout lines.
Conclusion
Applying grout sealer and giving the tiles an occasional deep clean can ensure that your shower grout remains looks new for much longer. Ultimately, it pays to take a few simple steps to properly clean and maintain your shower grout, as it can save countless hours replacing or repairing old, broken, and discolored grout in the future.
If you’ve followed these tips on how to make shower grout look new to maximize the lifetime of your shower grout then congratulations; you have taken a proactive approach to maintaining the beauty of your bathroom for years to come! Additionally, you should consider using an electronic scrubber brush to reach those hard-to-reach areas, which can collect unpleasant-smelling mold and mildew. With all these tips in mind taking care of your shower grout will be a breeze, so start working on making your shower look shiny and brand new!

