For taller individuals or simply for those looking to enhance the showering experience, the height of a shower head can make a significant difference in daily comfort and convenience. Standard shower head heights, typically designed with average users in mind, often fall short—literally—when accommodating taller users.
This can lead to discomfort during showers, such as having to bend awkwardly or deal with water hitting at an inconvenient angle. Addressing this common issue not only improves comfort but also elevates the overall practicality of your bathroom. If you’ve been searching for how to make shower head taller, numerous solutions are available to customize your setup.
These range from simple, cost-effective DIY fixes, like adjustable shower arms, to more permanent plumbing adjustments for a seamless look. With the right approach, achieving the perfect height for an enjoyable, hassle-free shower every time is possible.

Assessing Your Shower Setup
Before making adjustments to raise your shower head, it’s important to assess your current shower setup to ensure you choose the best solution for your needs.
Check the Current Shower Height
Begin by measuring the height of your existing shower head from the floor. This gives you a clear baseline to determine how much height needs to be added for optimal comfort.
Identify the Type of Shower Arm
Determine the type of shower arm you currently have. Shower arms come in different styles, including straight, angled, and adjustable models. Knowing which type you have will influence your options for height adjustments. Straight and angled arms are typically fixed, while adjustable arms allow more flexibility in positioning.
Inspect the Wall Connection
Examine how the shower arm is connected to the wall. Some setups have easily adjustable mounts, while others are fixed to internal plumbing. Identifying whether or not the connection can be modified will help you determine whether a DIY fix is feasible or if professional plumbing work may be required.
Understanding your shower setup is a crucial first step toward selecting the best method for raising the height of your shower head, ensuring a functional and effective solution tailored to your bathroom’s design.
How to Make Shower Head Taller: Using a Shower Arm Extension
What is a Shower Arm Extension?
A shower arm extension is a simple and effective accessory designed to increase the height or adjust the reach of your shower head. It connects directly to your existing shower arm, acting as an intermediary piece to add extra length or change the angle.
Typically made from durable materials like stainless steel or brass, shower arm extensions are compatible with most standard plumbing setups and require no major alterations to your bathroom’s infrastructure.
Installation Steps
- Remove the Current Shower Head
Begin by unscrewing your existing shower head carefully. Use a wrench or pliers if needed, ensuring you don’t damage the threads or surrounding fixtures.
- Attach the Extension Arm
Screw the shower arm extension onto the existing shower plumbing. Hand-tighten the connection, and then use a wrench to secure it further. Be careful not to over-tighten, as this can damage the fitting.
- Reattach the Shower Head
Attach your shower head to the end of the extension arm. Ensure the connections are tight and leak-proof by testing them with water before installation.
Benefits
Using a shower arm extension is a quick, cost-effective solution that doesn’t involve complicated renovations. It’s easy to install, provides additional height instantly, and allows for a more comfortable showering experience without needing professional help.

Replacing the Shower Arm with a Longer or Angled Arm
Upgrading your shower by replacing the existing arm with a longer or angled option can offer a permanent and elegant solution for increasing shower height. Common choices include S-shaped arms, which provide a gentle rise and fall for added reach, or longer, curved designs that create a more luxurious and ergonomic showering experience.
Steps to Replace the Shower Arm
- Turn Off the Water Supply
Begin by shutting off the water supply to avoid any potential leaks or mishaps during the replacement process.
- Remove the Existing Shower Arm
Use a wrench to unscrew the existing shower arm from the wall fitting carefully. Be sure to handle the area gently to avoid damaging the tiles or surrounding fixtures.
- Prepare the New Shower Arm
Before installation, wrap the plumber’s tape around the threads of the new shower arm. This step ensures a secure fit and prevents leaks once it’s in place.
- Install the New Shower Arm
Screw the new shower arm into the wall fitting by hand, then use a wrench to tighten it further. Be cautious not to overtighten, as this can cause damage to the threads.
- Reattach the Shower Head
Finally, connect the shower head to the new arm and tighten the connection. Conduct a water test to confirm there are no leaks and that the setup is secure.
Considerations
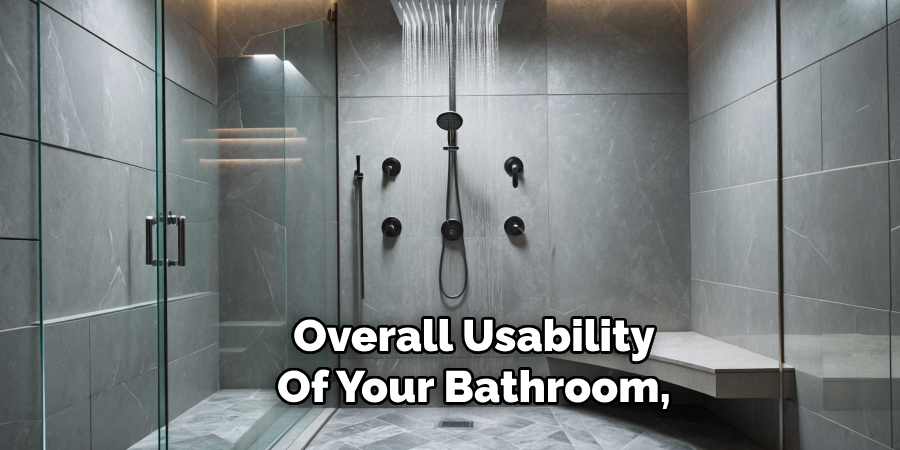
When selecting a replacement arm, ensure it is compatible with your wall fitting and existing shower head for a seamless installation. This approach not only elevates the shower head permanently but also enhances the overall usability of your bathroom, providing a tailored and practical solution to improve your showering experience.

Adjustable Shower Head Holders
What Are Adjustable Holders?
Adjustable shower head holders are practical brackets or mounts designed to provide flexibility in the position of your shower head. Unlike fixed installations, these holders allow users to move the shower head vertically to their desired height. They are perfect for accommodating the needs of various household members or for those who prefer a temporary, non-permanent solution.
Installation Steps
- Attach the Holder to the Wall
Most adjustable holders feature suction cups or adhesive backing for easy installation. Simply clean the wall’s surface, ensuring it is dry and free from debris, then press the holder firmly into place.
- Place the Shower Head in the Holder
Once the mount is secured, position the shower head in the holder and adjust it to the desired height. Ensure the holder is correctly angled to allow optimal water flow during use.
Benefits
Adjustable shower head holders are ideal for renters or anyone seeking a temporary fix that doesn’t require modifying plumbing or existing fixtures. They provide a simple and versatile solution to improve the functionality of your shower without the need for tools or professional installation.
Using a Handheld Shower Head with a Sliding Bar
Why Choose a Handheld Shower Head?
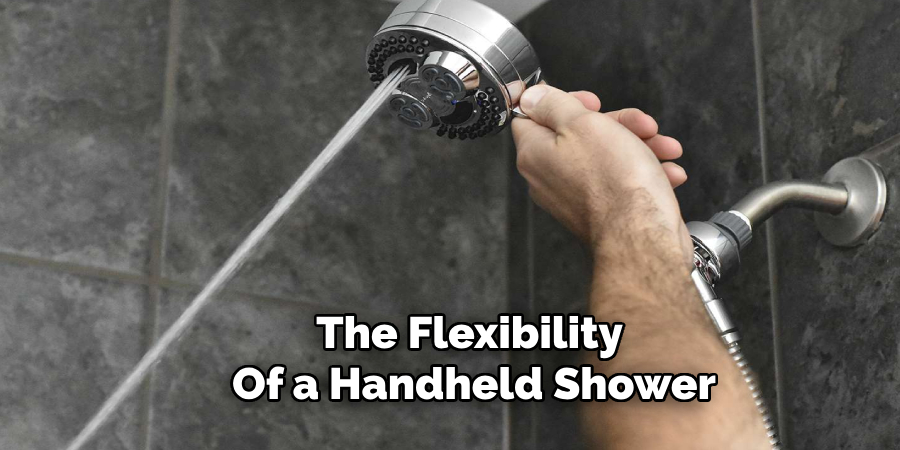
A handheld shower head offers unparalleled flexibility and convenience. Unlike fixed shower heads, it can be easily adjusted, moved, and directed to specific areas, making it ideal for various needs, from rinsing hard-to-reach spots to bathing children or pets. This versatility makes it a popular choice for households looking to enhance their showering experience.
Installing a Sliding Bar
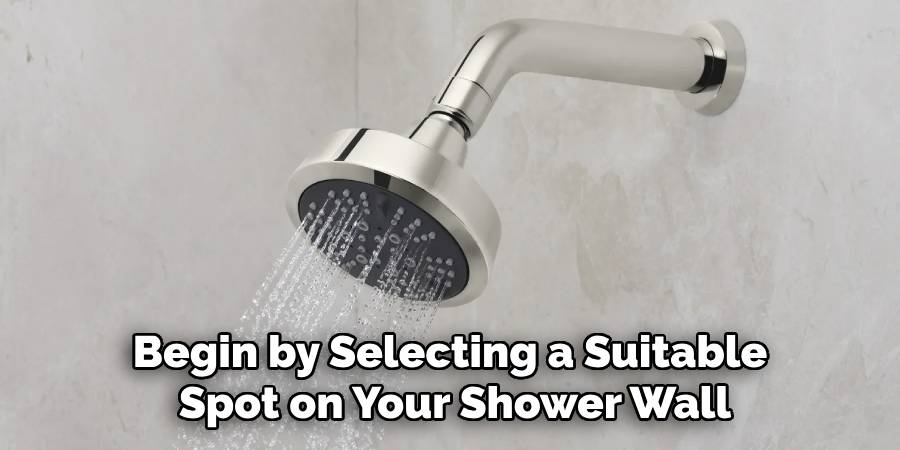
Installing a sliding bar is a straightforward process that provides full adjustability to your handheld showerhead. Begin by selecting a suitable spot on your shower wall, ensuring it’s at a height that is accessible for all household members.

Use screws or an adhesive mount, based on your preference and the design of the sliding bar, to secure it vertically against the wall.
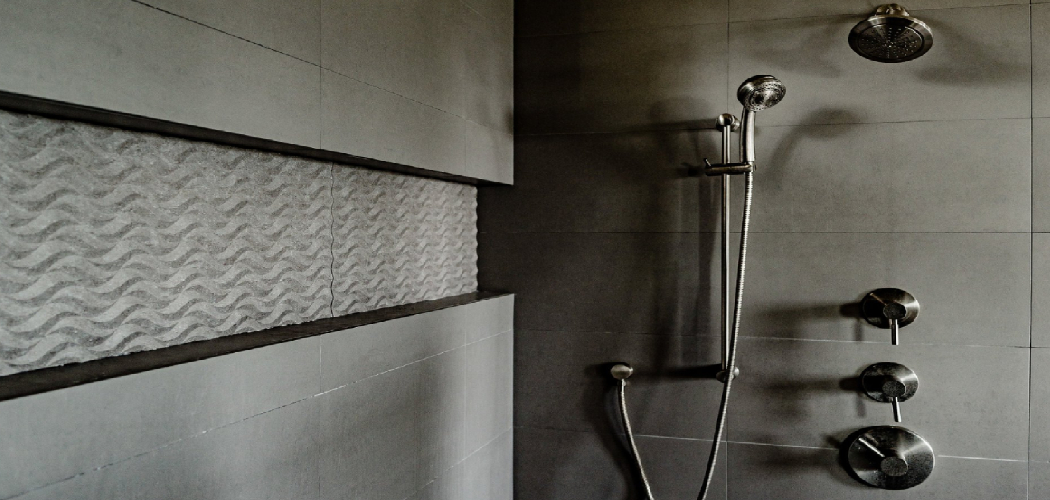
Be sure to follow the manufacturer’s instructions for proper installation. Once the sliding bar is fixed, attach the handheld shower head to the sliding bracket. This bracket allows the shower head to move up or down along the bar for easy height adjustments.
Advantages
A sliding bar with a handheld shower head offers numerous advantages, particularly for multi-user households. Its adjustable height makes it suitable for everyone, from children to taller adults, eliminating the need for separate fixtures.
This feature especially benefits families or shared bathrooms where shower preferences vary. Additionally, the flexibility of a handheld shower head enhances functionality, allowing for precision cleaning and comfort during use.

Professional Plumbing Adjustments
For more complex installations, such as raising the shower plumbing inside the wall, it may be necessary to call a professional plumber.
This is especially true if the existing plumbing does not align with your desired setup or if significant modifications need to be made. Attempting such tasks without the proper expertise can lead to leaks, structural damage, or misaligned fixtures.
The process typically involves cutting into the bathroom wall to access the existing vertical pipe. The plumber will then extend or adjust the pipe to the desired height using appropriate materials and fittings.
Once the modifications are made, the wall must be resealed and possibly retiled to restore its appearance and waterproof integrity. This ensures that the changes are permanent and durable, providing a long-term solution that complements larger bathroom remodeling projects.
While this approach is more expensive and time-consuming than surface-mounted options, it significantly enhances aesthetics and functionality. Calling a professional guarantees that the job will be done correctly and to code, reducing the risk of future issues. This permanent solution can be an excellent investment for those seeking to modernize their bathroom and improve its overall value.
Tips for Ensuring Stability and Leak Prevention
Use Plumber’s Tape
Applying plumber’s tape on all threaded connections is a simple yet crucial step to prevent leaks. This ensures tight seals and improves the longevity of your installation.
Secure Wall Attachments
Properly securing brackets, arms, or bars is vital for maintaining stability. Check that all attachments are firmly tightened and aligned correctly with the surface to support the fixture’s weight without strain.
Test for Leaks
After installation, run water through the system and carefully inspect all connections for any signs of leakage. Addressing leaks immediately helps avoid potential water damage or long-term issues.
Maintain Over Time
To preserve the integrity of the setup, perform regular inspections of your fixtures and connections. Ensure that screws and seals remain secure and address any loose parts promptly. Proper maintenance will enhance the performance and durability of the entire setup.

Conclusion
Understanding how to make shower head taller involves exploring a variety of methods, from simple solutions like adding a shower arm extender to more advanced options such as installing a custom riser. Each method offers unique benefits, depending on your shower setup and personal requirements.
It’s essential to evaluate the available options carefully, prioritize safety, and consult professionals for any intricate plumbing modifications. Choosing the right solution can greatly enhance the functionality and comfort of your shower, making every use a more enjoyable experience. By addressing height adjustments effectively, you can transform your daily routine with ease and convenience.

