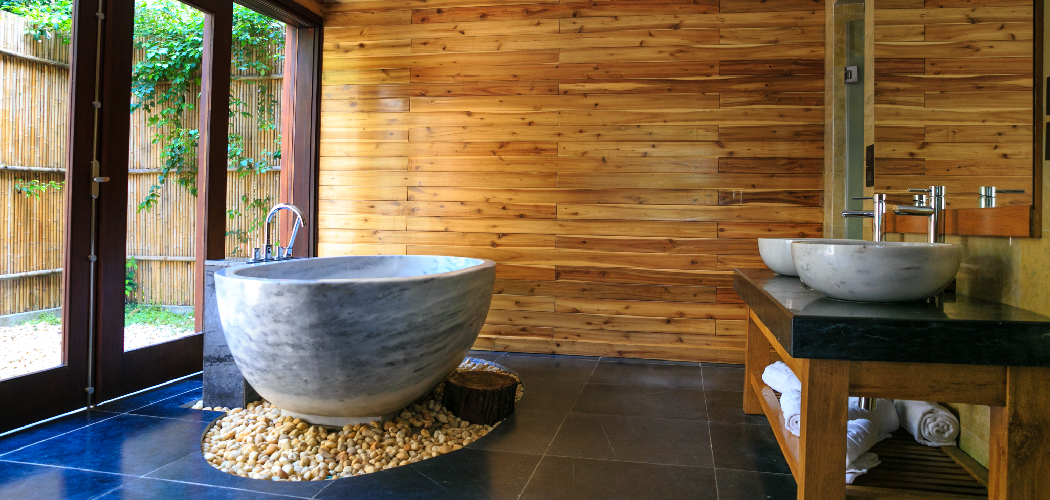
Are you considering a bathroom renovation in which wood will be used for the floor, walls, or even furniture? If so, then waterproofing is an essential step in order to ensure that your wood surfaces can withstand long-term exposure to water. Fortunately, there are many DIY solutions available today that make it easy to waterproof your wood and protect it from all of the moisture found in bathrooms.
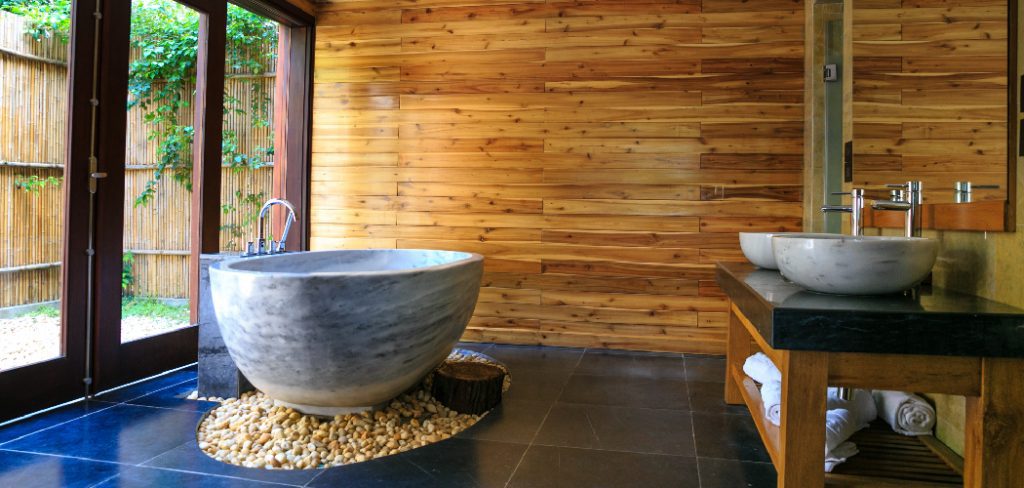
In this blog post, we’ll cover the various ways how to make wood waterproof for bathroom renovation as well as tips on how you can keep these surfaces safe and looking great over time. So if you want to learn about how to create waterproofed wooden accents for your bathroom project, read on!
9 Best Ways on How to Make Wood Waterproof for Bathroom
1. Use a Polyurethane Sealant
The most common way to make wood waterproof for the bathroom is by using a polyurethane sealant. This type of sealant will create a barrier that prevents liquids from soaking into the wood, which in turn keeps it dry and protected from the moisture found in bathrooms. It’s important to note that this sealant will not make the wood appear shiny or glossy, but it will protect it from water damage.
2. Apply a Waterproofing Wax
Another effective way to make wood waterproof for the bathroom is by applying a waterproofing wax. This wax helps form a protective barrier on the surface of the wood which in turn keeps it safe from any moisture that may come into contact with it. Applying a waterproofing wax does take some time and effort, as it needs to be applied in multiple thin coats in order for it to be effective.
3. Use an Oil-Based Polyurethane Finish
If you want the wood to have a glossy finish, then using an oil-based polyurethane finish is your best bet. This type of finish will create a protective layer on the surface of the wood which helps keep it safe from water damage. It’s important to note that this finish is not as durable as polyurethane sealant, so you may need to reapply the finish more frequently in order for it to be effective.
4. Use a Deck Stain
Another way to make wood waterproof for the bathroom is by using a deck stain. This type of product can create a protective layer on the surface of the wood which helps keep it safe from any moisture that comes into contact with it. Deck stains also come in a variety of colors, which makes them perfect for creating unique looks in your bathroom.

5. Use an Epoxy Sealer
Epoxy sealers are another great way to make wood waterproof for the bathroom. This type of product is best suited for outdoor use, as it creates a durable and waterproof barrier on the surface of the wood.
It’s important to note that applying this product can be time-consuming, as you need to ensure that the entire surface has been covered in order for it to be effective.
6. Use a Liquid Rubber Coating
If you want to create a waterproof layer on the wood without altering its appearance, then using a liquid rubber coating is your best bet. This type of product creates an invisible barrier that prevents water from soaking into the wood and damaging it over time.
It’s important to note that this product can be messy to apply, so you may want to enlist the help of a professional in order to ensure that it is applied properly.
7. Use Waterproof Paint
Waterproof paint can also be used to make wood waterproof for bathroom projects. This type of paint creates a protective layer on the surface of the wood which helps keep it safe from any moisture that comes into contact with it. It’s important to note that this paint won’t make the wood glossy, but it will keep it safe from water damage.
8. Use a Waterproof Varnish
Waterproof varnishes are another great way to make wood waterproof for bathroom projects. This product creates a protective layer on the surface of the wood which helps keep it safe from any moisture that comes into contact with it. It’s important to note that this product can be quite time-consuming to apply, as it needs to be applied in multiple thin coats in order for it to be effective.
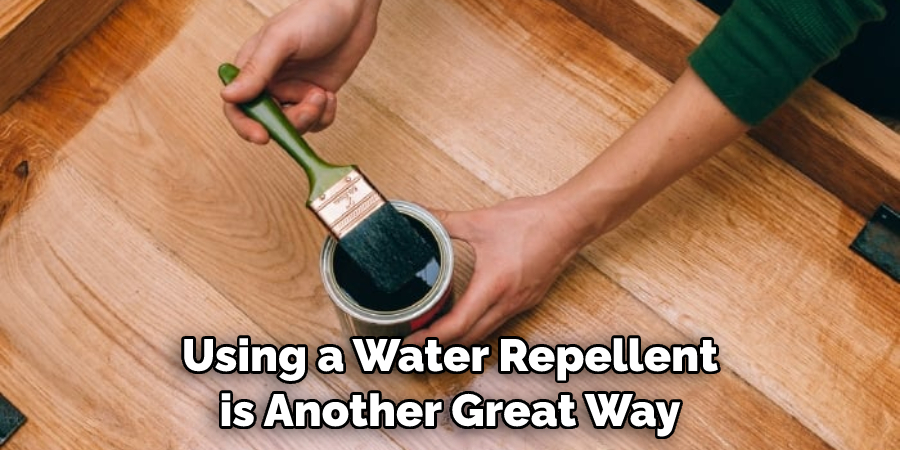
9. Use a Water Repellent
Finally, using a water repellent is another great way to make wood waterproof for bathroom projects. This type of product will create a barrier on the surface of the wood which helps keep it safe from any moisture that comes into contact with it. It’s important to note that this product can be quite time-consuming to apply, as it needs to be applied in multiple thin coats in order for it to be effective.
Now that you know how to make wood waterproof for bathroom projects, you are ready to get started on your bathroom renovation! We hope that this blog post has been helpful in giving you all of the information that you need in order to create a beautiful and waterproofed wooden accent for your bathroom project. Good luck!
Additional Tips and Tricks to Make Wood Waterproof for Bathroom
- Use a sealant specifically designed for wood and water protection, such as an oil-based exterior polyurethane or marine spar varnish. Sealants are the best and most reliable way to waterproof your wood surfaces in the bathroom environment.
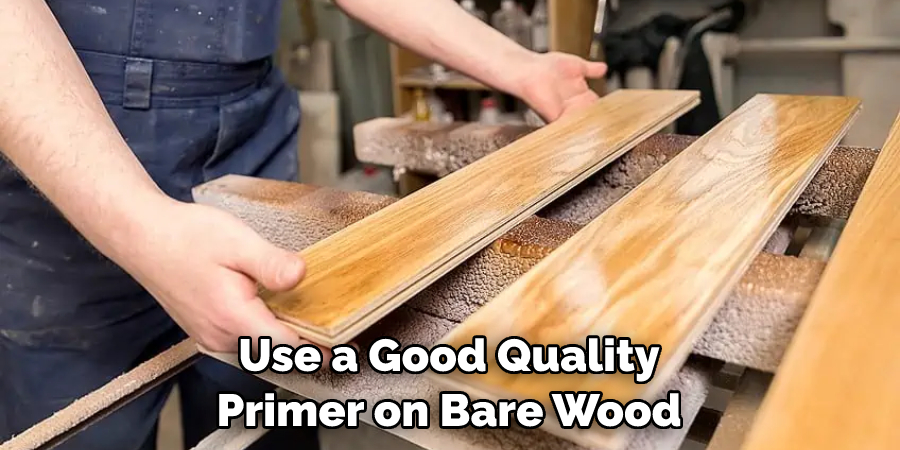
- Use a good-quality primer on bare wood before applying paint or stain to help protect the wood from moisture.
- Regularly inspect your wood surfaces for any signs of warping, cracking, or staining due to water exposure, and apply additional sealant if needed.
- Choose paints and stains that are specifically designed to be waterproof in a bathroom environment, such as epoxy paints or oil-based exterior stains.
- Apply multiple coats of paint or stain, allowing each coat to dry completely before applying another.
- Consider adding a layer of clear waterproofing over the finish to protect it from moisture and wear and tear caused by frequent use.
- Add furniture protectors such as felt pads on the bottom of furniture feet that sit directly on wood surfaces in order to prevent scratches and moisture buildup.
- Reapply sealant as needed to keep your wood surfaces looking great and protected from water damage for years to come. Regularly inspecting the surfaces for signs of wear or damage is the key to keeping them looking their best.
- Finally, use a quality bathroom fan that vents directly outside in order to help reduce humidity and moisture buildup in the bathroom. This will help keep your wood surfaces looking their best for longer.
Following these tips and tricks will ensure that your wood surfaces remain waterproof for years to come, making your bathroom an attractive and enjoyable space to be in. With some regular maintenance, you can keep your wood surfaces looking beautiful and protected from water damage.
Frequently Asked Questions
How Do I Make Wood Waterproof for Use in a Bathroom?
To make wood waterproof, you will need to seal it with a water-resistant sealant such as polyurethane or shellac. You can apply the sealant with a brush or roller and allow it to dry according to manufacturer instructions before using it in your bathroom. Additionally, you should always make sure the wood is clean and dry before applying the sealant.
What Are the Benefits of Making Wood Waterproof?
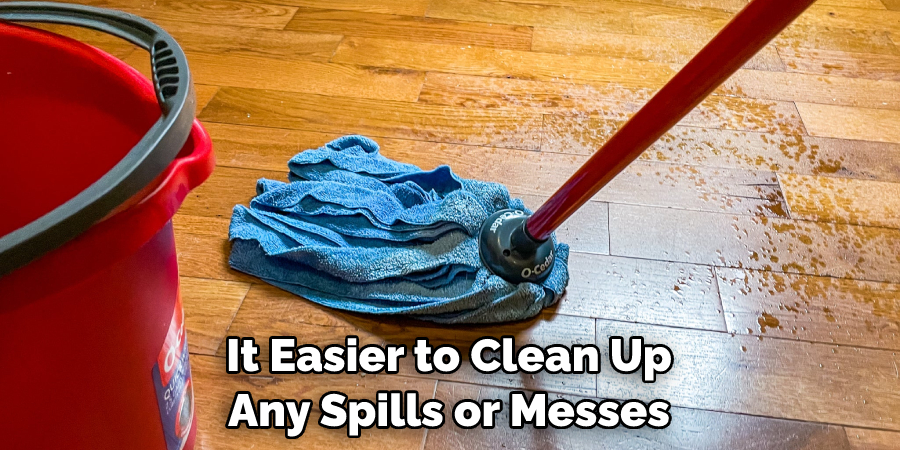
Making wood waterproof gives it protection against moisture that can cause damage over time. This will help to ensure that your wood furniture or floors stay in good condition for many years. Additionally, a waterproof finish provides an extra layer of protection against water or spills, making it easier to clean up any messes.
Are There Risks Involved With Making Wood Waterproof?
Although sealants are designed to protect wood from moisture and other elements, they do have some risks associated with them. It is important that you read the instructions and safety information for the specific product you use carefully before beginning the waterproofing process.
In some cases, you may need to use a respirator and protective gear when working with sealants. Additionally, it is important that you follow all directions and apply the sealant in a well-ventilated area.
How Often Should I Reapply Waterproof Sealant?
It depends on the type of product used and how exposed the wood is to water or moisture. Generally, it is recommended that you re-apply waterproof sealant at least once a year for optimal protection. Additionally, you should check your wood periodically and reapply sealant as needed if there are signs of wear or damage.
Why Should I Choose a Waterproof Finish Over Other Types of Wood Sealants?
Waterproof finishes provide the most comprehensive protection against moisture and other elements. They also help to prolong the life of your wood furniture or floors, as well as make it easier to clean up any spills or messes. Other types of sealants may not offer the same level of protection, so it is important that you choose a product specifically designed for waterproofing if possible.
Conclusion
With the above outlined you learned how to make wood waterproof for bathroom use, the benefits of making wood waterproof, the risks involved with this task, how often you should reapply waterproof sealant, and why choosing a waterproof finish is recommended over other types of wood sealants.
You now have all the information you need to make an informed decision about whether or not waterproofing wood is right for your bathroom project. Taking the time to properly prepare and waterproof your wood will help ensure it remains in good condition for many years to come.

