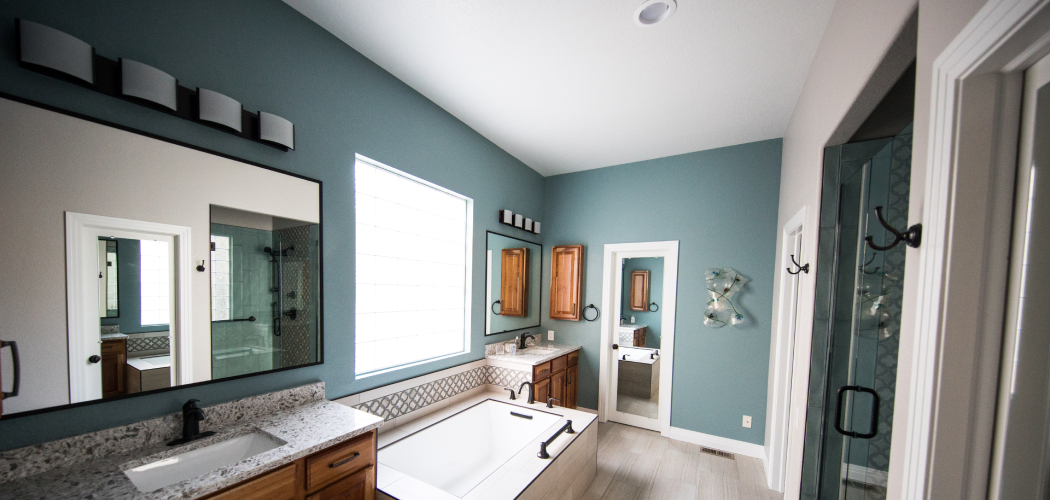
Transforming your bathroom space through a fresh coat of paint can instantly breathe new life into the entire room. Among the essential areas to consider is the often overlooked, yet significant, bathroom ceiling.
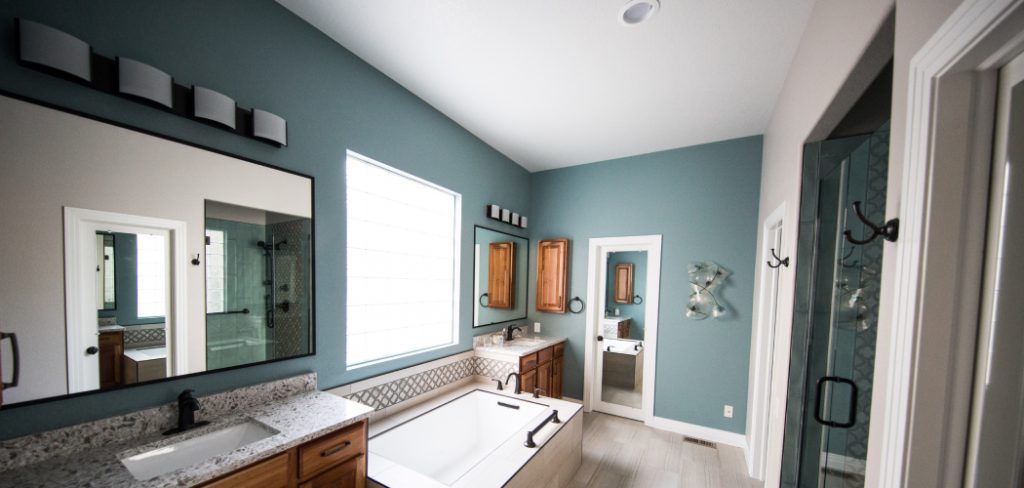
While painting a bathroom ceiling may seem like a daunting task, with the right techniques and guidance, it can become a manageable and rewarding DIY project.
From choosing the appropriate paint type and color to preparing the surface and ensuring a smooth application, mastering the art of painting a bathroom ceiling is key to achieving a polished and inviting ambiance.
In this article, we will take you step-by-step through the process of how to paint a bathroom ceiling, offering valuable tips and tricks along the way to ensure your bathroom ceiling not only looks aesthetically pleasing but also withstands the moisture and humidity inherent in bathroom environments.
Get ready to elevate your bathroom’s style and functionality by mastering the art of bathroom ceiling painting.
Importance of a Well-Painted Bathroom Ceiling
A well-painted bathroom ceiling provides a sense of completion to the overall decor of the room. It also helps create a uniform look that will last for years to come, as opposed to bare or unfinished walls and ceilings that can make a room feel incomplete and less inviting.
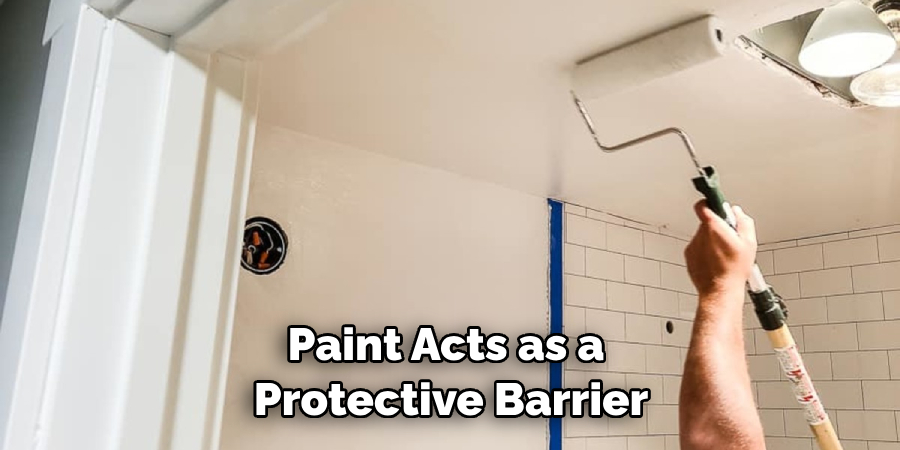
In addition, paint acts as a protective barrier against water damage, humidity, and other environmental factors like pests or mold growth.
Furthermore, it gives an opportunity to switch up colors or add texture with different paints and finishes such as matte or satin sheens. Lastly, painting can be used as an easy way to brighten up a bathroom and tie in all the elements together.
Ultimately, having properly painted ceilings in your bathroom is essential in creating the desired atmosphere you are aiming for.
Checking for Water Damage or Cracks
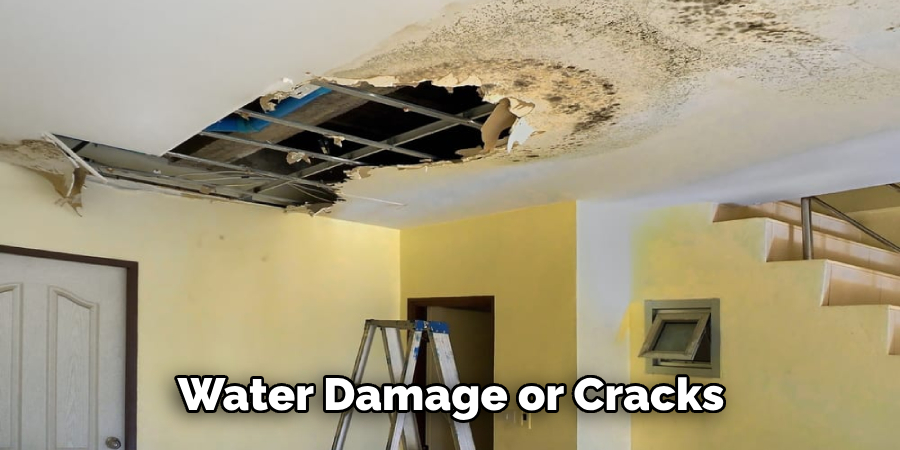
Before beginning the task of painting a bathroom ceiling, it is essential to check for any water damage or cracks. If there are signs of water damage or cracks, this should be addressed before painting in order to ensure a good finish and prevent further damage.
To check for water damage, look for bubbling paint, mold or mildew, discoloration on the ceiling, or flaking paint.
If you find any of these signs, your best option is to consult with a professional repair service before proceeding with the project. Cracks can be easily spotted by looking for lines in the surface of the ceiling that may indicate structural instability.
List of Required Tools and Equipment
Before starting to paint a bathroom ceiling, it is important to have all the necessary tools and equipment ready. Here are some items that should be in your tool box:
- Drop cloths or newspapers for covering any surfaces you do not want to get paint on.
- A ladder or step stool, for reaching the higher parts of the ceiling.
- Paint trays, for holding the paint and brushes while you work.
- Rollers and brushes, depending on how you plan to apply the paint (rollers are typically best for large areas).
- Primer (if needed), for sealing porous materials such as drywall before painting.
- Paint – choose a washable interior latex paint that is formulated for bathrooms and other humid areas.
- Painter’s tape, to protect the edges of any trim or fixtures.
- Sponges, rags, or paper towels, for wiping up spills.
- Safety glasses and a respirator mask (for spray painting).
10 Methods How to Paint a Bathroom Ceiling
Method 1: Choose the Right Paint Type and Finish
Selecting the appropriate paint type and finish is crucial for painting a bathroom ceiling that withstands the unique challenges of a humid environment. Opt for high-quality, moisture-resistant paint, such as semi-gloss or satin finish, as they are more durable and easier to clean than flat paint.
These finishes also resist mold and mildew, which are common in bathrooms.
Method 2: Prepare the Ceiling Surface
Before diving into painting, thorough preparation is essential. Start by clearing the bathroom and covering fixtures, flooring, and walls with drop cloths to protect them from paint splatters. Next, ensure the ceiling is clean and free of dust, dirt, and grease. Use a mild detergent solution and a sponge or cloth to clean the surface thoroughly.
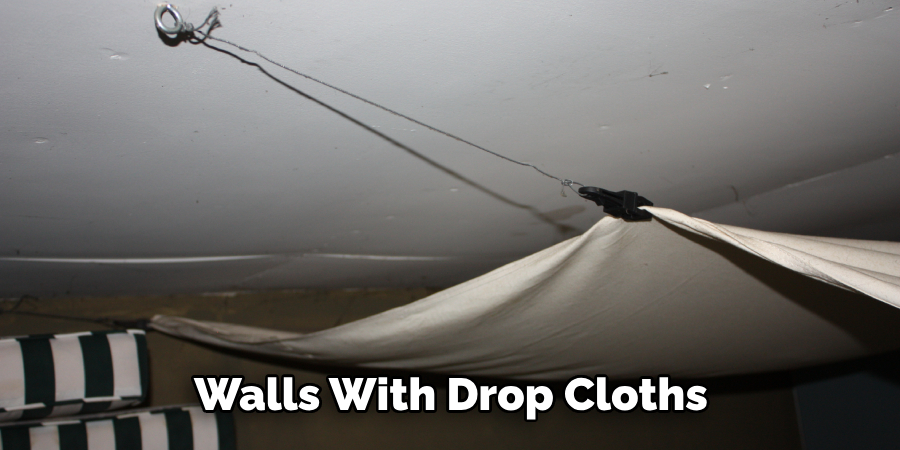
If there are any cracks or holes, patch them up using a joint compound and sand them down to achieve a smooth and even surface.
Method 3: Remove Old Paint or Texture (If Necessary)
If the existing ceiling paint is chipping or peeling, it’s essential to remove it before applying a fresh coat. Use a paint scraper or sandpaper to strip off the old paint carefully. In some cases, bathroom ceilings may have textured finishes that are not conducive to painting.
If this is the case, consider using a texture remover or sanding the texture down until the surface is smooth and ready for paint.
Method 4: Prime the Ceiling
Priming the bathroom ceiling is a crucial step to ensure proper adhesion of the paint and enhance its durability. Choose a high-quality primer suitable for bathroom environments and apply it evenly over the entire ceiling surface.
A primer with mold and mildew resistance will provide additional protection against these common bathroom issues.
Method 5: Use Painter’s Tape and Cut-In
To achieve clean and crisp edges, apply painter’s tape along the edges where the ceiling meets the walls. This will protect the walls from accidental paint splatters. Before using a roller on the main area of the ceiling, cut-in the corners and edges with a brush to create a neat and precise border.
Method 6: Invest in the Right Tools
Having the right tools is essential for a successful bathroom ceiling painting project. Invest in high-quality brushes, rollers, paint trays, and an extension pole for hard-to-reach areas. An extension pole will make it easier to paint without the need for a ladder, enhancing both safety and convenience.

Method 7: Apply the Paint in Thin Coats
When applying the paint, avoid overloading the roller or brush to prevent drips and uneven coverage. Instead, apply the paint in thin coats, allowing each coat to dry completely before adding another layer. Multiple thin coats ensure a smooth and flawless finish.
Method 8: Work with Proper Ventilation
Painting a bathroom ceiling involves working with paint fumes, which can be harmful if inhaled in large quantities. Ensure proper ventilation by opening windows and using exhaust fans to promote air circulation. If possible, use low-VOC (volatile organic compounds) or odorless paint to reduce fumes.
Method 9: Add a Second Coat
To achieve a rich and even color, consider applying a second coat of paint once the first coat has dried completely. This step will enhance the depth of the color and improve the paint’s overall longevity in the bathroom’s high-moisture environment.
Method 10: Inspect and Touch Up
After the final coat dries, inspect the bathroom ceiling for any imperfections, such as missed spots or uneven areas. Carefully touch up these areas with a brush to ensure a flawless and professional-looking finish.
Some Common Mistakes When Painting a Bathroom Ceiling
When it comes to painting your bathroom ceiling, there are a few common mistakes that can easily be avoided. Here are some of the most frequent mistakes people make when painting a bathroom ceiling:
1. Not Using Primer before Paint
Applying paint directly to the ceiling without first applying a primer can lead to peeling and cracking. Primers are essential for creating an even base before painting and help ensure the paint job will last longer.
2. Not Cleaning the Ceiling Before Applying Paint
If your bathroom ceiling has dust, dirt or any other particles on it, these can show up in the final finish of your painted ceiling. Make sure to clean away any surfaces that can affect the look of your finished project by using a mild cleaner and dry cloths.
3. Using the Wrong Coats of Paint
Applying too many coats of paint to a bathroom ceiling can cause issues like discoloration or bubbling from over drying. It is important to apply just enough layers so that you achieve a smooth and even finish.
4. Not Masking Around the Ceiling
Painting the bathroom ceiling without properly masking off all areas can lead to accidental splatters of paint on other surfaces. It is important to take precautions and cover all fixtures, walls, floors, and other items before painting your ceiling.
Conclusion
Painting your bathroom ceiling can be overwhelming at first, but taking the right steps and following all safety instructions can make the end result successful and rewarding. There are a few additional tips that can help you finish the job with ease: lay down drop cloths, ventilate properly, and use paintable sealant on small cracks in the ceiling before painting.
With these helpful guidelines in mind, you will successfully be able to complete your project with greater confidence.
Now that you know how to paint a bathroom ceiling, it’s time to take up your brush and start painting. After all, what better way is there to accentuate your bathroom décor than by adding a bit of artistic flair to your walls and ceilings?
If the painting process ends up being too daunting or too complex for you, don’t forget that there are always professionals who can complete this work for you.

