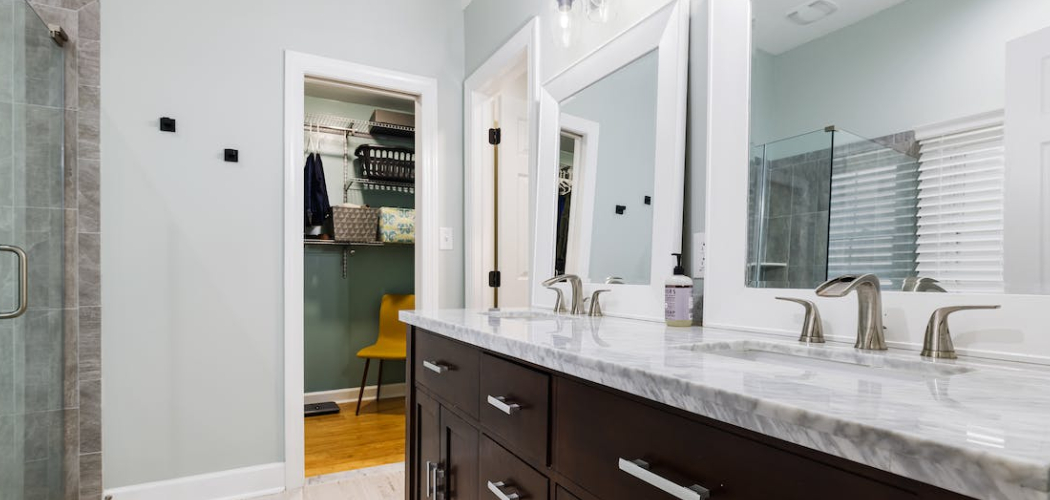
If you’ve been looking for an easy and inexpensive way to renew the look of your dated bathroom vanity top, then look no further! Painting a bathroom vanity top is a great DIY project that requires minimal effort but still yields amazing results. Many people are hesitant to try painting something as important as their vanity top, but we’re here to tell you that it can be done with success if you follow the right steps.
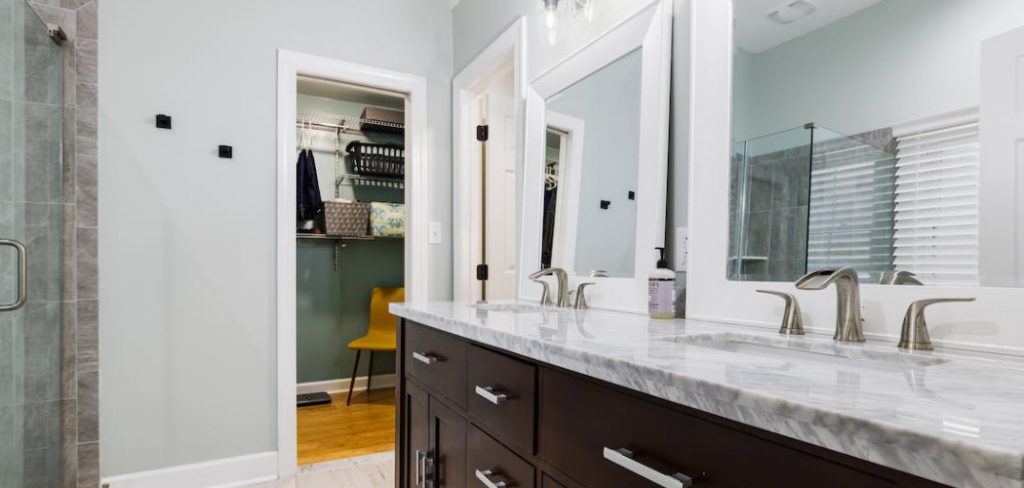
In this blog post, we will walk you through how to paint a bathroom vanity top from start to finish, including what supplies and tools you will need, cleaning techniques for preparing the surface for painting, and step-by-step instructions for applying two layers of durable enamel paint. So let’s get started!
16 Step-by-step guidelines on How to Paint a Bathroom Vanity Top
Step 1: Gather the Materials You Will Need
This includes sandpaper, painter’s tape, primer and paint, a screwdriver for removing hardware (optional), plastic drop cloths, foam brushes and rollers if desired. You should also have some old rags and a high-quality paintbrush on hand. It’s also a good idea to have some vinegar on hand for cleaning if needed.
Step 2: Prepare the Surface of the Vanity Top
Use sandpaper to lightly scuff up the surface of the vanity top and remove any dirt or debris. That way, the primer and paint will adhere better. Make sure to use a breathing mask if needed when sanding. You can also use a damp cloth to remove any dust from the surface and rinse it off with water.
Step 3: Protect the Surrounding Areas
Cover countertops, walls and floor with plastic drop cloths. Use painter’s tape to cover any areas that don’t need to be painted. The tape will also help prevent any accidental drips or splatters. You can also remove any knobs and handles from the vanity top to make it easier to paint. It’s also a good idea to turn off the bathroom vent in order to prevent any dust or paint particles from entering the space.
Step 4: Remove Faucet Hardware
Remove any faucets and hardware using a screwdriver as necessary. This will make it easier to paint without any obstructions. You can reattach the hardware after the paint has dried. Remember to keep the hardware and screws in a safe place so they don’t get lost.
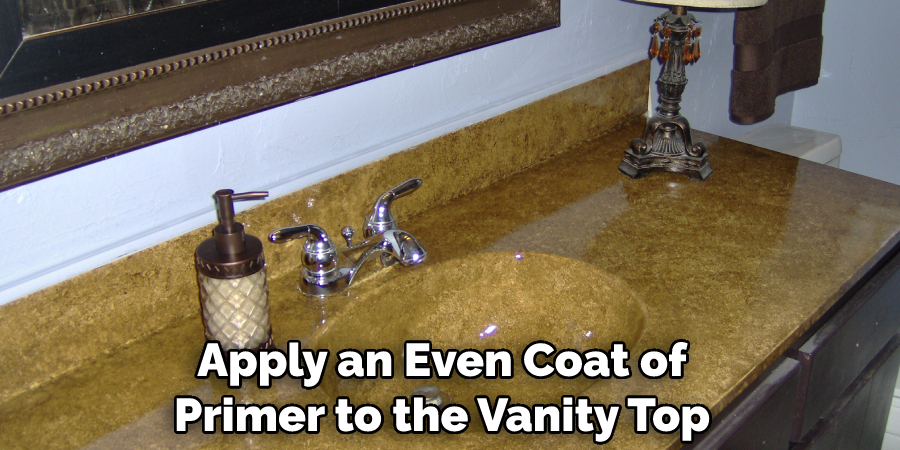
Step 5: Prime the Vanity Top
Using a foam brush, apply an even coat of primer to the vanity top. Allow this to dry completely before proceeding. It’s important to use a quality primer that is specifically designed for use on laminate surfaces. This will ensure optimal results. You can also use a foam roller if desired.
Step 6: Sand and Clean Again
Once the primer is dry, sand it lightly with fine-grit sandpaper and wipe it clean with a damp cloth. That will help ensure a smooth finish. You can also use vinegar to clean off any stubborn dirt or debris. But make sure to wipe the area dry with a clean cloth afterward. This step is important for achieving a professional-looking paint job.
Step 7: Paint the Vanity Top
Using a brush or roller, apply an even coat of paint over the primer. Allow this to dry completely before proceeding. It’s important to use quality enamel paint specifically designed for use on laminate surfaces. This will ensure optimal results. If desired, you can also use a foam roller for a smoother finish.
Step 8: Add a Second Coat of Paint
If desired, add a second coat of paint for extra protection and coverage. Allow this to dry completely before proceeding. It’s important to use quality enamel paint specifically designed for use on laminate surfaces. This will ensure optimal results. You can also use a foam roller for a smoother finish.
Step 9: Finish with a Protective Sealant
Apply a protective sealant over the paint to protect it from wear and tear. It’s important to use a sealant specifically designed for use on laminate surfaces. This will ensure optimal results. You can also use a foam brush or roller for a smoother finish. But make sure to let the sealant dry completely before proceeding.
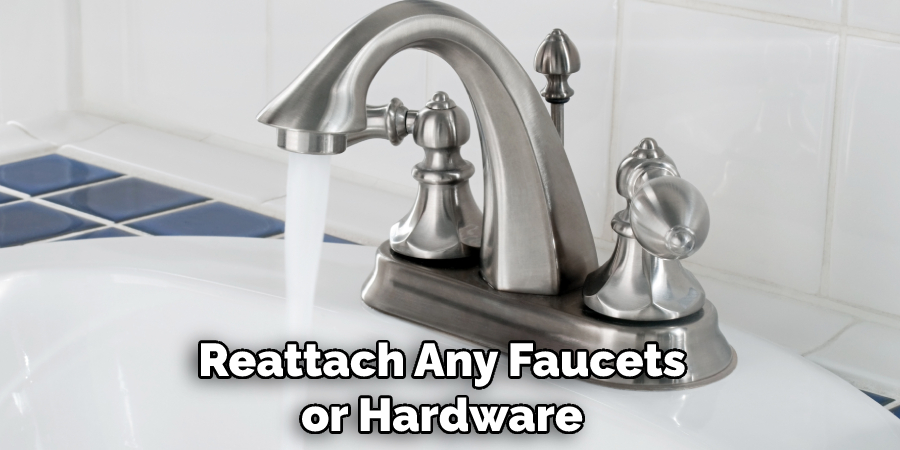
Step 10: Reattach Hardware
Reattach any faucets or hardware that was removed in step 4 using the screwdriver. You can also reattach any knobs and handles that were removed. This will help make your vanity look complete. But make sure to clean off any excess paint or debris before doing so. It’s also a good idea to use vinegar for cleaning if needed.
Step 11: Let Dry Completely
Let the vanity top dry completely before using. That way, the paint and sealant will have time to set properly. This will ensure optimal results. It’s also a good idea to let the vanity top dry for at least 24 hours. That way, you can be sure it’s completely dry before using it. You can then turn the bathroom vent back on.
Step 12: Apply Caulk
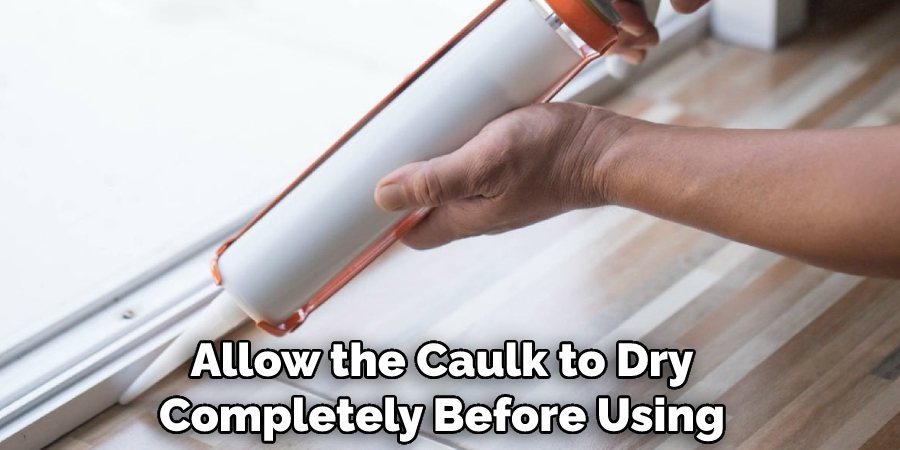
Apply caulk around the edges of the vanity top as desired for a professional finish. You can use a foam brush or roller to apply the caulk. Allow this to dry completely before proceeding. It’s important to use quality caulk specifically designed for use on laminate surfaces. This will ensure optimal results.
Step 13: Clean Up
Remove all drop cloths, painter’s tape and tools from the area. You should also clean off any excess paint or debris with a damp cloth. This will help make sure your vanity looks its best. It’s also a good idea to use vinegar for cleaning if needed. That way, you can be sure your vanity is looking its best.
Step 14: Allow to Dry Completely
Allow the caulk to dry completely before using. If you have applied any knobs or handles, make sure to let them dry completely as well. That way, the paint and caulk will have time to set properly. This will ensure optimal results. You can then turn the bathroom vent back on.
Step 15: Enjoy Your New Look!
Take in your new look and enjoy the transformation. This is a great way to give your bathroom vanity an updated look without spending a lot of money. Plus, you can use the same process to paint other surfaces in your home. You can also use the same process for furniture and other items as well.
Step 16: Maintain Your Painting
Maintain your painting with regular cleaning and touch-ups as necessary. Keep an eye out for any signs of wear or damage that may require a new coat of paint. After all, taking good care of your bathroom vanity can help it last longer and look better for years to come. Remember, quality enamel paint is always the best choice for laminate surfaces. This will ensure optimal results and a beautiful finish.
Following these 16 steps will help you to successfully paint your bathroom vanity top and transform its look with ease! With a little patience and the right supplies, you can give your vanity an upgraded look that will last for years to come. A fresh coat of paint can go a long way in bringing new life to your bathroom space. So go ahead and get started on the project today!
Why Do You Need to Paint a Bathroom Vanity Top?
Painting a bathroom vanity top can give your space an instant facelift. It’s also a great way to save money and time, as you don’t need to replace the entire vanity. Simply painting the existing one will do the trick! Plus, with quality paint and sealant, you can be sure that your vanity top will last for many years to come. And, when done correctly, you can even achieve a professional-looking finish with your DIY project.
Should You Contact Professionals to Paint a Bathroom Vanity Top?
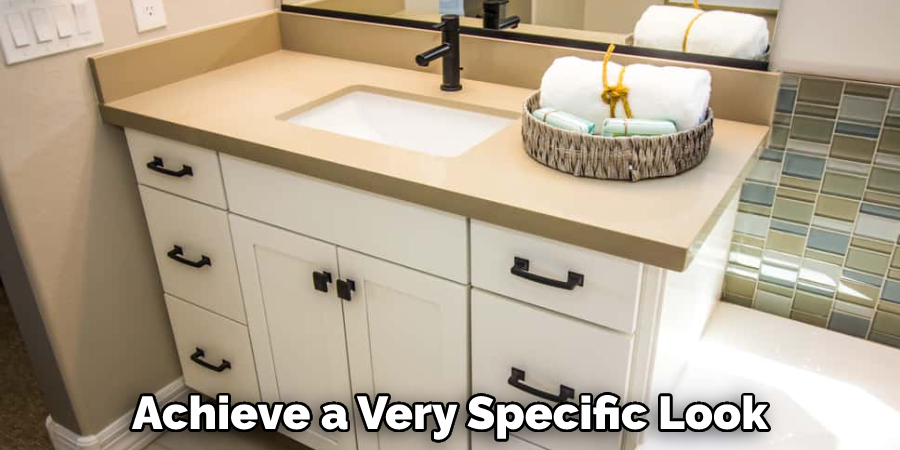
Although it’s possible to paint a bathroom vanity top on your own, there may be some situations where you’d benefit from the expertise of professionals. For example, if you have an intricate design or want to achieve a very specific look, then hiring professionals can help ensure that your vision is brought to life.
Additionally, if you don’t have the time or patience for a DIY project, then professionals can get the job done quickly and efficiently. Ultimately, it’s up to you whether or not you want to hire professionals to paint your bathroom vanity top. Either way, after reading this article on how to paint a bathroom vanity top you will be sure to give your bathroom space an instant upgrade.
Frequently Asked Questions
Q: What Type of Paint Should I Use for My Bathroom Vanity Top?
A: Quality enamel paint is always the best choice. This will ensure optimal results and a beautiful finish.
Q: Should I Use a Sealant Over the Paint?
A: Yes, it’s important to use a sealant to ensure optimal results. This will help protect the paint and create a smoother finish.
Q: How Long Should I Let the Vanity Top Dry?
A: Allow the vanity top and caulk to dry completely before using. It’s important to give them at least 24 hours for them to set properly.
Q: What is the Best Way to Clean Off Any Excess Paint or Debris?
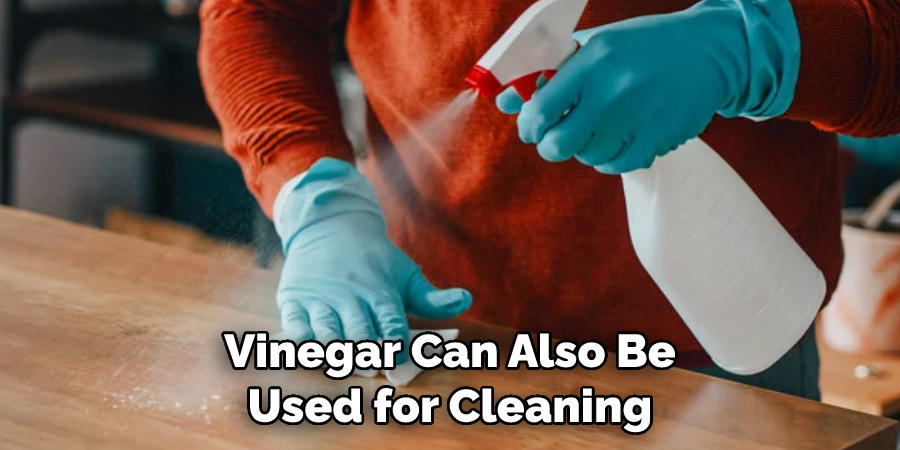
A: Clean off any excess paint with a damp cloth. Vinegar can also be used for cleaning if needed. This will help make sure your vanity looks its best.
Conclusion
After successfully completing the process of painting your bathroom vanity top, you should be proud of your accomplishment on how to paint a bathroom vanity top. Painting an entire piece of furniture on your own can be daunting, but with the right instructions and the proper materials, accomplishing a beautiful and professional result is within reach.
Pat yourself on the back for taking the time to make this upgrade! Not only will it look great for years to come, but it’ll save you money versus buying a brand new vanity top. Additionally, if done correctly, it’s an easy way to update the style of your bathroom in no time at all. With these tips in mind, you’ll have a gorgeous new update that saves you money and looks amazing forevermore!

