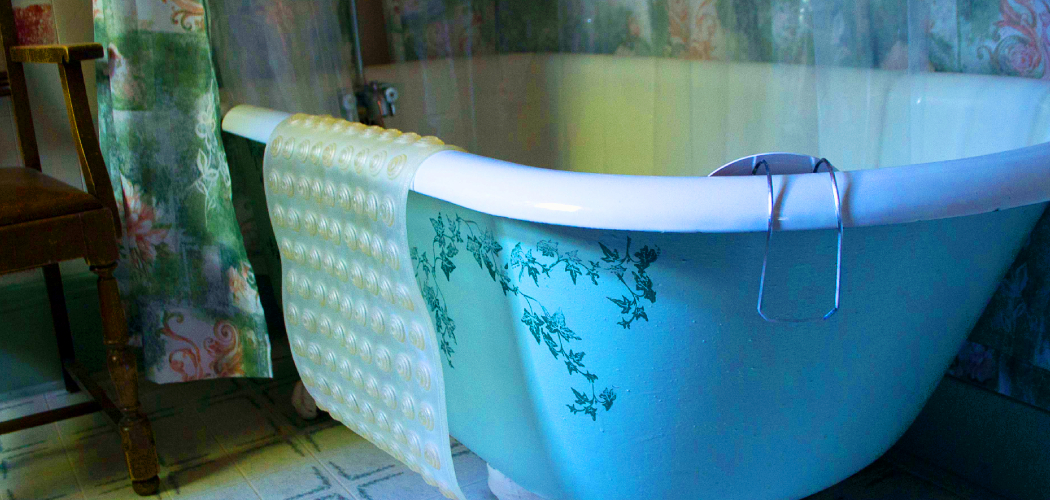
Are you tired of staring at your bathroom’s old, rusted cast iron bathtub? Painting it can be a cost-effective way to give it a new life and enhance the overall look of your bathroom. Follow these simple steps to learn how to paint a cast iron bathtub.
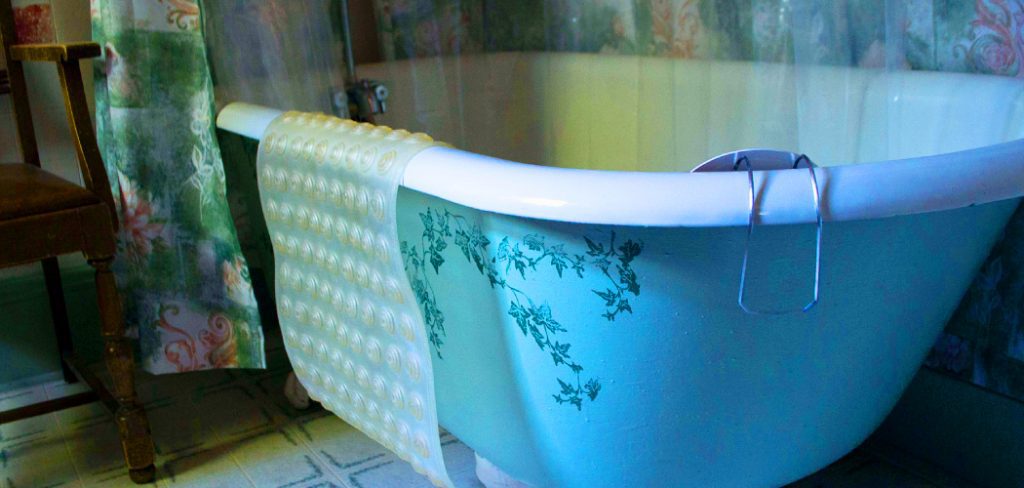
Painting a cast iron bathtub is a cost-effective way to give it a fresh, updated look without the expense of replacing it entirely. Over time, bathtubs can accumulate scratches, stains, and discoloration that detract from their appearance. With the right tools and techniques, you can refinish your tub and restore its glossy, smooth surface.
This guide will walk you through the process, ensuring a professional-quality finish that will rejuvenate your bathroom space.
What Are the Benefits of Painting a Cast Iron Bathtub?
Painting a cast iron bathtub has several benefits, including:
- Cost-effectiveness: As mentioned before, painting your tub is much more affordable than replacing it entirely.
- Time-saving: Refinishing your tub can be done in just a few hours, whereas replacing it could take days or weeks.
- Customization: With paint, you can choose any color or finish that fits your style and bathroom décor.
- Durability: An adequately painted cast iron bathtub can last years with proper maintenance, making it a long-term investment.
What Will You Need?
Before painting your cast iron bathtub, gather all the necessary tools and materials. This will save you time and avoid any interruptions during the process. Here’s a list of what you’ll need:
- Cleaning supplies
- Masking tape
- Sandpaper (120-grit and 220-grit)
- Rubbing alcohol
- Paintbrushes (2-inch and 4-inch)
- High-quality epoxy paint for bathtubs
- Brush-on rust converter
10 Easy Steps on How to Paint a Cast Iron Bathtub
Step 1: Thoroughly Clean the Bathtub
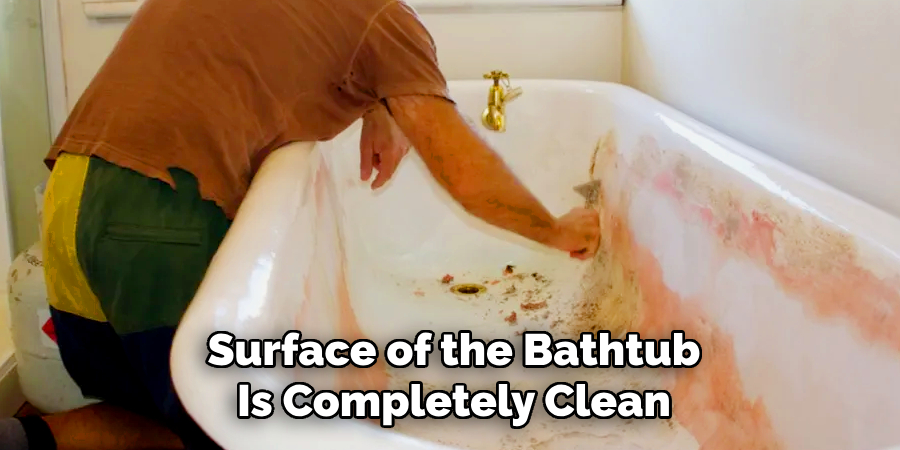
Before you begin painting, ensure that the surface of the bathtub is completely clean. Use cleaning supplies to remove dirt, soap scum, and any grime that has built up over time. Scrub the entire surface thoroughly, especially around the edges and hard-to-reach corners. Rinse the bathtub with water and allow it to dry completely before moving on to the next step. A clean surface is crucial to ensure the paint adheres properly and provides a smooth, lasting finish.
Step 2: Sand the Surface
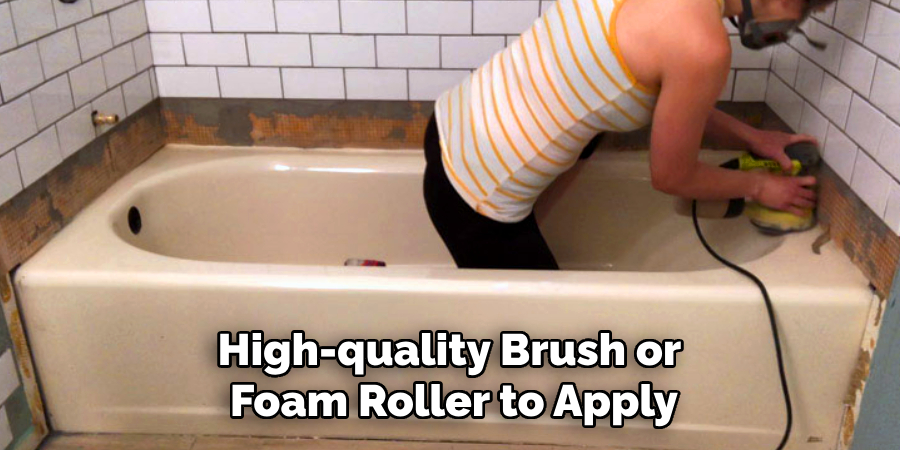
Once the bathtub is clean and dry, use 120-grit sandpaper to sand the entire surface of the tub. This step removes any remaining residues and helps create a slightly rough texture, which allows the paint to adhere better. Pay special attention to areas that may already have peeling or damaged paint. After sanding with 120-grit sandpaper, follow up with 220-grit sandpaper for a smoother finish. Wipe off all the dust with a clean, damp cloth and let the surface dry completely before proceeding.
Step 3: Apply a Primer
To ensure the paint adheres properly and evenly, apply a high-quality primer for bathtubs or surfaces exposed to water. Use a brush or roller to apply the primer in thin, even coats, covering the entire tub surface. Pay close attention to edges and corners to ensure complete coverage. Allow the primer to dry entirely as instructed by the manufacturer’s recommendations. This step creates a solid, adhesive base for the paint, increasing durability and preventing peeling over time.
Step 4: Apply the Paint
Once the primer is thoroughly dry, it’s time to apply the paint. Select a paint specifically designed for bathtubs or high-moisture surfaces, as these are formulated to withstand constant exposure to water and humidity. Use a high-quality brush or foam roller to apply the paint in thin, even coats, working systematically to cover the entire surface. Begin with the edges and corners, ensuring precise application, and then move to more extensive, flat areas. Allow the first coat to dry completely before applying a second coat for a smooth, polished finish. Follow the manufacturer’s drying and curing times for the best results.
Step 5: Seal the Surface
After the paint has fully cured, it’s essential to seal the surface to protect your work and enhance the bathtub’s longevity. Use a clear, waterproof sealant designed explicitly for painted surfaces in high-moisture environments. Apply the sealant evenly with a clean brush or foam applicator, ensuring complete coverage without streaks or bubbles. Allow it to dry according to the manufacturer’s instructions, typically requiring a curing period before the bathtub can be used. This final step adds an extra layer of durability and helps preserve your newly painted bathtub’s fresh, clean appearance.
Step 6: Reassemble and Test
Once the sealant has cured, carefully reassemble any removed hardware, such as the drain, faucet, and handles, ensuring everything is securely in place. Check for any loose components and tighten them as necessary. After reassembly, test the bathtub by slowly filling it with water to ensure no leaks or issues with the finish. If everything looks good, your bathtub is now ready for use! Enjoy the rejuvenated and refreshed appearance of your newly painted bathtub.
Step 7: Maintenance Tips
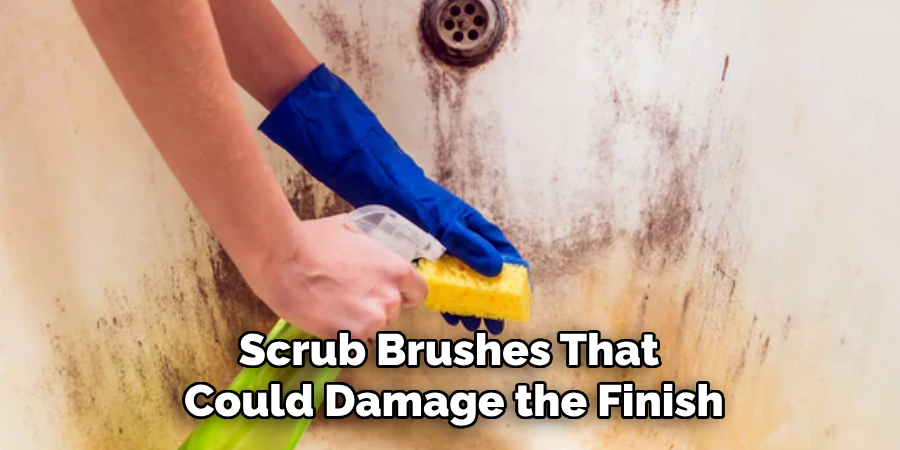
To maintain the appearance and durability of your newly painted bathtub, adopt proper care practices. Avoid using abrasive cleaners or scrub brushes that could damage the finish. Instead, clean the surface regularly with a mild, non-abrasive cleaner and a soft cloth or sponge. Be cautious with heavy objects or sharp tools that might chip or scratch the surface. Periodically inspect the bathtub for any signs of wear or damage, and touch up minor imperfections with matching paint if needed. With routine care, your bathtub’s fresh look can last for years.
Step 8: Final Thoughts
Congratulations on completing your bathtub painting project! Taking on this DIY task enhances the aesthetic appeal of your bathroom and extends the life of your bathtub. Patience and attention to detail throughout the process ensure professional-looking results. Always follow the manufacturer’s instructions for any products used, and don’t hesitate to seek advice or assistance if needed.
Step 9: Keep in Mind
While painting your cast iron bathtub is a cost-effective alternative to replacing it, remember that it may not be a permanent solution. As with any painted surface, wear and tear over time can cause the finish to chip or peel. In some cases, repainting may be necessary after a few years. However, you can enjoy a beautifully painted bathtub for many years with proper maintenance and care.
Step 10: Consider Other Options
Before committing to painting your cast iron bathtub, take some time to explore other alternatives that may better suit your needs or preferences. Refinishing or reglazing done by a professional is a more durable option that can last longer than a DIY paint job. This process involves stripping the old finish, repairing any damage, and applying a new high-quality coating for a glossy, like-new appearance. Although this method comes at a higher cost, the long-term results and durability may be worth the investment.
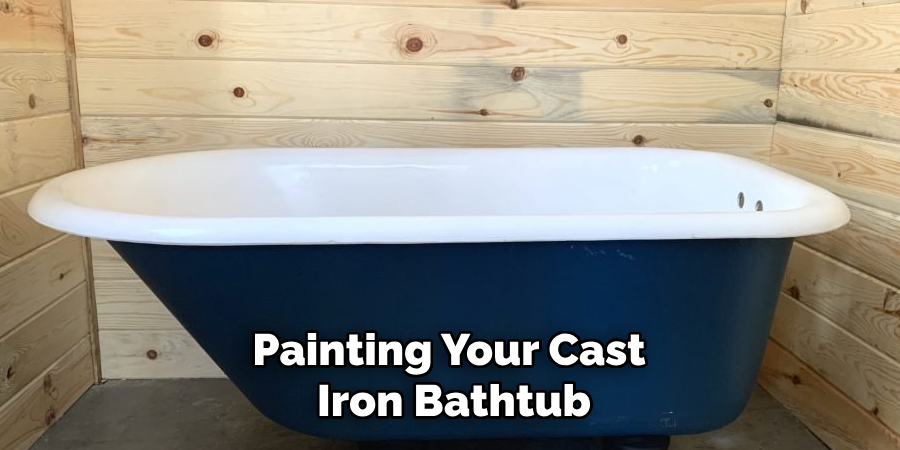
Alternatively, if the state of your bathtub is beyond repair or you’re seeking a wholly modernized look, replacing the bathtub altogether might be a more viable option. While replacement entails higher expenses and significant labor, it allows you to update your bathroom with a fresh style or enhanced features, such as a larger tub or a model with built-in jets.
Ultimately, weighing the pros and cons of each option in terms of cost, durability, time, and your long-term vision for the bathroom will help you make the best decision for your space.
Following these steps and tips, you can successfully paint your cast iron bathtub and enjoy a refreshed, elegant bathroom for years.
5 Things You Should Avoid
1. Skipping the Cleaning Process: Before painting a cast iron bathtub, it’s crucial to clean it thoroughly. Skipping this step could result in poor adhesion and an uneven paint surface due to dirt, oils, or soap residue left behind.
2. Using the Wrong Paint: It’s essential to use paint specifically designed for bathtubs and capable of withstanding moisture and heat. Avoid standard wall or household paints, as they won’t last or adhere properly.
3. Neglecting Proper Ventilation: Painting in a poorly ventilated space can lead to inhaling harmful fumes. Always ensure the area is well-ventilated or use protective equipment like a mask to keep yourself safe.
4. Forgetting to Sand the Surface: Failing to sand the bathtub beforehand can prevent the paint from bonding effectively. Sanding helps to remove the glossy coating and creates a surface the paint can grip onto.
5. Rushing the Drying Process: Patience is key when painting a cast iron bathtub. Avoid rushing to use the tub before the paint is fully cured, as this can result in smudges, scratches, or a finish that won’t last.
Conclusion
How to paint a cast iron bathtub can be a rewarding project that transforms the look of your bathroom while saving money.
However, success depends on proper preparation, using the right materials, and following the steps carefully. Avoid common mistakes like skipping cleaning, using unsuitable paint, or rushing the drying process to achieve a professional and durable finish.
With patience and attention to detail, your cast iron bathtub can regain its charm and provide a refreshed aesthetic for years.

