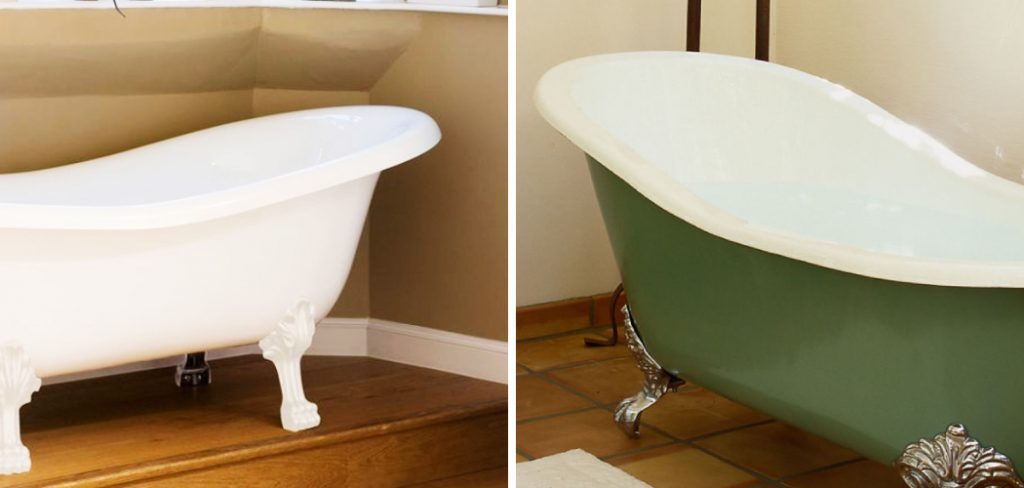
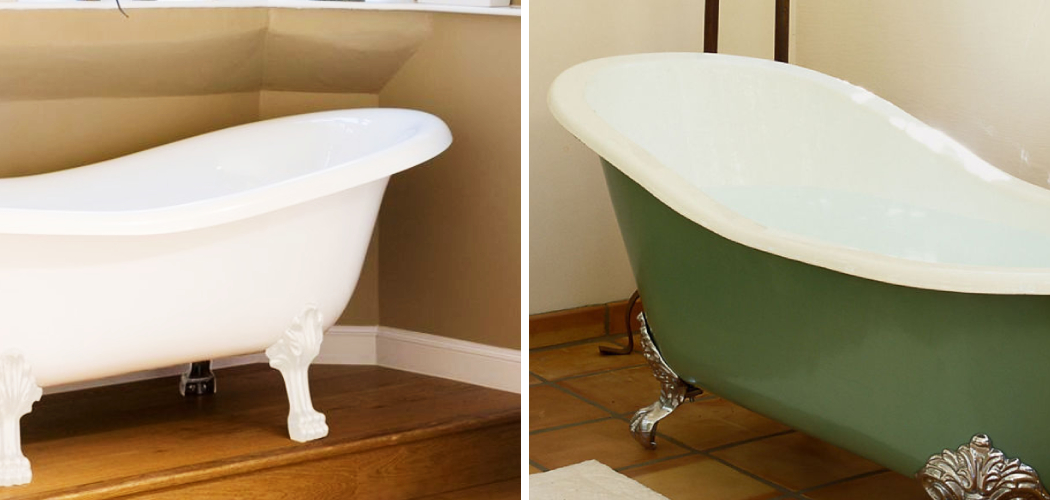
If you’re looking for an affordable yet effective way to update the look of your bathroom, painting your plastic bathtub is a great option. Not only can it transform the overall aesthetic of your space, but painting your tub is also significantly cheaper than replacing the entire fixture.

However, painting a plastic bathtub can be tricky, especially if you’ve never done it before. Fortunately, we’ve got you covered! In this post, we’ll be outlining the steps for how to paint a plastic bathtub yourself, so you can achieve the bathroom of your dreams without breaking the bank.
Can You Paint a Plastic Bathtub?
Your bathtub is starting to look a little worse for wear. Scratches and stains seem to become a permanent part of its appearance. Before you consider replacing it, there is an easy and cost-effective solution to give it a new lease on life. Believe it or not, you can paint a plastic bathtub!
With the right materials and techniques, you can transform your dingy old tub into a bright and shiny fixture that looks brand new. Whether you want to stick with a classic white or add a pop of color, painting a plastic bathtub is a DIY project that can give your bathroom a whole new look without breaking the bank.
Why Should You Paint a Plastic Bathtub?
Have you ever walked into your bathroom and felt like something was missing? If you’re tired of your dingy, outdated plastic bathtub, consider painting it for a quick and affordable update. Not only will it give your bathroom a fresh new look, but it can also prolong the life of your tub.
Plus, with the many painting options available, you can customize your bathtub to match your unique style and taste. So why settle for a lackluster bathtub when you can easily transform it with a few coats of paint?
How to Paint a Plastic Bathtub: A Step-by-Step Guide
Step 1: Choose the Right Paint
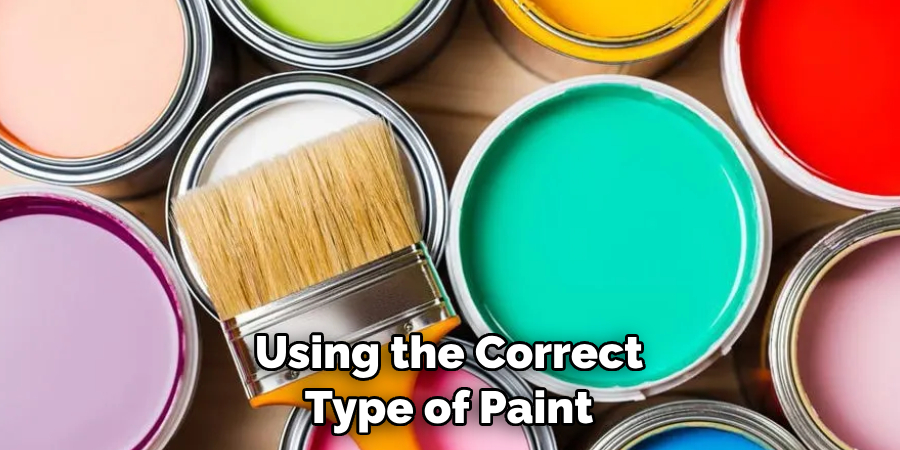
Before you start painting, you’ll need to choose the right paint. Not all types of paint will adhere to plastic surfaces, so it’s important to choose a paint that’s specifically formulated for this purpose. An acrylic-based paint designed for use on plastic will provide the best results. Be sure to choose a non-toxic paint designed specifically for use in the bathroom, as it will withstand the humidity and moisture in the air.
Step 2: Prep the Surface
Before you begin painting, you’ll need to thoroughly clean your bathtub. Use a cleaning solution that’s specifically designed for use on plastic surfaces, and be sure to follow the manufacturer’s instructions carefully.

After cleaning the tub, rinse it thoroughly with water and allow it to dry completely. Once the surface is clean and dry, sand it lightly with a fine-grit sandpaper. This will help the paint adhere properly.
Step 3: Mask Off the Area
Next, you’ll need to mask off the area surrounding the bathtub. Use painter’s tape to cover any areas you don’t want to paint, such as the walls and fixtures. This will help you achieve a neat finish without getting paint on surfaces you don’t want to paint.
Step 4: Apply the Paint
Now, it’s time to apply the paint. Be sure to follow the manufacturer’s instructions carefully. You may need to apply a primer before applying the paint itself, so be sure to read the label before you start.
Apply the paint evenly, using long, even strokes. You may need to apply several coats, depending on the type of paint you’re using and the current condition of your bathtub. Allow the paint to dry completely between each coat.
Step 5: Clean Up
Once you’ve finished painting, it’s time to clean up. Remove all of the painter’s tape and other protective covering that you put down before painting. Wipe away any dust or debris with a damp cloth. You may need to use a gentle solvent such as rubbing alcohol to remove any thick paint that has spattered onto other surfaces.
Step 6: Apply a Sealant
Once the paint is completely dry, you’ll need to apply a sealant. This will help protect your paint job and make it last longer. Be sure to choose a sealant that’s specifically designed for plastic surfaces, and follow the instructions on the label carefully when applying
Step 7: Enjoy Your Freshly Painted Bathtub
Once the sealant is dry, you can enjoy your freshly painted bathtub! With a little bit of effort and the right materials, you can give your bathroom a makeover without spending a fortune. Keep in mind to periodically check your paint job for any signs of wear and tear and touch up as needed.
That’s it! You’ve now learned how to paint a plastic bathtub. With the right materials and some patience, anyone can do it — no experience necessary! So don’t be afraid to get creative and try something new. You never know what amazing results you might achieve.

5 Considerations Things When You Need to Paint a Plastic Bathtub
1. Preparation
Before painting a plastic bathtub, it is important to properly prepare the surface. This includes cleaning the tub with soap and water, then sanding it down to create a smooth surface for the paint to adhere to. It is also important to remove any rust or corrosion from the bathtub before painting.
Once the surface has been prepared, it should be wiped down with a damp cloth and then allowed to dry completely before applying any paint.
2. Primer
It is also important to use a primer when painting a plastic bathtub. A primer will help ensure that the paint adheres correctly and will provide an extra layer of protection against moisture and wear and tear. When choosing a primer, ensure it is specifically designed for use on plastic surfaces and follow all instructions carefully when applying it.
3. Paint
When selecting paint for a plastic bathtub, look for paints specifically designed for use on plastic surfaces. These paints are usually formulated with special binders that help them adhere better than other types of paint. Additionally, many of these paints come in various colors, so you can choose one that best matches your décor or design scheme.
4. Finishing Touches
Once you have applied the paint, it is important to finish off your project with some finishing touches, such as sealant or wax. The sealant will help protect your painted bathtub from moisture and wear and tear, while the wax will give it an extra layer of shine and luster.
Both sealant and wax can be found at most home improvement stores and should be applied according to the manufacturer’s instructions for best results.
5. Maintenance
Finally, once you have completed your project, don’t forget about proper maintenance! Make sure to clean your newly painted bathtub regularly using mild soap and warm water to keep it looking its best over time. Additionally, avoid using harsh chemicals or abrasive scrubbing pads, as these can damage the finish on your tub over time.

Benefits of Paint a Plastic Bathtub
Did you know that painting a plastic bathtub can do wonders for the appearance of your bathroom? It can transform a stained or outdated tub into a sleek and modern one and save you money on a full tub replacement. With the right tools and techniques, painting a plastic bathtub can be a DIY project that can be completed in just a few hours.
Plus, you have the option to choose from a wide range of colors to fit your personal style and match your bathroom decor. So why not use this affordable and easy solution to upgrade your bathroom? Start browsing paint options and get ready to enjoy the benefits of a freshly painted bathtub.
Some Common Mistakes People Make When Trying to Paint a Plastic Bathtub
Painting a plastic bathtub can be a great way to give your bathroom a new look without breaking the bank. However, there are some common mistakes people make when attempting to tackle this DIY project. One of the biggest mistakes is not properly cleaning the bathtub before painting.
Any dirt, grime, or soap residue left on the surface can interfere with the paint’s adhesion, causing it to chip or peel. Another mistake is not using the correct type of paint. Regular paint may not adhere properly to plastic surfaces and could easily begin to flake off over time. It’s important to use bathtub paint specifically formulated for plastic surfaces.

Avoiding these mistakes and following the proper steps can help ensure you achieve a beautiful, long-lasting finish on your plastic bathtub.
Conclusion
Painting a plastic bathtub can be a tricky task, but with the right tools and techniques, it’s a simple DIY task that anyone can accomplish. Whether you’re looking to spruce up an old bathroom or just want a budget-friendly way to refresh your space, painting your bathtub is affordable and effective.
Just be sure to choose the right paint, prep the surface properly, mask off the area, apply the paint evenly, and allow it to dry completely before using your newly painted bathtub. With these simple steps, you’ll have a freshly painted bathtub in no time. Thanks for reading our post about how to paint a plastic bathtub.

