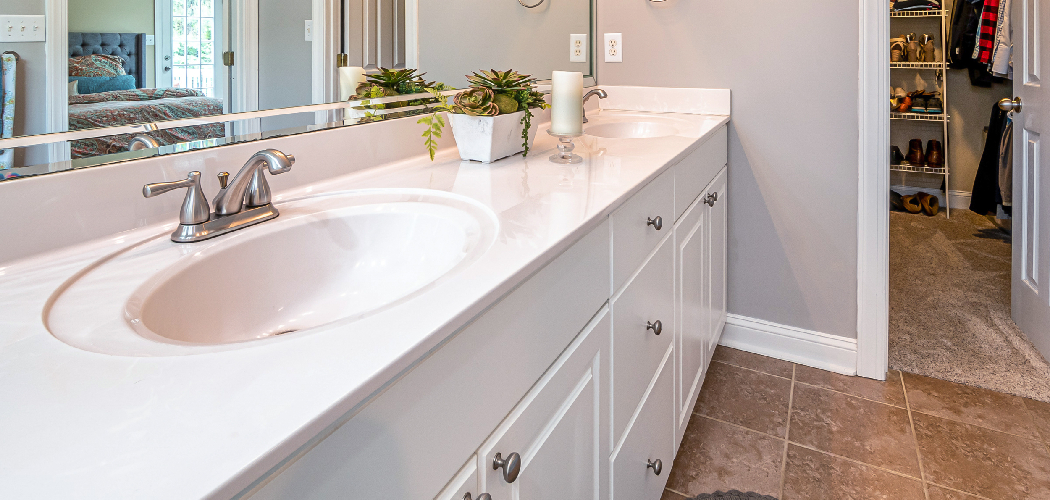
Reviving a tired and outdated bathroom countertop is a rewarding and budget-friendly DIY project that can instantly transform the look and feel of your bathroom. Instead of replacing the entire countertop, consider giving it a fresh makeover with a new coat of paint.
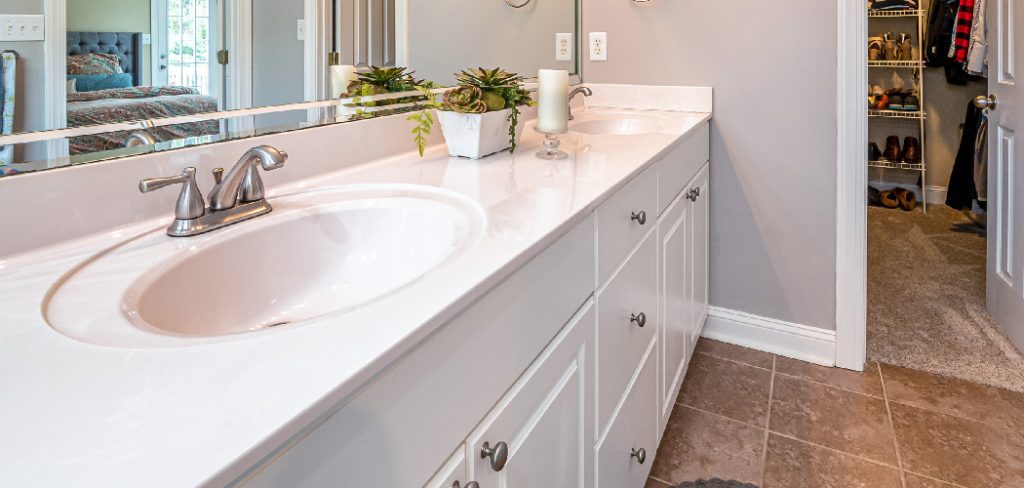
Painting bathroom countertops allows you to update the color and style to suit your current decor without the cost and hassle of a complete renovation. In this article, we will guide you through the step-by-step process of how to paint bathroom countertop, from proper preparation to choosing the right paint and achieving a durable and beautiful finish.
Discover how to breathe new life into your bathroom space and create a stunning focal point with a skillfully painted countertop that will leave you with a sense of satisfaction and admiration for your DIY prowess.
The Benefits of Painting a Bathroom Countertop
Painting your bathroom countertop can have many benefits. For starters, it is a cost-effective alternative to replacing the entire countertop. It can also be used to improve the look and feel of the existing countertop by giving it a fresh new coat of paint. Additionally, painting your bathroom countertop will make cleaning easier since dirt and bacteria won’t accumulate as easily in sealed surfaces. Lastly, painting a bathroom countertop can help you create an entirely unique design that meets all of your needs and desires.
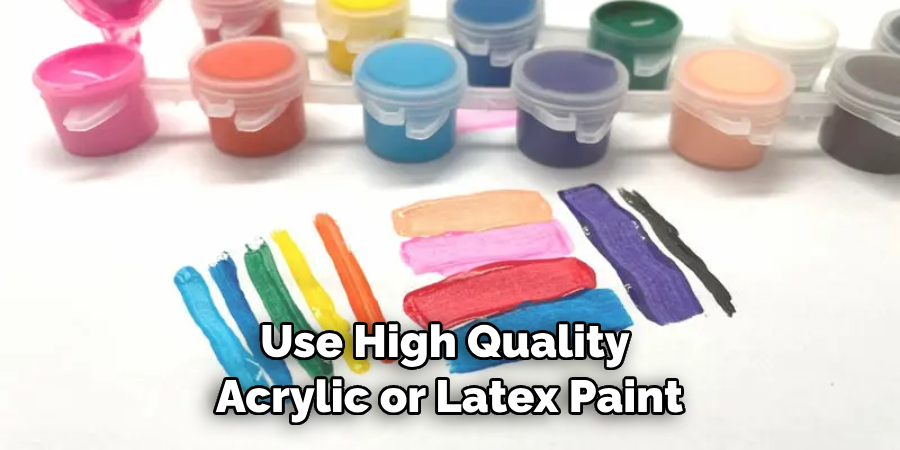
If you are considering painting your own bathroom countertop, it is important to ensure that you use the right products and techniques for optimal results. It is best to start with an excellent primer or sealer before applying paint to the countertop. Additionally, you should be sure to use a high-quality acrylic or latex paint for a smooth finish. Finally, it is important to properly apply the paint in thin coats and allow plenty of drying time between each layer. With these tips and tricks, your bathroom countertop will be looking brand new in no time!
Now that you know all about painting your bathroom countertop, why not give it a try? With the right materials and techniques, you can transform an outdated surface into something new and beautiful. Plus, you’ll have the satisfaction of knowing that you accomplished it yourself! So go ahead – grab those supplies and start painting! You won’t regret it.
The Variety of Paint Options Available for Countertop Surfaces
When it comes to painting a bathroom countertop, there are many options. You can use traditional latex paint, oil-based enamel paint, epoxy paint or even spray paints. Each has its own advantages and drawbacks depending on the type of surface you plan to cover and the desired finish.
LATEX PAINT
This is probably the most common option used when painting countertops, as it is readily available in a variety of colors and sheens. It has a flat finish that provides good coverage but may not be as durable as other options over time.
OIL-BASED ENAMEL PAINT
Enamel paint is another great option for countertops because it offers excellent durability and superior protection against wear and tear. It is available in a variety of colors and sheens, but it usually dries to a glossy finish.
EPOXY PAINT
Epoxy paint is ideal for high-traffic areas or countertops that need extra protection from scratches and scuffs. The finish will be very durable and water-resistant, but it has a shorter shelf life than other paints so you must use it quickly once opened.
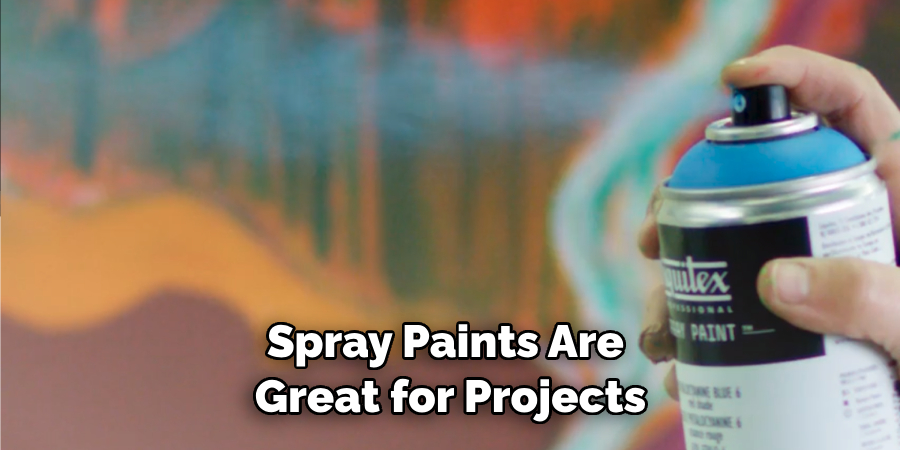
SPRAY PAINTS
Spray paints are great for quick and easy projects where you want to make a bold statement with your painting project. With spray paints, the colors will be more vibrant because of the aerosol form, but you may have difficulty achieving precise lines. Additionally, they may not be as durable over time.
When you’re looking to paint your bathroom countertop, there are a variety of options available that can help you achieve the desired look and feel you have in mind. Consider the type of surface you plan to cover and the level of durability needed before deciding on which paint option is best for your project. With these tips in hand, you’ll be well on your way to achieving beautiful results!
10 Methods How to Paint Bathroom Countertop
1. Prepare the Surface
Start by thoroughly cleaning the bathroom countertop to remove any dirt, grime, or soap residue. Use a gentle cleaner that won’t leave a residue, as this can affect the paint adhesion. Next, sand the countertop surface with fine-grit sandpaper to create a rough texture that helps the paint adhere better. Wipe away any dust with a damp cloth and allow the countertop to dry completely before proceeding to the next step.
2. Remove Fixtures and Hardware
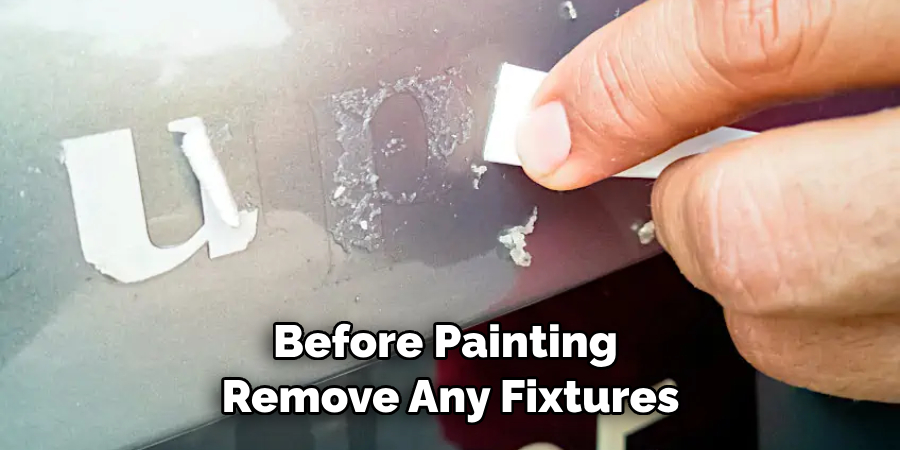
Before painting, it’s essential to remove any fixtures and hardware attached to the countertop, such as faucets, handles, and towel bars. Use a screwdriver or appropriate tools to carefully detach them from the countertop surface. This step ensures that you can paint the countertop evenly and without any obstructions, providing a clean and professional finish.
3. Apply Painter’s Tape and Drop Cloths
Protect the surrounding areas by applying painter’s tape to the edges of the countertop, walls, and any other fixtures you don’t want to paint. Cover the floor and cabinets with drop cloths to catch any paint drips or spills. This precautionary measure will help you achieve neat and precise results without accidentally painting unintended areas.
4. Choose the Right Paint
Select a high-quality paint suitable for bathroom countertops, such as an acrylic or latex paint designed for high-moisture environments. Look for paints with mold and mildew resistance, as bathrooms are prone to humidity. Consider the color and finish you want for your countertop, whether it’s a glossy, satin, or matte finish that complements your bathroom’s overall aesthetic.
5. Prime the Countertop
Priming the countertop is a crucial step to ensure proper adhesion of the paint and create a smooth and long-lasting finish. Apply a bonding primer specifically designed for surfaces like laminate or tile. Use a paintbrush or roller to evenly coat the countertop with the primer. Allow the primer to dry according to the manufacturer’s instructions before moving on to the painting step.
6. Paint the Countertop
Once the primer is dry, it’s time to paint the countertop with your chosen color. Use a paintbrush or roller to apply thin, even coats of paint, working in one direction to achieve a smooth and uniform finish. Allow each coat to dry completely before applying the next one. Depending on the color and coverage, you may need to apply two to three coats for a solid and flawless finish.
7. Create Faux Stone or Granite Effects
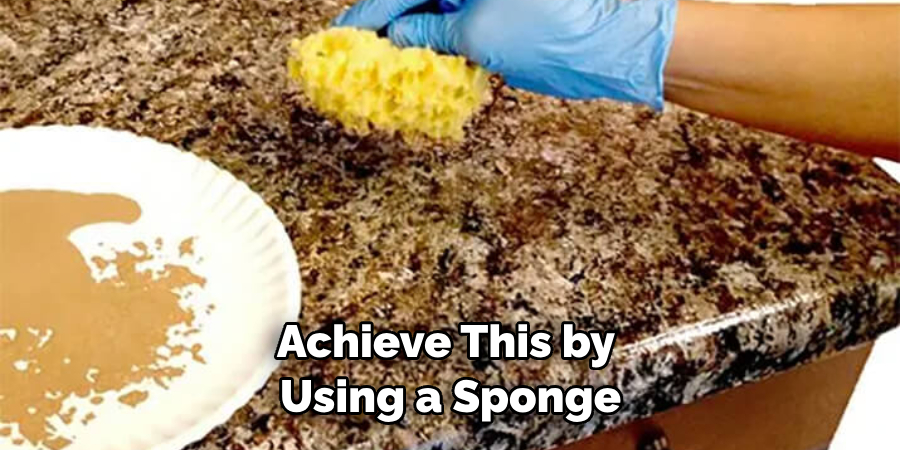
For a more intricate and decorative look, consider creating faux stone or granite effects on your painted countertop. You can achieve this by using a sponge or a feather to dab or drag different colors of paint over the base color. This technique adds depth and texture, imitating the appearance of natural stone. Practice this technique on a spare piece of wood or cardboard before applying it to your countertop to ensure you achieve the desired effect.
8. Seal the Countertop
Once the paint has dried and you’re satisfied with the color and finish, it’s essential to seal the countertop to protect it from water and wear. Use a clear, water-resistant polyurethane sealer suitable for bathroom use. Apply the sealer in thin, even coats, and allow each coat to dry according to the manufacturer’s instructions. Sealing the countertop will enhance its durability and make it more resistant to daily use and potential spills.
9. Reattach Fixtures and Hardware
After the sealer has dried, reattach the fixtures and hardware you removed earlier. Use the same screws and tools to secure them back in place. Take your time to ensure everything is properly aligned and securely fastened to avoid any issues with functionality and appearance.
10. Maintain and Clean the Countertop
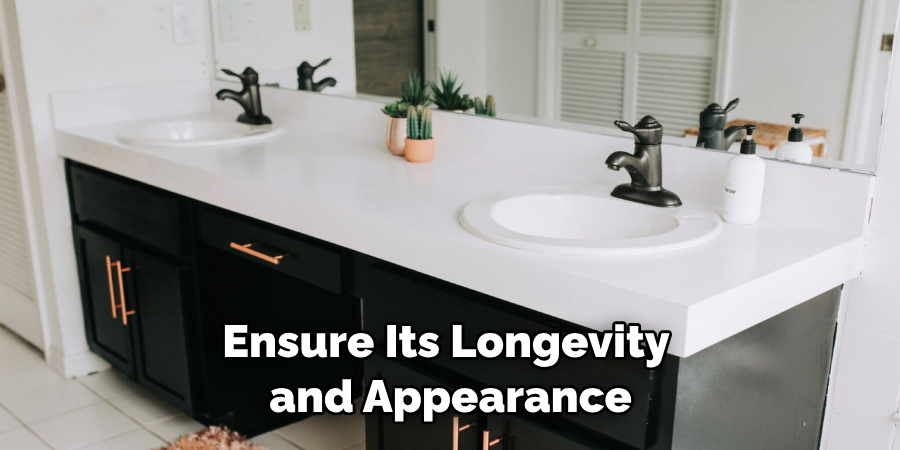
Properly caring for your painted bathroom countertop will ensure its longevity and appearance. Avoid placing hot items directly on the countertop, as excessive heat can damage the paint and sealer. Use gentle, non-abrasive cleaners to clean the countertop regularly, and avoid harsh chemicals that can degrade the paint and sealer over time. With proper maintenance, your freshly painted bathroom countertop will continue to add beauty and charm to your bathroom space for years to come.
Conclusion
With the right tools and a little know-how, painting a bathroom countertop can be a great do-it-yourself project. When doing this project, ensure that proper preparation steps and safety precautions are implemented when sanding or applying materials. Taking the time to properly clean the surface before starting will also help for better adhesion of the paint.
Also, don’t forget to allow for adequate drying time throughout each step of the process in order to get desired results. After completing these steps, adding a coat of sealer to create an additional layer of protection may give your countertop a professional look and feel for years to come. What’s more? You may just feel proud knowing you were able to accomplish such an ambitious DIY task yourself. So what are you waiting for? Roll up your sleeves and begin your own How to Paint Bathroom Countertop journey today!

