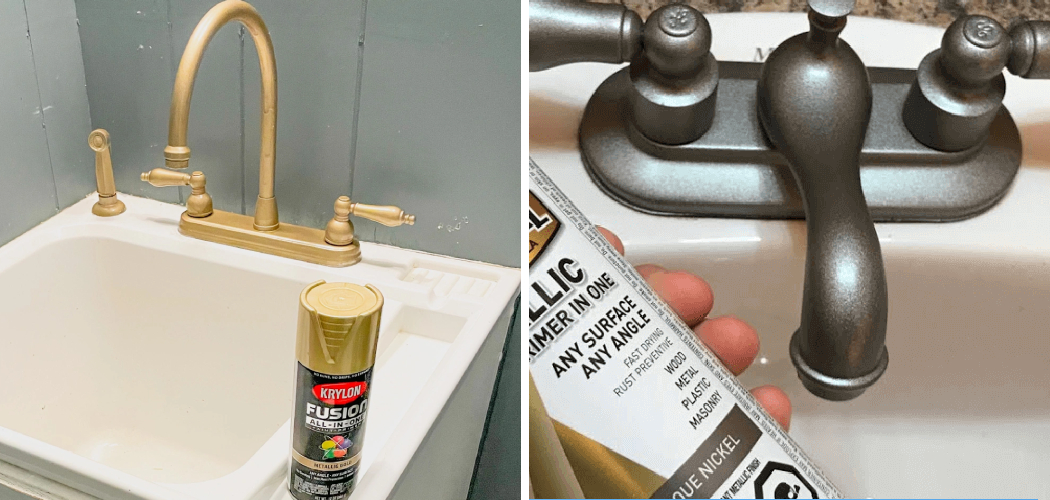
Are you looking for a fun way to update your bathroom decor? Painting bathroom faucets is an inexpensive and easy way to give your room a facelift. In this blog post, we’ll provide helpful instructions on how you can achieve the perfect paint job quickly and easily.
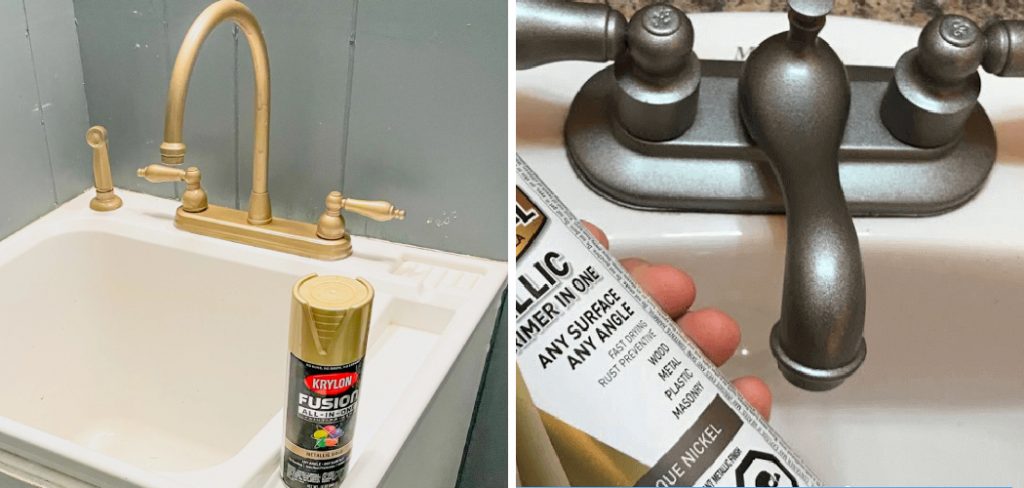
From selecting the right type of paint to following our simple step-by-step guide on how to paint bathroom faucets, we’ve got everything covered so that you can get started on transforming your sink fixtures. Read on for some great advice about how to paint your bathroom faucets with professional results!
Does Spray Painting Bathroom Fixtures Last?
Spray painting is a great option for quickly and easily transforming fixtures in your bathroom. But how long does it last? The answer depends on the amount of wear and tear your bathroom gets, as well as the quality of paint used.
When done correctly with high-quality paint, spray paint can last several years before needing to be touched up or completely redone. It’s important to use oil-based paints in bathrooms since they are designed to stand up against moisture better than water-based paints.
Additionally, you’ll want to choose a paint that is specifically made for metal surfaces like brass or chrome so that it will adhere properly and be durable over time.
Proper preparation also goes a long way when it comes to the longevity of spray painting bathroom fixtures. It’s essential to remove any rust, dirt, and debris from the surface you’re planning to paint. Then use a degreaser or rubbing alcohol to wipe down the fixture and make sure it is completely dry before applying any primer or paint.
When following these steps, your painted fixtures should last several years before needing touchups or complete redoing. However, if you notice peeling or chipping of the paint after just a couple of months, it may be time to try again with higher quality materials and more attention paid to details during preparation and application. With a little extra care and effort, you can get great results that will stand up over time!
10 Methods How to Paint Bathroom Faucets
1. Remove the Faucet Handles
The first step in painting your bathroom faucets is to remove the handles. Most handles are attached with a set screw that can be loosened with a Phillips head screwdriver.
Once the set screw is loose, you should be able to pull the handle off of the faucet. If your handles are not attached with a set screw, they may be held on with a retaining clip. In this case, you will need to use a flathead screwdriver to pry the clip off in order to remove the handle.
2. Clean the Faucets
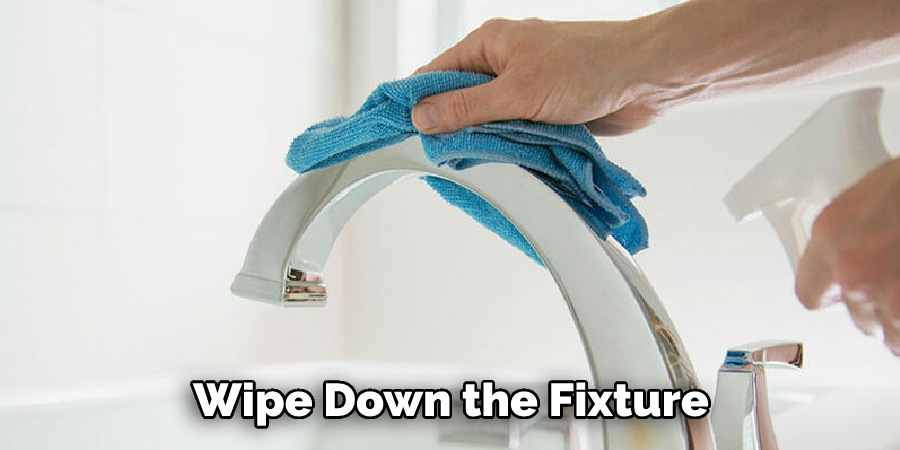
Once the handles are removed, you will need to clean the faucets thoroughly. Use a mild soap and water solution to remove any dirt or grime that has built up on the surface of the faucets. Be sure to rinse the soap off completely before moving on to the next step. If there is any rust or hard-to-remove dirt, you may want to use a metal brush or fine steel wool to remove it.
Although this is optional, it will help to ensure a good bond between the faucet and your paint. To finish cleaning the faucets, use a grease-cutting cleaner and cloth to remove any remaining residue from the surface. Once the faucets are completely clean and dry, you can move on to the next step.
3. Sand the Faucets
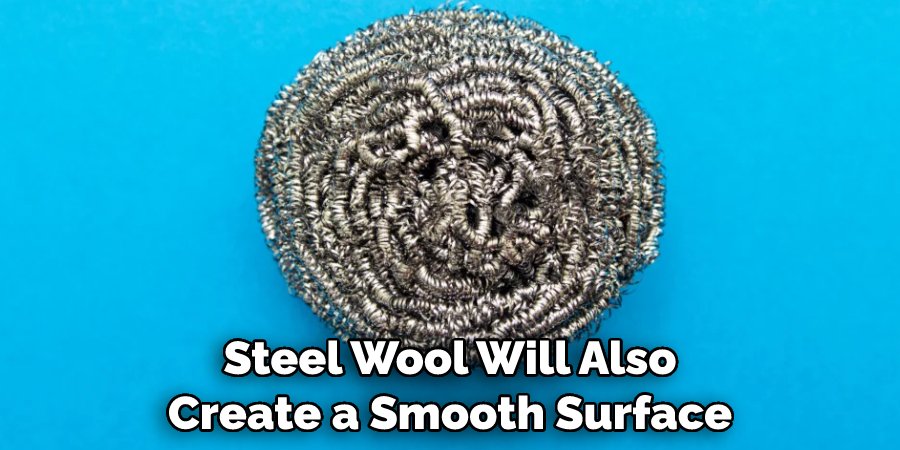
After cleaning, you will need to sand the faucets in order to create a smooth surface for the paint to adhere to. You can use either fine-grit sandpaper or steel wool for this step. If you choose to use sandpaper, be sure to sand in the same direction as the grain of the metal.
Steel wool will also create a smooth surface, but it may leave behind small pieces of metal that could potentially flake off and end up in your paint job. If you choose this option, be sure to clean off any residue before moving on to the next step. To ensure a high-quality finish, it is important to take the time to properly prepare the surface for painting.
4. Apply a Primer
Once you have sanded the faucets, you will need to apply a primer. This step is important as it will help the paint to adhere better and create a more durable finish. Choose a primer that is specifically designed for use on metal surfaces.
Apply an even coat of primer to all of the surfaces that you will be painting, including any nooks and crannies that may be difficult to reach. Allow the primer to dry completely before moving on to the next step. If you are using a water-based primer, it should dry within an hour, but if you are using an oil-based primer, it may take up to 24 hours for it to dry completely.
5. Paint the Faucets
Now it’s time to start painting! Choose a paint color that coordinates well with the rest of your bathroom décor. Apply an even coat of paint to all of the surfaces that you primed, using either a brush or roller designed for use on metal surfaces. Be sure to get into all of those nooks and crannies!
Allow the paint to dry completely before moving on to the next step. If the faucets have handles, use painter’s tape to cover them and protect them from paint. Once the faucets are painted, remove all of the painter’s tape and enjoy your freshly updated bathroom. Make sure to allow the paint to dry completely before using your faucets.
6. Apply a Clear Coat
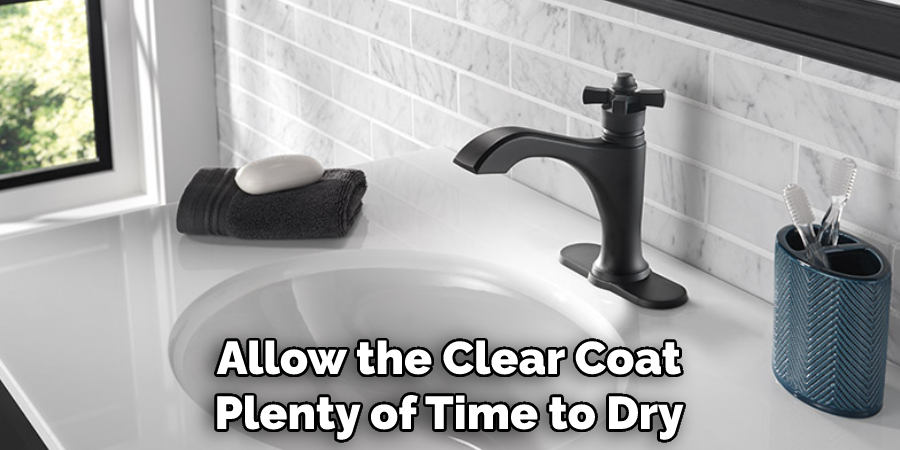
Once you have finished painting, you will need to apply a clear coat in order protect your paint job from wear and tear. Choose a clear coat that is specifically designed for use on metal surfaces. Apply an even coat of clear coat of all of your painted surfaces, being sure not to miss any spots! Allow the clear coat plenty of time to dry completely before using your bathroom faucets again.
7. Reattach the Faucet Handles
Once your painted faucets have been given ample time to dry, it’s time to reattach the faucet handles. Reinstall them in the reverse order that you took them off and be sure to secure them with tightening pliers. Once all the handles are back in place and tight, turn on the valves to test that everything is working properly.
If everything looks good, you’ve successfully beautified your bathroom faucets! Although this project may feel intimidating, with the right tools and techniques, you can very easily paint bathroom faucets and bring a new look to your bathroom. With a little patience and DIY spirit, you can have results that will last for years to come.
8. Reattach the Faucet Handles.
Your handles should go back on in the same way that they were removed, with a set screw or retaining clip. Securely tighten the screws to ensure your handles are secure and won’t come loose while in use.
If you used a retaining clip, make sure it is properly in place and the handle can’t move. To finish off your painting job, wipe down the new paint with a clean cloth and make sure everything looks nice and tidy. You’re now ready to enjoy the results of your hard work and admire your newly painted bathroom faucets.
9. Enjoy Your Freshly Painted Faucets
Once your faucet handles are back on and the paint has had ample time to cure, you’re ready to enjoy your newly painted bathroom faucets. If you follow all the steps above, your faucets should be looking good as new, and you should be proud of your impressive DIY project.
Painting bathroom faucets is a great way to refresh the look of your bathroom without the need for a full remodel. So now you know how to paint bathroom faucets, and you can start planning your next project.

10. Enjoy Your Freshly Painted Faucets!
With a little extra time and effort, you can get great results that will stand up over time. Your newly painted faucets should look as good as new ones without having to buy pricey replacement fixtures. They’ll also help give your bathroom a fresh and updated look without breaking the bank.
Now you can sit back and enjoy the view of your beautiful newly painted faucet! To keep it looking like new, just make sure to properly clean and maintain your faucets on a regular basis. Good luck!
Conclusion
Painting bathroom faucets can be a daunting yet rewarding task. By preparing the surface properly, using quality paint and primer, and taking precautions with the surrounding areas, you can easily achieve an attractive finish for your bathroom fixtures.
With just a little effort and patience, you’ll find that you can paint your bathroom faucets yourself without any problems. Why not give it a try today? Once you do, you can proudly say that you completed this project on your own! So go ahead and get started on How to Paint Bathroom Faucets – it’s simpler than you think!

