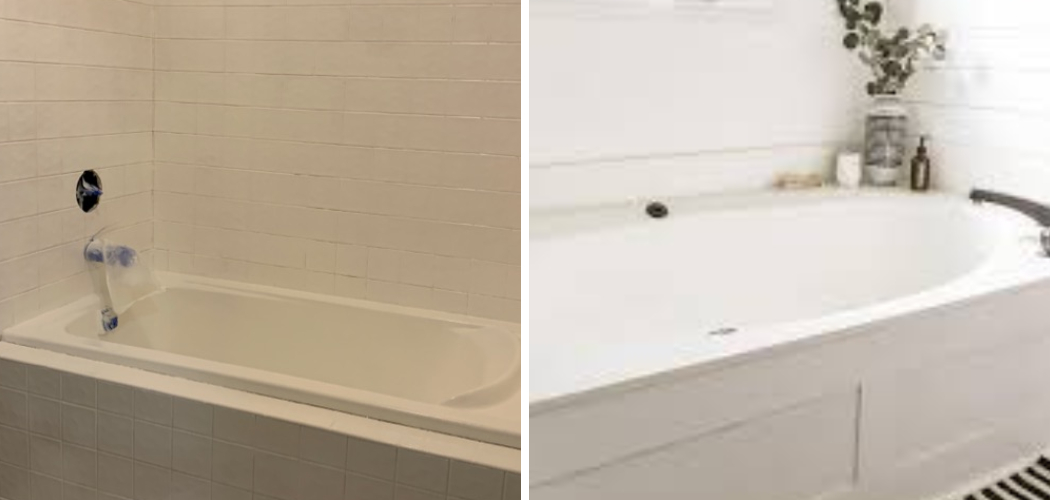
Painting a bathtub surround is a cost-effective way to refresh and update the look of your bathroom without the expense of a full renovation. This process allows you to customize the color and finish of the surround, giving your bathroom a personalized touch. Whether you’re tackling this project for the first time or have some DIY experience, following a structured approach will ensure that you achieve a professional-looking result.
In this guide, we’ll walk you through how to paint bathtub surround, from selecting the right materials to applying the paint, so you can transform your bathtub area with confidence.
Why Painting a Bathtub Surround is Cost-Effective
Painting a bathtub surround is significantly more affordable than replacing the entire fixture. When considering the costs of new tiles, a fresh tub, and professional installation, the expenses can quickly escalate. In contrast, painting allows you to refresh the existing surfaces without the hefty price tag associated with a full renovation. Additionally, this approach minimizes labor costs and potential downtime,
since the project can often be completed in just a weekend. With a few specialized tools and the right type of paint, you can achieve a stylish update that looks like new, maximizing your investment while minimizing expenditure.
Choosing the Right Paint and Supplies
Selecting the correct paint and supplies is crucial for achieving a durable and aesthetically pleasing finish on your bathtub surround. Begin by choosing a high-quality epoxy or acrylic paint specifically designed for bathroom surfaces, as these options provide excellent adhesion and moisture resistance. It’s essential to pick a paint that can withstand the humid conditions of a bathroom and resist mold and mildew growth.
In addition to paint, gather the necessary supplies to ensure a seamless application process. You’ll need a good primer to prepare the surface, fine-grit sandpaper for smoothing any imperfections, painters’ tape to protect adjacent areas, and a quality paintbrush or roller. Consider using a paint tray and liner for easy cleanup, and have some drop cloths on hand to protect your bathroom floor. Investing in these supplies will set the foundation for a successful and long-lasting bathtub surround makeover.
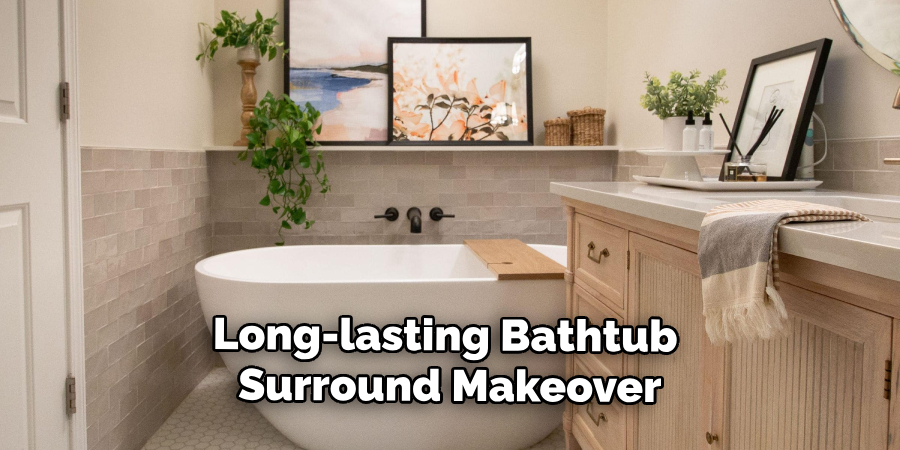
10 Methods How to Paint Bathtub Surround
1. Clean and Prepare the Surround Thoroughly
Preparation is crucial to achieving a durable, long-lasting paint job on a bathtub surround. Begin by cleaning the surface meticulously, using a mild abrasive cleaner or a non-abrasive bathroom cleaner to remove soap scum, oils, and any residue. Scrub with a sponge or a brush, ensuring that every inch of the surround is spotless. Rinse it thoroughly, then dry it completely with a clean towel or rag. For best results,
go over the surface with isopropyl alcohol, which will break down any remaining oils. This step is fundamental since any grease or dust left behind can prevent the paint from adhering well, leading to chipping or peeling over time.
2. Sand the Surface for Better Adhesion
To ensure that the paint adheres well to the bathtub surround, sanding is essential. Use a fine-grit sandpaper, such as 400 to 600 grit, to lightly roughen the surface. This step helps create microscopic grooves that allow the primer and paint to “grip” onto the material, enhancing durability. Sand in small circular motions, covering all areas evenly. When done, wipe down the surround with a damp cloth to remove any dust left from sanding.
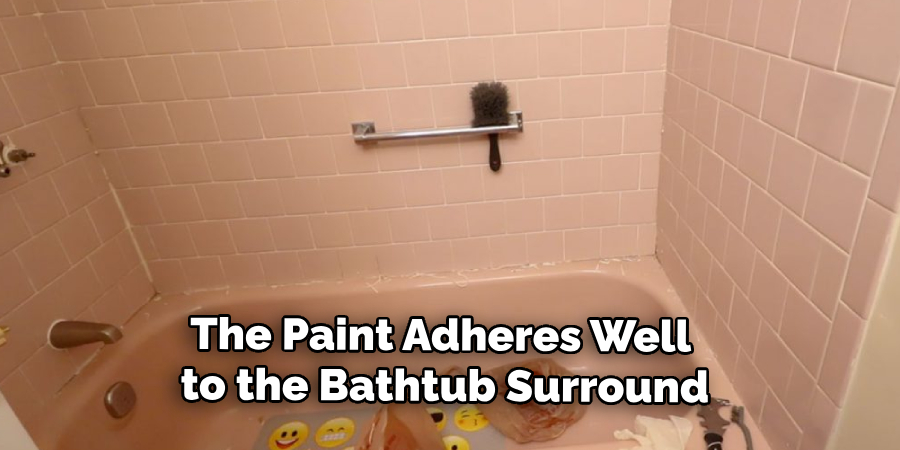
Allow it to dry fully before moving on to the next step. If you notice any major imperfections, such as cracks or holes, repair them with a waterproof filler and sand smooth once dried.
3. Apply a High-Adhesion Bonding Primer
Using a bonding primer designed specifically for slick surfaces is essential when painting a bathtub surround, especially if the material is fiberglass or ceramic. High-adhesion bonding primers form a strong bond between the surface and the paint, preventing peeling or cracking later on. Apply the primer using a paintbrush or roller, starting from the top and working your way down to avoid drips.
Give each coat ample time to dry according to the manufacturer’s recommendations. If desired, apply a second coat for added adhesion, allowing it to cure fully before moving on.
4. Choose the Right Type of Paint for High Moisture
Given the bathroom’s high moisture environment, selecting a paint that can withstand these conditions is vital. Epoxy or acrylic enamel paints are ideal for this job, as they are water-resistant and durable enough to handle regular cleaning and high humidity. Epoxy paints, in particular, are excellent for achieving a smooth, resilient finish that can endure frequent water exposure. If you choose acrylic enamel,
ensure it’s labeled for bathroom use. Many hardware stores sell paint specifically made for tiles and tub surrounds, which offer even greater resistance to wear and moisture.
5. Use a Paint Sprayer for Smooth Coverage
For a professional-quality finish, consider using a paint sprayer rather than a brush or roller. A sprayer applies an even, thin coat of paint without brush strokes or roller marks, creating a flawless appearance. If using a sprayer, practice on a scrap surface to get a feel for the technique, as maintaining a consistent distance and speed is key to avoiding drips. Spray the surround in light, even passes, beginning at one end and working across in sections.
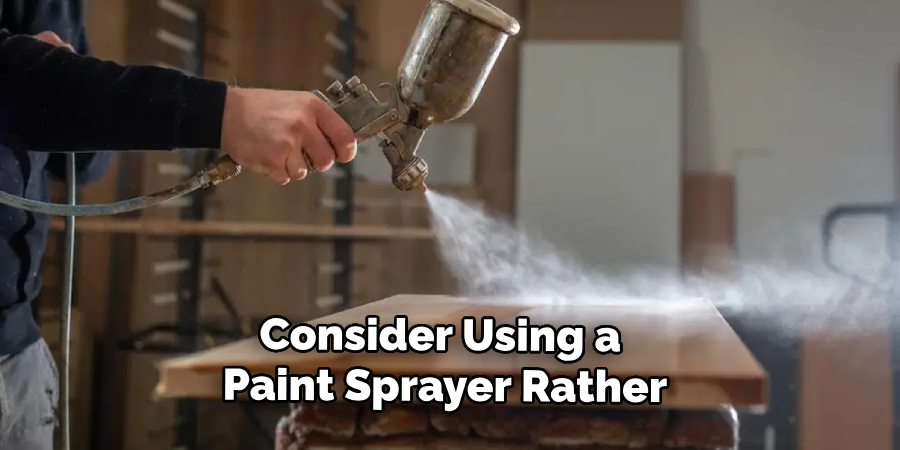
Let each coat dry before applying the next, as this helps achieve smooth, full coverage without buildup.
6. Apply Multiple Thin Coats of Paint
Applying several thin coats of paint is far better than a single thick one. Thicker coats are more likely to drip, dry unevenly, and peel over time. Thin coats, on the other hand, adhere better, dry faster, and provide a more even appearance. After applying the first thin coat, allow it to dry completely before adding the next. Repeat this process two to three times, depending on the paint’s coverage and the desired depth of color.
Each coat will add durability and help the surround withstand the rigors of a bathroom environment.
7. Pay Attention to Ventilation for Curing
Proper ventilation is not only important for health but also for ensuring that the paint cures properly. Paint in a well-ventilated room, and if possible, open windows or use a fan to circulate air. Many high-durability paints release strong fumes, which can be overwhelming and harmful in enclosed spaces. Fresh air helps speed up the drying process and ensures the paint bonds effectively to the surface.
If the bathroom has no windows, consider using a ventilation fan or even a dehumidifier, as lower humidity helps paint cure faster and more uniformly.
8. Seal the Surface with a Clear Topcoat
Adding a protective clear topcoat can significantly enhance the durability of the painted bathtub surround, making it resistant to chips, scratches, and moisture damage. Choose a clear, waterproof polyurethane or epoxy topcoat designed for bathrooms. Apply it using a roller or brush, following the same method as with the paint. Just like the paint, several thin layers of topcoat provide better protection than a single thick one. Each layer should be given ample time to dry, and the last coat should be left to cure fully before the bathtub is used.
9. Allow Ample Curing Time Before Use
While the paint may feel dry to the touch within hours, curing takes significantly longer. To ensure a long-lasting finish, avoid using the bathtub or shower for at least 48 to 72 hours. This waiting period allows the paint and any topcoat to fully cure, reaching maximum hardness and adhesion. Some high-durability epoxy paints may even recommend waiting a full week. Although waiting may be inconvenient, it’s essential for extending the lifespan of your newly painted surround and preventing damage from premature use.
10. Regular Maintenance to Preserve the Finish
Even after the paint has cured, proper maintenance will extend its life. Avoid using abrasive cleaners or scrubbers, as these can scratch or wear away the paint. Opt for gentle bathroom cleaners or a mixture of mild soap and water. Always wipe down the surround after showering to prevent water stains and mold growth. If any chips or cracks appear, touch them up promptly with matching paint to keep the surround looking fresh. Routine care and timely repairs can help maintain the professional appearance of your painted bathtub surround for years.

Conclusion
Painting your bathtub surround is a cost-effective way to refresh your bathroom and extend the life of its features. By taking the time to carefully prepare, prime, and select the right paint, you can achieve a professional-looking finish that holds up to the challenges of a high-moisture environment. Following the steps outlined, including applying multiple thin coats, ensuring proper ventilation, and allowing ample curing time, will ensure the durability and longevity of your project.
Regular maintenance will further preserve the finish, keeping your bathroom looking pristine and inviting. So, there you have it – a quick and easy guide on how to paint bathtub surround.

