When it comes to home renovations, the bathroom is often overlooked. However, giving your bathroom a fresh coat of paint can greatly affect its overall look and feel. If you’re looking for an easy and affordable way to update your bathroom, consider painting the floor tiles.
Not only is this a cost-effective solution, but it also allows you to get creative with colors and patterns. In this guide, we will discuss how to paint floor tile in bathroom to give it a fresh new look. So grab your supplies, and let’s get started!
Understanding the Type of Floor Tiles
Before you begin the painting process, it’s important to understand the type of floor tiles you have in your bathroom. This will determine the type of paint and preparation needed for best results.
There are three main types of floor tiles: ceramic, porcelain, and natural stone. Ceramic and porcelain tiles have a smooth surface, while natural stone can be more porous and textured. It’s important to note that natural stone tiles may require additional preparation and a different type of paint compared to ceramic and porcelain tiles.
Tools and Materials You Will Need to Paint Floor Tile in Bathroom
- Paint roller
- Paint tray
- Painter’s tape
- Sandpaper or sanding block
- Floor tile primer
- Tile paint (specifically made for floors)
- Clear topcoat sealant (optional)
- Drop cloths or plastic sheets to protect surrounding areas
- Cleaning supplies (such as mild soap and water)
- Safety goggles and mask
Step-by-step Guidelines on How to Paint Floor Tile in Bathroom
Step 1: Clean and Prepare the Tiles
Before painting, it’s essential to thoroughly clean the tiles to ensure proper adhesion of the paint. Use a mild soap and water solution to scrub away any dirt, grime, or soap scum. Rinse with clean water and allow the tiles to dry completely.
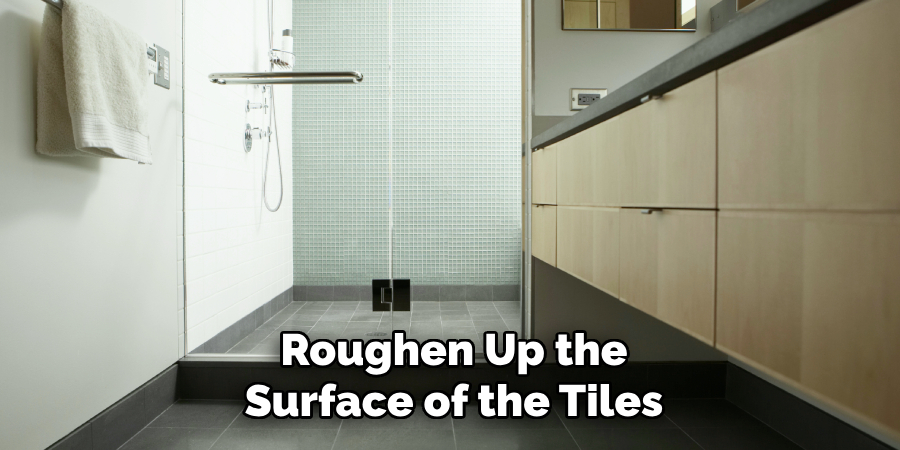
Next, use sandpaper or a sanding block to lightly roughen up the surface of the tiles. This will help the primer and paint adhere better, especially for natural stone tiles.
Step 2: Tape Off and Protect the Surrounding Areas
Use painter’s tape to cover any areas you don’t want to get paint on, such as the walls or fixtures. Lay down drop cloths or plastic sheets to protect the floor from any potential spills or splatters. This will make for a much easier clean-up process. If you’re painting the entire bathroom floor, make sure to cover the toilet and any other fixtures.
Step 3: Prime the Tiles
Priming is an important step in ensuring a successful paint job. It helps the paint adhere better and also provides a smoother finish. Use a roller or brush to apply a thin coat of tile primer onto the tiles. Make sure to follow the manufacturer’s instructions for drying time. Make sure to open windows and turn on a fan for proper ventilation.
Step 4: Paint the Tiles
Once the primer is fully dry, you can start painting. Use a roller or brush to apply thin coats of paint evenly over the tiles. It’s best to paint in small sections at a time, starting from one corner of the room and working your way outwards. Allow each coat to dry completely before applying the next one. Depending on the color and type of paint, you may need to apply several coats for full coverage.
Step 5: Apply a Topcoat (Optional)
You can apply a clear topcoat sealant over the painted tiles for added durability and protection. This will also help prevent any chipping or peeling in the future. Make sure to follow the manufacturer’s instructions for drying time. Applying a topcoat is especially important for high-traffic areas or if you’re painting natural stone tiles.
Step 6: Let the Paint Dry and Cure
Once all coats of paint and topcoat are fully dry, it’s important to let the paint cure before using the bathroom. This could take anywhere from 24-72 hours, depending on the type of paint used. Make sure to avoid getting any water on the tiles during this time. Make sure to ventilate the bathroom properly for proper curing.

Following these steps will help you achieve a beautiful and long-lasting paint job on your bathroom floor tiles. With the right tools, materials, and techniques, you can completely transform the look of your bathroom without breaking the bank.
So go ahead and give it a try, and enjoy your newly painted bathroom floor! Remember to have fun with it and not be afraid to experiment with different colors and patterns for a unique and personalized look. Happy painting!
Additional Tips and Tricks to Paint Floor Tile in Bathroom
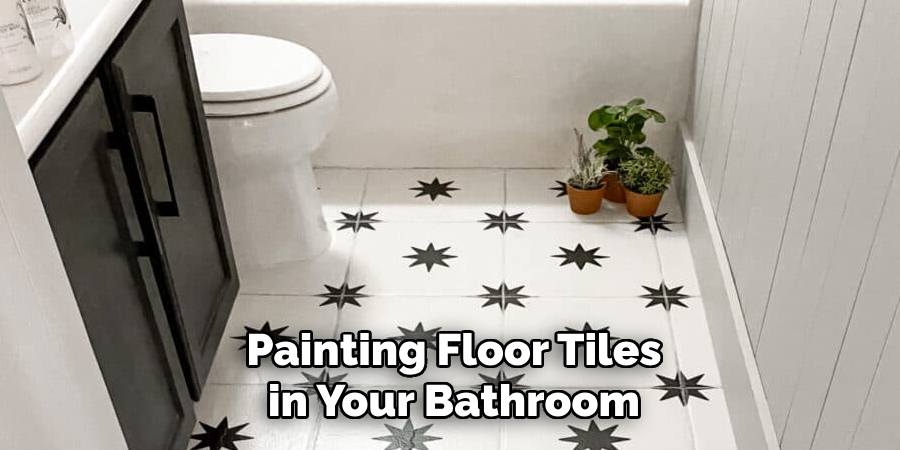
- If you need clarification on the color or design of your bathroom floor tile, consider using a stencil to create a pattern or design on top of the paint. This can add visual interest and give your bathroom floor a unique look.
- Before starting the painting process, thoroughly clean and dry the bathroom floor tile to ensure that the paint will adhere properly. Use a mild cleaner and warm water to remove any dirt or grime, and allow the tiles to dry completely before painting.
- If you’re painting over ceramic tile, using a primer specifically designed for slick surfaces is important. This will help the paint adhere better and prevent chipping or peeling in the future.
- To achieve a professional-looking finish, consider using a spray gun or paint sprayer instead of a brush or roller. This will give you more control over the application and help to avoid brush marks.
- When painting floor tiles in your bathroom, don’t be afraid to mix and match different colors or patterns. Experiment with geometric designs, bold colors, or even metallic accents for a modern touch.
- If you’re using multiple coats of paint, be sure to let each coat dry completely before applying the next. This will ensure a smooth and even finish.
- Consider applying a sealant or topcoat to protect your newly painted floor tile from water damage or stains. This will also make cleaning and maintenance easier in the long run.
- If you’re working with particularly stubborn stains or discoloration on your bathroom floor tile, consider using a degreaser or bleach solution before painting. This will help to remove any built-up grime and ensure a clean surface for painting.
- When choosing the type of paint to use, consider using high-quality, water-resistant options such as epoxy or enamel paints. These types of paint are more durable and better suited for high-moisture areas like bathrooms.
- Last but not least, remember to have fun and let your creativity shine when painting floor tiles in your bathroom. With the right tools and techniques, you can transform a dull and outdated floor into a beautiful focal point for your space.
Following these tips and tricks will help you achieve a successful bathroom floor tile painting project and ensure that your newly painted floors will last for years to come. Remember to always take the time to properly prepare the surface, use the right tools and materials, and have fun with the process. Happy painting!
Things You Should Consider to Paint Floor Tile in Bathroom

- The first thing to consider is the condition of the floor tile. If it is old and damaged, there may be better options than painting, as it could result in a poor finish. In this case, it would be wise to replace the tiles instead.
- The next thing to consider is the type of paint you will use. When painting bathroom floor tiles, it is important to use paint that is specifically made for tiles, as it will be able to withstand moisture and wear.
- Another important factor to consider is the color of the paint. It should complement the overall design and color scheme of your bathroom. You can opt for a neutral color or add a pop of color with a bold shade.
- Before painting, make sure to thoroughly clean the tiles to remove any dirt, grime, or soap scum. This will ensure that the paint adheres properly to the surface and gives a smooth finish.
- It is also important to prime the tiles before painting. This will help the paint adhere better and prevent peeling or chipping in the future.
- When applying the paint, make sure to use even and consistent brush strokes to achieve a professional-looking finish. Using a paintbrush rather than a roller is recommended, as it allows for more precision in smaller areas.
- If you plan on painting intricate designs or patterns, consider using stencils to ensure clean and precise lines.
- After applying the first coat of paint, allow it to dry completely before applying a second coat. This will help achieve a more vibrant and durable finish.
- Once the paint is completely dry, you can apply a sealant to protect the painted surface from water and wear. Make sure to choose a sealant that is suitable for painted tiles.
- Lastly, consider adding some texture or grip to the floor tiles by using non-slip additives in the paint or by adding a non-slip sealant on top. This is especially important for bathroom floors to prevent slips and falls.
Following these considerations will ensure a successful and long-lasting paint job on your bathroom floor tiles. Remember to always test the paint on a small, inconspicuous area first before committing to painting the entire floor. Proper preparation and choosing the right materials allow you to transform your dated bathroom into a fresh and stylish space. Happy painting!
Maintenance Tips for Painted Floor Tile in Bathroom
1. Regular Cleaning:
Regularly cleaning your painted floor tile is crucial to prevent dirt, grime, and stains from building up. Use a mild cleaner that is suitable for painted surfaces and avoid harsh chemicals that can damage the paint or tile.
Sweep or vacuum the floor to remove loose dirt and dust, then mop with a mixture of warm water and mild cleaner. Avoid using excessive amounts of water, as it can seep into the grout lines and cause damage.
2. Protect from Scratches:
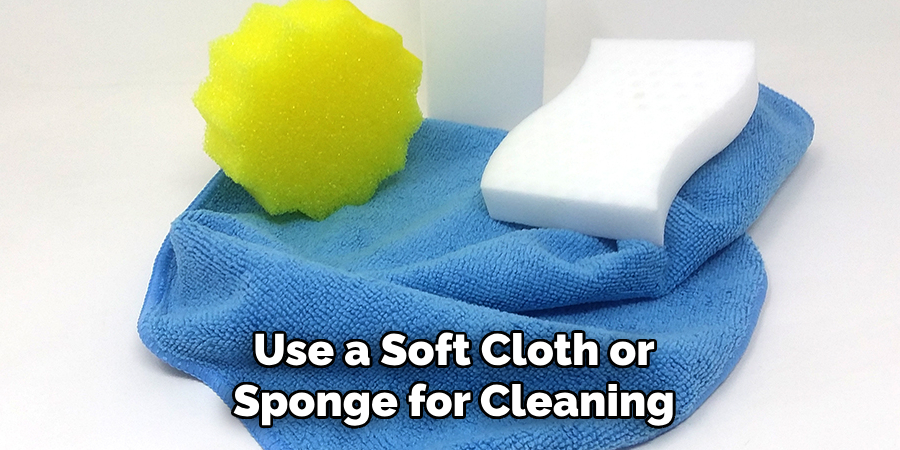
To keep your painted floor tile looking new, it’s important to protect it from scratches and abrasions. Place felt pads or furniture glides under the legs of your furniture to prevent them from scratching the tile when moved. Avoid using harsh scrubbing tools such as steel wool or rough brushes, and instead, use a soft cloth or sponge for cleaning.
3. Address Stains Immediately:
Accidents happen, and spills on your painted floor tile are inevitable. To prevent the spill from staining, it’s important to address it immediately. Use a paper towel or cloth to soak up the spill, then use a mild cleaner to remove any residue. Avoid using bleach or harsh chemicals, which can damage the paint and discolor the tile.
4. Seal Grout Lines:
When painting floor tiles in a bathroom, it’s essential to seal the grout lines to prevent water from seeping in and causing damage. Use a clear, water-resistant grout sealer and apply it according to the manufacturer’s instructions. This will also help keep your painted floor tile looking new by preventing discoloration or mold growth.
5. Touch-Up Areas as Needed:
Over time, wear and tear may cause small chips or scratches in your painted floor tile. To keep it looking fresh, touch up these areas as needed. Use the same paint color and type that was originally used and carefully apply it with a small brush. This will help maintain the overall appearance of your painted floor tile.
6. Avoid Excessive Moisture:
Excessive moisture in a bathroom can damage the paint and the tile itself. When taking showers or baths, use a vent fan or open a window to help prevent excessive moisture buildup. If you notice any water pooling on your painted floor tile, wipe it up immediately to prevent damage. This will also help prevent mold and mildew growth in your bathroom.
7. Use Mats or Rugs:
Placing mats or rugs on your painted floor tile can provide additional protection from scratches and wear while adding a decorative touch to your bathroom. Place one near the sink, shower, and toilet to catch any water spills and prevent them from seeping into the grout lines. Be sure to regularly clean and wash these mats to prevent any buildup of dirt or moisture.
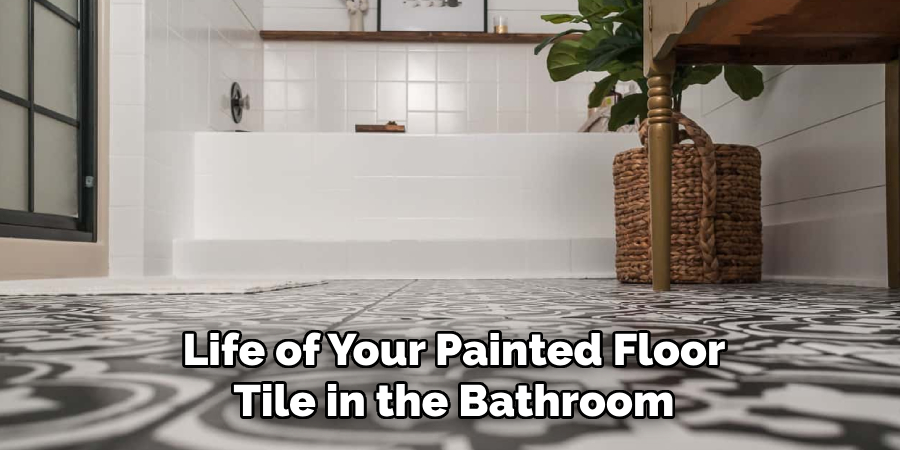
Following these maintenance tips will help extend the life of your painted floor tile in the bathroom and keep it looking brand new. Additionally, it’s important to regularly inspect your painted floor tile for any signs of damage or wear and address them promptly to prevent further issues.
With proper care and maintenance, you can enjoy beautiful painted floor tiles in your bathroom for years to come. So, make sure to follow these tips and keep your bathroom floor looking flawless. Happy cleaning!
Frequently Asked Questions
Is It Possible to Paint the Bathroom Floor Tiles?
Yes, it is definitely possible to paint the bathroom floor tiles. In fact, painting floor tiles has become a popular trend in home renovation as it offers a cost-effective solution for updating the look of old or outdated tiles. You can easily transform your bathroom floor tiles with the right materials and techniques to match your desired style.
Can Any Floor Tile Be Painted?
Yes, almost any type of floor tile can be painted. The most commonly used types of tiles include ceramic, porcelain, and vinyl tiles. These materials are suitable for painting as they have a smooth surface that allows the paint to adhere easily.
What If the Tiles Are in Poor Condition?
If your bathroom floor tiles are in poor condition, such as having cracks or chips, it is recommended to repair them before painting. This will ensure a smooth and even surface for the paint application.
You can use tile filler or epoxy to fix any imperfections on the tiles. It is also important to thoroughly clean the tiles before painting to remove any dirt, grime, or soap scum that may affect the paint’s adhesion.
What Type of Paint Should I Use?
There are various types of paint available to paint floor tiles. The most commonly used options include acrylic latex and epoxy paints. Acrylic latex paints are water-based and offer a durable and long-lasting finish.
Epoxy paints, on the other hand, are more resistant to water and chemicals, making them a suitable option for bathroom floor tiles. It is important to choose a high-quality paint that is specially formulated for painting tiles to ensure the best results.
Do I Need to Use a Primer?
A primer is highly recommended before painting the tiles. A primer helps create a smooth and even surface for the paint to adhere to, improving its durability and longevity. It also helps to block any stains or discoloration from showing through the paint.
Conclusion
Now you know how to paint floor tile in bathroom and can confidently tackle this DIY project. Just remember to properly prepare the tiles, use high-quality materials, and follow proper application techniques for the best results.
With a fresh coat of paint, you can give your bathroom floor a whole new look without breaking the bank. So go ahead and get creative with colors and patterns to create a unique and stylish bathroom space that reflects your personal style. Happy painting!

