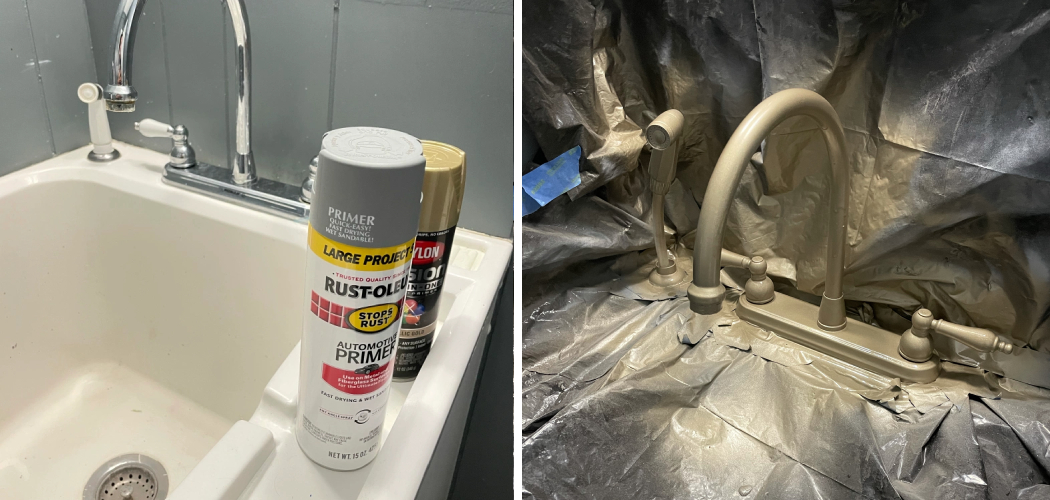
Are you looking to add a fresh, modern touch to your bathroom? Are you looking to give your bathroom an updated look? Painting your shower fixtures can be the perfect way to update any space quickly and miraculously. Whether you have brass, chrome, or stainless steel features, this simple DIY project can help breathe some new life into the area without breaking the bank – all it takes is a few supplies and some patience!
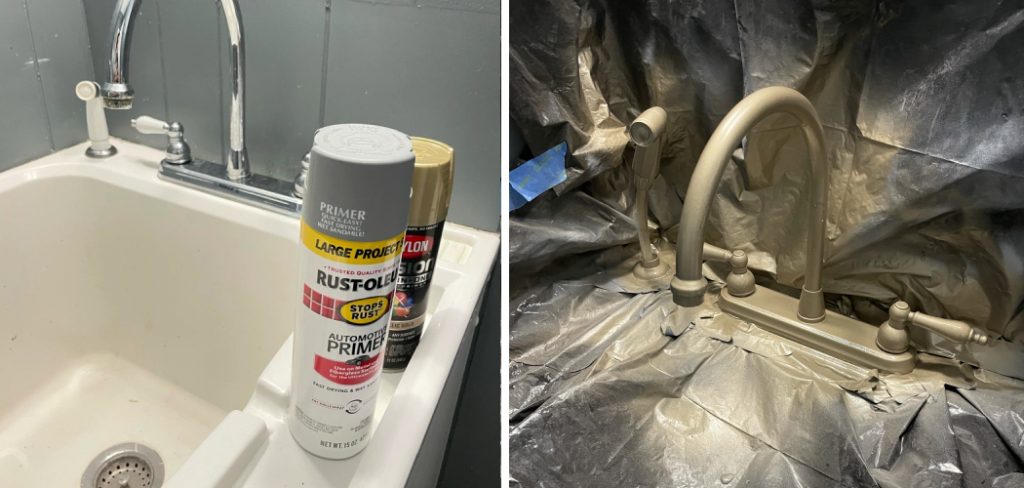
In this blog post, we’ll cover everything from estimates and preparation tips to painting techniques and sealing methods — giving you everything you need for successful shower fixture transformation. So grab your brush, and let’s get started! Keep reading for an easy-to-follow guide on how to paint shower fixtures!
Why Do You Need to Paint Shower Fixture?
1. Add a Fresh Look
Painting your shower fixtures can give them a fresh, modern look. It’s an easy and budget-friendly way to update the space without investing in new hardware. Best of all, you don’t need to be a professional painter or have special tools — anyone can paint their own fixtures!
2. Avoid Replacing Expensive Features
If you’ve invested in expensive brass, chrome, or stainless steel fixtures for your shower, painting them can be a great way to avoid replacing the entire setup — which can quickly get expensive. Not only will you save money, but you’ll also give your space an updated look and feel without spending a fortune.
Preparation for Painting Shower Fixtures
Before you start painting, there are several things to consider and prepare for:
- Gather all necessary supplies. These include painter’s tape, plastic sheeting, rags, brush cleaner, paint brushes or rollers, primer (if necessary), and spray paint.
- Remove all fixtures that you plan to paint from the wall or ceiling. This includes shower heads, handles, and other decorative pieces.
- Thoroughly clean and dry the surfaces before painting to ensure a smooth finish. Use soap and water, and then let it air-dry completely before continuing.
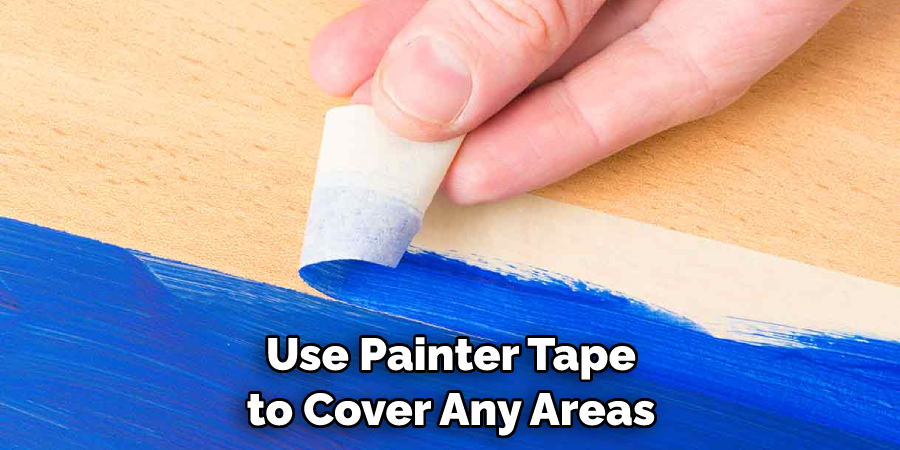
- Once everything is clean and dry, use painter’s tape to cover any areas you don’t want to be painted. Cover the surrounding area with a plastic sheet to protect from paint splatters.
Required Items for Painting Shower Fixtures
Once you’ve completed the preparation steps, you can begin gathering the supplies needed to paint your fixtures. You will need:
- Primer or spray paint
- Paint brushes or rollers
- Painter’s tape
- Plastic sheeting to protect surrounding surfaces from paint splatter
- Rag or paper towels
- Brush cleaner (if using a brush)
How to Paint Shower Fixtures in 10 Easy Steps
Step 1: Gather Supplies
Gather all supplies and remove fixtures from the wall or ceiling. Gathering supplies will minimize time spent running back and forth to the store for additional items.
Step 2: Clean Fixtures
Clean all fixtures thoroughly with soap and water before painting. This ensures a smooth, even finish without any imperfections or contamination left behind. Cleaning will also help the paint adhere to the surface better.
Step 3: Tape Off Areas
Use painter’s tape to cover any areas you don’t want to be painted. Make sure to leave enough space between the covered area and the painted section for a clean, professional-looking finish.
Step 4: Prime Fixtures
If necessary, use a primer to seal the fixtures and ensure maximum adhesion of the paint. Make sure to apply with an even coat and allow it time to dry before proceeding.
Step 5: Apply Paint
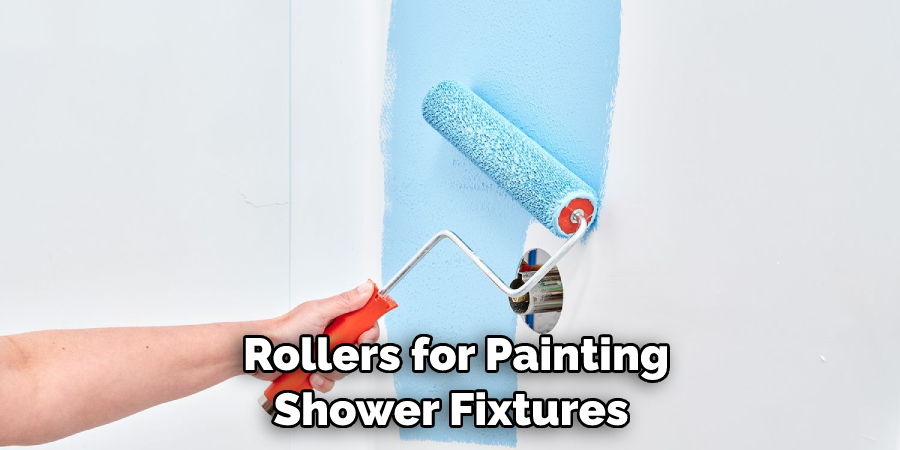
Choose between brushes or rollers for painting shower fixtures. If using a brush, be sure to use one specifically designed for painting and clean it after each use. If using a roller, choose one with the right nap for the type of paint and surface.
Step 6: Start Painting
Start painting in sections, working your way from top to bottom. Make sure to apply an even coat of paint for the best results. Allow time for each section to dry before continuing.
Step 7: Touch-Up Areas
Once you have finished painting each section, inspect your work for any areas that may need touching up. Use a small brush to apply additional paint where needed and allow it to dry completely before continuing.
Step 8: Repeat Process
Repeat the process until all fixtures are painted in an even coat. You may need to apply a second or third layer of paint for best results.
Step 9: Remove Painter’s Tape
Once the paint is dry, slowly and carefully remove all painter’s tape from any areas you taped off earlier. Make sure you don’t pull too quickly to avoid chipping the paint.
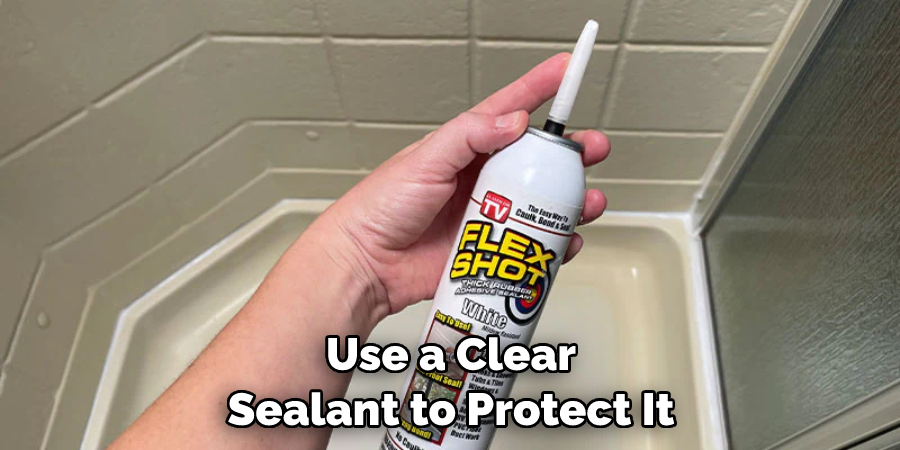
Step 10: Seal Fixtures
When the paint is dry, use a clear sealant to protect it from wear and tear. This ensures that your fixtures will look their best for longer. Allow the sealant time to cure before handling or using the fixtures.
Painting shower fixtures can give them a fresh, modern look without breaking the bank. And by following these simple steps — from preparation and gathering supplies to painting techniques and sealant methods — you’ll have professional-looking fixtures in no time!
With a few supplies and some patience, you can quickly transform any shower into something extraordinary. So go ahead — give your bathroom an updated look with a simple paint job! Your shower will thank you.
If you’re looking to upgrade other elements in your bathroom, check out our blog post on how to refinish bathroom cabinets for an easy and budget-friendly renovation. With these tips and tricks, you can give your space a new look without spending a fortune.
8 Maintenance Tips
If you are considering painting your shower fixtures, chances are you want them to look great and last for a long time. To help make sure this happens, here are 8 maintenance tips to keep in mind:
- Use high-quality paint specifically designed for bathrooms and showers—these will resist mildew growth better than conventional paints.
- Always make sure the fixtures are clean before painting to ensure a smooth finish. Use mild soap and damp cloths to carefully remove dirt and debris.
- Don’t forget to use a primer or sealer before you begin—this will provide a strong base that will help your paint stick better and last longer.
- Use a paintbrush that is of good quality and designed for use on bathroom fixtures. Paintbrush bristles should be soft and free from excess paint.
- Use a light touch when applying the paint—do not press down too hard, or you may end up with an uneven finish. Light, even strokes, should give you the best results.
- To avoid drips, use long strokes and stop just before where you need to start your next stroke. Make sure to wipe away any excess paint that accumulates on the brush as well.
- Allow each coat of paint to dry completely before adding a second coat—this will ensure the colors stay true and the finish remains smooth.
- To protect your newly-painted fixtures, use a light coat of clear sealant to keep away water spots and other marks.
By following these steps for how to paint shower fixtures, you can make sure they look their best and last for years to come. So get painting and enjoy a beautiful shower!
Applying the Paint
Painting your shower fixtures is not difficult, but it does require some patience and attention to detail. Here are a few tips for applying the paint:
- Always make sure you have plenty of ventilation when painting. Open windows or use fans to help circulate the air.
- Make sure you have a good selection of brushes and supplies before beginning. You may need to use more than one type of brush depending on the size and shape of your fixtures.
- Start with a light coat first, then add additional layers until the desired depth of color is achieved.
- If using spray paint, make sure you hold the can at least 8 inches away from the fixture and use even strokes to coat it evenly.
- Allow each coat of paint to dry completely before adding another—this will help prevent drips and give you an even finish. The paint should be completely dry before you apply a sealant.
- Before you start painting, test out the color on a small area first and make sure you like the way it looks.
- Make sure to follow any safety guidelines listed on your paint can—this will help ensure your fixtures, and yourself stay safe during the painting process.
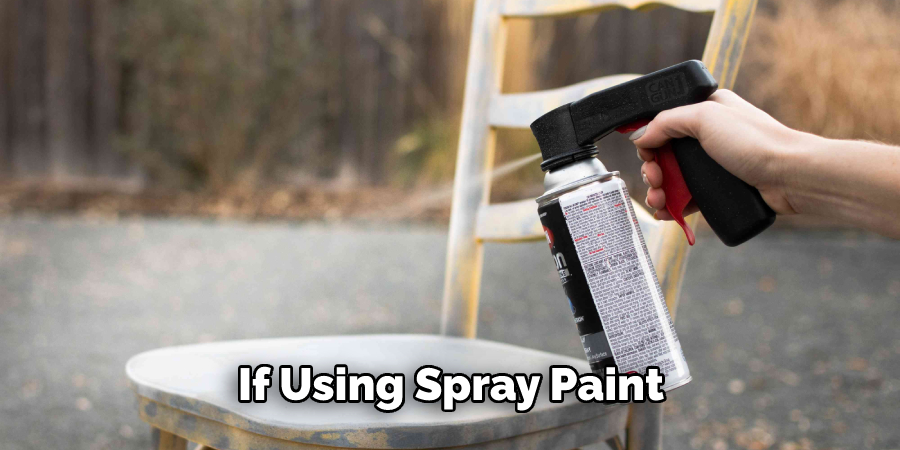
By following these tips for applying paint, you should be able to successfully paint your shower fixtures and enjoy them for years to come. Good luck!
Conclusion
Painting your shower fixtures can be a rewarding and helpful experience that allows you to customize your decor. It’s easy to do, especially when following these tips. First, always use the right materials for the job, such as oil-based primer, enamel paint, and epoxy, for the best results. And second, remember to thoroughly clean and sand before painting.
After you finish coating the fixtures in oil-based primer, it’s time to move on to applying at least two layers of enamel paint or epoxy.
Finally, make sure to seal it with a clear protective layer so that your work remains unscathed. With these steps in mind – and maybe a few extra trips on how to paint shower fixtures for supplies – you’ll be able to transform your shower fixtures into something unique that looks great in just a few hours! So what are you waiting for? Get painting now!

