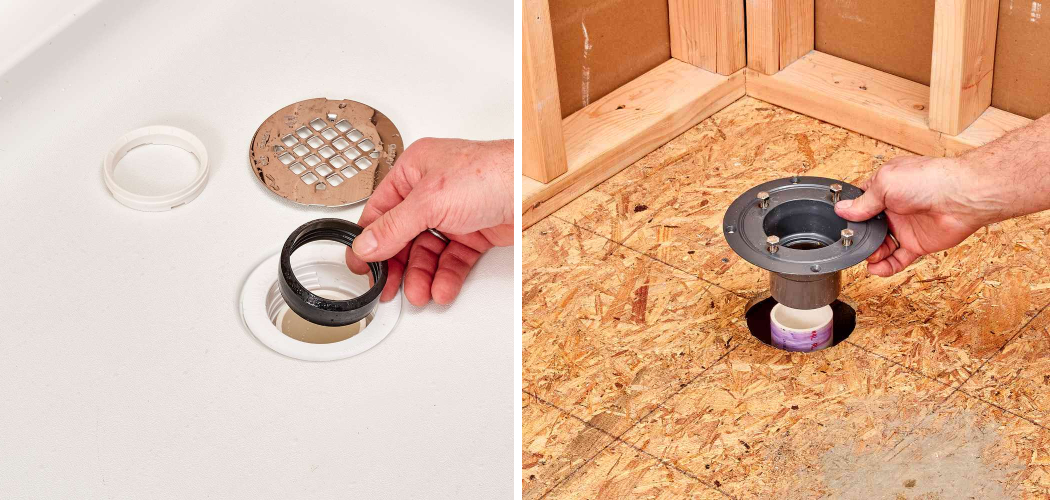
Installing a shower drain can be an intimidating task, especially if you have never done it before. However, with the right tools and knowledge, anyone can successfully plumb a shower drain.
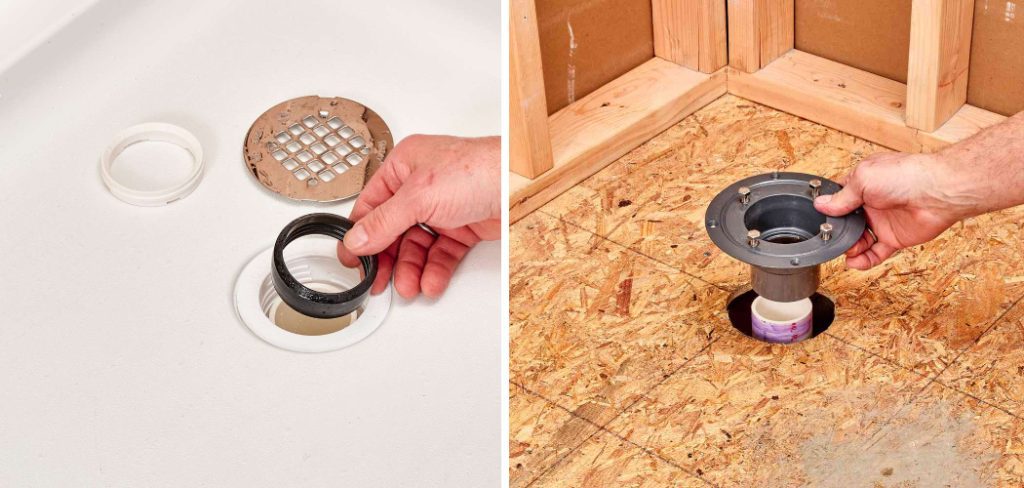
In this guide, we will go through the step-by-step process of how to plumb a shower drain diagram in a clear and easy-to-follow manner.
Materials Needed
Before starting the installation process, make sure you have all the necessary materials. These include:
- Shower drain kit
- PVC pipes and fittings
- Drain wrench
- Hacksaw or pipe cutter
- Screwdriver
- Level
- Measuring tape
12 Steps on How to Plumb a Shower Drain Diagram
Step 1: Prepare the Area
The first step in plumbing a shower drain is to prepare the area where the shower will be installed. This involves removing any debris or old materials, such as an old drain or tile grout. Assemble all the materials and tools needed for the installation process in this area.
Step 2: Measure and Mark
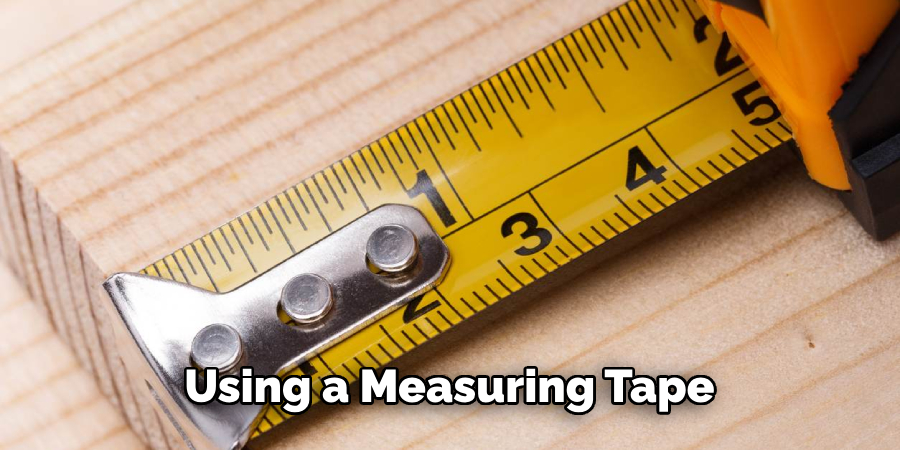
Using a measuring tape, measure the distance between the shower’s base and where you want the drain to be located. This will determine the length of your PVC pipe. Next, mark the location of the drain on both the subfloor and shower base using a pencil or marker.
Step 3: Cut the PVC Pipe
Using a hacksaw or pipe cutter, cut the PVC pipe to the desired length. Make sure to leave an extra inch on each end for adjustments later on. While cutting, make sure to wear protective eyewear and gloves. Then, dry fit the pipe into place to ensure it fits properly.
Step 4: Install the Drain Base
Place the drain base onto the subfloor and align it with the marked location. Use a level to make sure it is straight, and then trace around the edges of the base. This will serve as a guide for later steps. But before securing the drain base, apply the plumber’s putty around the edges to create a watertight seal.
Step 5: Secure the Drain Base
Using screws or bolts, secure the drain base onto the subfloor. Make sure it is aligned with your previous markings and is level. Use a screwdriver or wrench to tighten the screws or bolts securely. If needed, use shims to level the base.
Step 6: Connect the Drain Pipe
Insert one end of the PVC pipe into the drain base and connect it to the shower’s base. Secure it with PVC cement for a permanent seal. Make sure both ends are aligned with your previous markings and level.
Step 7: Install Drainage System
Using PVC pipes and fittings, create a drainage system that will connect the shower drain to the main sewer line. Make sure to follow your local plumbing codes and regulations for proper installation.
Step 8: Test Drainage System
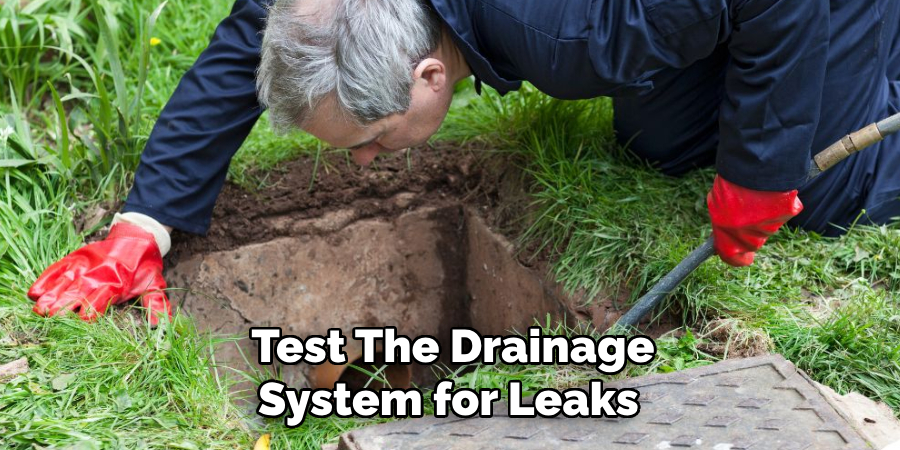
Before proceeding with any further steps, it is crucial to test the drainage system for leaks. To do this, pour some water into the shower base and check for any leaks in the pipes, connections, or drain. If there are any leaks, make sure to fix them before moving on.
Step 9: Install Shower Base
Once you have confirmed that the drainage system is leak-free, install the shower base over the drain and secure it into place. Follow the manufacturer’s instructions for proper installation. While installing, make sure the base is level and aligned with your previous markings.
Step 10: Connect Drain Cover
Install the drain cover onto the drain base using a drain wrench. Make sure it is tightly secured to prevent any leaks. For added protection, you can apply the plumber’s tape around the threads of the drain cover before screwing it in place.
Step 11: Caulk Around Base
Using silicone caulk, seal around the edges of the shower base and drain base to prevent any water from seeping through. Smooth out the caulk with a wet finger or caulking tool for a clean finish. Let it dry completely before using the shower.
Step 12: Test Again and Adjust if Necessary
After completing all the steps, test the drain once again by pouring water into the shower base. Check for any leaks or issues and make adjustments as needed. Once you are satisfied with the results, your shower drain installation is complete!
Plumbing a shower drain may seem like a daunting task, but by following these 12 steps and using the right materials, you can successfully install a shower drain yourself. Remember to always double-check for leaks and follow local plumbing codes to ensure proper installation. With your new knowledge of how to plumb a shower drain diagram, you can confidently tackle this project in your own home.
9 Safety Measures to Keep in Mind
1) Wear Protective Gear
When cutting PVC pipes or using chemicals such as PVC cement, make sure to wear safety glasses and gloves to protect yourself from any potential harm. As an extra precaution, consider wearing a face mask to avoid inhaling any particles.

2) Turn Off Water Supply
Before starting the installation process, make sure to turn off the water supply to your home. This will prevent any unexpected water flow while working on the pipes. And always remember to turn off the water heater to avoid any accidents.
3) Use Proper Tools
Make sure to use the right tools for the job. Using a hacksaw or pipe cutter instead of a regular saw can help to create clean and precise cuts in the PVC pipes. This will result in a better fit and reduce the risk of leaks.
4) Check for Leaks
Throughout the installation process, it is crucial to periodically check for leaks. This will help you catch any issues early on and prevent potential damage. Then, always double-check for leaks after completing the installation.
5) Follow Local Codes and Regulations
Before starting any plumbing project, it is essential to research and understand your local plumbing codes and regulations. This will ensure that your installation meets safety standards and prevent any future issues.
6) Securely Fasten Pipes
When connecting PVC pipes, make sure to use PVC cement to create a permanent seal. This will prevent any potential leaks and ensure a strong connection between the pipes. Even if using other materials, such as rubber couplings, make sure they are tightly secured.
7) Be Cautious with Chemicals
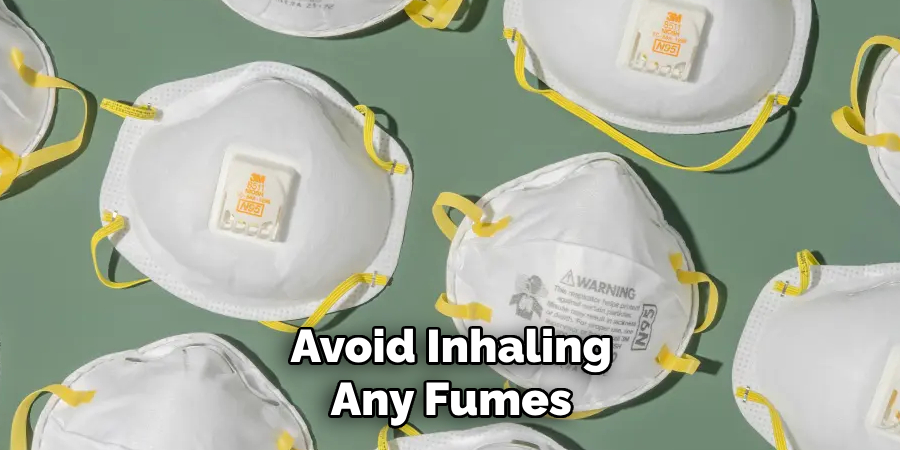
When working with chemicals such as PVC cement, make sure to read and follow the instructions carefully. Avoid inhaling any fumes and work in a well-ventilated area. However, if you do inhale any fumes, immediately go outside for fresh air.
8) Use Shims if Needed
If your shower base or drain base is not level, use shims to make adjustments. This will prevent any potential issues with the installation and ensure proper drainage. Again, always double-check for levelness before securing any parts in place.
9) Ask for Help if Needed
If you are unsure about any step of the installation process or run into any difficulties, do not hesitate to ask for help. Consulting a professional plumber can save you time and money in the long run and ensure a successful installation.
Safety should always be a top priority when doing any DIY project. By following these safety measures, you can confidently plumb a shower drain and ensure your own well-being in the process.
Installing a shower drain may seem like a daunting task, but with the right tools and knowledge, it can be easily accomplished. Remember to always wear protective gear, turn off water supply, follow local codes and regulations, and double-check for leaks throughout the process.
By following these steps and safety measures, you can successfully install a shower drain in your own home and enjoy a properly functioning shower for years to come. So why wait? Gather your tools, follow this guide, and get started on installing that new shower drain today!
8 Things to Avoid
1) Using the Wrong Size Pipes
Make sure to use pipes of the proper size for your shower drain. Using pipes that are too small can cause drainage issues and lead to clogs, while using pipes that are too large may not fit properly and result in leaks.
2) Cutting Pipes Incorrectly
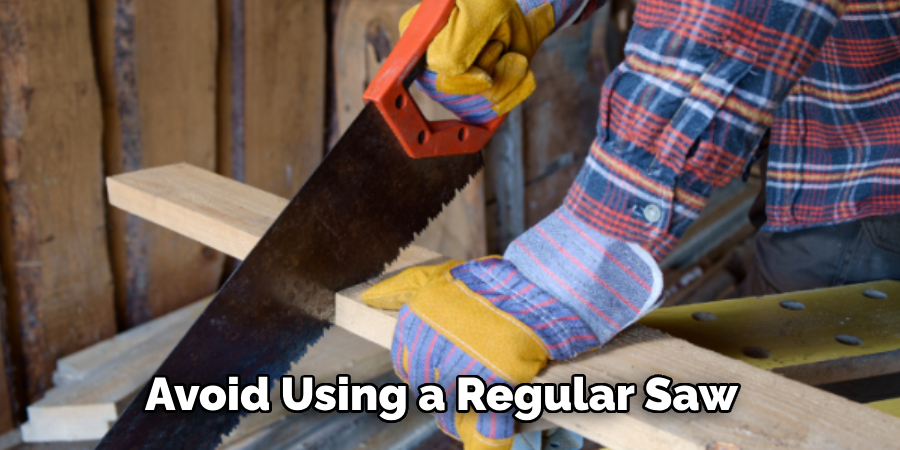
It is crucial to make clean and precise cuts when working with PVC pipes. Avoid using a regular saw and opt for a hacksaw or pipe cutter instead to prevent any jagged edges that can affect the fit and cause leaks.
3) Not Leveling the Base
A level shower base is essential for proper drainage. Make sure to check for levelness before securing the base in place, and use shims if needed to make adjustments. Otherwise, you may end up with standing water in your shower.
4) Skipping the Test
Always test the drain after completing the installation. This will help you catch any potential leaks or issues and make necessary adjustments before using the shower. Also, remember to double-check for leaks after completing the installation.
5) Using Incorrect Fittings
Make sure to use fittings that are specifically designed for shower drains. Avoid using regular plumbing fittings as they may not fit properly and result in leaks. Even if using the correct fittings, double-check for proper fit before securing in place.
6) Rushing the Process
Plumbing a shower drain may seem like a straightforward task, but it is essential to take your time and follow each step carefully. Rushing through the process can lead to mistakes that may result in leaks or other issues down the line.
7) Ignoring Ventilation
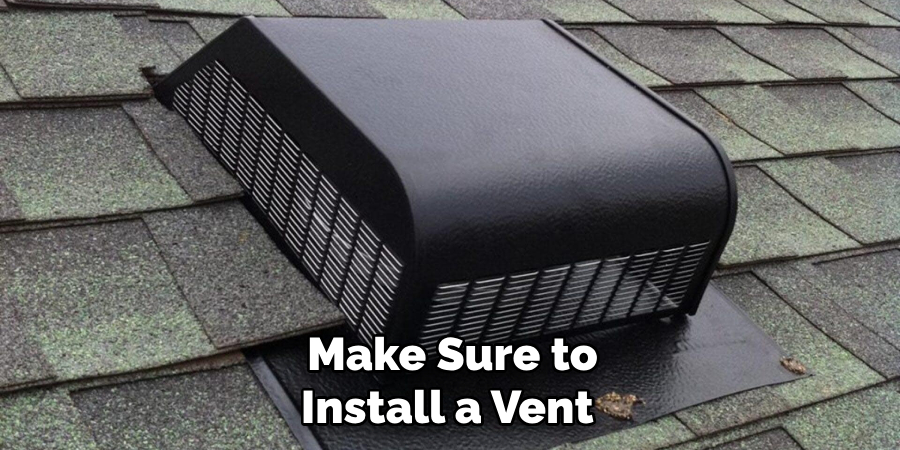
Proper ventilation is crucial to prevent any potential issues with mold or mildew in your bathroom. Make sure to install a vent if your bathroom does not have one already, and keep it clean to ensure proper air flow.
8) Not Seeking Help When Needed
If you encounter any difficulties or feel unsure about a step, do not hesitate to seek help from a professional plumber.
Attempting to do the installation without proper knowledge and experience can lead to costly mistakes and potential safety hazards. Always prioritize your own well-being when undertaking any home improvement project. So, if you are not confident in your abilities, it is best to ask for help rather than risk causing damage or harm.
By avoiding these mistakes and following safety measures on how to plumb a shower drain diagram, you can successfully install a shower drain in your home without any issues. Happy plumbing! Remember to always prioritize safety and never hesitate to ask for help if needed. Now go enjoy your newly installed shower drain! Keep these tips in mind for future plumbing projects as well. With the right knowledge and precautions, you can confidently tackle any plumbing task.
8 Additional Tips for a Successful Installation
1) Gather All Necessary Tools and Materials
Make sure to have all the necessary tools and materials before starting the installation. This will save you time and prevent any unnecessary trips to the hardware store mid-project. As a general rule, it’s always better to have more than you need rather than not enough.
2) Read and Follow Instructions Carefully
Whether it’s for the shower base or drain, make sure to read and follow the instructions carefully. This will ensure that you are using the correct tools and materials, as well as following any specific steps or precautions for your particular product.
3) Always Turn Off Water Supply
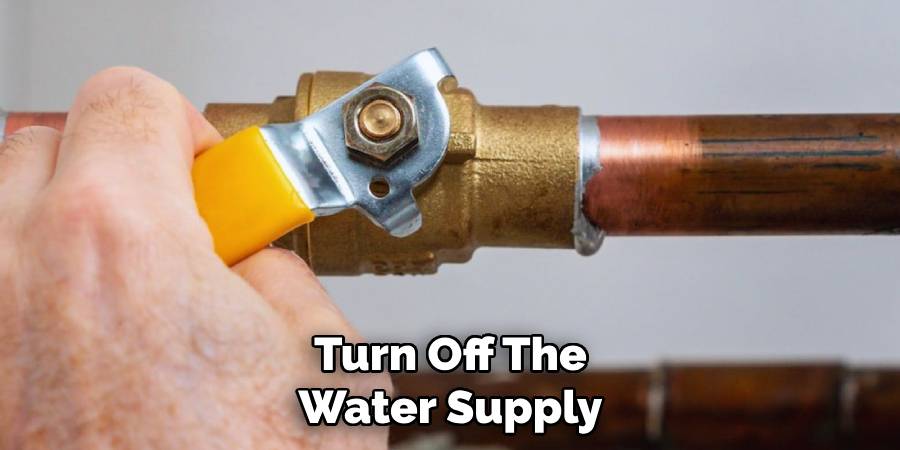
Before starting any plumbing project, always turn off the water supply to the area you will be working on. This will prevent any unwanted water flow and potential accidents or damage. So, if you’re installing a shower drain, make sure to turn off the water supply to your bathroom before beginning.
4) Clean and Prep the Area
Before installing the shower drain, make sure to clean and prep the area where it will be installed. This will ensure a proper fit and prevent any debris or obstructions from causing issues later on. Additionally, a plumber’s putty or silicone sealant can be used to create a watertight seal around the drain.
5) Use Teflon Tape
When connecting pipes, use Teflon tape on the threads to create a tight and secure connection. This will prevent any leaks and ensure proper water flow through the pipes. For added security, you can also use pipe joint compound in addition to Teflon tape.
6) Watch for Proper Slope
It is essential to ensure that the pipes leading to the shower drain have a proper slope for water to flow effectively. If the pipes are not sloped enough, water may not drain properly, resulting in standing water or clogs. Use a level to check the slope before securing the pipes.
7) Always Double-Check for Leaks
After completing the installation, always double-check for leaks by running water through the shower. This will help you catch any potential issues and make necessary adjustments before using the shower regularly.
8) Maintain Your Shower Drain
To keep your shower drain functioning properly, make sure to clean and maintain it regularly. This includes removing any hair or debris that may accumulate over time and using a drain cleaner every few months to prevent buildup. By taking care of your shower drain, you can extend its lifespan and avoid potential issues in the future.
By following these additional tips on how to plumb a shower drain diagram, you can ensure a successful and long-lasting installation of your shower drain. Remember to always prioritize safety and take your time to avoid mistakes. With the right knowledge and precautions, you can confidently tackle any plumbing project in your home.
Frequently Asked Questions
Can I Install a Shower Drain Myself?
Yes, with the right tools and knowledge, you can successfully install a shower drain yourself. However, if you are not confident in your abilities or encounter any difficulties during the process, it is best to seek help from a professional plumber.
Do I Need Special Tools for Installing a Shower Drain?
While some general plumbing tools may be needed, such as pliers and wrenches, you may also need specific tools, such as a drain wrench or pipe cutter. Make sure to read the instructions for your particular shower drain to determine what tools are needed.
How Do I Know If My Shower Drain Is Installed Correctly?
A correctly installed shower drain should have a watertight seal and allow for proper drainage without any leaks. When running water through the shower, make sure to check for any standing water or slow draining, as these may indicate an improper installation.
How Often Should I Clean My Shower Drain?
It is recommended that you clean your shower drain at least once a month to prevent buildup and maintain proper drainage. However, if you notice any issues, such as slow draining or standing water, you may need to clean it more frequently.
Conclusion
Installing a shower drain in your bathroom can be a daunting task, but with the right knowledge of how to plumb a shower drain diagram and precautions, it can be completed successfully.
By avoiding common mistakes, gathering all necessary tools and materials, and following safety measures, you can confidently install a shower drain in your home. Remember to also regularly clean and maintain your shower drain to ensure it continues functioning properly. Happy plumbing! So go ahead, take on that plumbing project with confidence, and enjoy the satisfaction of a job well done.

