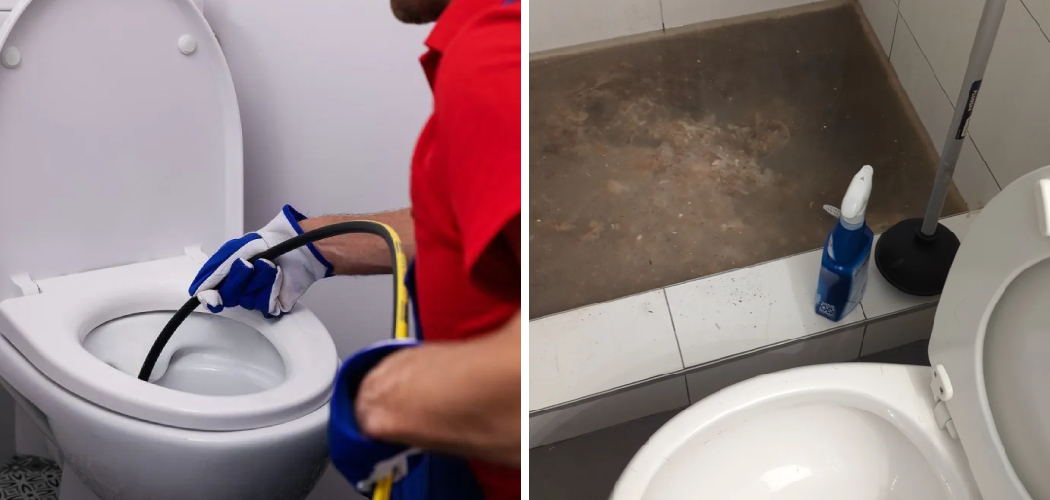
Toilets are essential in any home, but dealing with clogs can be frustrating, especially when water levels are low. Low water situations present unique challenges when attempting to plunge a toilet, as the decreased water volume can hinder the effectiveness of traditional plunging techniques. It’s crucial to address clogs promptly, as ignoring them can lead to more significant plumbing issues down the line.
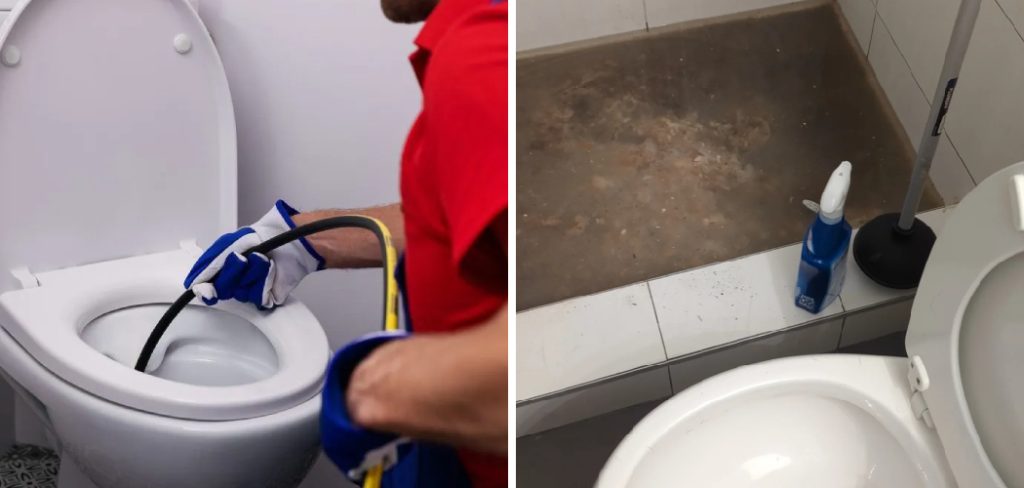
Understanding how to plunge a toilet with low water is vital for maintaining a functional bathroom. This article will guide you through the necessary steps to tackle this issue effectively. We’ll cover essential preparations, the proper technique for plunging, and safety measures to ensure a smooth experience. By following these guidelines, you can confidently resolve clogs even in low-water situations and maintain the hygiene and efficiency of your toilet.
Understanding the Problem: Why Low Water Makes Plunging Difficult
Water plays a crucial role in the effectiveness of plunging a toilet. When the bowl is filled to an adequate level, the water provides the necessary pressure to help dislodge clogs effectively. This pressure allows the plunger to create suction, pulling the blockage free. However, with low water levels, the plunger struggles to achieve a proper seal, resulting in diminished effectiveness and increased difficulty in clearing the clog.
Several factors can lead to low water levels in the toilet bowl. One common cause is incomplete flushes, which can occur due to a malfunctioning flapper or a clog further down the plumbing line. Additionally, issues with the toilet’s fill valve, which regulates the water entering the bowl, can also contribute to insufficient water levels. Addressing these underlying issues is essential to prevent recurring problems when attempting to plunge a toilet.
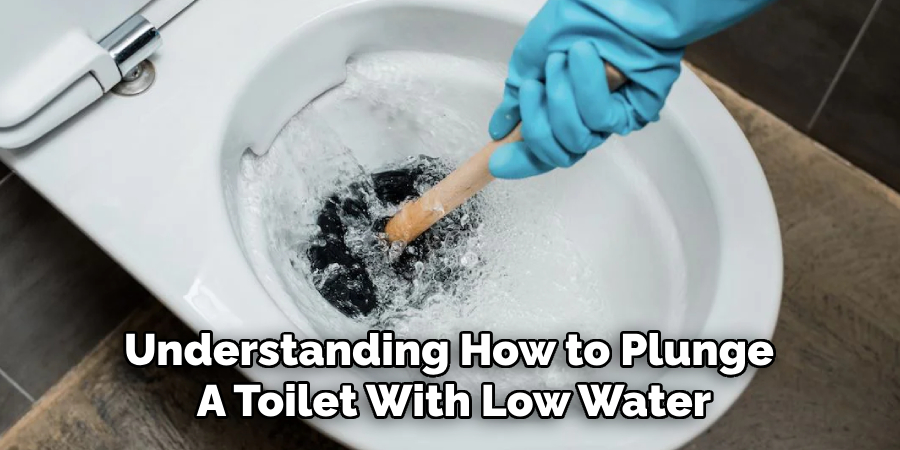
Preparing to Plunge a Toilet with Low Water
Adding Water to the Bowl
Before plunging, it’s crucial to add water to the toilet bowl to enhance the effectiveness of the process. Water helps create the necessary pressure and suction that are essential for dislodging stubborn clogs. To safely add water, use a bucket to pour a measured amount directly into the bowl. Aim to fill the bowl until the water level covers the cup of the plunger, which typically requires about one to two gallons, depending on the size of the bowl and the plunger. Be cautious not to overfill, as too much water can cause it to overflow. If you’re unsure of how much to add, start with a smaller amount and gradually increase it until you reach the optimal level.
Choosing the Right Plunger
Selecting the right plunger is vital for effectively tackling a clog, especially in low-water scenarios. A high-quality plunger, ideally a flange or bell-shaped model, is recommended because it creates a superior seal around the drain, enhancing suction and preventing air leaks. When positioning the plunger, ensure the rubber flange fully engages with the drain hole. This helps maximize the plunging force and suction generated during the process.
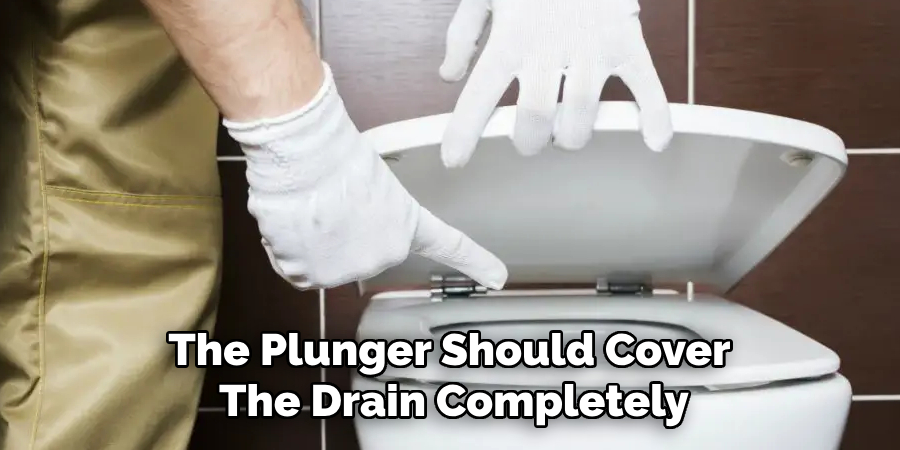
Proper alignment and seal are key; the plunger should cover the drain completely, allowing it to work efficiently even with minimal water present. Using the right tools and techniques will significantly increase your chances of successfully unclogging the toilet.
How to Plunge a Toilet with Low Water: Step-by-Step Guide
Step 1: Position the Plunger Correctly
Positioning the plunger correctly is crucial for effective plunging, especially when dealing with low water levels. Begin by placing the plunger over the drain hole in the toilet bowl. Ensure that the rubber flange, which is the extended part of the plunger, is fully engaged with the drain.
This engagement is essential as it creates an airtight seal, maximizing suction during plunging. Verify that the plunger covers the entire drain hole to prevent air from escaping and enhance the effectiveness of your efforts. A poor seal can hinder your ability to dislodge the clog and may prolong the process. Take your time to adjust the plunger before you start, as proper positioning is the foundation for successful unclogging.
Step 2: Start with Gentle Pressure
Once the plunger is correctly positioned, begin your plunging efforts with gentle pressure. Starting slowly helps to establish the seal between the plunger and the drain, which is vital for suction. Use controlled, gentle pushes without forcing the plunger too hard, as this can cause water to splash, creating a mess.
Gentle pressure allows the air within the bowl to compress and aids in forming a better seal, efficiently preparing for more powerful strokes later on. As you continue, gradually increase the force, ensuring you maintain the seal and avoid pushing the clog further down into the pipes. This method helps to patiently build momentum in the plunging process without overwhelming the clog initially.
Step 3: Plunge with Forceful Strokes
With the seal established and pressure built, it’s time to plunge with firmer, more forceful strokes. Use an up-and-down motion, alternating between pushing down and pulling up to create the necessary suction and pressure needed to dislodge the blockage. Maintain a steady rhythm to keep the plunger in place over the drain hole as you work through the clog.
Pushing and pulling are essential, as they generate the force required to break up the obstruction. Remember that with low water levels, the absence of a large water volume may require additional effort, but persistence is key. Continue this plunging action for 15 to 20 seconds, then pause to check for any signs of improvement, such as water draining away or the clog loosening. This systematic approach enhances your chances of clearing the clog effectively.
Dealing with Stubborn Clogs
When Plunging Isn’t Enough
If your initial plunging attempts do not successfully clear the clog, it may be time to consider alternative methods. One effective tool for addressing deeper blockages is a toilet auger, also commonly referred to as a plumber’s snake. This specialized device consists of a long, flexible cable that can reach further down the toilet’s drain line, allowing you to break up or retrieve the obstruction causing the blockage.
To use a toilet auger, insert the end into the toilet bowl and carefully crank the handle to extend the cable deeper into the drain. Once you encounter resistance, continue turning the handle to break apart the clog or retrieve debris. If the blockage persists, further investigation into your plumbing system might be necessary, as it may indicate a more significant issue within the pipes that requires professional attention.
Reattempting with More Water
If plunging doesn’t yield results, adding more water to the toilet bowl before another attempt can significantly enhance the effectiveness of your efforts. Increasing the water level allows for improved pressure to build, which is essential for creating the suction needed to dislodge stubborn clogs. Aim to fill the bowl until the water covers the cup of the plunger, ensuring there’s enough liquid to facilitate a more robust plunging action.
Once you’ve added the necessary amount of water, position your plunger again and repeat the plunging technique. Starting with gentle pressure to re-establish the seal and then progressing to firm, forceful strokes will maximize your chances of clearing the blockage. Consistency is vital, and sometimes multiple attempts with increased water levels are necessary to tackle particularly stubborn obstructions efficiently.
Preventing Future Low-Water Clogging Issues
Proper Flushing Techniques
To mitigate the risk of low-water clogs, it’s essential to advocate for proper flushing techniques that ensure the toilet bowl fills adequately. Encourage users to avoid partial flushes, which can result in incomplete waste removal and create ideal conditions for developing clogs. A full flush is necessary to effectively clear the bowl and prevent build-up over time.
Regular Maintenance
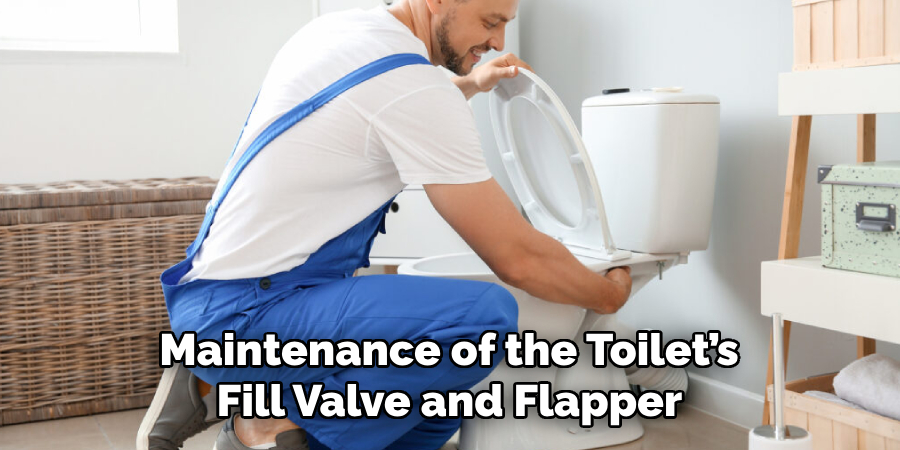
Regular maintenance of the toilet’s fill valve and flapper is crucial in sustaining consistent water levels in the bowl. Users should routinely check these components for functionality and promptly address any issues. Additionally, it’s important to avoid excessive use of toilet paper or flushing non-dissolvable items, as these practices can compromise the toilet’s drainage system, leading to future clogs and water level concerns.
Conclusion
In summary, knowing how to plunge a toilet with low water requires several key steps for success. Add enough water to cover the plunger cup, which helps build effective pressure. Select the appropriate plunger, ensuring a good seal over the drain. Start with gentle pressure to establish suction, then transition to firm, forceful strokes to dislodge the clog. It’s important to remember that patience and persistence are crucial, as clearing a stubborn clog may require multiple attempts.
Even in situations with low water, effective plunging is achievable when using the right technique and tools. Additionally, practicing proper toilet maintenance and flushing techniques can prevent future clogs, helping to maintain the efficiency of your plumbing system. Keep these tips in mind for a smoother, unclogging experience!

