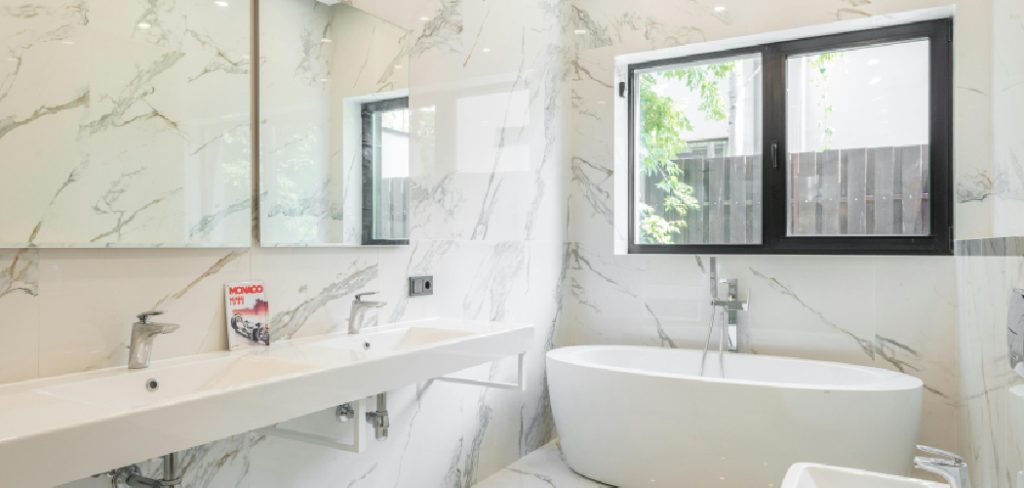
Keeping your bathroom tiles spotless and shiny not only enhances the overall appearance of the space but also helps maintain hygiene. Over time, tiles can accumulate grime, soap scum, and water stains, making them look dull and unattractive. Polishing your bathroom tiles is a simple yet effective way to restore their luster and ensure they stay in top condition. This guide is designed to help you with how to polish bathroom tiles for a shiny finish.

By following a few straightforward steps, you can achieve a clean, polished finish that revives the beauty of your bathroom.
Importance of Polished Tiles
Polished tiles do more than just enhance the aesthetic appeal of your bathroom; they also offer practical benefits. A polished surface is less likely to harbor bacteria, mold, or mildew, making it easier to maintain a clean and healthy environment. Additionally, shiny tiles reflect light, making your bathroom appear brighter and more spacious. This can transform even smaller bathrooms into more inviting and visually appealing spaces.
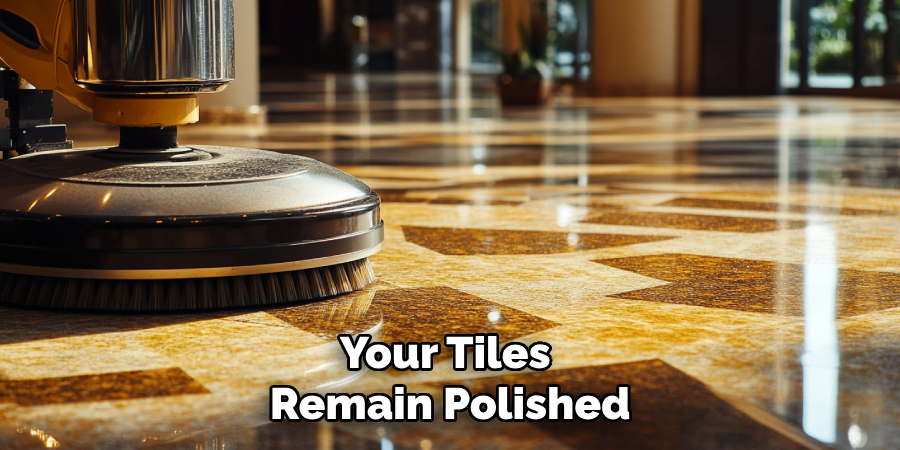
Regular polishing also helps to protect the tile surface, preventing wear and tear and prolonging the life of your investment. Ultimately, maintaining polished tiles ensures your bathroom remains both beautiful and functional for years to come.
Types of Tiles That Can Be Polished
Not all tiles are created equal when it comes to polishing. Some materials lend themselves well to being polished for a glossy, refined look, while others may not require or be suitable for such treatment. Ceramic and porcelain tiles are among the most popular types that can be polished. Porcelain, in particular, is highly durable and can achieve a mirror-like finish when polished. Natural stone tiles such as marble, granite, and travertine can also be polished to enhance their natural beauty and luster.
However, it’s important to use the proper polishing techniques and products for each type of material to avoid damage. For tiles with a matte or textured finish, polishing may not be ideal, as it could alter their intended appearance or functionality. Always consider the type of tile before proceeding with any polishing process for the best results.
Tools and Materials Needed
Before you begin polishing your bathroom tiles, it’s essential to gather the right tools and materials to ensure the job is done efficiently and effectively. Here’s what you will need:
- Soft microfiber cloths: Ideal for cleaning and buffing the tiles without causing scratches.
- Tile cleaner or mild detergent: A cleaning agent to remove dirt, grime, and stains from the tiles.
- Warm water: For rinsing the tiles and diluting cleaning solutions.
- Non-abrasive sponge or brush: Helpful for scrubbing stubborn stains and residue without damaging the tile surface.
- Tile polish or stone sealer (if applicable): Designed to enhance the shine and protect certain types of tiles.
- Gloves: To protect your hands from cleaning chemicals or rough surfaces.
- Bucket: For mixing cleaning solutions and holding water during the process.
- Polishing pad or soft buffer (optional): Useful for larger areas or achieving a high-gloss finish on suitable tile materials.
Having these tools and materials on hand will help you tackle the polishing process with ease, leaving your tiles spotless and gleaming.

10 Methods How to Polish Bathroom Tiles for a Shiny Finish
1. Clean the Tiles Thoroughly
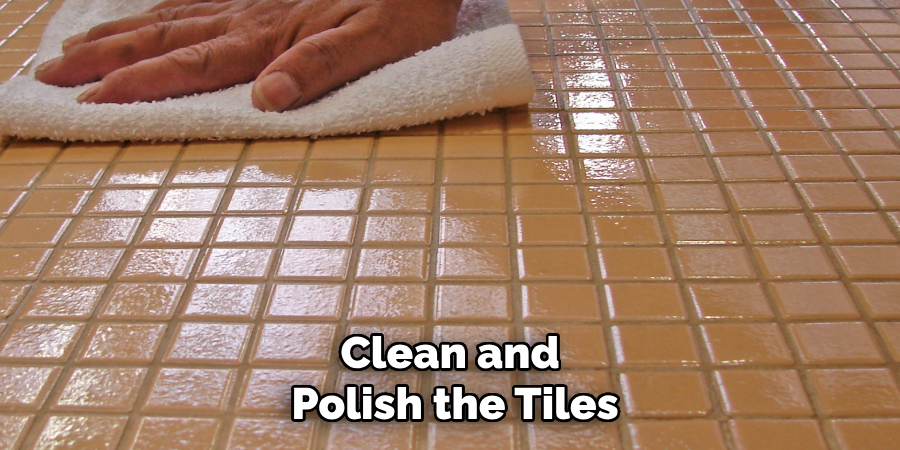
Before polishing, remove all dirt, grime, and residue from the tiles. Use a mixture of warm water and mild dish soap for initial cleaning. Apply the solution with a sponge or microfiber cloth, scrubbing gently to lift surface debris. Rinse with clean water and dry thoroughly with a soft towel. Starting with clean tiles ensures the polishing process is effective and consistent.
2. Use a Baking Soda Paste
For an eco-friendly and budget-friendly polishing solution, mix baking soda with water to create a paste. Apply the paste to the tiles and grout using a soft-bristled brush, focusing on areas with stains or dull spots. Let it sit for 10–15 minutes before scrubbing gently in circular motions. Rinse thoroughly and wipe dry to reveal a polished finish. Baking soda acts as a mild abrasive that removes grime without scratching the tiles.
3. Polish with Vinegar and Water
Vinegar is a natural cleaning agent that effectively removes mineral deposits and restores shine to tiles. Mix equal parts of white vinegar and water in a spray bottle and apply it to the tiles. Let it sit for a few minutes, then scrub gently with a sponge or cloth. Rinse with water and dry the tiles. Avoid using vinegar on natural stone tiles, as its acidity can damage the surface.
4. Apply Commercial Tile Polish
Invest in a high-quality tile polish designed specifically for bathroom surfaces. Follow the manufacturer’s instructions for application, typically involving spreading the polish evenly with a cloth or sponge. Buff the tiles with a clean, dry cloth to achieve a shiny finish. Commercial products are formulated to enhance gloss while protecting tiles from future stains.
5. Utilize a Glass Cleaner for Shine
For glossy tiles, a standard glass cleaner can work wonders. Spray the cleaner directly onto the tiles and wipe with a lint-free cloth. Buff the surface in circular motions until the tiles shine. Glass cleaners are particularly effective for ceramic or porcelain tiles with a glazed finish, as they remove smudges and streaks effortlessly.

6. Buff with a Microfiber Cloth
After cleaning and polishing, use a microfiber cloth to buff the tiles. Microfiber’s fine fibers trap dust and polish residues, leaving a streak-free finish. Focus on small sections at a time, applying gentle pressure and circular motions for best results. Regular buffing helps maintain the shine between deep cleaning sessions.
7. Use Car Wax or Tile Sealant
For long-lasting shine, apply a thin layer of car wax or a tile sealant to the tiles. Spread the wax evenly with a soft cloth, let it dry, and buff with another clean cloth. Tile sealants not only enhance gloss but also protect tiles from water stains and grime buildup. Be sure to test the product on a small, inconspicuous area before full application.
8. Remove Grout Haze
Grout haze can dull the appearance of your tiles, especially after new installation. Use a grout haze remover or a homemade solution of vinegar and water to eliminate this film. Apply the solution with a sponge, scrub gently, and rinse thoroughly. Once the haze is removed, polish the tiles with a soft cloth to restore their luster.
9. Steam Clean the Tiles
A steam cleaner is a powerful tool for deep-cleaning and polishing tiles. The high-temperature steam loosens dirt, kills bacteria, and removes stubborn stains without harsh chemicals. Use the steam cleaner with a microfiber attachment to clean and polish the tiles simultaneously. This method is particularly effective for textured tiles or hard-to-reach areas.
10. Maintain Regularly for Lasting Shine
Consistent maintenance is key to preserving the polished appearance of bathroom tiles. Wipe down tiles with a damp cloth after every shower to prevent water spots and soap scum buildup. Schedule weekly cleanings using mild cleaning solutions to maintain their shine. Avoid abrasive cleaners or scrubbing tools that could damage the tile surface.

Maintenance and Upkeep
Keeping your bathroom tiles shiny and spotless requires regular maintenance and simple preventative measures. Implement these routines to ensure your tiles remain polished and in top condition:
- Wipe Down Daily: After using the bathroom, wipe down the tiles with a clean, dry microfiber cloth or squeegee to remove water droplets and prevent soap scum or water spots from forming. This small step goes a long way in maintaining shine.
- Clean Weekly: Use a mild tile cleaner or a mixture of warm water and dish soap for weekly cleanings. Focus on high-use areas like the shower and sink backsplash. Regular cleaning prevents grime and mineral buildup that can dull tile surfaces over time.
- Inspect Grout Regularly: Pay attention to the grout lines between your tiles, as dirty or damaged grout can affect the overall appearance. Use a grout brush and cleaner to address any discoloration, and consider resealing the grout every six months to keep it looking fresh.
- Avoid Harsh Chemicals and Tools: Steer clear of abrasive scrubbing pads, brushes, or cleaners that can scratch or erode tile surfaces. Opt for non-abrasive tools like sponges, microfiber cloths, or soft-bristled brushes instead.
- Prevent Mold and Mildew: Ensure your bathroom is well-ventilated by using an exhaust fan or opening the window after hot showers. Wipe away excess moisture from tiles to minimize mold or mildew growth in humid conditions.
- Reapply Sealants as Needed: For natural stone or tiles requiring sealants, reapply the sealant at least once a year to protect surfaces from stains and enhance their polished look.
By following these simple upkeep practices, you can preserve the beauty of your bathroom tiles and enjoy their radiant shine for years to come. Maintenance not only extends the lifespan of the tiles but also keeps your bathroom looking clean, fresh, and inviting.

Conclusion
Polishing bathroom tiles doesn’t have to be an arduous or expensive task. With these ten methods, you can restore and maintain the glossy finish of your tiles using a combination of household items, commercial products, and effective techniques. Regular care and cleaning not only enhance the visual appeal of your bathroom but also ensure that your tiles remain durable and resistant to grime.
So, there you have it – a quick and easy guide on how to polish bathroom tiles for a shiny finish.

