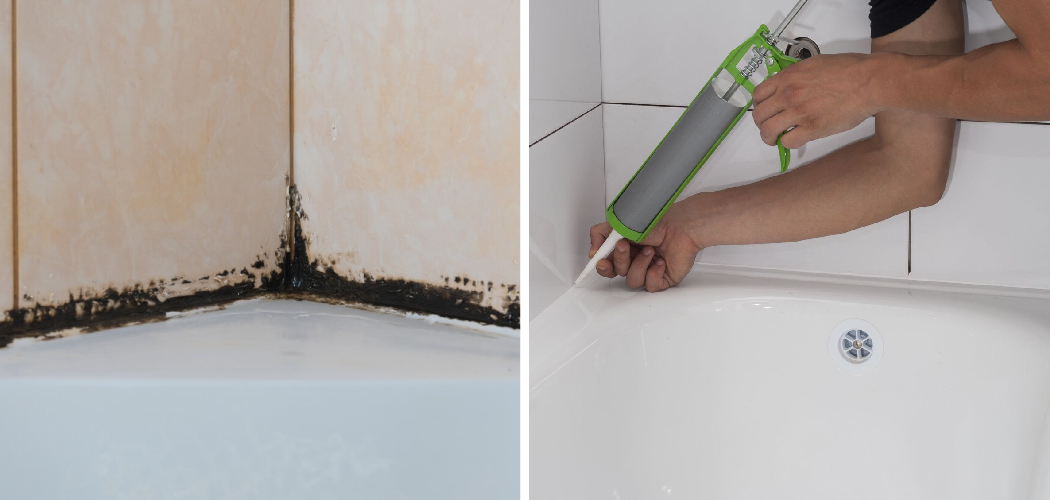
The last thing you want in your home is any type of mold. It’s not only an eyesore but can also be extremely damaging to structural integrity and health if left unchecked. One way that mold can easily sneak into the home is through shower caulking–the sealant used to keep water away from wall intersections or tubs, and showers are one of the most common areas for water intrusion and subsequent mold growth.
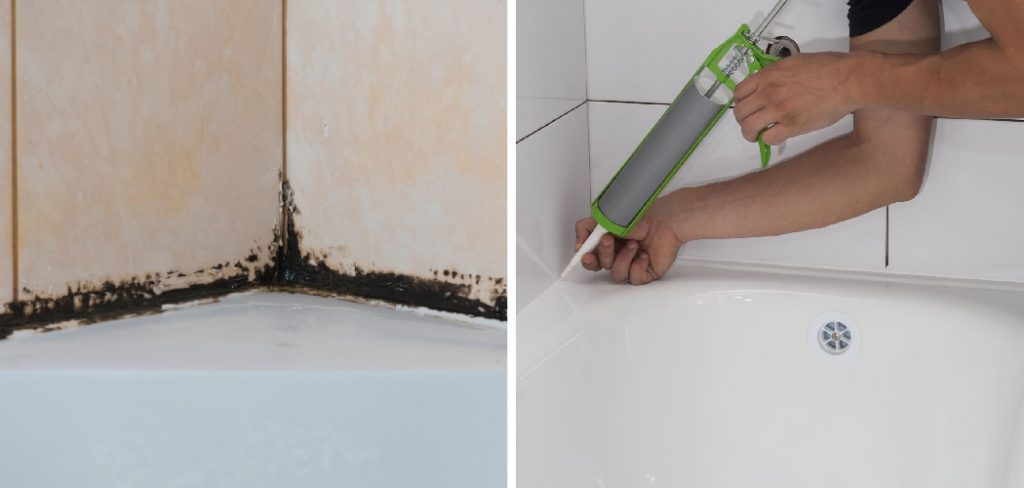
Fortunately, preventing this kind of moisture-related damage isn’t too difficult if you know what precautions must be taken to ensure a safe, dry environment inside the home.
In this post, we’ll discuss how to prevent mold in shower caulk and other forms of water damage so that you don’t have anything more than beautiful tile work greeting you every morning as soon as you step out of the shower!
What Can Make Shower Caulk Vulnerable to Mold?
Shower caulking can become worn over time due to temperature changes, age, and exposure to water. This can lead to cracks in the sealant that provide an entry point for moisture and deterioration of the surrounding tile surface. In addition, any kind of debris or foreign material, such as hair or dirt, can easily get stuck in the caulk and reduce its integrity, allowing water to seep through.
Also, mold can grow in areas consistently exposed to moisture or where allergens can accumulate. This makes shower caulk a prime target for mold growth as it’s constantly being exposed to water, and many people tend to forget how important, regular maintenance is when it comes to keeping the sealant properly maintained.
What Will You Need?
To prevent mold from growing inside your shower caulk, you’ll need to invest in some basic materials and supplies. These include:
- A silicone caulking gun
- Silicone caulk
- Latex gloves
- Utility knife
- Bucket of water
Once you have these materials assembled, you’re ready to begin the process of preventing mold from forming in your shower caulk.
10 Easy Steps on How to Prevent Mold in Shower Caulk
1. Remove Existing Caulk:
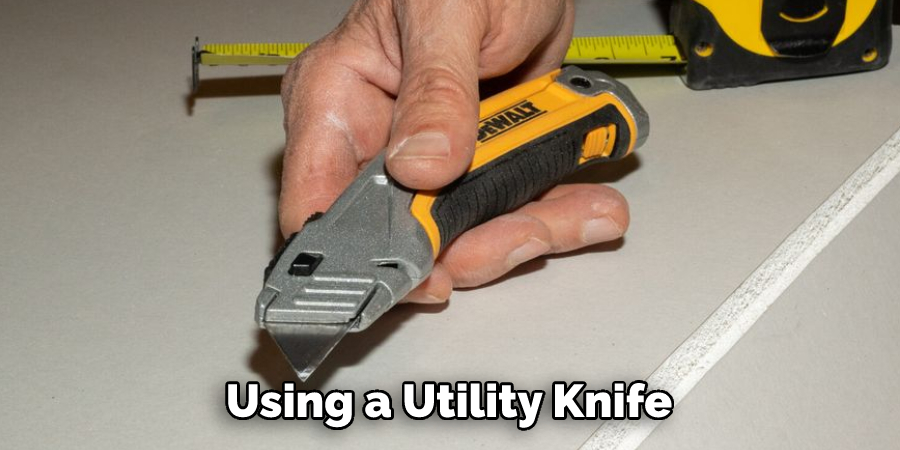
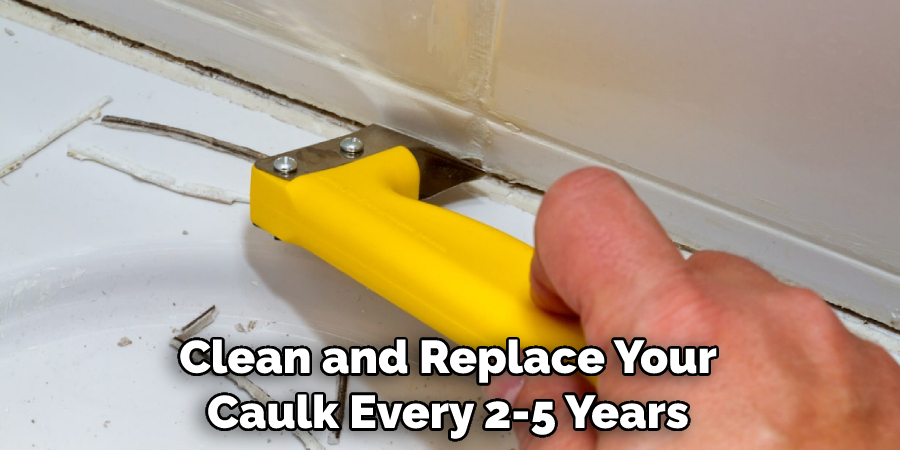
Start by using a utility knife to carefully remove any old and worn caulk from the surface of your shower. Make sure that you get as much of it out as possible before proceeding with the next steps. You can save the old caulk for later use if needed.
2. Clean the Surface:
Once the old caulk has been removed, use a wet cloth to clean any remaining residue from the surface of your shower. Make sure that you get into all nooks and crannies, as this will help ensure a better seal when it comes time to apply new caulking. If needed, use a mild detergent to help get rid of any stuck-on debris. Be careful not to scrub too hard or use harsh chemicals, which can damage the surface.
3. Dry the Surface:
Once you have finished cleaning the surface of your shower, make sure that you thoroughly dry it with a clean cloth. This will help ensure that no moisture is present when you apply your new caulk. Don’t forget to pay special attention to any cracks or crevices that may be present.
4. Apply New Caulk:
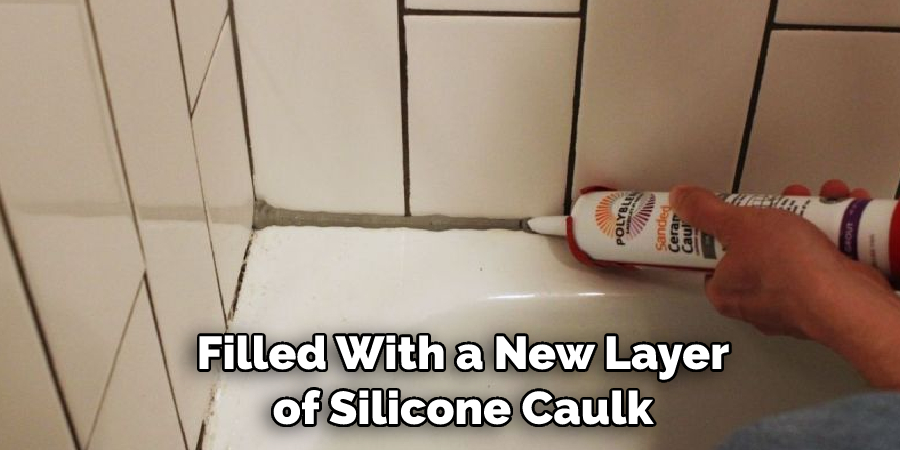
Using a caulking gun, apply a thin and even layer of silicone caulk along the joints where two different surfaces meet (e.g., tubs, showers, wall intersections). Ensure all gaps are sealed to create an effective barrier against water intrusion and mold growth. As you go along, use a wet finger to ensure that the caulk has been properly smoothed and shaped.
5. Smooth Out Any Unevenness:
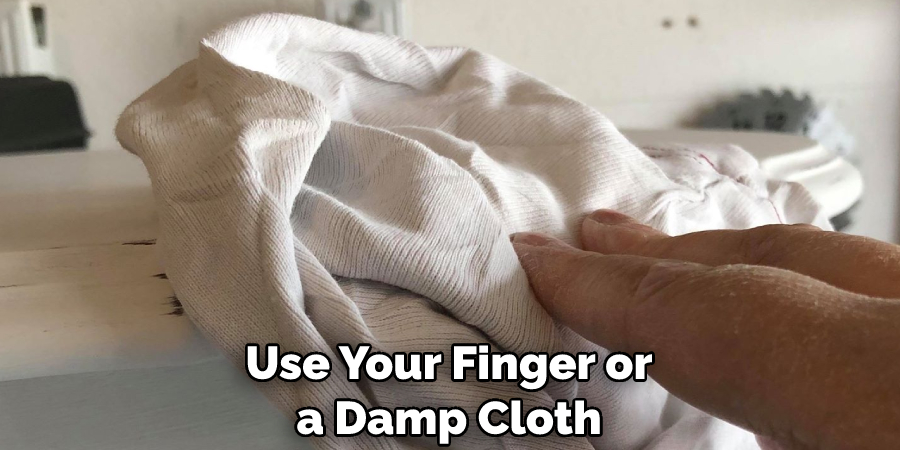
Once the entire area has been covered, use your finger or a damp cloth to smooth out any unevenness in the caulk. This will help create a consistent seal that is both aesthetically pleasing and effective against water intrusion. Be careful not to disturb the caulk too much, as this can cause it to become weak or ineffective.
6. Remove Any Excess Caulk:
Once the entire area has been sealed, use a wet cloth to wipe away any excess caulk. This will ensure that there are no gaps or areas where moisture can accumulate, thus preventing mold from growing in those spots. Additionally, it will help make sure that the seal is tight and secure.
7. Let the Caulk Dry:
After you have finished cleaning up any excess caulk, let it dry for at least 24 hours before using your shower again. This will give the caulk enough time to set and form an effective barrier against water intrusions and mold growth. Use a fan or other air-circulating device to speed up the process.
8. Clean Regularly:
To prevent mold from forming on the surface of your caulk, make sure that you clean your shower regularly. This will help keep the area dry and free from any excess moisture which can lead to mold growth. Additionally, it’s important to check for any signs of discoloration or cracking in your caulk so that you can address these issues quickly if they arise.
9. Repair Any Damage:
If there is any visible damage to your shower caulk, don’t hesitate to repair it immediately. Small cracks or gaps can easily be filled with a new layer of silicone caulk, while larger areas might require more extensive repairs. The sooner these problems are addressed, the less likely they become bigger, leading to potential water intrusion and subsequent mold growth.
10. Hire a Professional:
If you feel like the job is too big for you to handle alone or don’t have the time to do it yourself, hiring a professional is always an option. A trained and experienced contractor will be able to quickly assess the issue and provide a solution that will help keep your shower sealed against water intrusion and mold growth. They may also offer advice on how to protect your caulk in the future best.
By following these ten easy steps, you can prevent mold from growing in your shower caulk and protect both your health and home from potential harm. Make sure that each step is done properly so that you get the most out of your new caulk and enjoy a safe and healthy shower environment.
5 Additional Tips and Tricks
1. Applying the new caulk in one continuous line rather than multiple short pieces. This will help ensure that you have a tight and effective seal.
2. If gaps or cracks exist in your existing shower caulk, fill them with a small amount of silicone caulk before applying the new layer.
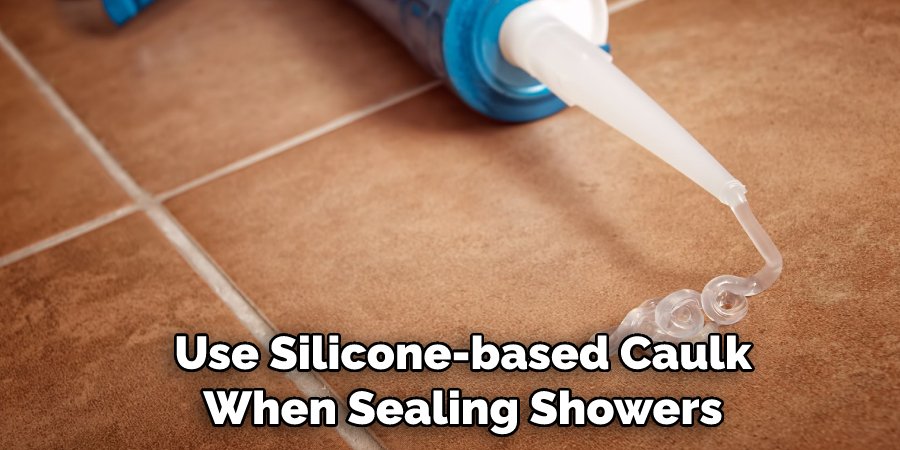
3. Always use silicone-based caulk when sealing showers, as this type of material is best suited for areas that may become wet or damp over time.
4. Make sure to clean up any excess caulk after you’re done to prevent water accumulation and mold growth around the edges of the tub or shower area.
5. Use a fan or other air-circulating device to speed up the drying process and help prevent potential mold growth.
With these tips and tricks, you can prevent mold from growing in your shower caulk and enjoy a safe, healthy shower environment.
5 Things You Should Avoid
1. Don’t let moisture accumulate in the caulk. Inspect your shower area properly, and open windows or use a fan to circulate air during showers.
2. Avoid using regular silicone caulking for shower projects. It tends to yellow over time, allowing water seepage that leads to mold growth. Instead, opt for a mildew-resistant silicone or urethane-based caulk with antimicrobial additives.
3. Never mix different types of caulk when attempting repairs, as this could cause unwanted chemical reactions that could lead to cracks and other issues down the road.
4. Don’t skimp on how much caulk you apply! Ensure it has a good seal around the edges so moisture can’t get in.
5. Be sure to clean and replace your caulk every 2-5 years, depending on how much traffic it receives, as this will help prevent the growth of mold and mildew.
By following these steps, you can be guaranteed that your shower caulk is up to par and ready to protect against any unwanted mold or mildew growth! Do not let water seepage ruin your bathroom experience, and invest in good quality caulking today!
Is There a Mold Proof Caulk?
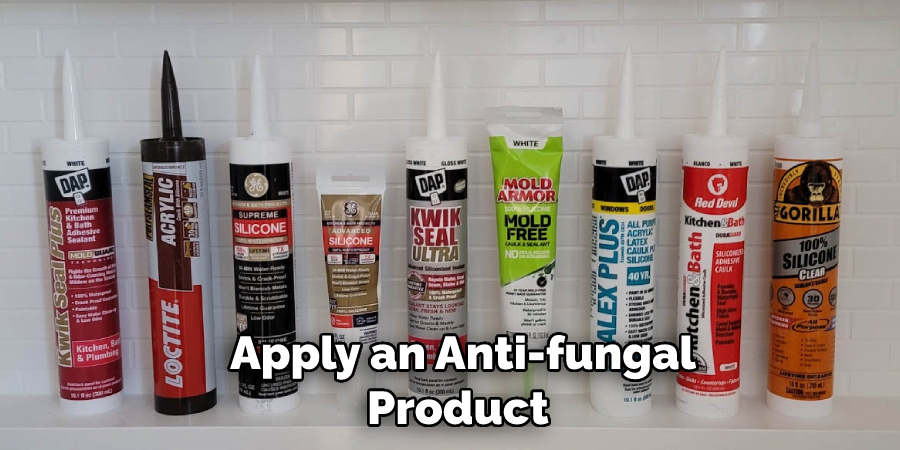
Unfortunately, no caulk is ever truly “mold proof.” The best way to prevent mold in shower caulk is to ensure that the area surrounding it remains dry and free of excessive moisture. However, specialty caulks on the market have been specially formulated to resist mildew and mold growth more effectively than traditional caulks. These types of caulks are great for areas like showers and bathrooms where there’s a higher risk of water intrusion or dampness. They tend to be more expensive than regular silicone caulking but will provide extra protection against potential mold growth in your bathroom.
Remember that proper maintenance and timely repairs are essential for preventing mold in shower caulk, no matter what type of caulk you use. Check your caulk regularly and replace it depending on how much traffic it receives, keeping an eye out for signs of mold or mildew growth. With these tips and tricks, you can ensure that your shower stays healthy and safe!
How Can You Properly Maintain Shower Caulk?
Maintaining your shower caulk is an essential part of preventing mold and mildew growth. Here are some tips for how to best maintain your caulk:
1. Clean the area regularly. Use a mild detergent, warm water, and a soft cloth to wipe down the caulk lines gently. This should be done at least once a month or more often if needed.
2. Make sure you seal any cracks or gaps around the shower that may allow moisture in.
3. Occasionally apply an anti-fungal product such as bleach to areas where mold is present. Make sure you follow the directions on how to use and store this product properly for the best results.
4. Remove all standing water from the shower after each use by using a squeegee or towel to dry off all surfaces of the shower, including walls and floors.
5. Inspect your caulk regularly for signs of cracking or peeling and replace it when necessary.
Following these steps can help you maintain a mold-free shower caulk. Proper maintenance is the best way to prevent mold in your bathroom, so make sure you take the time to clean and inspect your shower regularly. With proper maintenance, you can enjoy a safe, healthy, and mold-free shower for years to come!
Conclusion
In conclusion, mold in shower caulk is an all-too-common problem that can cause serious health issues. Fortunately, there are preventative measures we can take to fend off this unsafe phenomenon. Regularly inspect and clean your caulk for mildew and discoloration, seal all cracks beforehand with high-quality products, ventilate your bathroom well, repair any damage to the caulking promptly, and ensure the caulking is always dry when not in use.
Following this simple protocol will help protect both your health and property from harmful mold caused by neglectful maintenance. As always, stay informed on the latest tips for keeping your showers free and clear of mildew!
Hopefully, the article on how to prevent mold in shower caulk has been informative and helpful. With this knowledge, you can keep your showers sanitary and safe from mold growth!

