Do you want to avoid cleaning your bathroom over and over again without seeing any results? Do you want to learn how to clean your bathroom like a pro professionally? If so, then you’ve come to the right place! In this guide, we will share some tips and tricks on how to professionally clean a bathroom and make it shine like never before.
Maintaining a clean and hygienic bathroom is essential for both health and comfort. Professional cleaning goes beyond daily tidying up and delves into deep cleaning methods that ensure every corner of the bathroom sparkles. This guide will walk you through the step-by-step process of professionally cleaning a bathroom, covering everything from choosing the right cleaning products to using the most effective techniques.
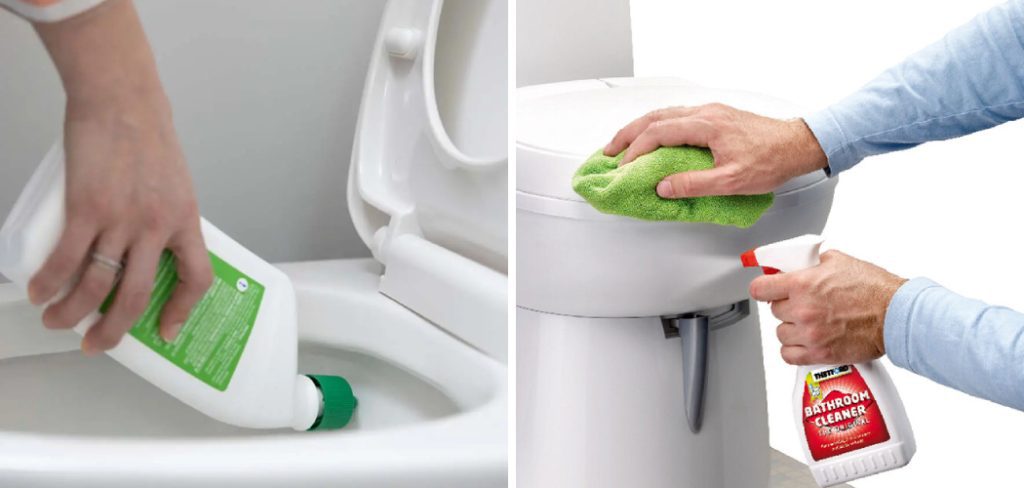
Whether you are a cleaning professional or a homeowner striving for a pristine environment, following these guidelines will help you achieve outstanding results.
What Will You Need?
Before we dive into the cleaning process itself, let’s go over the essential tools and products you’ll need to have on hand:
- Rubber gloves
- Microfiber cloths
- Scrub brush or toothbrush
- All-purpose cleaner
- Glass cleaner
- Toilet bowl cleaner
- Baking soda
- Vinegar
- Lemon juice
These items will ensure you can efficiently and effectively clean your bathroom without interruptions. Now, let’s move on to professionally cleaning a bathroom.
10 Easy Steps on How to Professionally Clean a Bathroom
Step 1: Declutter and Prepare
Start by removing all items from countertops, shelves, and the shower area. This includes toiletries, decorations, and any other personal belongings. Place them in a safe location outside the bathroom to prevent damage or contamination. If you have mats or rugs, take them outside to shake out any loose dirt and dust, and consider washing them if needed.
Once the surfaces are cleared, put on your rubber gloves and gather your cleaning supplies to a central location within the bathroom. This will make it easier to access everything you need without leaving the room mid-cleaning. It’s also essential to ensure the bathroom is well-ventilated by opening a window or turning on the exhaust fan to avoid the buildup of cleaning fumes.
These preparation steps will streamline the cleaning process and ensure that you can focus on thoroughly scrubbing each bathroom area. Now that your bathroom is decluttered and ready, you can move on to the next step of the cleaning procedure.
Step 2: Dust and Sweep
Begin by dusting all surfaces, starting from the highest points like light fixtures, exhaust fans, and shelves, and working your way down. Use a microfiber cloth or duster to capture dust and prevent it from scattering. Remember to dust behind and around the toilet and other fixtures. Once dusting is complete, sweep or vacuum the bathroom floor to pick up any loose dirt and debris. This step ensures you won’t create muddy streaks when using liquid cleaners.
Step 3: Apply Cleaning Products
Now that the bathroom is dust-free, it’s time to apply your cleaning products. Spray an all-purpose cleaner on the sink, countertops, faucet, and any other surfaces that need cleaning. For the shower and bathtub, apply a specialized cleaner that tackles soap scum and mildew. Let the cleaning products sit for a few minutes to break down grime and make scrubbing easier. Apply toilet bowl cleaner to the interior of the toilet bowl, ensuring you reach under the rim.
Step 4: Clean Mirrors and Glass
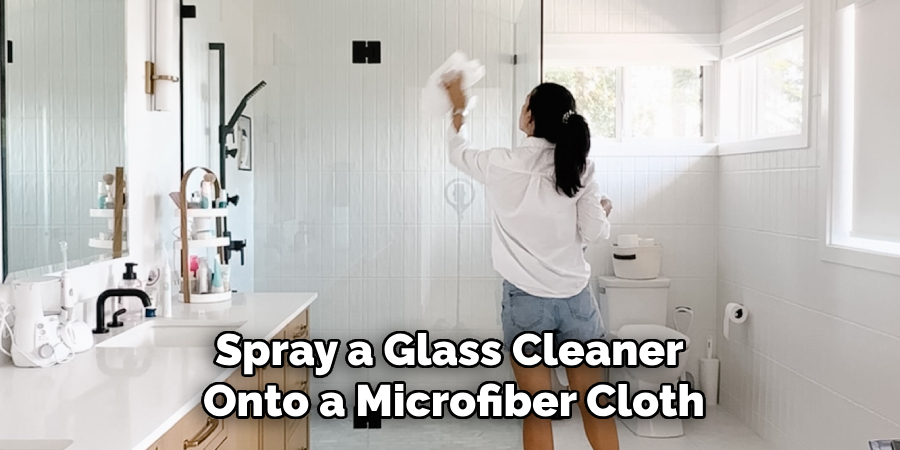
While the cleaning products are doing their job, turn your attention to mirrors and any glass surfaces. Spray a glass cleaner onto a microfiber cloth and wipe down mirrors in a circular motion to avoid streaks. For shower doors or any other glass surfaces, use the same technique: get into the corners and edges for a thorough clean.
Step 5: Scrub and Wipe Surfaces
Return to the areas where you applied the cleaning products. With a scrub brush or toothbrush, scrub all surfaces, paying extra attention to areas with stubborn stains or buildup. Wipe down the cleaned surfaces with a damp microfiber cloth, removing all residues of cleaning agents. Rinse and wring out your clothes frequently to ensure you’re not just spreading dirt around.
Step 6: Clean the Toilet
Now, it’s time to tackle the toilet. Scrub the inside of the toilet bowl with a toilet brush, focusing on under the rim and any other areas with mineral buildup. Wipe down the exterior of the toilet, including the handle, tank, and base, using an all-purpose cleaner and a clean microfiber cloth. A mixture of baking soda and vinegar can be used for added cleaning power in areas with stubborn stains.
Step 7: Clean the Shower and Bathtub
After scrubbing down all other surfaces, focus on the shower and bathtub. Using the scrub brush or a specialized bathtub cleaner, scrub the walls, floor, and fixtures of the shower or bathtub. Pay close attention to areas with soap scum and mildew build-up. Rinse thoroughly with warm water to remove all soap and cleaning product residues. A mixture of baking soda and water can be applied for tough spots to help break down stubborn grime.
Step 8: Clean Grout and Tiles
Tiles and grout can often be tricky to clean, but with the right tools and products, it becomes much easier. Apply a mixture of baking soda and water or a specialized grout cleaner to the grout lines and let it sit for a few minutes. Scrub the grout using a toothbrush or grout brush to remove dirt and stains. For tiles, use an all-purpose cleaner or a vinegar solution to wipe them down, ensuring they are free from any soap scum or residues. Rinse well with warm water.
Step 9: Rinse and Dry Surfaces
Once all surfaces have been scrubbed and are free of cleaning products, rinse everything thoroughly with clean water. Use a damp microfiber cloth to wipe down all surfaces to remove any last traces of cleaning products. For drying, use a dry microfiber cloth or towel to prevent water spots and ensure a streak-free finish. Make sure all surfaces are dehydrated to avoid leaving any residue behind.
Step 10: Final Touches
With the bathroom now spotless, it’s time for the finishing touches. Reorganize and replace all personal items, toiletries, and decorations removed at the beginning of the process. Make sure to clean or replace any mats and rugs. Finally, give the bathroom a quick once-over to ensure no spots were missed and everything was in its place. Spray a light air freshener or place a freshener in the bathroom to leave a pleasant scent. Now step back and admire your professionally cleaned, sparkling bathroom!
Following these 10 simple steps, you can easily clean your bathroom like a pro. Remember to declutter first, dust and sweep, apply cleaning products, scrub and wipe surfaces, clean the toilet, shower and bathtub, tackle grout and tiles, rinse and dry surfaces thoroughly, and finish with the final touches.
5 Things You Should Avoid
- Skipping Ventilation: Always ensure the bathroom is well-ventilated. Skipping this step can lead to the buildup of harmful fumes from cleaning products, which can be uncomfortable and dangerous to inhale. Always open a window or turn on the exhaust fan before cleaning.
- Using Abrasive Tools on Delicate Surfaces: Avoid harsh scrubbing pads or abrasive brushes on delicate surfaces like glass, mirrors, and chrome fixtures. These can leave scratches and damage the finish. Instead, use microfiber cloths or soft sponges that won’t harm these surfaces.
- Mixing Cleaning Chemicals: Never mix different cleaning chemicals, especially bleach with ammonia or vinegar. This can create toxic fumes that are harmful to breathe in. Stick to one cleaning product for each task or use products as directed on their labels.
- Neglecting to Test Cleaners on Small Areas First: Before using a new cleaning product on any surface, it’s essential to first test it on a small, inconspicuous area. This helps ensure the cleaner won’t cause discoloration or damage to the material.
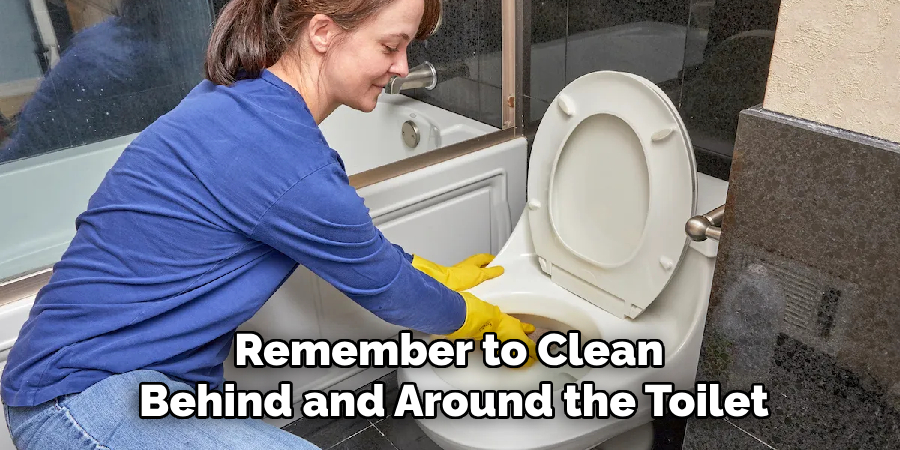
- Overlooking Hard-to-Reach Areas: Remember to clean behind and around the toilet, under the sink, and in other hard-to-reach areas. If neglected, these spots can harbor dust, dirt, and bacteria. Use appropriate tools and take your time to ensure every nook and cranny is thoroughly cleaned.
With these tips and steps in mind, you can easily maintain a clean and hygienic bathroom. Regularly cleaning your bathroom makes it look great and helps prevent the spread of germs and bacteria.
Conclusion
By adhering to these comprehensive steps on how to professionally clean a bathroom, you can achieve a spotless and hygienic bathroom that exudes a professional touch. Thorough decluttering, careful selection and application of cleaning products, and meticulous attention to each surface—from mirrors to tile grout—are essential for a deep clean.
Additionally, avoiding common mistakes such as mixing cleaning chemicals or skipping proper ventilation ensures safety and effectiveness. Remember, consistency is key; regular maintenance will make each cleaning session more manageable and keep your bathroom looking pristine.
Armed with this guide, you can turn any bathroom into a sparkling haven of cleanliness.