If you’re like many homeowners, you don’t think too much about your bathroom vanity until something goes wrong. From plumbing issues to loose screws to cosmetic wear and tear, it’s not uncommon for sinks to become so worn out that replacing them becomes a necessity.

While finding the perfect replacement vanity may seem simple enough– especially if you’re lucky enough to find an exact match – actually installing and raising the vanity can quickly turn into a major undertaking full of questions and unknowns.
That’s why we’ve put together this step-by-step guide on how to raise a bathroom vanity: from selecting the right tools to properly anchoring your new piece in place, we’ll cover everything you need to know to upgrade your space with confidence!
Tools and Materials You Will Need to Raise a Bathroom Vanity
- Level
- Screwdriver or drill
- Sandpaper/sanding block
- Hammer and nail set
- Phillips head bit (or other appropriate tool for mounting the vanity)
- Wood shims
- Anchors and screws if needed
- Measuring tape
Step-by-Step Guidelines on How to Raise a Bathroom Vanity
Step 1: Prep the Area
Before you start raising your bathroom vanity, it’s important to make sure the area around it is prepped and ready. Begin by removing any existing baseboard molding or trim around the walls of your space. You’ll also want to check for any loose nails, screws, or other debris that could potentially get in the way or damage your vanity during the installation process.
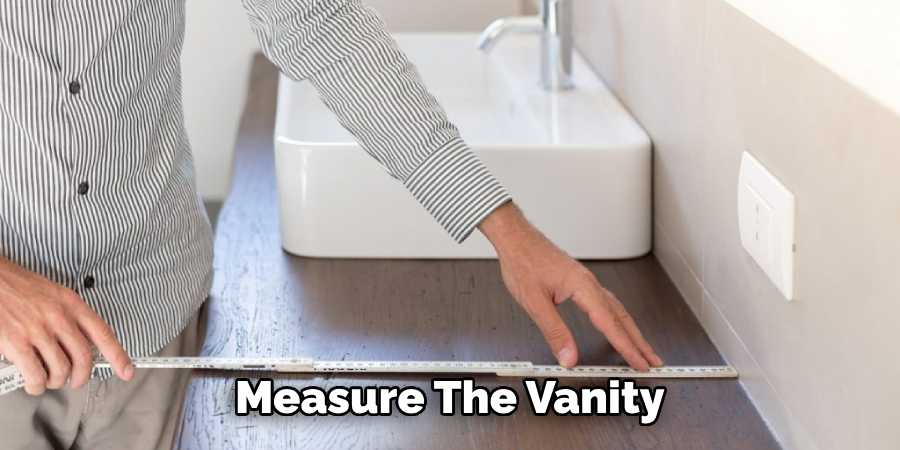
Step 2: Measure The Vanity
Once the area is prepped and ready, grab a measuring tape and take careful measurements of both the new vanity as well as existing space where it will be installed. Make sure to measure from wall-to-wall, floor-to-ceiling, and any other sides/angles that may be pertinent.
Measuring the new vanity will help you determine how much space you’ll need to account for during installation, as well as how much shimming may be required to properly level and anchor the piece.

Step 3: Level Your Vanity
Using your level, make sure that the vanity is even across all sides before attaching it to the wall. If necessary, use wood shims to make any necessary adjustments and ensure that the vanity is level with the surrounding surfaces. While leveling is not always necessary for a successful installation, it will help the vanity stay in place for longer and provide you with an aesthetically pleasing outcome.
Step 4: Secure the Vanity to the Wall
Once your vanity is level, it’s time to secure it to the wall. Depending on your particular setup, you may need anchors and screws or a drill with appropriate bits. Make sure to follow the manufacturer’s instructions for the mounting process and double-check that your vanity is securely anchored in place before moving on to the next step.
Step 5: Install Countertop and Fixtures
Once you’ve secured your vanity in place, it’s time to install the countertop and fixtures such as the sink, faucet, and any other components. Again, refer to the manufacturer’s instructions for detailed directions, and make sure you have all the necessary tools and materials on hand before attempting any installation.

Step 6: Touch Up
Finally, once everything is installed and in place, it’s time for a final check-up and touch-up. Use sandpaper or a sanding block to remove any excess putty or other material from the walls and floor. You may also want to take this opportunity to add a fresh coat of paint or sealant to your vanity for an extra layer of protection.
And that’s it! Now that you know how to raise a bathroom vanity, you can confidently upgrade your space and enjoy your new look. With careful prep, accurate measurements, and a little elbow grease, you’ll be able to raise your new vanity like a pro. Good luck!
Additional Tips and Tricks to Raise a Bathroom Vanity
- Before raising the bathroom vanity, make sure that the wall and floor are structurally sound to support the added weight of the piece. Use a stud finder to locate any joists or studs that you can use as an anchor when securing the vanity with screws.
- For extra security, you can use heavy-duty anchors rated for the weight of your vanity. These anchors should be placed in the wall studs before you attempt to raise the piece.
- If the vanity is too heavy to lift, use a jack or come-along to gently and slowly raise it into place.
- Make sure that all plumbing connections are secure when placing and securing the vanity into its new raised position.
- Once the vanity is in place, check all of the drawers and doors to make sure they open and close properly, as well as any additional fixtures like a medicine cabinet or sink.
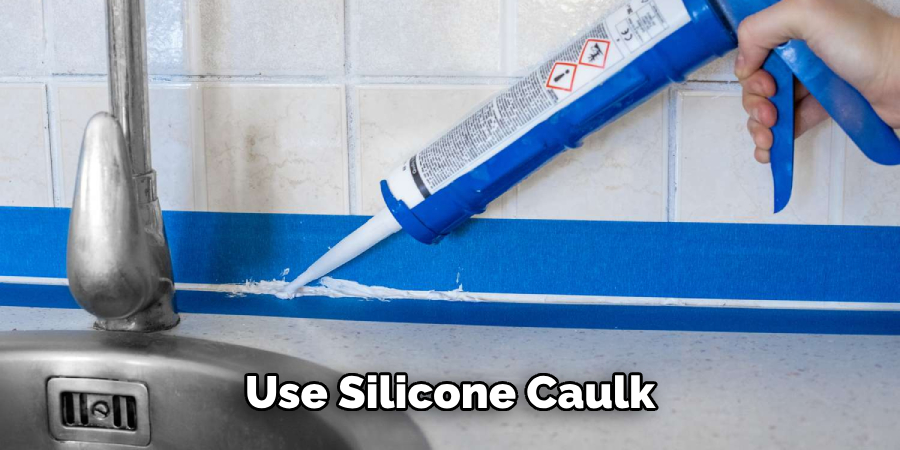
- Finally, use silicone caulk to seal any gaps around the base of the vanity, between it and the wall or floor, so that water does not seep through. This is especially important for raised vanity pieces that sit higher than the floor or wall.

Follow these tips and tricks to easily and safely raise a bathroom vanity with minimal effort! With some patience and attention to detail, you’ll be able to create the perfect aesthetic for your space in no time!
Precautions Need to Follow for Raising a Bathroom Vanity
- Make sure that you have the right tools and supplies for the job. Items such as a drill, screws, level, and shims may be necessary to ensure that your vanity is properly installed and leveled.
- Measure twice before cutting or drilling holes in any walls, floors, or cabinets for mounting the vanity. An incorrect measurement could lead to a delayed installation and lots of frustration.
- Follow the instructions provided by the manufacturer of your vanity for proper installation. Doing so will ensure that you don’t inadvertently damage any components while trying to raise your bathroom vanity.
- Check all connections for tightness after installation is complete, including water lines, drain lines, and electrical connections. This step is very important to make sure that your vanity is secure and won’t come loose while in use.
- Make sure that you seal any cracks or crevices around the vanity with caulk before it’s fully installed. This will help prevent water from seeping into the walls or floor and causing damage over time.
- Wear protective gear such as gloves, goggles, and a face mask while working with tools to avoid any potential accidents or injury.
- Finally, make sure you have someone to help you lift the vanity into place if necessary. Doing so will reduce the risk of accidentally dropping it and causing damage or injury.

By following these steps, you can ensure that your bathroom vanity is safely and properly installed. With a little bit of planning and preparation, you can enjoy your new piece of furniture for years to come!
Frequently Asked Questions
Is It Possible to Raise a Bathroom Vanity Myself?
Yes, it is possible to raise a bathroom vanity yourself. You will need basic tools such as a saw, drill, level, and screws or nails. You may also need additional supplies such as wood shims or longer legs for the vanity. Be sure to measure twice before cutting any boards so you don’t make any mistakes.
How Do I Know What Size Legs to Get?
Check the inside of your vanity cabinet, as most will come with legs included. If they don’t, measure the size of the bottom board and find a leg design that matches it. Make sure you get legs that are at least 8 inches tall for stability. If you need taller legs, you may want to consider using wood shims underneath the vanity.
What Other Supplies Do I Need?
You may need additional supplies such as screws and nails to attach the additional boards or legs. You may also need a drill, saw, level, wood glue, sandpaper, and paint if you plan on painting the vanity after raising it. Be sure to use screws and nails that are designed for wood to ensure durability.
Is It Safe to Raise a Bathroom Vanity?
Yes, it is safe to raise a bathroom vanity as long as you use the appropriate tools and supplies and follow safety guidelines. Make sure you secure the legs properly with screws or nails, don’t overfill any drawers or cabinets, and use wood glue to keep joints secure. Be sure to check the weight of the vanity before attempting to raise it, and always wear protective eyewear when working with tools.
Conclusion
With any luck, you’ve found this explanation of how to raise a bathroom vanity both clear and comprehensive. If you have any questions about the process or feel uncertain about taking on this project yourself, consider connecting with a qualified contractor in your area who can provide expert guidance.
Taking on big projects like this can be intimidating — but with the right preparation, care, and attention to your space, you can rock it. We hope the tips in our blog post have set you up for success.

