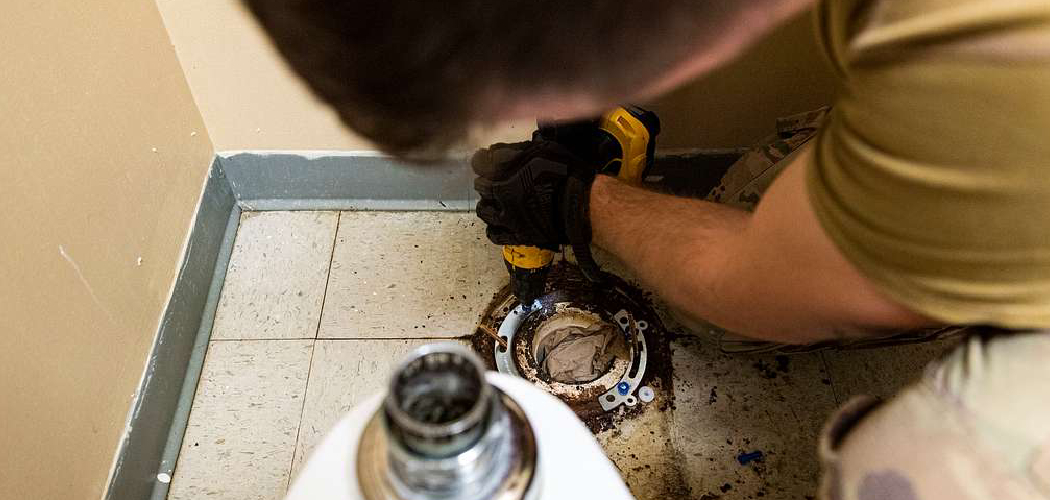
A toilet flange is an essential component that connects the toilet to the drainpipe and helps secure it to the floor. Over time, issues such as floor renovations or improper initial installation may require you to raise the toilet flange to ensure a proper seal and prevent leaks.
Raising a toilet flange may seem like a daunting task, but with the right tools and guidance, it is a straightforward process that can save you from costly plumbing problems down the line. This guide will provide a step-by-step approach on how to raise toilet flange efficiently and effectively.
When Should You Raise a Toilet Flange?
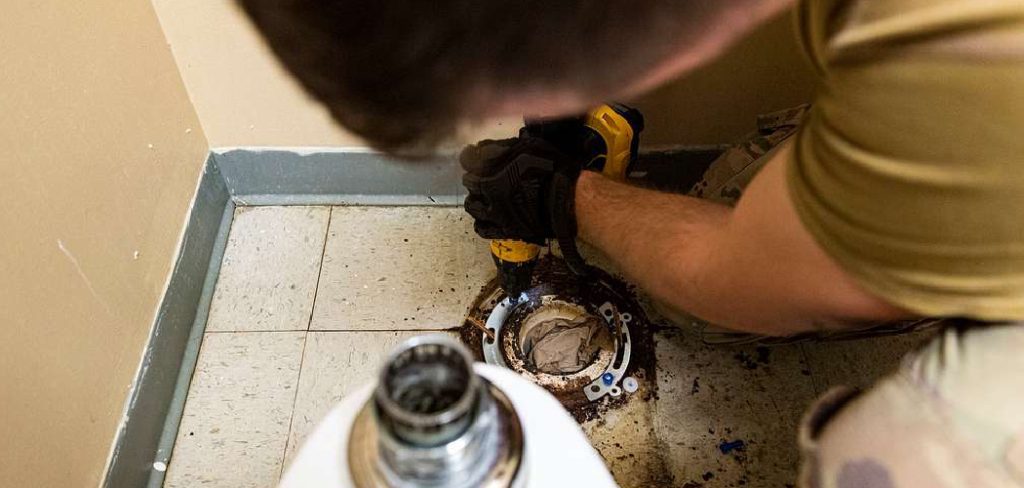
There are several instances when raising a toilet flange becomes necessary. One common situation is during a flooring renovation. If new tile, hardwood, or other flooring materials are installed, the height of the floor may change, leaving the existing flange lower than it should be for a proper connection. Additionally, if the flange was not installed correctly in the first place or has become damaged over time, it may need to be raised or repaired to ensure a secure fit with the toilet.
Failing to address a misaligned or low flange can lead to leaks, unstable toilets, and unpleasant odors. Identifying these issues early on is crucial to maintaining a functional and leak-free bathroom fixture.
Tools and Materials You’ll Need
To properly address a misaligned or low toilet flange, having the right tools and materials is essential. Below is a list of items you may need for the job:
- Toilet Flange Repair Kit – Includes spacers, rings, or replacement flanges.
- Wax Ring or Wax-Free Seal – Ensures a watertight connection between the toilet and the flange.
- Screwdriver – For securing or removing screws.
- Drill and Drill Bits – Useful for securing the flange to the floor.
- Level – Ensures the flange and toilet are installed evenly.
- Adjustable Wrench – For loosening or tightening bolts.
- Utility Knife – For trimming excess material, such as old wax ring remains.
- Putty Knife – To scrape off old wax, dirt, or debris.
- Gloves – To keep your hands clean and safe during the process.
- Cleaning Supplies – Such as disinfectant and rags, to prepare the area before installation.
Make sure to assess the condition of your current flange and surrounding area before starting the repair to ensure you have all the necessary tools and materials on hand.
10 Methods How to Raise Toilet Flange
1. Using a Flange Extender Kit
One of the most straightforward methods for raising a toilet flange is to use a flange extender kit. These kits typically come with multiple rings of varying thickness, allowing you to customize the height increase.
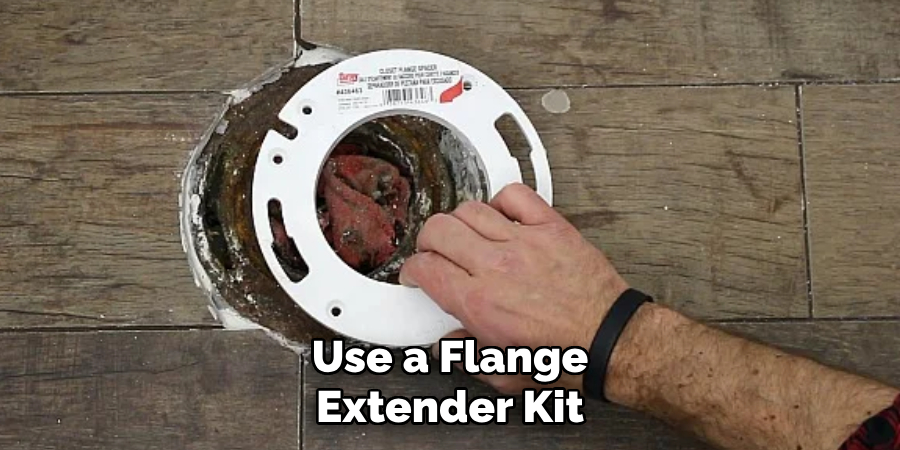
First, clean the existing flange thoroughly, removing any old wax and debris. Next, select an extender ring that matches the required height and apply a bead of silicone around the existing flange to create a watertight seal. Stack the extenders as needed, securing them with the provided bolts. Once secured, apply another silicone bead around the top ring before installing the new wax seal.
This method is practical and versatile, making it suitable for minor to moderate height adjustments. The extender kit ensures a tight seal and stable foundation for the toilet.
2. Installing a PVC Flange Riser
A PVC flange riser is specifically designed to add height to your existing flange. These risers come in various sizes, typically ranging from ¼ inch to 1 inch, and are made of durable PVC.
Start by cleaning the flange and checking for any cracks or damage. Apply PVC primer and cement to the bottom of the riser and the top of the flange. Press the riser firmly into place, ensuring proper alignment. Once set, allow the cement to cure according to the manufacturer’s instructions.
This method is ideal for situations where the floor height has increased significantly, such as when adding new tile or thick flooring. PVC risers provide a permanent and secure height adjustment.
3. Stacking Extra Wax Rings
In some cases, using additional wax rings can be a quick and simple solution. This method works best when the flange is only slightly below the finished floor level.
Place one wax ring over the flange and carefully stack a second ring on top. Be sure to align them properly to avoid leakage. Lower the toilet onto the rings, pressing gently to compress the wax without distorting it.
Although convenient, this method is less reliable than using extenders or risers. It’s suitable for temporary fixes or when the height difference is minimal.
4. Using a Spacer Ring
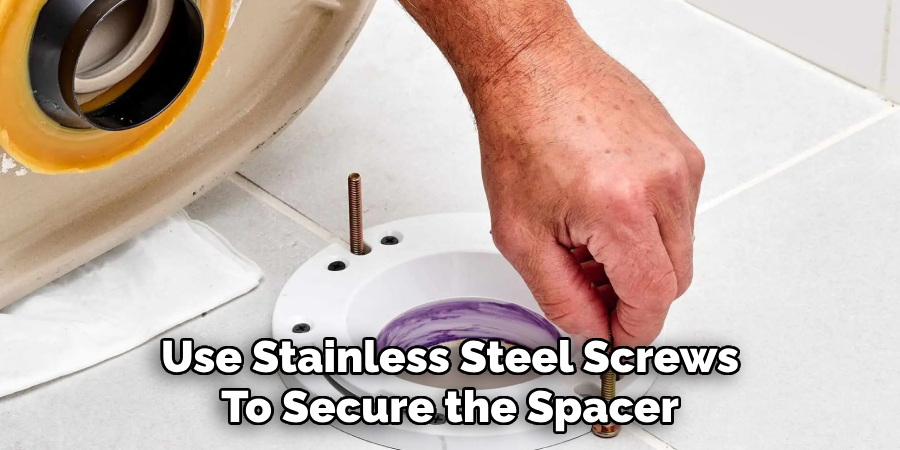
Spacer rings, often made from PVC or rubber, are designed to increase flange height without requiring significant modifications. These rings fit directly over the existing flange.
Apply a thin layer of plumber’s putty to the bottom of the spacer and set it on the flange. Use stainless steel screws to secure the spacer to the existing bolt holes. After installation, apply a new wax ring and remount the toilet.
This method is quick and effective for moderate height increases. Spacer rings are particularly useful when the flange is not significantly recessed.
5. Replacing the Flange with an Adjustable One
If your current flange is old or damaged, replacing it with an adjustable flange might be the best option. Adjustable flanges allow you to fine-tune the height after installation.
Remove the old flange entirely, cutting it out if necessary. Clean the pipe opening and apply PVC primer and cement. Fit the new adjustable flange over the pipe, aligning it properly. Once the cement has cured, adjust the flange height as needed by rotating the top part.
This method is especially useful in bathrooms where the floor height may change again in the future. Adjustable flanges offer flexibility and long-term usability.
6. Installing a New Closet Flange
Sometimes, replacing the entire flange is the most effective solution, especially if the old one is broken or corroded. Use a new flange with the correct height for the finished floor.
Cut out the old flange using a reciprocating saw or flange removal tool. Clean the pipe and dry fit the new flange to ensure proper height. Once satisfied, secure the flange to the floor with bolts, using PVC cement to hold it in place.
This method is more labor-intensive but ensures a permanent, reliable fit. A new flange is ideal for significant height differences or when the existing flange is compromised.
7. Using a Wax-Free Toilet Seal
Wax-free toilet seals are designed to accommodate height variations and offer a reliable seal without the mess of traditional wax rings. These seals typically use a rubber gasket and a plastic collar.
Position the rubber gasket over the flange and press the plastic collar into place. The gasket compresses to create a seal that adapts to minor height differences. Lower the toilet onto the seal and secure it with bolts.
This method is excellent for situations where the flange is slightly below floor level and avoids the potential mess associated with wax rings.
8. Installing a Compression Flange Repair Kit
Compression flange repair kits are useful when the existing flange is broken or sits too low. These kits use compression fittings to secure the flange to the pipe.
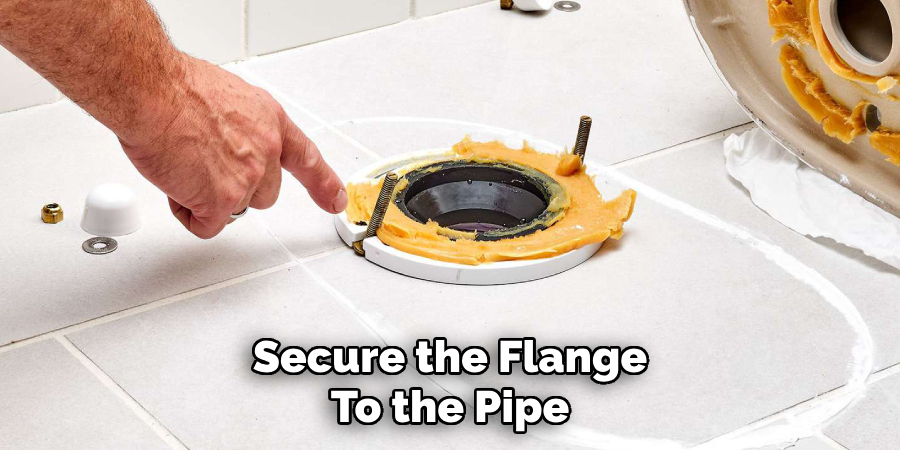
Remove any damaged portions of the old flange and clean the area thoroughly. Slide the compression flange over the drain pipe and tighten the bolts to compress the rubber seal against the pipe walls. Secure the flange to the floor with screws.
This method is particularly effective when the flange is both damaged and recessed. It restores both the height and integrity of the plumbing connection.
9. Adding a Flange Repair Ring
A flange repair ring is used when the flange is not only low but also cracked or broken. These rings fit over the existing flange, providing additional height and structural support.
Place the repair ring over the damaged flange, aligning it with the bolt holes. Secure it with screws to the subfloor. Use a new wax ring and reattach the toilet.
This method is economical and effective when dealing with minor damage and slight height differences. It’s a practical choice for quick fixes and minor height adjustments.
10. Building Up the Subfloor
When the flange is significantly lower than the new flooring, consider building up the subfloor around the flange. This method involves adding a plywood or cement board layer to raise the flange height.
Cut a circular section from the board that matches the flange diameter. Fit the piece around the flange and secure it to the subfloor. Install the new floor covering over the build-up. Finally, install the toilet with a new wax ring.
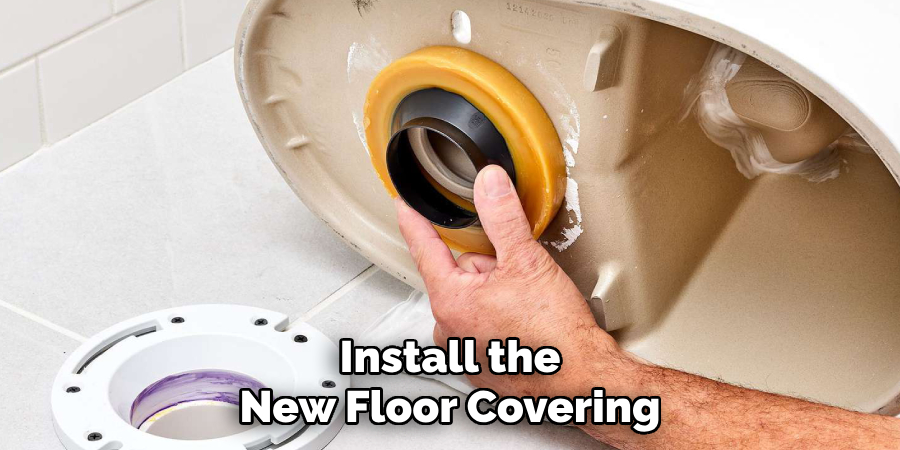
This method works best when performing major bathroom renovations, as it provides a level and secure base for the toilet flange. It’s a comprehensive approach for significant height disparities.
Conclusion
Raising a toilet flange requires careful consideration of the specific height difference and the existing flange condition. Choosing the right method is essential for maintaining a leak-free and stable toilet installation. From using flange extenders and risers to replacing the entire flange or building up the subfloor, each method offers a practical solution for different situations. So, there you have it – a quick and easy guide on how to raise toilet flange.

