If you’ve ever been in the position of needing to rebuild your shower, then you know it can be an overwhelming task. It’s a big job that goes beyond just moping up water – you have to go deep into the mechanism of how showers work and figure out exactly how to fix every piece and part so it functions properly again.
Whether you have a leaking faucet or broken grout, this guide will walk you through the process of rebuilding a shower from start to finish – no matter which type of construction or types of materials are used!
We’ll discuss where each element fits into your new shower build, show how to rebuild a shower with step-by-step instructions to simplify the job for DIYers like yourself, and explain what tools may come in handy when tackling this renovation project. Let’s get started!
Importance of a Well-Functioning and Attractive Shower
A well-functioning, attractive shower is an essential part of any home. Not only does it provide a place for people to relax and refresh themselves, but it also serves as a source of pride for homeowners. A damaged or outdated shower can easily detract from the overall look of a bathroom, making it appear dated and unappealing.
Rebuilding a shower is an involved process, but it can have rewarding results. By taking the time to rebuild a shower, homeowners can create a stylish and attractive space that will last for years to come. In addition, investing in quality materials and installation will ensure that the shower functions properly for many years without requiring major repairs or replacements.
Rebuilt showers are also great for resale value, as they can help to increase the asking price of a home. With all these advantages, it is easy to see why taking the time to rebuild a shower can be well worth the effort.
Signs That Indicate a Rebuild is Necessary
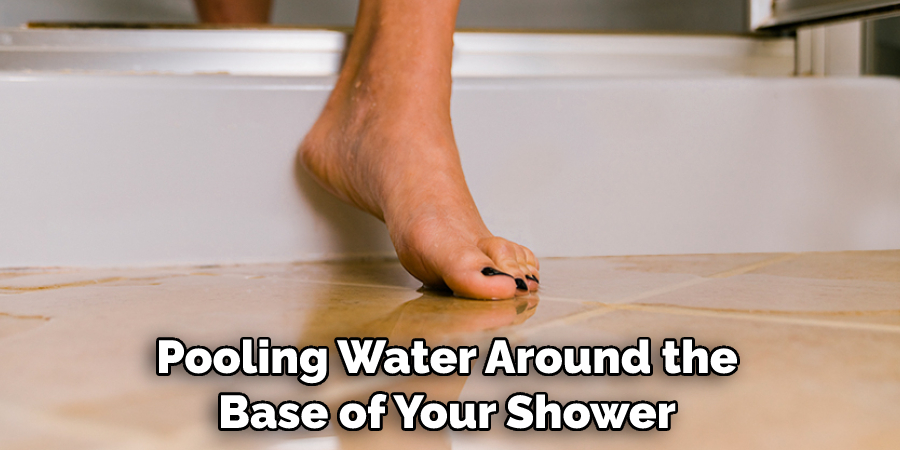
The most common sign that a rebuild of your shower is necessary is if water is leaking from the shower area. If you notice standing or pooling water around the base of your shower, along with dampness and mold in the surrounding walls and floor, then it’s time to consider rebuilding your shower.
Additionally, if there are any cracks or weak spots in the walls or floor of your shower, a rebuild is needed to ensure the best protection against water damage. If you have any doubt about the condition and safety of your shower, it’s always best practice to contact a professional for an assessment. They can determine if a rebuild is necessary and provide advice on how to proceed.
Another indication that your shower may need to be rebuilt is if the showerhead and faucet function poorly or don’t look their best anymore. If these fixtures are corroded, cracked, or otherwise damaged, they should be replaced with new ones during a rebuild.
Additionally, if you’re looking to update your decor and make your bathroom look more modernized, then rebuilding your shower can completely transform its look and feel.
Finally, if your shower is very old or has outdated features that make it difficult to use, such as a lack of handrails or non-slip flooring, then a rebuild is probably necessary to ensure its safety and functionality. By rebuilding your shower with modern features, you can make sure that it’s safe and comfortable to use.
10 Methods How to Rebuild a Shower
Step 1: Evaluate the Existing Shower
Assess the condition of your current shower to determine if a complete rebuild is necessary. Look for signs of water damage, mold, or structural issues. If the shower is outdated, inefficient, or poses safety concerns, a rebuild may be the best course of action. Additionally, consider your financial situation: if a full rebuild is cost-prohibitive, you may want to focus on repairing certain elements instead.
Step 2: Plan and Design
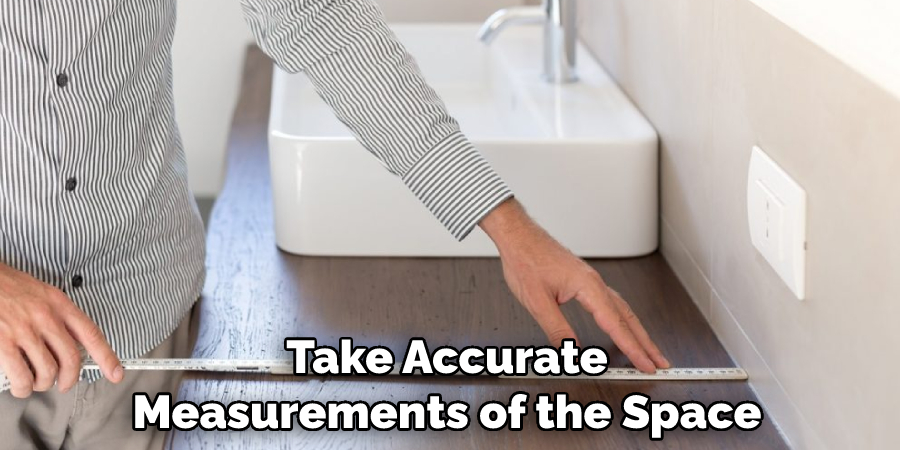
Consider your needs, preferences, and budget when planning the new shower. Determine the layout, size, and style you desire. Take accurate measurements of the space and create a detailed plan that includes the placement of fixtures, drains, and any other features you envision.
If the shower is more than a basic tub-and-shower combo, you may need to consult with an experienced plumber or architect. Try to think in terms of the big picture so you can avoid costly mistakes or design flaws.
Step 3: Demolition
Carefully remove the existing shower components, such as tiles, walls, fixtures, and the shower pan. Use protective gear and tools appropriate for the materials being removed. Take precautions to prevent damage to surrounding areas.
When removing tiles, use a hammer and chisel to remove them in manageable pieces. It is also helpful to mark each piece of tile for reassembly later. Use a reciprocating saw to cut through the wall studs and other fixtures. Once all components of the shower are removed, inspect the area to ensure no debris remains.
Step 4: Repair or Prepare the Subfloor
Inspect the subfloor for any damage or rot. Make necessary repairs or replace sections as needed. Ensure the subfloor is level, clean, and free of debris before proceeding. However, if the subfloor is in acceptable condition, use a floor primer to seal it and create a smooth surface.
Allow the primer to dry completely before continuing. This step is necessary for the proper installation of the shower pan or base. Make sure to wear safety goggles and gloves during this process. Additionally, proper ventilation is essential. If possible, open a window or use a fan to ensure appropriate airflow.
Step 5: Install Shower Pan or Base
Choose a suitable shower pan or base that fits your design and plumbing requirements. Follow the manufacturer’s instructions to install it correctly. Ensure proper alignment and a watertight seal around the edges. Connect the drain to the plumbing and test for leaks.
While the pan or base is still accessible, add a bead of silicone sealant around the edges to further protect against water leakage.
Step 6: Frame the Walls
Construct the framework for the shower walls using moisture-resistant materials, such as cement backer board or waterproof drywall. Install the framework securely, ensuring proper support and stability.
Apply the necessary waterproofing and sealant to the wall framework before connecting it to the floor frame and any other walls in the shower. Install trims and corner pieces for a neat and professional appearance.
Step 7: Waterproofing
Apply a waterproofing membrane or coating to the shower walls and floor. This step is crucial to prevent water damage and mold growth. Follow the manufacturer’s instructions and ensure thorough coverage. You may be required to wait a few days before continuing with the next step.
Although you can’t see the waterproofing layer, it is necessary to ensure a long-lasting shower. Additionally, make sure to properly seal around the shower head, fixtures, and other penetrations. This will prevent water from seeping through into the underlying structure of the shower. Finally, verify that all seams and corners are thoroughly sealed before moving on to the next step.
Step 8: Tile or Wall Covering Installation
Select and install the desired tiles or wall covering materials for your shower. Use appropriate adhesives and grout for a secure and durable finish. Follow proper installation techniques and ensure consistent spacing and alignment.
Once the tile or wall coverings are installed, seal any grout lines to protect them from water damage. Allow the sealer to dry completely before continuing to the next step.
Step 9: Install Fixtures and Accessories
Mount and connect the shower fixtures, including the showerhead, faucets, handles, and any other accessories. Follow the manufacturer’s instructions and ensure proper alignment and sealing. Test the functionality and check for any leaks.
If any components are loose or do not seem properly secured, repair them. Make sure to turn off the water before you begin working on plumbing fixtures. Make sure the materials used meet the applicable building codes. Finish up by caulking around the fixtures and accessories for a water-tight seal.
Step 10: Finishing Touches
Apply the final touches to complete the rebuild. This may include sealing the grout, installing glass doors or curtains, adding shelves or niches, and applying any necessary caulking or trim work. Clean the shower thoroughly and ensure everything is in place and functioning properly.

Finally, enjoy the newly remodeled shower! With a bit of patience and hard work, you can rebuild your own shower with beautiful results.
Conclusion
After following the steps outlined in this blog post, you should now have a complete understanding of how to rebuild a shower. This process can be both daunting and tedious when attempting it on your own but with the right tools and materials, you’ll find that you’re able to accomplish it much more easily.
You should double-check all measurements to ensure that the walls are properly fitted prior to starting work. Make sure to take safety precautions and wear proper protection from any potential debris or hazardous materials. In addition, don’t forget to dispose of your waste appropriately!
With these guidelines, you will have successfully rebuilt your shower like a pro! Time now to start planning your next renovation project – why not try out how to tile kitchen walls? Good luck and enjoy taking on yet another challenging DIY task!

