Are you struggling to find ways to reuse your old soap dishes? Recycling is the way to go! Not only does it help reduce waste, but it can also give new life to something that would have otherwise been thrown away.
Recycling old items into something new and functional is a great way to reduce waste and add a personal touch to your home. An old soap dish, for instance, can be transformed into a variety of useful or decorative items with just a bit of creativity and effort. By reusing and repurposing this small household item, you not only help the environment but also create something unique that reflects your personality.
In this guide on how to recycle an old soap dish creatively, we’ll share some simple and fun ideas to turn your old soap dishes into something useful and beautiful.
What Are the Causes of Soap Dish Waste?
Before we dive into ways to recycle your old soap dish, let’s first understand why recycling is essential. Like many other household items, soap dishes contribute to the growing problem of waste in landfills and our environment.
Here are some common reasons why soap dishes end up being thrown away:
- They become damaged or broken.
- They no longer match the bathroom decor.
- They are replaced with new ones before they have fully worn out.
- They are no longer needed due to a switch in soap type (e.g., liquid soap instead of bar soap).
By identifying these causes, you can be more mindful about your consumption habits and make an effort to reduce waste by repurposing old items instead of throwing them away.
What Will You Need?
To recycle your old soap dish, you’ll need some basic supplies that can be easily found around the house or purchased cheaply. Here are some items you may need depending on the recycling project you choose:
- An old soap dish
- Craft glue or hot glue gun
- Scissors
- Paint and paintbrushes
- Decorative materials (e.g., ribbon, buttons, seashells)
Once you have these supplies, you’re ready to get creative and start recycling your old soap dish.
8 Easy Steps on How to Recycle an Old Soap Dish Creatively
Step 1. Clean the Soap Dish
Before starting your project, it’s essential to thoroughly clean the soap dish to ensure it serves as a suitable and hygienic base for your creative recycling. First, remove any soap residue or buildup by rinsing the dish under warm water. Use a sponge or an old toothbrush to scrub away stubborn spots or stuck-on grime.
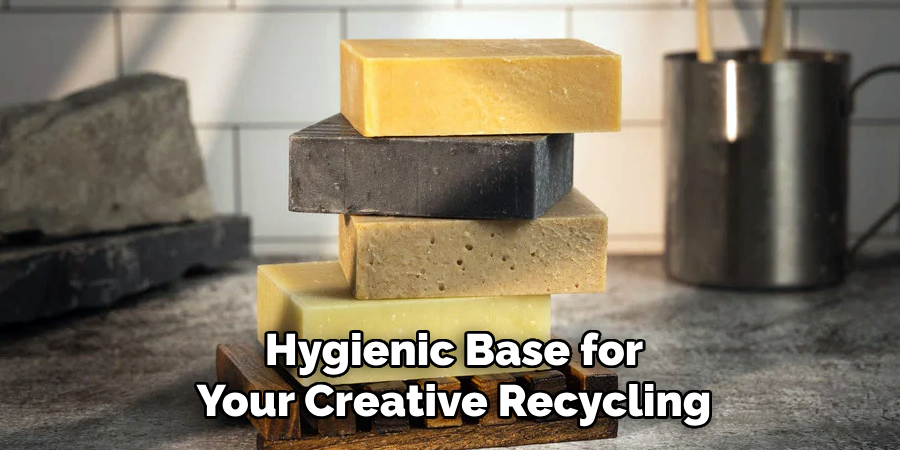
Use a mild detergent or baking soda for extra cleaning power if needed. Once the soap dish is clean, rinse it again to remove any traces of cleaning agents. Allow the dish to air dry thoroughly, or use a cloth to pat it dry before moving on to the next step. A clean and dry surface will help ensure that your decorations stick well and that the final product looks polished and professional. This preparation step sets the foundation for a successful and satisfying upcycling project.
Step 2. Plan Your Design
Take a moment to think about how you want to repurpose your old soap dish. Consider its size, shape, and material, as these factors can influence your creative options. For example, a ceramic soap dish might work well as a small planter, while a plastic one could be decorated and used to organize office supplies. Sketch your design ideas on paper or gather inspiration from online resources to help visualize the final result. Planning your approach ensures you have all the necessary materials and tools ready, making the process smoother and more enjoyable.
Step 3. Gather Your Materials
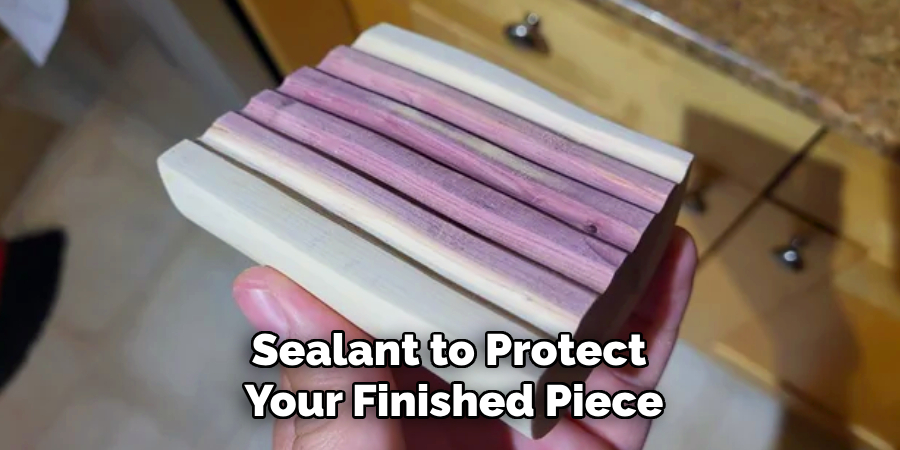
Once you have a clear design plan, assemble all the materials and tools you will need for your project. Common supplies include paint, brushes, decorative paper, adhesive, scissors, or small plants, depending on your chosen design. Ensure you have any additional items, such as sandpaper for smoothing surfaces or sealant to protect your finished piece. Organizing everything beforehand will make the crafting process more efficient and reduce interruptions. This preparation allows you to fully focus on bringing your design to life.
Step 4. Prepare Your Workspace
Before beginning your project, set up a clean and well-lit workspace to ensure comfort and efficiency. Cover your working area with a protective layer, such as newspaper or a plastic sheet, to protect it from paint, glue, or any other materials you’ll use. Arrange your tools and supplies within easy reach, and ensure good ventilation if using paints or adhesives with strong odors. A well-prepared workspace keeps your project organized and ensures a safe and enjoyable crafting experience.
Step 5. Follow Instructions and Assemble
Now that your materials and workspace are ready, carefully follow the instructions for your chosen project. Start by completing each step in the order provided, ensuring accuracy and attention to detail. Use the required tools and materials as specified, taking your time to ensure everything fits or aligns properly. If you encounter any issues, make adjustments as needed but remain patient. You’re one step closer to bringing your creative vision to life by methodically assembling your project.
Step 6. Add Personal Touches
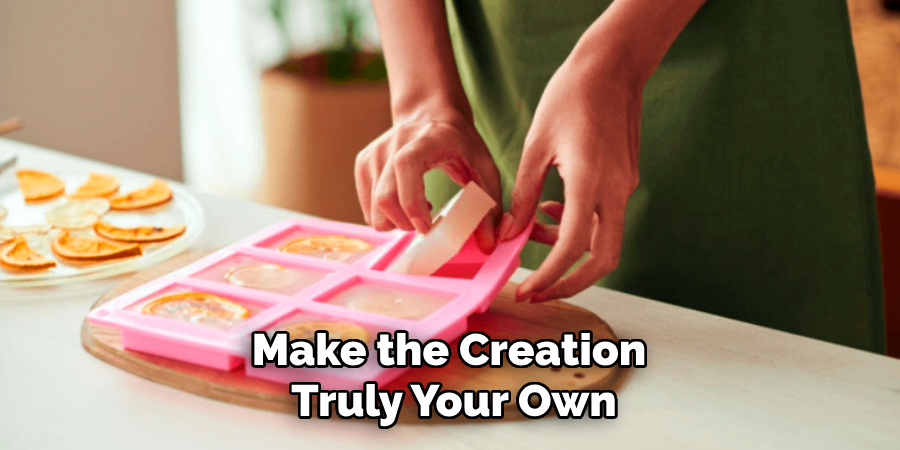
Once the basic assembly of your project is complete, take a moment to add your personal flair. This could be through painting, embellishments, or unique design elements that make the creation truly your own. Consider your preferences, style, or even the project’s intended purpose during this step. Adding personal touches enhances creativity and ensures that your finished piece stands out as uniquely yours. Don’t be afraid to experiment and have fun with this final customization stage!
Step 7. Final Inspection and Completion
Before your project is finished, perform a thorough final inspection. Check every detail to ensure all parts are securely assembled, aligned, and functional as intended. Pay attention to both aesthetics and practicality, fixing any imperfections or inconsistencies you may notice. Take the time to polish or clean the project if necessary, giving it a professional and refined look. Once you’re satisfied with the results, your project is officially complete and ready to be showcased or put to use!
Step 8. Share and Celebrate Your Work
Now that your project is complete take a moment to share and celebrate your accomplishment. Whether it’s showcasing your work to friends and family, posting it on social media, or even entering it into a competition, sharing your creativity can be incredibly rewarding. This step allows you to receive valuable feedback, connect with like-minded individuals, and inspire others. Remember to take pride in your effort and enjoy the fulfillment of completing something unique and meaningful.

By following these easy eight steps, you can transform a simple old soap dish into a creative and functional upcycled masterpiece.
5 Things You Should Avoid
- Using Toxic Paints or Chemicals: Avoid using paints or finishes that contain harmful chemicals, as they can harm your health and the environment. Opt for eco-friendly and non-toxic options instead.
- Ignoring Proper Cleaning Before Repurposing: Don’t skip thoroughly cleaning the soap dish before starting your project. Residue or old grime can affect the durability and appearance of your creation.
- Overcomplicating the Design: Avoid overly complex ideas requiring professional tools or skills unless you are well-practiced. Simplicity is key to ensuring the project is achievable.
- Discarding Reusable Components: Be cautious not to throw away any reusable parts of the soap dish. For example, detachable elements could serve as additional decorative or functional elements.
- Forgetting to Match with Surrounding Decor: Avoid creating something that clashes with the surrounding space where the upcycled item will be placed. Consider the existing style and colors to ensure it complements the area seamlessly.
Can You Melt Down a Bar of Soap and Remold?
Yes, you can melt and remold a soap bar into a new shape. This is a great way to upcycle old or unused soap bars instead of throwing them away. Here are the steps to follow:
- Grate the Soap: Grate the soap into fine pieces using a cheese grater or food processor. This will help it melt more evenly.
- Melt the Soap: Place the grated soap in a double boiler or microwave-safe bowl and melt it slowly, stirring occasionally, until all the pieces have melted.
- Add Essential Oils (Optional): If desired, add some essential oils for fragrance or other natural ingredients like honey, oatmeal, or lavender to add beneficial properties to the soap.
- Pour into Mold: Once the soap is melted and mixed with any added ingredients, pour it into a mold of your choice. You can use silicone molds, muffin tins, or empty yogurt containers.
- Let it Cool and Harden: Allow the soap to cool and harden for a few hours before removing it from the mold. Using a silicone mold, you can easily pop out the soap once it has hardened.
Conclusion
Recycling an old soap dish creatively helps reduce waste and gives a personalized and functional touch to your home.
By repurposing it as a decorative holder for small items like jewelry, keys, or office supplies or even transforming it into a succulent planter, you can breathe new life into this everyday item. These simple yet innovative ideas allow you to utilize old materials in an eco-friendly way while adding charm and practicality to your space.
Hopefully, the article on how to recycle an old soap dish creatively has inspired you to try out some upcycling projects of your own. So go ahead, get creative, and start repurposing those old soap dishes today. Happy crafting!

