Redoing bathroom cabinets can breathe new life into an otherwise outdated space, transforming it into a stylish and functional oasis. Whether you’re looking to enhance your home’s value or simply want a fresh look, this project can be both rewarding and manageable.

With the right tools, materials, and techniques, you can achieve a stunning makeover that reflects your personal style and meets your storage needs. In this guide, we will walk you through how to redo bathroom cabinets, ensuring a beautiful and lasting finish.
Planning and Preparation
Before diving into the project of redoing your bathroom cabinets, careful planning and preparation are essential for achieving the best results. Start by assessing your current cabinets and determining the scope of work. Decide whether you want to completely replace the cabinets, refinish the existing ones, or simply update hardware and paint. Taking measurements is crucial; ensure you note the dimensions of your cabinets and the area they occupy.
Next, gather inspiration by browsing design magazines, online platforms like Pinterest, or visiting home improvement stores. This will help you define your preferred style, whether it’s modern, traditional, or rustic. Consider the materials you will need, such as sandpaper, paint, or stain, and choose colours that complement your bathroom decor.
Finally, create a detailed timeline and budget to keep your project on track and avoid unexpected expenses. With proper planning and preparation, you’ll be set for a successful cabinet transformation.
10 Methods How to Redo Bathroom Cabinets
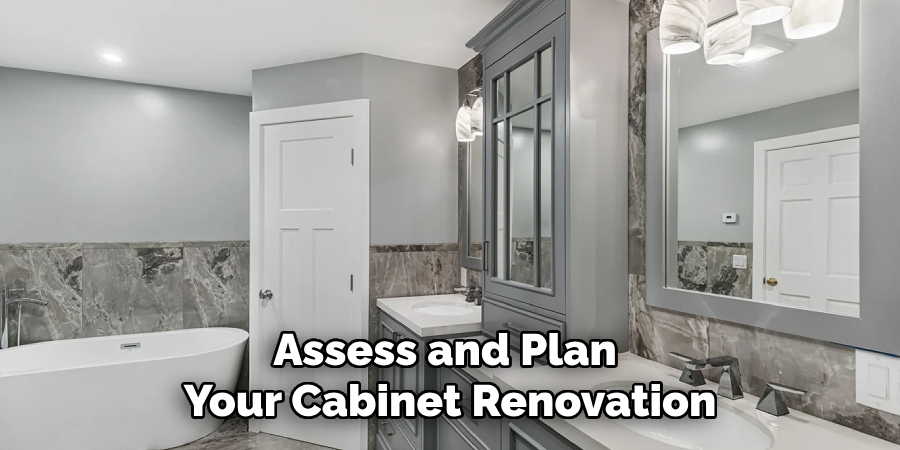
1. Assess and Plan Your Cabinet Renovation
The first step in redoing bathroom cabinets is to assess the current state of your cabinetry and plan your renovation. Begin by evaluating the condition of the existing cabinets, including their structural integrity and appearance.

Decide whether you want to simply update the look of your cabinets with paint or stain, or if a complete overhaul is necessary, such as replacing doors and hardware. Take measurements of your existing cabinets to ensure that any new additions or modifications will fit properly. Create a design plan that includes your desired style, color, and functional changes, and set a realistic budget and timeline for the project.
2. Remove and Prepare the Existing Cabinets
To start the renovation, remove the existing cabinet doors, drawers, and hardware. Use a screwdriver or drill to carefully detach these components, taking care not to damage the cabinet frames. Once removed, clean the cabinet surfaces thoroughly to remove any dirt, grime, or old finishes.
If you plan to repaint or stain the cabinets, it’s important to sand the surfaces to create a smooth base for the new finish. Use a fine-grit sandpaper to scuff the surfaces lightly, removing any existing paint or varnish and ensuring better adhesion for the new finish.
3. Repair and Refinish the Cabinet Frames
With the cabinets disassembled and sanded, inspect the cabinet frames for any damage or wear. Fill any dents, scratches, or holes with wood filler, smoothing the surface with a putty knife. Allow the filler to dry completely before sanding it smooth. If the cabinet frames have any structural issues, such as loose joints or broken components, make the necessary repairs to ensure stability.
Once repairs are complete, apply a primer to the cabinet frames if you’re painting them. A high-quality primer helps to seal the wood and provides a better surface for paint or stain to adhere to. Follow the primer with a coat of paint or stain, applying multiple layers as needed for a consistent and durable finish.
4. Update or Replace Cabinet Doors and Hardware
Updating or replacing cabinet doors and hardware is a significant part of redoing bathroom cabinets. If you choose to replace the doors, select new ones that complement your design plan and fit the dimensions of your existing cabinet frames.
Consider options such as shaker-style doors, glass-front cabinets, or custom designs to match your aesthetic preferences. Install new hinges and handles that coordinate with your chosen style. If you are keeping the original doors but want a new look, sand and repaint or refinish them as needed.

For new hardware, ensure that the screws and fittings are compatible with your cabinet doors and install them securely.
5. Install Organizational Accessories
Enhancing the functionality of your bathroom cabinets can be achieved by adding organizational accessories. Consider installing items such as pull-out shelves, lazy Susans, or drawer dividers to improve accessibility and storage efficiency. Measure the interior dimensions of your cabinets to ensure that the accessories will fit properly.
Follow the manufacturer’s instructions for installation, and use mounting hardware or adhesive as required. Organizational accessories help maximize cabinet space and keep your bathroom essentials neatly arranged and easily accessible.
6. Update the Cabinet Lighting
Updating the lighting within or around your bathroom cabinets can significantly improve the overall ambiance and functionality of your space. Consider adding LED strip lights, under-cabinet lighting, or interior cabinet lights to enhance visibility and create a modern look.
Install the lighting according to the manufacturer’s guidelines, ensuring that electrical connections are safe and properly grounded. For a seamless look, conceal wiring and connections within the cabinet structure or behind molding. Good lighting not only highlights the beauty of your updated cabinets but also makes daily tasks more convenient.
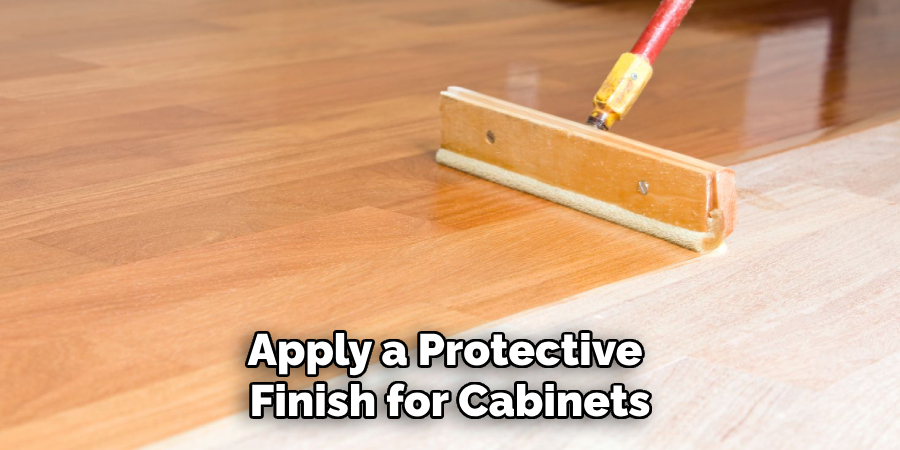
7. Apply a Protective Finish
To protect your newly finished cabinets and ensure their longevity, apply a clear protective finish. This step is particularly important if you’ve painted or stained the cabinets, as it helps to shield the surface from moisture, scratches, and wear. Choose a finish that matches your desired level of sheen, such as matte, satin, or glossy.
Apply the finish using a brush, roller, or spray can, following the manufacturer’s instructions for application and drying times. Ensure that the finish is evenly applied and free of bubbles or streaks for a smooth, professional appearance.
8. Reassemble and Install the Cabinets
Once the cabinet frames, doors, and hardware are finished and dried, reassemble the cabinets. Start by attaching the cabinet doors to the frames using the hinges. Make sure the doors are aligned properly and adjust the hinges as needed for smooth operation. Install the drawers and any organizational accessories you’ve chosen.

If you’ve replaced or updated the cabinet faces, ensure that all components fit together seamlessly. Securely mount the cabinets back in their original positions or adjust their placement as per your design plan. Check that all screws and fittings are tightened and that the cabinets are level and properly aligned.
9. Add Finishing Touches
After the cabinets are reassembled and installed, add finishing touches to complete the renovation. This might include caulking any gaps between the cabinets and walls, touching up paint or stain where necessary, and installing decorative elements such as trim or molding.
Consider adding a backsplash or wall paneling behind the cabinets to enhance the overall look and protect the wall from moisture. Clean the cabinet surfaces thoroughly to remove any dust or debris from the installation process, and ensure that everything is in pristine condition.
10. Perform a Final Inspection and Enjoy
With the renovation complete, perform a final inspection to ensure that everything is functioning correctly and meets your expectations. Check for any issues such as uneven doors, sticking drawers, or gaps in the finish. Make any necessary adjustments to ensure that the cabinets operate smoothly and look flawless.

Once you’re satisfied with the results, take a moment to enjoy your newly updated bathroom cabinets. The improvements will not only enhance the visual appeal of your bathroom but also provide greater functionality and organization.
Things to Consider When Redoing Bathroom Cabinets
When embarking on a bathroom cabinet renovation, there are several key factors to consider to ensure a successful outcome. First, carefully assess your space and the existing layout; understanding how the cabinets fit into the overall design and functionality of your bathroom is crucial.
Next, consider your budget and prioritize upgrades that deliver the most impact versus cost—this could mean splurging on high-quality hardware while opting for more economical materials for the cabinet frames. Additionally, think about your personal style and lifestyle needs; select finishes and organisational solutions that not only look great but also cater to your daily routines.
Finally, always refer to local building codes and safety standards, particularly when undertaking electrical work for lighting installations, to ensure compliance and safety throughout your renovation process.
Conclusion
Redoing bathroom cabinets is a rewarding project that can dramatically improve the appearance and functionality of your bathroom. By following these 10 comprehensive methods on how to redo bathroom cabinets—from assessing and planning the renovation to updating cabinet doors and adding organizational accessories—you can achieve a beautiful and practical result.
Proper preparation, attention to detail, and careful installation will ensure that your bathroom cabinets remain a stylish and functional feature of your space for years to come.

