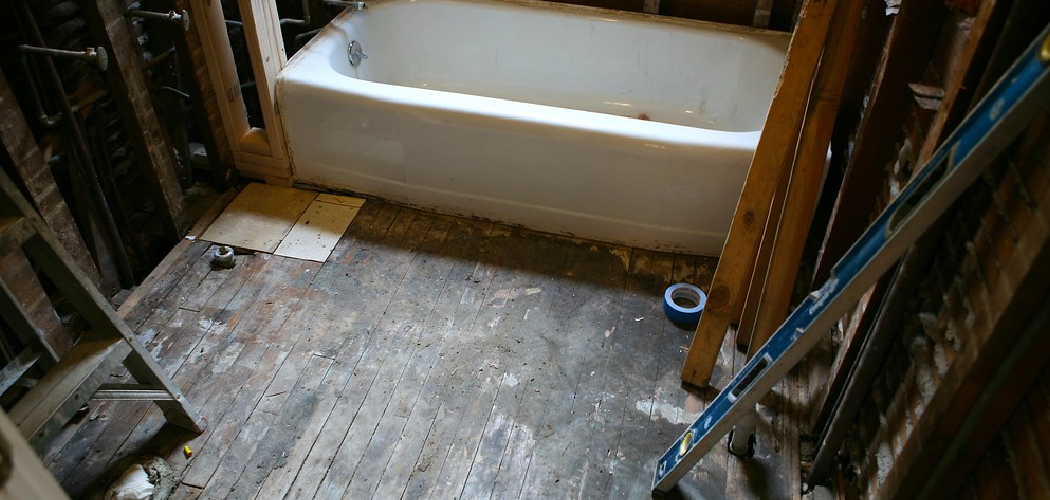
Refinishing a cast iron bathtub can be daunting, but it doesn’t have to be. With the right tools and techniques, you can transform your old, worn-out tub into a beautiful centerpiece for your bathroom. Cast iron bathtubs are known for their durability and longevity, but they can become chipped, scratched, or stained over time. Refinishing your bathtub not only restores its appearance but also helps to protect cast iron from further damage.
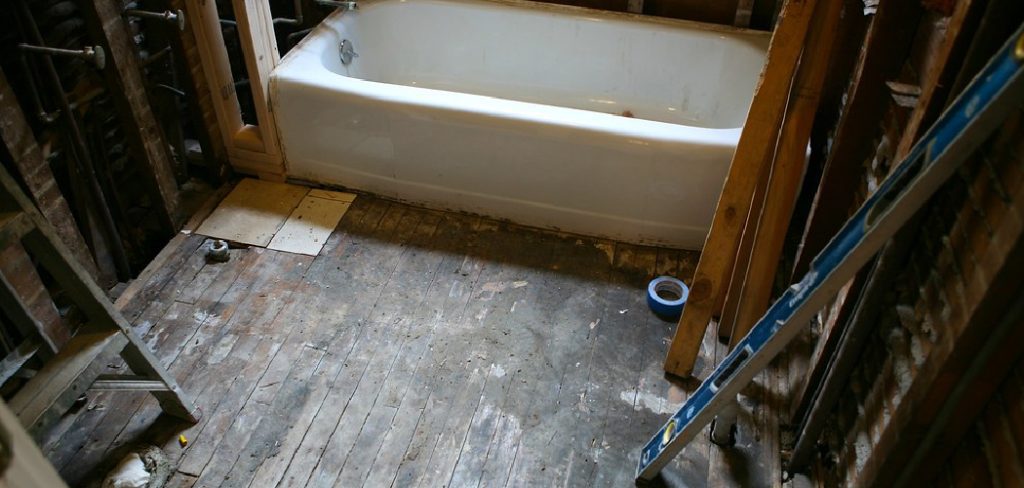
In this guide, we will walk you through the steps of how to refinish a cast iron bathtub. We will cover everything from preparation to finishing touches so you can confidently tackle this project and achieve professional-looking results. So let’s get started!
Understanding Cast Iron Bathtub
Before we dive into the refinishing process, it’s important to understand the material of a cast iron bathtub. Cast iron is an alloy made primarily of iron and carbon, which makes it extremely strong and durable. This is why cast iron bathtubs are often found in older homes and can last for decades if properly maintained.
However, cast iron is prone to rust despite its strength and can easily chip or scratch. This is why regular maintenance and refinishing are necessary to keep your bathtub in good condition.
Supplies You Will Need to Refinish a Cast Iron Bathtub
- Protective gear (gloves, mask, goggles)
- Chemical stripper
- Sandpaper (medium and fine grit)
- Bonding agent/primer for metal surfaces
- Enamel paint specifically designed for bathtubs
- Paintbrushes and rollers
- Drop cloths or plastic sheets
- Sponges or rags
- Bucket of water and soap for clean-up
- Optional: Rust converter if there are any rust spots
Step-by-step Guidelines on How to Refinish a Cast Iron Bathtub
Step 1: Prepare the Area and Protect Yourself
Before you begin refinishing your bathtub, make sure to properly prepare the area and protect yourself. Lay down drop cloths or plastic sheets to protect your floors from any spills or drips. Also, make sure to wear protective gear such as gloves, a mask, and goggles when working with chemicals. Preparing the area and protecting yourself will ensure a safer and cleaner refinishing process.
Step 2: Strip the Bathtub
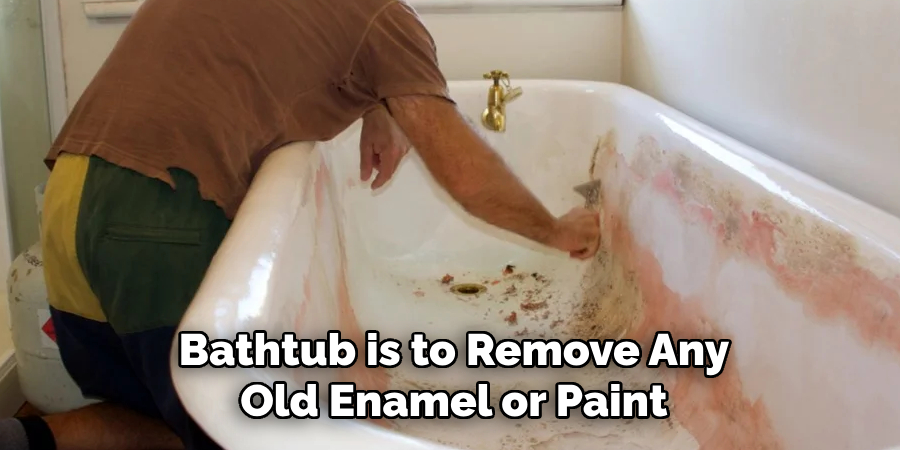
The first step in refinishing your bathtub is to remove any old enamel or paint. Using a chemical stripper, apply it to the tub’s surface according to the manufacturer’s instructions. Let it sit for the recommended amount of time, then use a scraper to gently remove the old finish. Be careful not to scratch or damage the bathtub’s surface. Stripping the bathtub will help the new finish adhere better.
Step 3: Sand the Bathtub
After stripping off the old finish, use medium and fine grit sandpaper to smooth out any imperfections on the surface of the tub. This will also help remove any remaining residue from the chemical stripper. Sand until you have a smooth and even surface. If there are any rust spots, use a rust converter to treat them before sanding.
Step 4: Clean and Dry the Bathtub
Once you have finished sanding, thoroughly clean the bathtub with soap and water. Rinse it well and make sure to dry it completely before moving on to the next step. Any moisture left on the surface can affect the bonding of the new finish, which is crucial for achieving a professional-looking result. While the bathtub is drying, you can work on preparing the paint.
Step 5: Apply the Bonding Agent/Primer
To ensure that the new finish adheres well to the cast iron, apply a bonding agent or primer specifically designed for metal surfaces. Follow the manufacturer’s instructions and apply an even coat with a brush or roller. Let it dry completely before proceeding to the next step. The new finish may peel or chip off if the surface is improperly primed.
Step 6: Paint the Bathtub
Now it’s time for the fun part – painting! Use a high-quality enamel paint specifically designed for bathtubs. Apply multiple thin coats with a brush or roller, making sure to cover all areas evenly. Let each coat dry before applying the next one. This will help achieve a smooth and flawless finish. You can also use a paint sprayer for an even application, but make sure to practice on a test surface first.
Step 7: Let it Cure
After applying multiple coats of enamel paint, let your bathtub cure according to the manufacturer’s instructions. This usually takes about 24 hours. It’s important to avoid using the bathtub during this time to ensure the new finish sets properly. Make sure to also ventilate the area well to allow for proper drying. This final step will ensure a long-lasting and beautiful finish.
Step 8: Finishing Touches
Once your bathtub is completely cured, you can remove any tape or plastic sheets and reinstall any fixtures that were removed. Use a mild cleaner on the surface of the tub before using it again to ensure any dust or debris is removed. Congratulations, you now have a beautifully refinished cast iron bathtub!
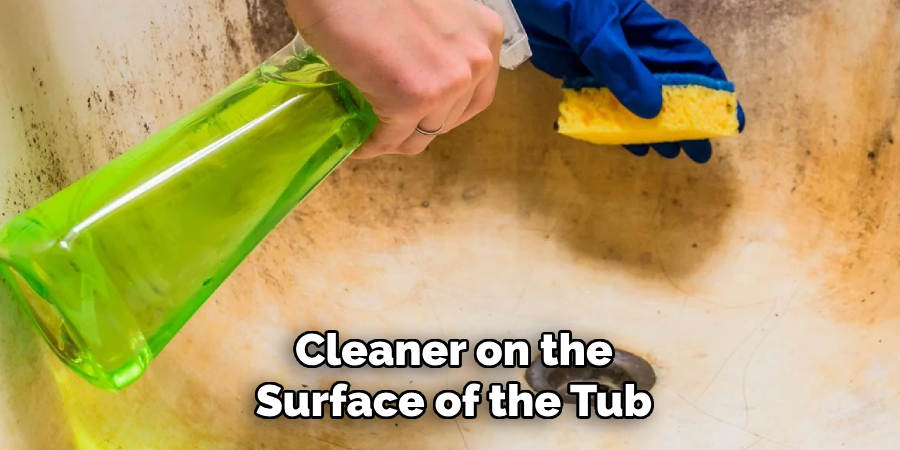
Following these steps and using the right tools and supplies will help you achieve a professional-looking refinishing job for your cast iron bathtub. Remember to always take precautions when working with chemicals and follow the manufacturer’s instructions carefully for best results.
With proper maintenance, your newly refinished cast iron bathtub can continue to shine for many years to come. So go ahead and give your old tub a new lease on life! Happy refinishing!
Additional Tips and Tricks to Refinish a Cast Iron Bathtub
1. If the bathtub has deep scratches or chips, you can use a two-part epoxy to fill them in. Mix the two parts together according to the manufacturer’s instructions and apply it to the damaged area using a putty knife. Once it dries, sand it down until it is smooth and level with the rest of the tub.
2. For stubborn stains that won’t come off with regular cleaning, try using a mixture of baking soda and hydrogen peroxide. Apply a paste to the stained area, letting it sit for about 15 minutes before scrubbing it off with a soft cloth.
3. To prevent rust from forming on your newly refinished bathtub, make sure to regularly wipe it down with a towel after each use. This will help remove any standing water and keep the surface dry.
4. If you notice any chips or scratches in your refinished bathtub, it is important to address them immediately before they worsen. Use a touch-up kit specifically designed for cast iron bathtubs to fix these imperfections.
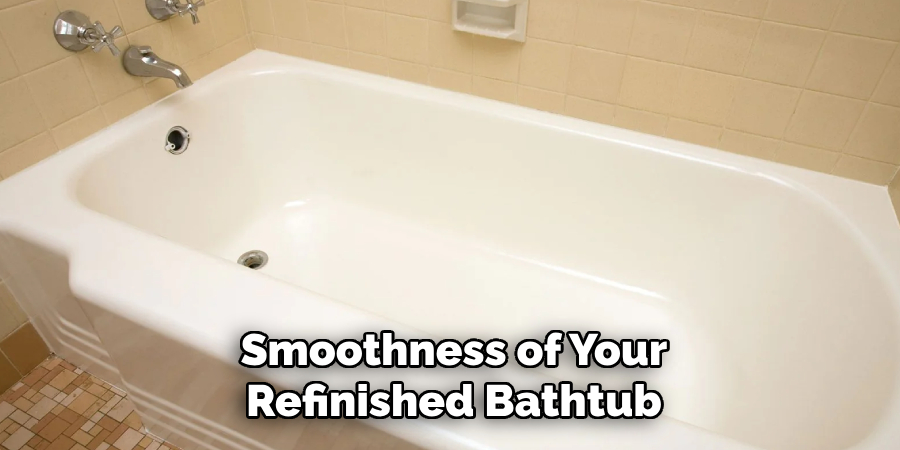
5. To maintain the shine and smoothness of your refinished bathtub, avoid using abrasive cleaners or tools, such as steel wool or harsh chemicals. Stick to gentle, non-abrasive cleaners and soft cloths for regular maintenance.
6. If you are still deciding which products to use on your refinished bathtub, it is always best to consult a professional before trying anything new. They can provide recommendations and advice based on the type of finish used on your bathtub.
7. It is important to properly ventilate the bathroom when refinishing a cast iron bathtub, as some products can have strong fumes. Open windows and doors, and use fans to ensure proper air circulation.
8. When applying a new coat of paint or glaze to your bathtub, make sure to follow the manufacturer’s instructions carefully. Improper application can lead to bubbles, streaks, or an uneven finish.
9. To prevent water spots from forming on your refinished bathtub, dry it off with a towel after each use and regularly clean it with a mild cleaner.
10. Finally, be patient and take your time when refinishing a cast iron bathtub. Rushing through the process can result in a subpar finish, so make sure to follow all steps carefully and allow each layer to dry completely before moving on to the next one.
Following these additional tips and tricks can help ensure that your cast iron bathtub stays in great condition for years to come. With proper care, your refinished bathtub can continue to be a beautiful and functional addition to your bathroom. So don’t hesitate to give it the makeover it deserves and enjoy soaking in your newly restored tub. Happy refinishing!

Things You Should Consider to Refinish a Cast Iron Bathtub
- The first thing you should consider when refinishing a cast iron bathtub is its condition. If it has any cracks or chips, those will need to be repaired before you can start the refinishing process.
- Another important factor is the type of refinishing product you will use. There are various options available, such as epoxy paint, acrylic urethane coating, and porcelain enamel glaze. Make sure to research which one is best for your specific tub.
- Properly preparing the bathtub before applying any refinishing product is also crucial. This includes thoroughly cleaning and sanding the surface and filling in any imperfections with a filler.
- It’s recommended to wear proper protective gear, such as gloves and a mask, when refinishing a bathtub. Many of these products contain strong chemicals that can be harmful if not handled carefully.
- Consider the time and effort it will take to properly refinish a cast iron bathtub. It takes a lot of work, so be prepared to spend several hours on the project.
- Keep in mind that the color of your bathtub may slightly change due to the refinishing product. Make sure to test it on a small, inconspicuous area before applying it to the entire tub.
- It’s important to let the refinishing product cure properly, which can take several days. Avoid using the bathtub during this time, and make sure to follow any specific instructions from the product manufacturer.
- Remember any fixtures attached to the bathtub, such as handles or faucets. You may need to remove them before refinishing and reinstall them afterward.
- If you need more confidence in your ability to refinish a cast iron bathtub yourself, consider hiring a professional. This can ensure the job is done correctly and save you time and frustration.
Following these considerations can help you successfully refinish your cast iron bathtub and restore its beauty and functionality. With proper preparation, the right products, and patience, your bathtub will look like new again. Remember to regularly maintain it by cleaning and avoiding harsh chemicals to prolong its lifespan. Happy refinishing!
Troubleshooting Common Issues to Refinish a Cast Iron Bathtub:
1. Peeling or Flaking:
One of the most common issues with a cast iron bathtub is peeling or flaking. This can happen due to age, wear and tear, or improper cleaning techniques. To troubleshoot this issue, thoroughly clean the bathtub and remove any loose flakes or chips. Then, use fine-grit sandpaper to smooth out the affected area.
After sanding, wipe the area clean with a damp cloth and allow it to dry completely. Once dry, apply a coat of enamel paint specifically designed for cast iron surfaces, following the manufacturer’s instructions.
2. Rust:
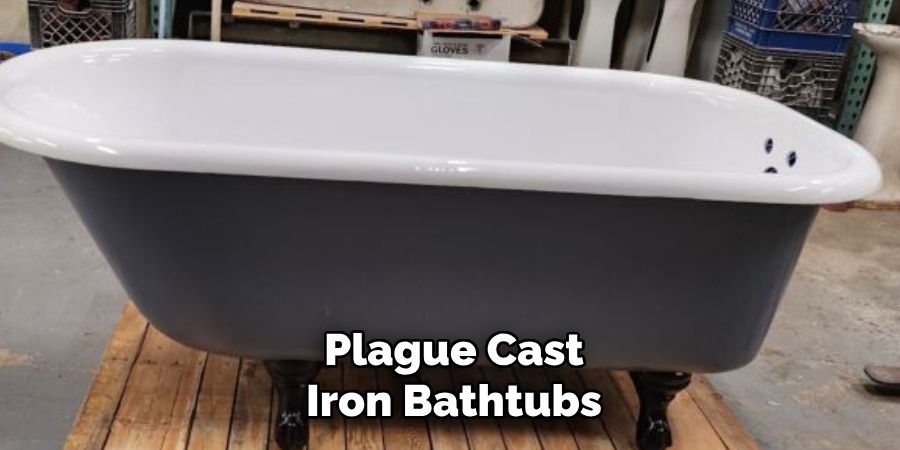
Rust is another common issue that can plague cast iron bathtubs. This can be caused by exposure to water, humidity, or even cleaning products containing harsh chemicals. To troubleshoot rust on your bathtub, start by scrubbing the affected area with a mixture of equal parts white vinegar and water.
This will help to remove any surface rust. For more stubborn rust stains, use a baking soda and water paste and let it sit for a few hours before scrubbing and rinsing clean. If the rust has caused significant damage to the surface, you may need to sand and repaint the area as described in the first troubleshooting step.
3. Scratches or Chips:
Scratches and chips can occur on a cast iron bathtub due to heavy objects being dropped, sharp tools being used, or simply regular wear and tear. To troubleshoot this issue, clean the affected area and remove any loose debris.
Then, use a cast iron repair kit to fill in the scratches or chips. Follow the manufacturer’s instructions for applying the repair product and allow it to dry completely before sanding and painting over the area.
4. Stains:
Stains on a cast iron bathtub can be caused by a variety of factors, including hard water, soap scum, and even hair dye. To troubleshoot this issue, start by using a mild abrasive cleaner or natural solution such as baking soda and lemon juice to scrub the stained area.
If that does not work, try using a commercial stain remover designed for cast iron surfaces. Always test any cleaning product in a small, inconspicuous area first to ensure that it does not damage the surface of your bathtub.
Following these troubleshooting steps, you can easily fix common issues with a cast iron bathtub and restore its beauty and functionality. Remember to always take proper care of your bathtub, using gentle cleaning techniques and avoiding harsh chemicals or abrasive materials.

With proper maintenance, your cast iron bathtub can last many years. In addition to regular cleaning, it is also important to periodically apply a coat of wax or enamel paint to help protect the surface and prevent future issues. By following these tips, you can maintain a beautiful and functional cast iron bathtub for years to come.
Maintenance Tips for Refinishing a Cast Iron Bathtub
1. Cleaning Regularly:
To prevent dirt and grime from building up on your refinished bathtub, it is important to clean it regularly. Avoid using harsh chemicals or abrasive scrubbers, as these can damage the finish of your tub. Instead, gently clean the surface with a mild cleaner and a soft cloth. Be sure to rinse thoroughly with water after cleaning.
2. Avoid Dropping Heavy Objects:
Even with a sturdy cast iron bathtub, dropping heavy objects can cause chips or cracks in the finish. Be careful when handling heavy items near the tub, and avoid placing anything hard or heavy on the surface. Using a non-slip mat can also help prevent any accidental drops. If a chip or crack does occur, be sure to address it immediately to prevent further damage.
3. Use Gentle Products:
When it comes to cleaning and maintaining your refinished cast iron bathtub, using gentle products is key. Avoid harsh chemicals and abrasive cleaners that strip the finish away or cause discoloration. Stick to mild soaps and non-abrasive cleaners to keep your tub looking its best. Using a soft sponge or cloth can also help prevent any scratches or damage to the finish.
4. Repair Any Damage Promptly:
If you do notice any chips, cracks, or scratches in the finish of your bathtub, it is important to address them promptly. Leaving these issues unattended can lead to larger problems down the road and may require more extensive repairs. Always read and follow the manufacturer’s instructions for any repair products or kits; if in doubt, consult a professional.
5. Avoid Extreme Temperatures:
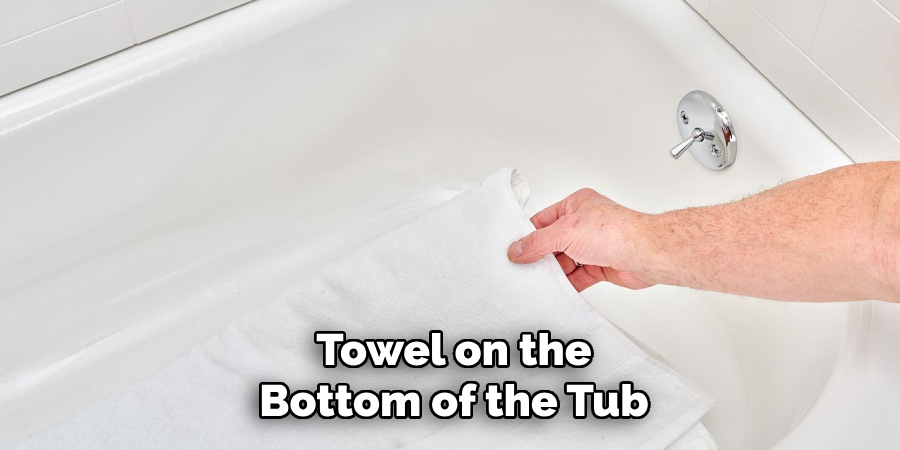
Extreme temperatures can also cause damage to the finish of your refinished cast iron bathtub. Avoid using very hot or cold water when bathing, as this can cause the surface to expand or contract, potentially leading to cracks or chips. Using a bath mat or towel on the bottom of the tub is also a good idea when taking a hot bath, as this can help prevent any heat damage.
6. Be Mindful of Non-Slip Coatings:
Some refinished bathtubs come with non-slip coatings for added safety. While these can be helpful, they may require special care to maintain. Avoid using harsh chemicals or abrasive cleaners on the non-slip coating, as this can damage it and reduce its effectiveness. If you do notice any wear or damage to the coating, be sure to address it promptly.
7. Regular Inspections:
In addition to regular cleaning, doing periodic inspections of your refinished cast iron bathtub is a good idea. This can help you catch any issues early on and prevent them from becoming larger, more costly problems. Look for any chips, cracks, or discoloration in the finish and address them as necessary.
Following these maintenance tips can help keep your refinished cast iron bathtub looking like new for years to come. With proper care and attention, you can extend the life of your tub and enjoy a beautiful, functional bathroom centerpiece. So remember to add these tasks to your regular cleaning routine and be mindful of how you use and handle your bathtub. Treating it with care will help maintain its beauty and durability for the long haul. Happy refinishing!
Conclusion
Now you know how to refinish a cast iron bathtub and bring it back to its former glory. Remember to properly assess the condition of your bathtub before starting the refinishing process, and make sure to clean and prepare the surface thoroughly for best results.
With the right tools and materials, this DIY project can save you significant money compared to hiring a professional. Plus, you’ll have the satisfaction of completing the job yourself and restoring your bathtub to its original shine.

