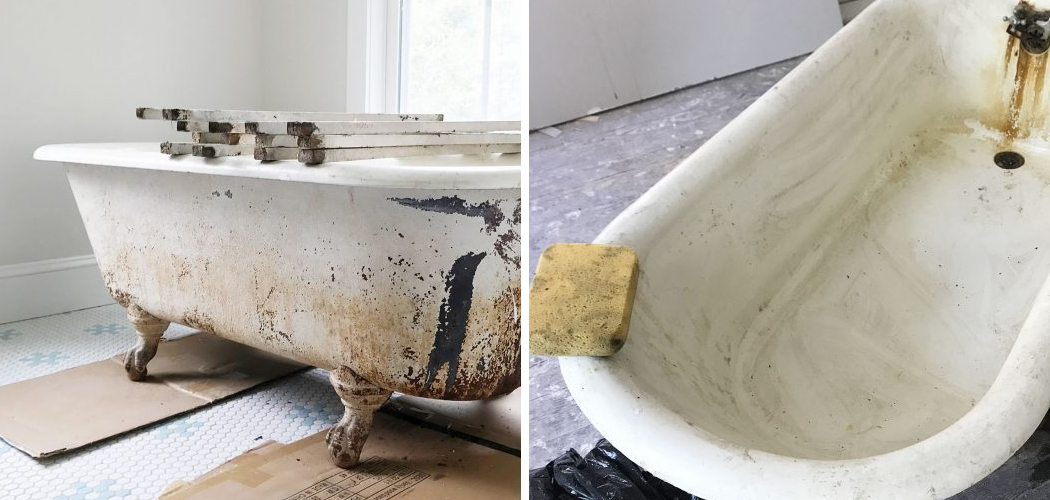
Refinishing a clawfoot bathtub can be challenging and time-consuming, but the result is definitely worth it. Clawfoot bathtubs are considered a luxurious addition to any bathroom, adding character and charm to the space. However, over time, the porcelain coating on these tubs can wear off, leaving them dull and worn out.
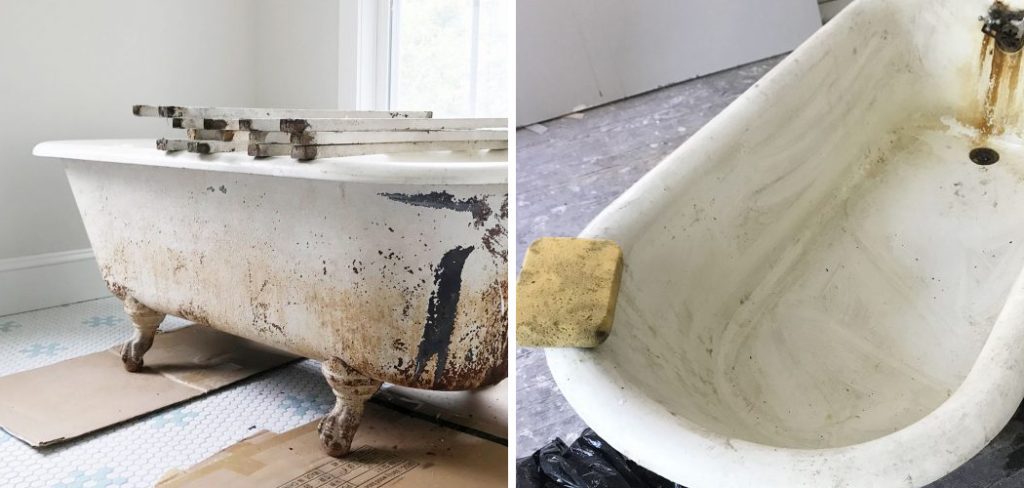
This is when refinishing comes into play – it involves stripping off the old coating and applying a new one to restore the tub’s original shine and beauty. In this guide, we will take you through the step-by-step process of how to refinish a clawfoot bathtub, including the tools and materials needed, as well as some tips and tricks to achieve a professional finish.
Understanding Clawfoot Bathtub
Clawfoot bathtubs, also known as clawfoot tubs, are freestanding tubs with four decorative feet that resemble claws. They were popular in the late 19th and early 20th centuries and were considered a symbol of luxury and wealth.
These tubs are usually made of cast iron or acrylic and have a porcelain coating to give them a smooth, glossy finish. The feet of the tubs can come in various designs and finishes, such as chrome, nickel, brass, or even painted to match the bathroom’s décor.
Tools and Materials You Will Need to Refinish a Clawfoot Bathtub
- Paint stripper or chemical cleaner
- Sandpaper (grit 150 – 220)
- Scraper or putty knife
- Masking tape
- Drop cloth or plastic sheeting
- Rust converter (if needed)
- Epoxy primer
- Porcelain refinishing paint
- Paintbrushes and rollers
- Paint sprayer (optional but recommended for a smoother finish)
Step-by-step Guidelines on How to Refinish a Clawfoot Bathtub
Step 1: Prepare the Tub
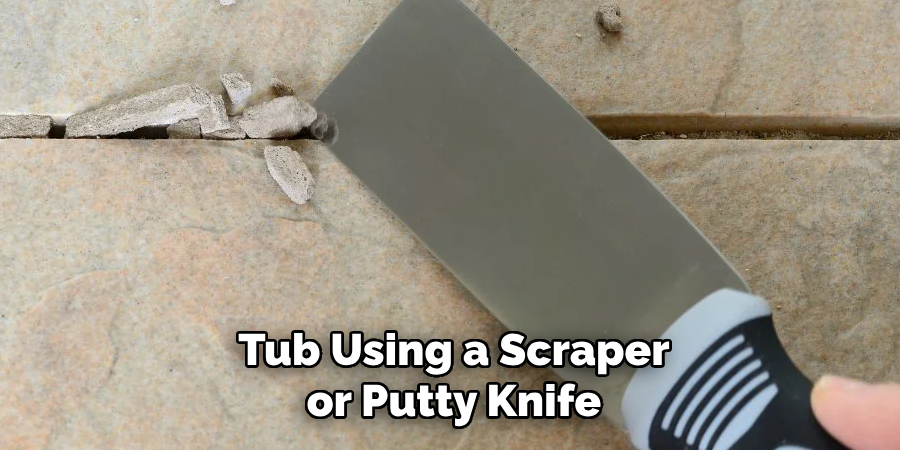
Before you start refinishing your clawfoot bathtub, make sure to prepare it properly. Start by cleaning it thoroughly with mild, cleaner or warm, soapy water. Then, remove any old caulking around the tub using a scraper or putty knife.
If there are any rust spots on the tub, use a rust converter to treat them before proceeding. Preparing the tub properly will ensure the new coating adheres well and has a smooth finish.
Step 2: Remove the Old Coating
The next step is to remove the old porcelain coating from the bathtub. You can use a paint stripper or chemical cleaner for this task. Make sure to follow the manufacturer’s instructions and wear protective gear, including gloves and goggles, while working with these chemicals.
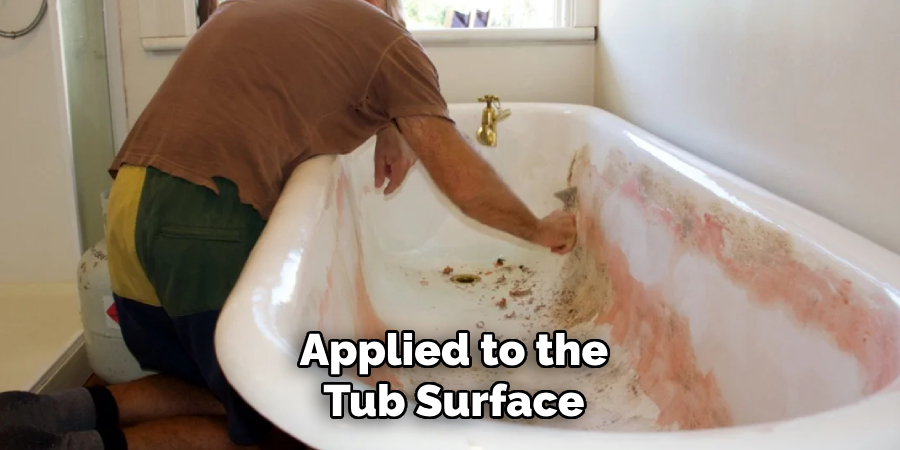
Apply the stripper or cleaner evenly on the tub surface and let it sit for the recommended time. Then, gently remove the old coating using a scraper or putty knife. You may need to repeat this process a few times to remove all layers of the coating.
Step 3: Sanding the Tub
Once the old coating is completely removed, the tub surface uses sandpaper with a grit between 150 and 220 grit. Sanding will help smooth out any imperfections and create a good base to which the new coating can adhere. Remember to wear a dust mask while sanding. Make sure to wipe off any dust or debris from the tub surface before proceeding. This will ensure a clean and smooth finish.
Step 4: Applying the Primer
Before applying the topcoat, an epoxy primer must be applied to the tub surface. This will help seal any imperfections, prevent rusting, and create a strong bond between the old and new coating. Use a paintbrush or roller to apply the primer evenly to the tub surface. Let it dry completely before moving on to the next step. For better results, apply two coats of primer.
Step 5: Applying the Refinishing Paint
The final step is to apply the porcelain refinishing paint. For this task, you can use a paintbrush, roller, or spray gun. Make sure to read and follow the manufacturer’s instructions carefully. Apply thin and even coats, allowing each coat to dry before applying the next one. Once you have achieved the desired coverage, let the tub dry for at least 48 hours before using it.
Following these guidelines, you can successfully refinish your clawfoot bathtub and bring it back to its former glory. Remember to take your time and be patient throughout the process. With proper maintenance, a refinished clawfoot bathtub can last for many years, adding elegance and charm to your bathroom. So go ahead and give your old tub a new lease of life!
Additional Tips and Tricks to Refinish a Clawfoot Bathtub
- If the tub surface has chips or cracks, fill them with a porcelain repair kit before refinishing. Sand the repaired area before applying the primer and topcoat.
- For a more durable finish, consider adding a clear topcoat to the tub surface after applying the refinishing paint.
- If you are using a spray gun for refinishing, make sure to cover surrounding areas and wear protective gear to avoid inhaling any fumes.
- Take your time with each step and avoid rushing through the process. This will help you achieve a professional and long-lasting finish.
- Regularly clean your refinished tub with mild, non-abrasive cleaner to maintain its shine and beauty.
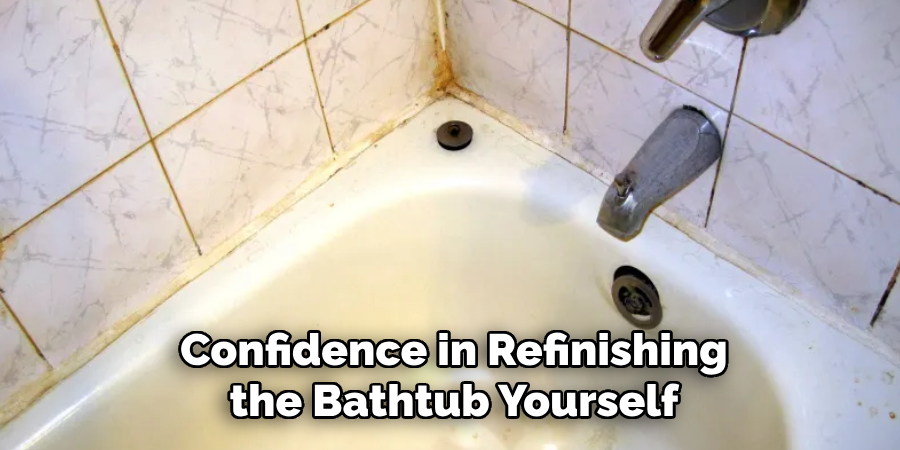
- If you need more confidence in refinishing the bathtub yourself, consider hiring a professional to do the job for you. It may cost more, but it will ensure a flawless finish and save you the hassle and time.
- Lastly, enjoy your newly refinished clawfoot bathtub and take pride in restoring it to its former glory!
Following these tips and guidelines, you can easily refinish your clawfoot bathtub and give it a fresh new look. With proper care and maintenance, your tub will continue adding charm and elegance to your bathroom for many years. Don’t be afraid to take on this DIY project and transform your old tub into a stunning centerpiece in your bathroom. So go ahead and get started on refinishing your clawfoot bathtub today!
Things You Should Consider to Refinish a Clawfoot Bathtub
- The condition of the existing finish is the first thing you should consider before refinishing a clawfoot bathtub. If there are any chips, scratches, or stains on the surface, these will need to be repaired before refinishing can take place.
- Another important factor to consider is the type of material your bathtub is made from. Clawfoot bathtubs can be made from various materials such as cast iron, acrylic, or fiberglass. Each type of material may require different refinishing techniques and products.
- It is also essential to prepare the surface properly before refinishing. This includes thoroughly cleaning the bathtub to remove any dirt, grease, or soap scum and sanding down any rough spots on the surface.
- When choosing a refinishing product, select one specifically designed for clawfoot bathtubs that can adhere to the tub’s material. Various options are available, such as epoxy or acrylic-based coatings.
- Ventilation is crucial when refinishing a bathtub, so open windows and use fans to ensure proper air circulation. This will help prevent harmful fumes from accumulating in the room.
- It is also recommended to wear protective gear such as a face mask, safety goggles, and gloves while refinishing the bathtub to avoid any skin or respiratory irritation from the chemicals used.
- Before applying the refinishing product, it is essential to read and carefully follow the manufacturer’s instructions. This will ensure you achieve the best results and avoid potential problems.
- Allow enough time for the refinishing product to dry completely before using the bathtub again, as this will ensure a durable finish that will last longer.
- Regular maintenance is key to keeping your clawfoot bathtub looking new after refinishing. Avoid using abrasive cleaners or harsh chemicals that can damage the finish, and always use non-abrasive cleaning products and a soft cloth to clean the surface.
- Finally, consider hiring a professional if you need more confidence in your refinishing skills or if your bathtub has significant damage that requires specialized repair techniques. A professional can help ensure a high-quality finish and save you time and effort in the long run.

These tips can help you refinish your clawfoot bathtub and bring new life to an old, worn-out fixture. With proper care and maintenance, your newly refinished bathtub will continue to be a beautiful addition to your bathroom for years to come. So, take the time to consider these factors before starting the refinishing process, and enjoy a like-new bathtub in no time!
Maintenance Tips for Clawfoot Bathtub

1. Regular Cleaning:
Regular cleaning is key to keeping your clawfoot bathtub in top condition. Use a mild cleaner and a soft cloth to clean your tub, avoiding any harsh chemicals that may damage the finish. Make sure to rinse the tub thoroughly after cleaning and wipe it dry with a soft towel. This will prevent the buildup of soap scum and keep your tub looking shiny.
2. Avoid Scratches:
Clawfoot bathtubs are usually made of cast iron or acrylic, which can easily get scratched if not handled properly. Avoid using abrasive sponges or harsh cleaning tools that can leave scratches on the surface of your tub. Also, be careful when placing or removing objects from the tub to avoid accidentally scratching them.
3. Repair Chips and Scratches:
If you do end up with any chips or scratches on your clawfoot bathtub, it’s important to repair them as soon as possible. Use a touch-up kit specifically designed for your type of tub, following the instructions carefully. This will prevent further damage and keep your tub looking new. This is especially important for cast iron tubs, as chips and scratches can lead to rusting if left untreated.
4. Maintain the Feet:
The feet of a clawfoot bathtub are not just for decoration; they also play a crucial role in supporting the weight of the tub. Make sure to regularly check and tighten any loose screws or bolts on the feet. If you notice any cracks or damage to the feet, it’s important to get them repaired or replaced by a professional. This will ensure the stability and safety of your bathtub.
5. Prevent Rust:
Rust can be a common issue with cast iron clawfoot bathtubs, especially in areas with high humidity or hard water. To prevent rust from forming, make sure to regularly dry your tub after each use and keep the area well-ventilated. You can also use a rust inhibitor spray or wax to protect the surface of your tub.
6. Avoid Heavy Impact:
Clawfoot bathtubs may look sturdy but are not designed to withstand heavy impact. Avoid standing or jumping on the edges of the tub, as it can cause cracks or damage to the feet and structure. Also, avoid using heavy objects or tools on the tub, which can cause dents or scratches. This will ensure the longevity of your bathtub.

7. Check for Leaks:
It’s important to regularly check for any leaks in your clawfoot bathtub, as they can lead to water damage and structural issues. Look for any signs of dripping or pooling water around the tub, and check the pipes and connections underneath as well. If you notice any leaks, it’s best to call a professional plumber to fix them.
8. Proper Drainage:
To prevent clogging and buildup in your clawfoot bathtub’s drain, regularly clean it with a plunger or drain snake. Avoid using chemical drain cleaners as they can damage the pipes and finish of your tub. Also, be mindful of what you rinse down the drain, as large chunks of hair or debris can cause blockages.
Following these maintenance tips will keep your clawfoot bathtub looking beautiful and ensure its safety and longevity. Regular upkeep is key to avoiding costly repairs or replacements in the future.
Remember to always consult a professional for any major issues or repairs needed for your bathtub. With proper care, your clawfoot bathtub can be a luxurious and functional addition to your bathroom for years to come. So, make sure to follow these tips and enjoy a relaxing soak in your beautiful clawfoot bathtub. Happy bathing!
Precautions Need to Be Followed for Refinishing a Clawfoot Bathtub
- First and foremost, it is important to ensure the bathroom is well-ventilated before starting the refinishing process. This means opening windows and using fans or ventilation systems to let fresh air in and fumes out.
- Before beginning any work on the bathtub, it is crucial to clean it thoroughly with a mild soap or cleaner. This will remove any dirt, grime, or soap scum that could interfere with the refinishing process.
- Wear protective gear such as gloves, safety glasses, and a mask to prevent chemicals or particles from contacting your skin or eyes.
- When choosing a refinishing product, make sure to read the instructions carefully and follow them precisely. Some products may require multiple coats or specific drying times, so it is important to understand the process before beginning.
- It is recommended to start with a small test area on the bathtub before refinishing the entire surface. This way, you can ensure that the product works well and adheres properly without any issues.
- If your bathtub has any chips or cracks, make sure to repair them before refinishing. These imperfections can hinder the final result and may require additional work or products.
- Cover any nearby surfaces or fixtures with drop cloths or newspaper to prevent damage from overspray or drips during refinishing.
- After applying the refinishing product, allow sufficient drying time before reusing the bathtub. Depending on the product and instructions, this can range from a few hours to a full day.

Following these precautions will help ensure a successful refinishing process and a beautifully restored clawfoot bathtub. Remember to always read and follow the instructions of the chosen product carefully, and don’t hesitate to seek professional help if needed. With proper care and maintenance, your clawfoot bathtub can continue bringing elegance and charm to your bathroom for years.
Frequently Asked Questions
What is Refinishing a Clawfoot Bathtub?
Refinishing a clawfoot bathtub involves stripping the old finish and applying a new coating to the tub’s surface. This process can also include repairing any chips or cracks in the tub before applying the new finish. Refinishing is a cost-effective way to give an old or worn bathtub a fresh new look without the expense of replacing it.
Refinishing can also be called reglazing, resurfacing, or regenerating. The process remains the same regardless of the terminology used – restoring and renewing an existing tub surface.
How Long Does it Take to Refinish a Clawfoot Bathtub?
The duration of refinishing a clawfoot bathtub can vary depending on its complexity and condition. On average, the process takes 3-5 hours, but it may require up to 24 hours for the new finish to fully cure before the tub can be reused.
Can I Refinish My Clawfoot Bathtub Myself?
While DIY refinishing kits are available, hiring a professional is recommended for the best results. Refinishing requires specialized equipment and chemicals that can be dangerous if not handled properly. Additionally, professionals have experience and knowledge in refinishing techniques, ensuring a better outcome.
How Long Will the New Finish Last?
With proper care and maintenance, the new finish on your clawfoot bathtub can last anywhere from 10-15 years. Regular cleaning and avoiding harsh chemicals will extend the longevity of the finish.
Conclusion
Now you know how to refinish a clawfoot bathtub and its benefits. With the right tools and techniques, you can transform your old or worn tub into a beautiful centerpiece for your bathroom. Remember to always follow safety precautions and consult a professional if needed. Refinishing is a cost-effective solution that will save you time and money in the long run, so don’t hesitate to give your bathtub a new lease on life.
So, whether you’re looking to update the look of your bathroom or trying to save an antique tub, refinishing is a great option. Don’t let a worn bathtub bring down the overall appearance of your bathroom – give it a fresh new finish and enjoy the results for years to come.

