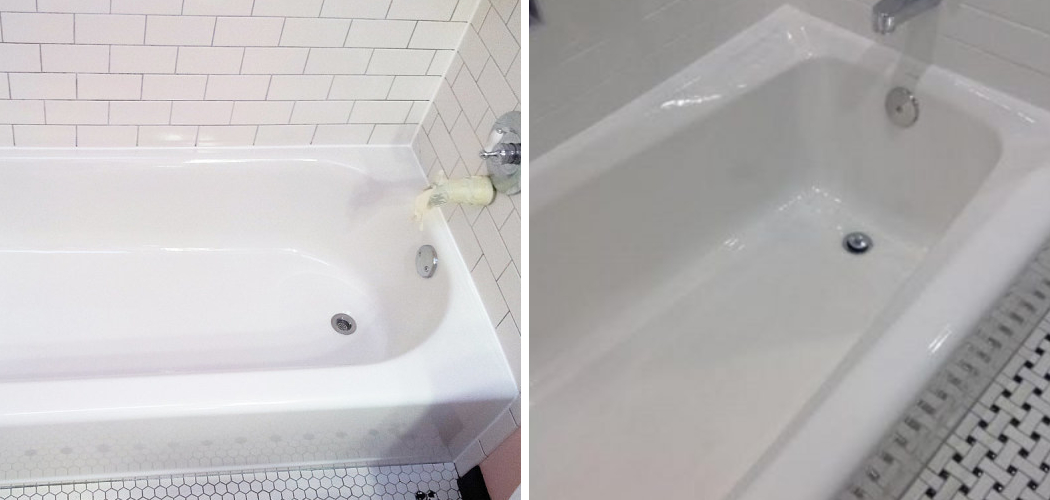
Refinishing a fiberglass bathtub is a practical and cost-effective way to restore its original luster and extend its lifespan without the need for a full replacement. Over time, fiberglass bathtubs can develop scratches, stains, and surface wear that diminish their appearance and functionality. This guide will walk you through the refinishing process, offering step-by-step instructions on how to refinish a fiberglass bathtub.
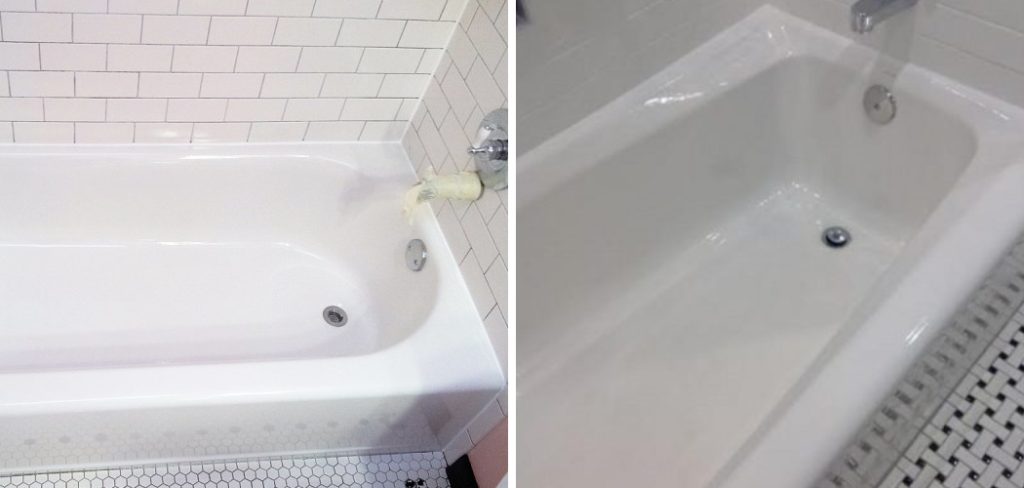
With the right materials and careful preparation, you can achieve a high-quality finish that enhances the aesthetic of your bathroom and provides lasting results.
Benefits of Refinishing a Fiberglass Bathtub
Refinishing a fiberglass bathtub offers numerous benefits that make it an attractive option for homeowners looking to update their bathrooms. Firstly, it is significantly more cost-effective than replacing the entire bathtub, which involves not only the cost of a new tub but also potential plumbing modifications and installation expenses. Additionally, refinishing allows for a customizable finish, giving you the flexibility to choose colors and textures that complement your bathroom’s design.
The process is much quicker than a full renovation, often taking just a day or two, minimizing the disruption to your daily routine. Furthermore, refinishing is an environmentally friendly choice, as it reduces waste by preserving the existing tub structure. Lastly, a professionally refinished tub can restore the original shine and smoothness of the surface, making it easier to clean and maintain, while also increasing the overall longevity of the bathtub.
Materials and Tools Needed for Refinishing
To successfully refinish a fiberglass bathtub, you will need to gather several materials and tools before starting the project. Here is a comprehensive list of what you will need:
- Protective Gear: Safety goggles, gloves, and a mask to protect yourself from dust and fumes.
- Cleaning Supplies: A non-abrasive cleaner and a sponge or scrub brush to thoroughly clean the bathtub surface.
- Sandpaper: Medium-grit sandpaper (around 220 grit) to scuff the surface for better adhesion.
- Painter’s Tape and Plastic Sheeting: To protect surrounding areas from overspray and keep dust away.
- Epoxy or Acrylic Resin Kit: A refinishing kit specifically designed for fiberglass, which includes a bonding agent, primer, and topcoat.
- Paintbrushes and Rollers: For applying the primer and topcoat evenly across the surface.
- Putty Knife: For applying filler to any deep scratches or chips.
- Ventilation Fan: To ensure proper air circulation and reduce exposure to chemical fumes.
Having these materials and tools ready will help streamline the refinishing process and ensure a professional-looking result.
10 Methods How to Refinish a Fiberglass Bathtub
1. Clean the Tub Thoroughly Before Starting
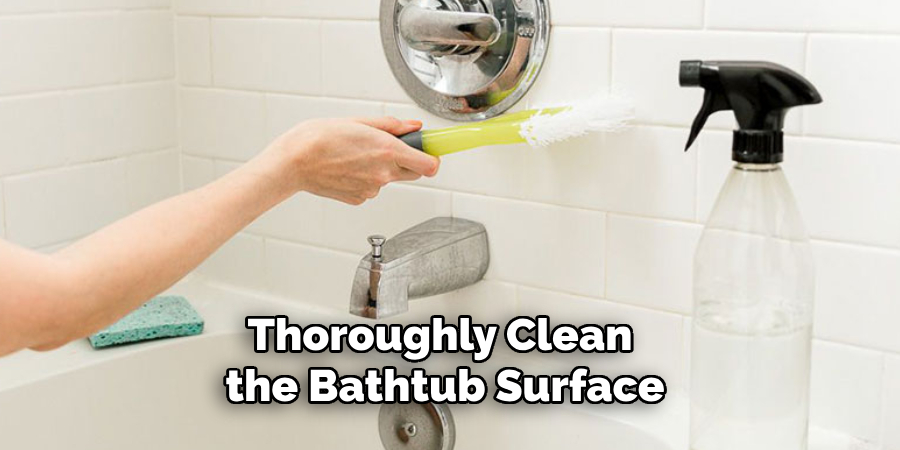
The first step to a successful fiberglass bathtub refinishing project is deep cleaning. Any dirt, soap scum, or oils left on the tub’s surface can interfere with the refinishing products’ adhesion, leading to peeling or uneven finishes. Start by scrubbing the entire tub with a non-abrasive cleaner or a mixture of baking soda and water. For stubborn stains, a mild abrasive pad can be helpful.
Pay special attention to any residue or buildup around the drain and in textured areas. Rinse the tub thoroughly and allow it to dry completely. A well-cleaned surface is essential for a long-lasting, smooth finish.
2. Sand the Surface for Better Adhesion
Once the tub is clean and dry, the next step is to sand it. Sanding is essential to create a slightly roughened surface that will help the primer and paint adhere to the fiberglass. Use fine-grit sandpaper, such as 220- or 320-grit, to sand the entire surface gently but thoroughly. Avoid aggressive sanding, as this could damage the fiberglass. Focus on achieving a uniform texture rather than removing material.
After sanding, wipe the surface with a damp cloth to remove dust, allowing it to dry completely before moving to the next step.
3. Repair Any Cracks or Chips in the Tub
Over time, fiberglass bathtubs may develop small cracks or chips, which should be repaired before refinishing. Use a fiberglass repair kit designed for bathtubs, which typically includes a resin filler, hardener, and applicator. Mix the resin and hardener according to the kit’s instructions, then use the applicator to fill in any damaged areas. Smooth out the surface as much as possible, then allow it to dry and cure fully.
Once dried, sand the repaired areas until they are flush with the surrounding surface. Repairing these imperfections ensures a smooth, flawless finish.
4. Apply a High-Adhesion Bonding Primer
A bonding primer is crucial for refinishing fiberglass, as it provides a stable base for the paint to adhere to. Choose a primer specifically formulated for glossy or non-porous surfaces like fiberglass. Apply the primer evenly using a high-quality paintbrush or roller, covering the entire surface. Be sure to follow the manufacturer’s instructions for drying time. Some primers may require a second coat for optimal adhesion.
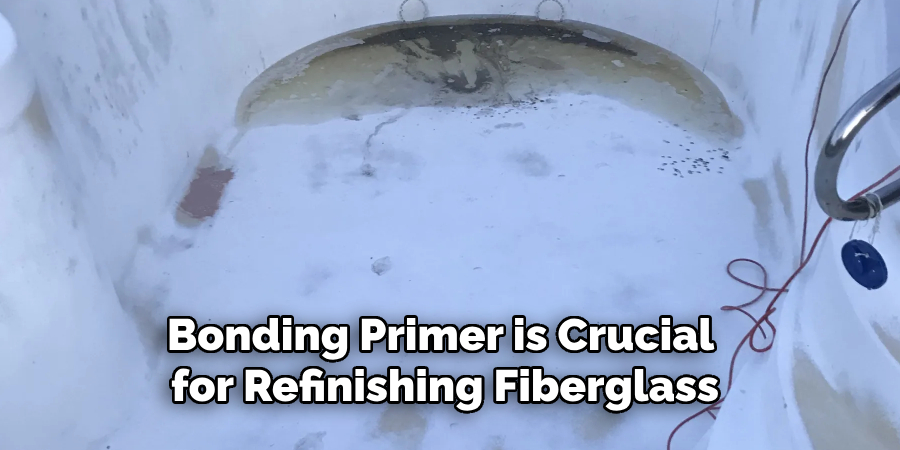
A properly primed surface will make a significant difference in the durability of the finish, as it allows the paint to bond effectively to the fiberglass.
5. Choose a Durable Epoxy or Acrylic Urethane Paint
When it comes to choosing paint for refinishing a fiberglass tub, epoxy and acrylic urethane are the best options. Both are water-resistant, durable, and designed to withstand bathroom conditions. Epoxy paint is especially popular because it dries to a hard, high-gloss finish, making it ideal for tubs. Acrylic urethane is also effective and offers greater flexibility if you plan to apply a topcoat. Apply the paint with a high-density foam roller or sprayer for a smooth, even application.
Avoid using brushes, as they can leave streaks or brush marks on the finish.
6. Apply Multiple Thin Coats of Paint
For a professional-looking finish, apply the paint in several thin layers rather than one thick coat. Thin layers dry faster, adhere better, and are less likely to drip or run. Start by applying a thin, even coat, then let it dry completely before adding the next. It’s recommended to apply at least two to three coats, depending on the paint’s coverage and desired finish. Lightly sanding between coats with a fine-grit sandpaper (400-grit or higher) can help ensure each layer bonds smoothly, creating a polished final look.
7. Allow Ample Curing Time Between Coats
Drying and curing are essential for a strong, long-lasting finish. While each coat of paint may feel dry to the touch within a few hours, it’s important to allow full curing time between applications—typically 24 hours or as recommended by the manufacturer. Proper curing between layers prevents issues like peeling or bubbling, which can occur if the paint hasn’t bonded completely. Once all coats are applied, allow the final layer to cure for at least 48 hours before using the tub. Patience during this step is key to achieving a durable, lasting finish.
8. Add a Clear Topcoat for Extra Protection
A clear topcoat is an optional but valuable addition that can increase the durability and water-resistance of your refinished bathtub. Choose a clear epoxy or polyurethane topcoat compatible with fiberglass and the paint you’ve used. Apply it in a thin, even layer over the painted surface, using a high-density foam roller or sprayer to avoid streaks or bubbles. The topcoat will not only add a layer of protection against chips and scratches but also enhance the finish’s gloss and shine. Let it cure fully according to the product instructions.

9. Ventilate the Room During the Refinishing Process
Refinishing a fiberglass tub involves chemicals that release fumes, which can be both strong and hazardous. It’s essential to ensure proper ventilation in the bathroom by opening windows and using a fan to circulate air. If possible, wear a respirator mask for added protection. Ventilation will not only protect your health but also help the paint cure more evenly, as proper airflow aids in the drying and bonding process. If your bathroom has no windows, consider using a portable exhaust fan to remove fumes and maintain air quality during the project.
10. Maintain the Refinished Tub Properly
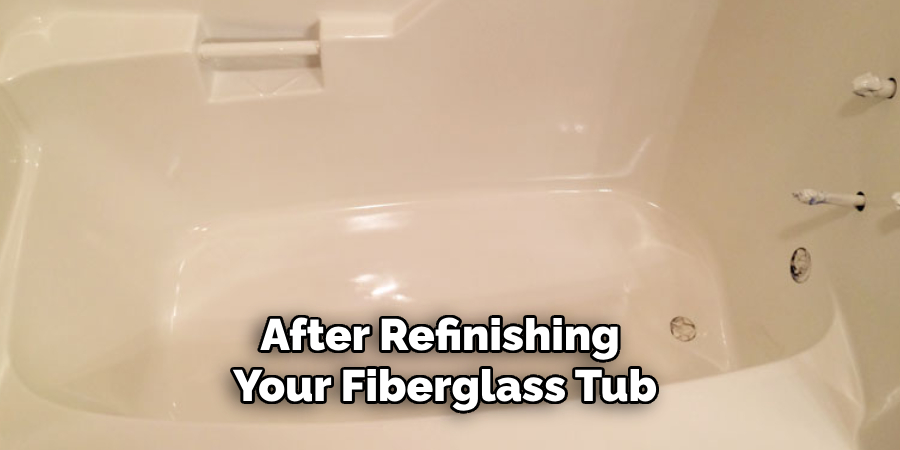
After refinishing your fiberglass tub, regular maintenance will help preserve the finish and extend its lifespan. Avoid abrasive cleaners, which can scratch or dull the surface. Instead, opt for mild bathroom cleaners or a mixture of dish soap and water for routine cleaning. After each use, rinse the tub and dry it with a soft cloth to prevent water spots and soap buildup. If chips or scratches appear, repair them promptly with matching paint or topcoat to keep the surface looking fresh. Proper care will ensure your refinished tub maintains its appearance and durability over time.
Conclusion
Refinishing a fiberglass bathtub is a cost-effective way to rejuvenate your bathroom without the expense of a full renovation. By following the steps outlined—from cleaning and repairing to priming and painting—you can achieve a professional-looking result that enhances your bathroom’s appearance. Remember to use the right materials and allow ample time for drying and curing to maximize durability. So, there you have it – a quick and easy guide on how to refinish a fiberglass bathtub.

