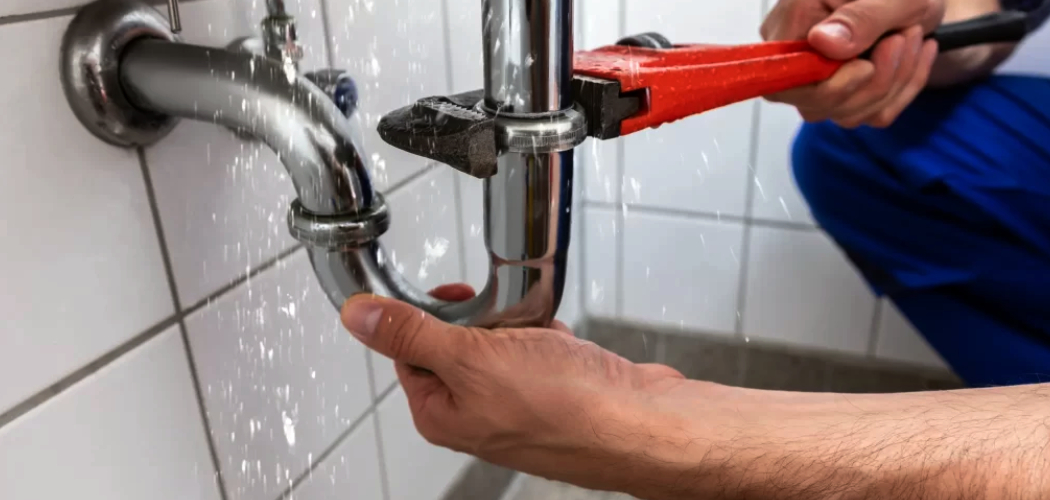
Relocating a toilet drain can seem like a daunting task, but with proper planning and the right tools, it is a manageable project for those with basic plumbing knowledge. Whether you’re reconfiguring your bathroom layout or addressing a structural issue, moving the drain involves careful measurements, precise cutting, and attention to plumbing codes.
This guide on how to relocate toilet drain will provide step-by-step instructions to help you execute the process effectively and ensure your plumbing system functions properly.
What is a Toilet Drain?
A toilet drain is an essential component of a plumbing system that carries waste and wastewater from the toilet to the sewage or septic system. It consists of a pipe, typically made from PVC or cast iron, that connects to the toilet flange above and the household drainage system below. The toilet drain must be properly vented to allow air to flow freely, preventing clogs and ensuring efficient waste removal.
Its proper installation and maintenance are crucial to avoid leaks, unpleasant odors, and plumbing issues. Understanding the toilet drain’s function is the first step when considering its relocation.
Why Would You Need to Relocate Your Toilet Drain?
There are several reasons why you might need to relocate your toilet drain. A common reason is a bathroom renovation or remodel, where reconfiguring the layout requires moving the toilet to a new position for better functionality or aesthetics. For example, relocating the toilet can create space for a larger shower, a double-sink vanity, or additional storage. Another reason could be structural issues, such as damaged or deteriorating flooring that necessitates moving the drain to a more stable area.
Additionally, accessibility concerns may arise, prompting adjustments to accommodate mobility aids or create a more user-friendly environment. Lastly, relocating a drain might also be required to meet updated plumbing codes or to connect to a newly installed sewage system. Whatever the reason, understanding the need for relocation helps ensure the process aligns with your goals and existing plumbing infrastructure.
Needed Materials
Before beginning the process of relocating a toilet drain, it is essential to gather all necessary materials. These may include:
Measuring Tape:
Accurate measurements are crucial when relocating a drain to ensure proper alignment and fit. A measuring tape will help you determine the correct distance between fixtures and plan accordingly.
Saw:
A saw, such as a hacksaw or reciprocating saw, will be needed to cut through the existing pipe while maintaining its integrity. It is recommended to use a saw with fine teeth for cleaner cuts.
Pipe Cutter:
If using PVC pipes, a pipe cutter can make precise cuts without creating debris. This tool also avoids the risk of damaging surrounding pipes.
Plumbing Tools:
Basic plumbing tools like wrenches, pliers, and screwdrivers will be necessary for removing and reconnecting pipes and fittings.
Sealant:
To ensure proper sealing and prevent leaks, have silicone sealant or plumber’s putty on hand. These sealants can also help fill any gaps between pipes and fittings.
9 Step-by-step Guides on How to Relocate Toilet Drain
Step 1: Turn Off the Water Supply
Before starting any work on relocating the toilet drain, it is essential to turn off the water supply to the toilet. Locate the shut-off valve, usually found on the wall or floor near the base of the toilet. Turn the valve clockwise until it is fully closed to stop the flow of water.
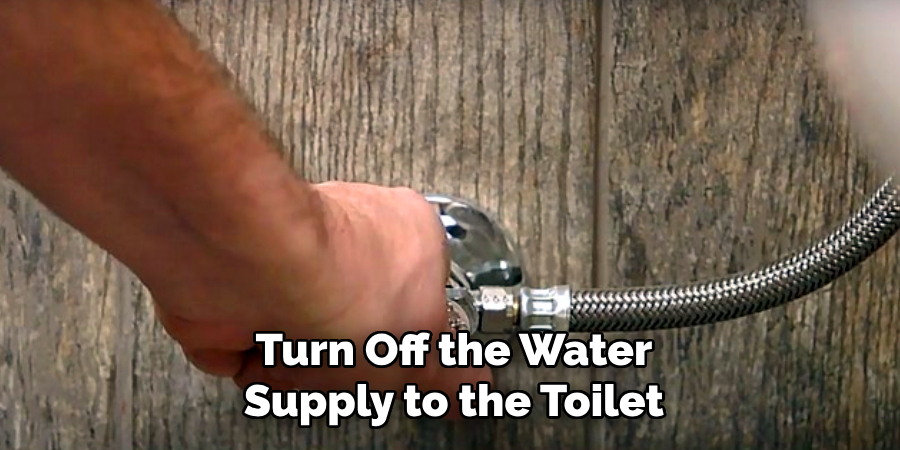
Once the water supply is off, flush the toilet to drain the tank and bowl. Use a sponge or towel to soak up any remaining water to prevent spills or mess during the relocation process. Taking this step ensures a safe and dry workspace, reducing the risk of water damage or accidents.
Step 2: Remove the Toilet
With the water supply turned off and the toilet drained, the next step is to remove the toilet. Begin by disconnecting the water supply line from the base of the toilet tank using an adjustable wrench. Be prepared with a small bucket or towel to catch any remaining water in the line. Next, remove the caps covering the bolts at the base of the toilet. Use a wrench to loosen and remove these bolts, which secure the toilet to the floor flange.
Once the bolts are removed, carefully rock the toilet back and forth to break the wax seal at the base. Lift the toilet straight up and place it on a towel or cardboard to prevent scratches or damage to the floor. Be cautious of any remaining water in the tramway that may spill during the removal. Finally, use a putty knife to scrape off the old wax ring from the flange area to prepare for the next steps. Properly disposing of the old wax ring and keeping the flange clean ensures a smooth continuation of the project.
Step 3: Plan the New Drain Location
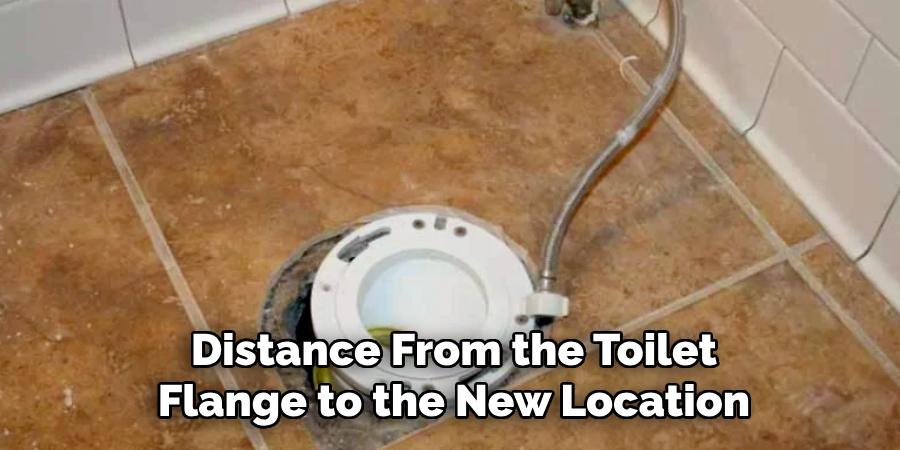
With the toilet removed, it is time to plan the new drain location. Using your measuring tape, determine the distance from the toilet flange to the new location. Measure and mark this distance on both the existing pipe and any new pipes you will need for relocation.
Take into consideration any obstructions in the floor or walls that may affect the placement of the new drain. Also, ensure that there is enough space between fixtures to allow for proper venting and future maintenance.
Step 4: Cut Existing Pipe
Once the new drain location is planned and marked, the next step is to cut the existing pipe to prepare for the relocation. Begin by identifying the section of the pipe that needs to be removed. Use a saw, such as a hacksaw or reciprocating saw, to make clean cuts at the marked points. A pipe cutter can be used to make more precise and debris-free cuts for PVC pipes.
Ensure the cuts are straight and even to allow for a secure connection with the new piping. Be cautious of any sharp edges left after cutting and use sandpaper or a deburring tool to smooth them out. This step is crucial for a proper seal and to prevent leaks in the new setup. If the pipe is made of cast iron, you may need specialized tools like a snap cutter or hire a professional to perform the cut. Always double-check your measurements before proceeding, as incorrect cuts can complicate the process and add unnecessary work. Proper preparation of the cut ends will ensure a seamless transition to the next step.
Step 5: Connect New Pipes
Using the proper fittings and connectors, assemble the new pipes according to your plan. If using PVC pipes, first apply a thin layer of PVC primer to the outside of the existing pipe and inside of the fitting or connector. Then, apply PVC cement on both surfaces before connecting them. This process helps create a strong bond between pipes and prevents leaks. For other types of piping materials, follow manufacturer instructions for proper connection methods.
Ensure that all connections are tight and secure, but do not overtighten as it may cause damage or cracks in the pipes. Take extra care when working with older pipes, which may be more prone to breakage.
Step 6: Test the New Setup
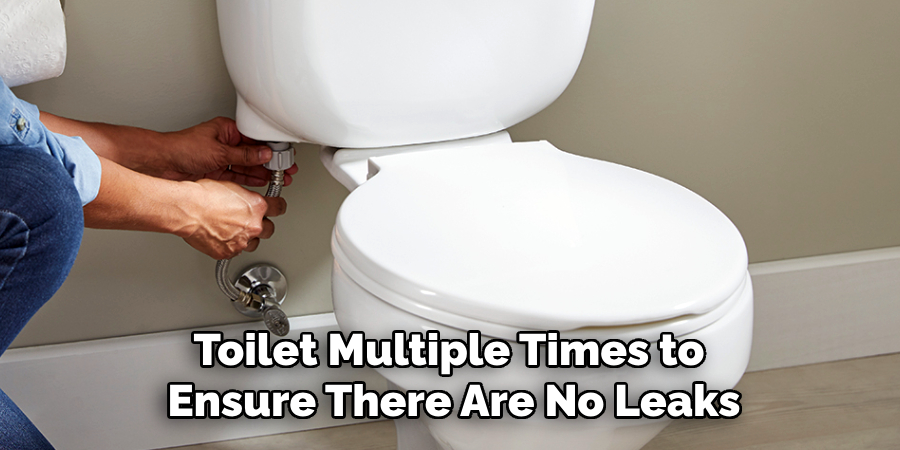
With all new pipes connected, it is essential to test the setup before proceeding. Turn on the water supply and flush the toilet multiple times to ensure there are no leaks or issues with water flow. If any problems are identified, address them immediately before continuing to the next step.
If everything is in order, turn off the water supply and proceed to the next step.
Step 7: Reinstall Toilet
Once you have confirmed that the new setup is working correctly, it is time to reinstall the toilet. Begin by placing a new wax ring on the flange area and ensuring it is centered properly. Carefully lower the toilet onto the flange, making sure that it lines up with the bolts and drain opening. Press down firmly on the toilet to create a seal with the wax ring. Reattach the bolts and water supply line, then test the toilet again by flushing and checking for any leaks.
The toilet should now be securely connected and ready for use.
Step 8: Secure Toilet
Once the toilet is securely connected and functioning properly, secure it by tightening the bolts at the base of the toilet using a wrench. Be careful not to overtighten as it may cause damage to the base or flange. Replace any caps or covers for a finished look.
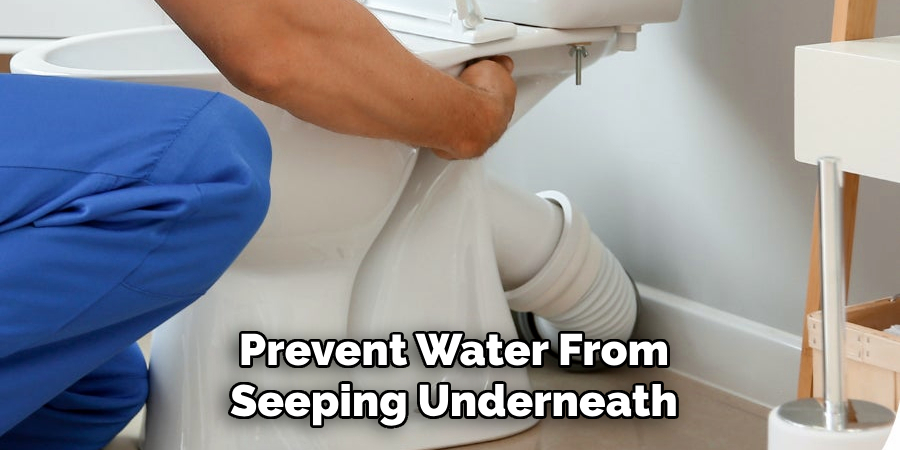
It is also a good idea to seal around the base of the toilet with caulk to prevent water from seeping underneath. This step helps protect the floor and surrounding areas from potential damage caused by leaks or spills.
Step 9: Clean Up
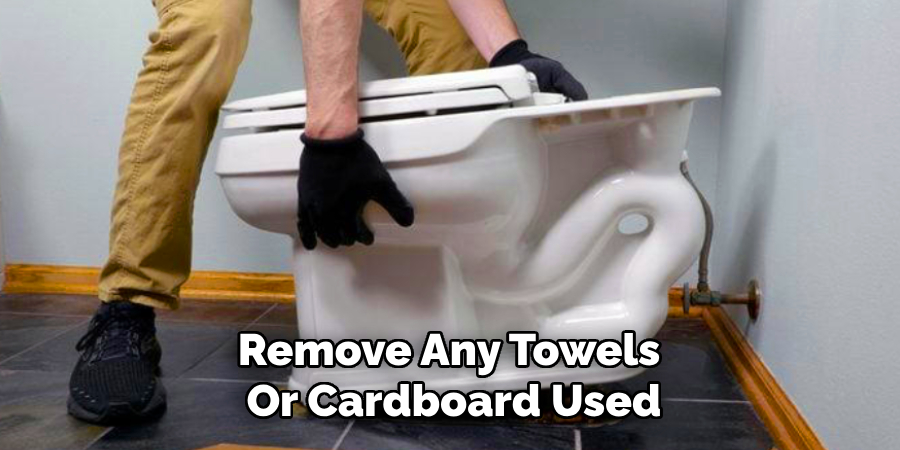
With the toilet installed and secured, clean up the work area by discarding any trash and wiping down surfaces. Remove any towels or cardboard used to protect the floor during the process. Turn on the water supply and check for any leaks one final time before completing the project. Congratulations! You have successfully relocated a toilet in your home.
Following these steps on how to relocate toilet drain and taking the necessary precautions will ensure a smooth and successful toilet relocation project. Remember to always refer to manufacturer instructions and codes, and never hesitate to seek professional help if needed. With proper planning, preparation, and execution, you can easily move a toilet to a new location in your home. Happy renovating!
Additional Tips and Considerations
- Always wear protective gear such as gloves and safety glasses when working with tools or plumbing materials.
- Consider hiring a plumber for more complex projects or if you are not confident in your abilities.
- Check local building codes and regulations before making any changes to plumbing fixtures, as they may vary by location.
- If relocating the toilet to a different level of your home, ensure proper slope and venting of pipes to prevent clogs and odors.
- Take note of the size and type of existing pipes to ensure compatibility with new fittings and connectors.
- Have all necessary tools and materials on hand before beginning the project to avoid multiple trips to the store.
- Always turn off the water supply before working on any plumbing fixtures.
- Regular maintenance and upkeep of your toilet can help prevent future issues and prolong the life of your plumbing system.
- If you encounter any unexpected complications during the process, do not hesitate to seek professional help or consult online resources for additional guidance.
Conclusion
Relocating a toilet can seem like a daunting task, but with proper planning, preparation, and attention to detail, it is a manageable project for many homeowners. By following the outlined steps on how to relocate toilet drain, using the appropriate tools, and adhering to safety precautions, you can successfully reposition your toilet to better suit your space and design needs. Remember to thoroughly test the new setup to ensure it functions properly and meets all building code requirements.
While DIY solutions can be cost-effective and rewarding, don’t hesitate to consult a professional plumber if you encounter challenges beyond your expertise. With the toilet relocation complete, you can enjoy a more functional and well-designed bathroom space.
You Can Also Check It Out To Move Bathroom Plumbing

