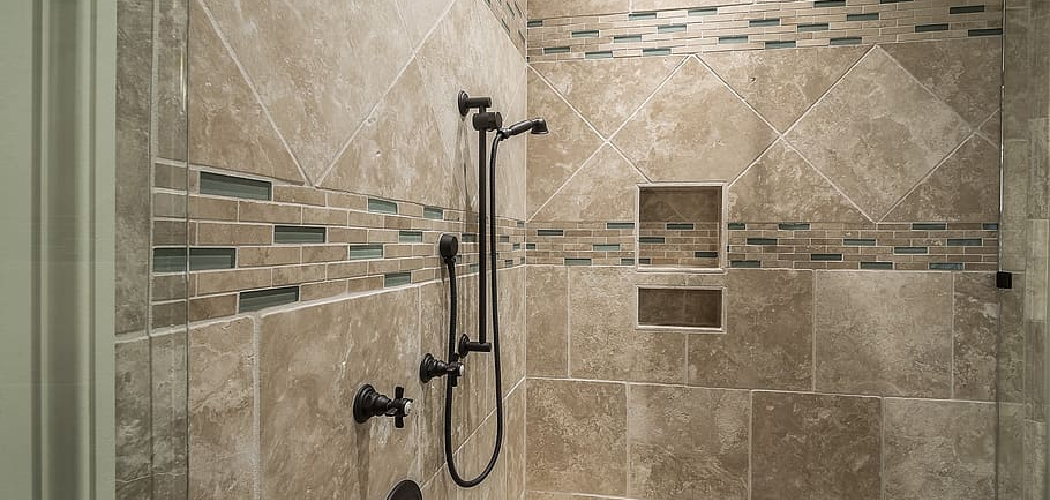
When it comes to renovating the bathroom, one of the most common projects is remodeling a shower with tile.
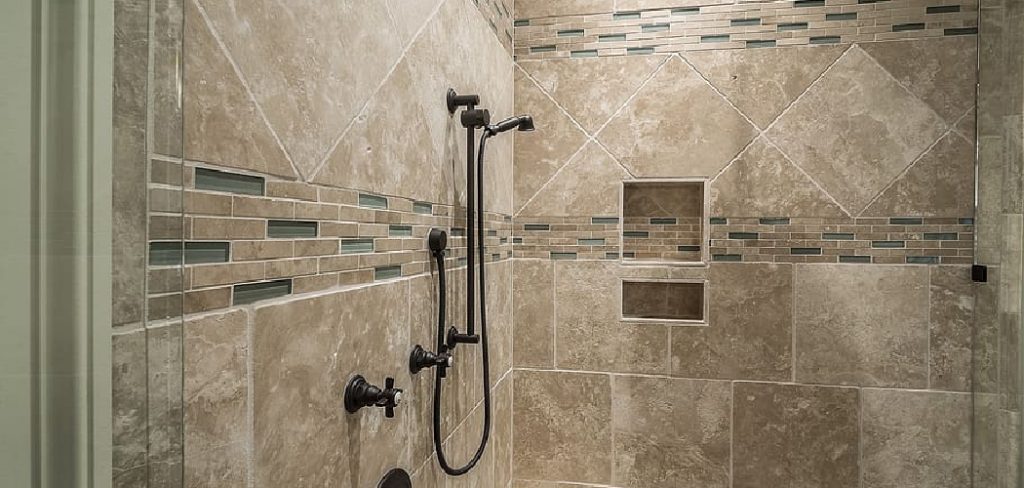
Not only does tiling create an attractive aesthetic, but it also creates a waterproof barrier that will ensure your bathroom stays dry for years to come. Whether you’re opting for subway tile or going with something bolder and more modern like penny tiles, learning how to layout and install shower tiles can be an intimidating process.
But don’t worry! In this blog post on how to remodel a shower with tile, we’ll walk you through the steps necessary in order to successfully remodel your shower with new tile – no matter what design vision you have in mind!
Necessary Tools
Given below are the tools you will need in order to successfully remodel your shower with tile:
- Hammer & Chisel
- Power Drill and Bits
- Safety Glasses
- Tape Measure
- Level
- Notched Trowel
- Sponge or Soft Brush
- Grout Float
- Bucket and Sponge
11 Step-by-step Guidelines on How to Remodel a Shower With Tile
Step 1: Prepare the Surface
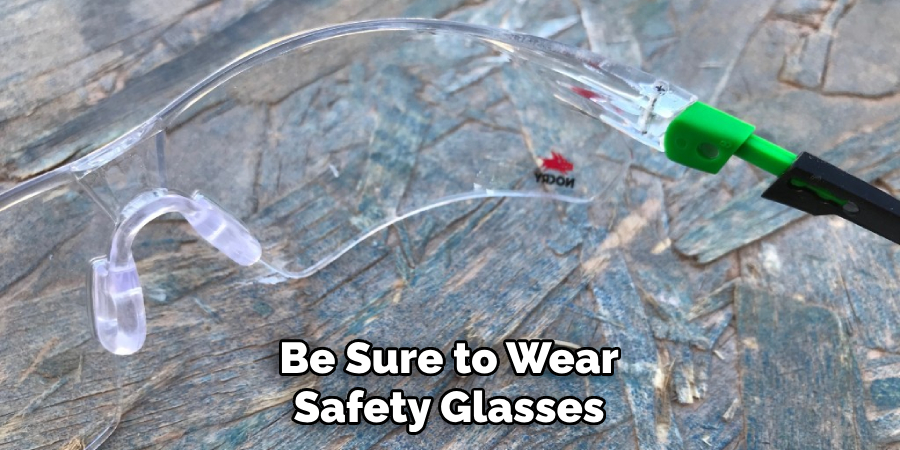
First, remove all existing material from the shower area. This could include old tile, caulking, and mortar. Be sure to wear safety glasses when chipping away at the surface. It’s also a good idea to check for any water damage behind the existing material. This is especially important if you’re remodeling an older shower.
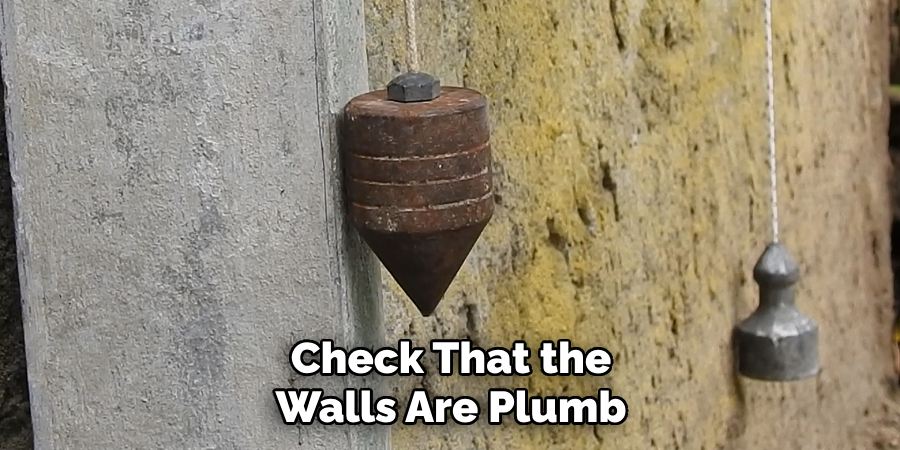
But don’t worry, even if you find damage, it can be fixed before you begin tiling. It’s also important to check that the walls are plumb. Once you have a clean, level surface it’s time to get started. This can be done with a hammer and chisel, power drill, or grinder.
Step 2: Measure and Mark the Wall
Once you’ve prepped the wall, it’s time to start measuring and laying out your tile. Start by using a tape measure to find the center of both the length and width of your shower walls. Mark those spots with a pencil so that you have them as reference points for when you begin tiling.
It’s important to use a level to make sure the lines you mark are straight. This will help you achieve a professional-looking, even tile layout. But make sure not to mark up the wall too much. You’ll want to have a clean slate for when you begin tiling.
Step 3: Lay Out Your Tile Pattern
Using these reference points, lay out your tile pattern on the wall, making sure that each piece is level with its neighbor before moving on to the next one. If you want to create a neat-looking design, be sure to use spacers between each tile. This will help you keep the design consistent.
It’s also a good time to measure and cut any tiles that need to fit into corners or around edges. But don’t worry, cutting tiles is easy once you have a good-fitting template.
Step 4: Apply the Adhesive
Once you’ve laid out your tiles, it’s time to apply the adhesive. Using a notched trowel, spread a thin layer of your adhesive onto the back of each tile before pressing it firmly against the wall. Make sure that you use enough pressure to ensure that each tile is properly stuck down.
This is especially important for shower walls because the tile needs to be able to survive moisture. Wait until each tile is securely in place before moving on to the next one. Otherwise, you may end up with an uneven surface. It’s also important to use a level to make sure the tiles stay in the same plane.
Step 5: Cut Tiles as Necessary
Using a power drill and a masonry bit, begin cutting any tiles necessary that don’t fit flush along the edges or around fixtures like shower heads or taps. Be sure to wear safety glasses when drilling into tiles. But don’t worry, this process is easy and you can use a template to make sure that each piece fits perfectly.
If you’re not sure how to cut tiles, there are plenty of instructional videos and tutorials available online. It’s also important to note that tiles can be cut with a wet saw, but this may require renting one or finding someone with access to one.
Step 6: Let the Tiles Set
After all of the tiles have been properly installed, leave them to set in place for at least 24 hours. This will give the adhesive enough time to bond before you can begin grouting. But in order to ensure the best possible bond, it’s important to not get any water on the tiles during this time.
This includes showering or even just running your hands over them. It’s also important to check for any loose tiles during this time. If you find one, simply use a notched trowel and some adhesive to re-secure it.
Step 7: Prepare the Grout
Mix up your chosen grout according to the instructions on its packaging and let it sit for a few minutes. The consistency should be thick but not too runny.
But don’t worry if it seems too thin, you can always add more grout powder to thicken it up. This step is especially important if you’re using a sanded grout, as too much water can cause the grout to lose its strength and crumble. This is why it’s important to take your time and get the consistency just right.
Step 8: Apply Grout Using a Float
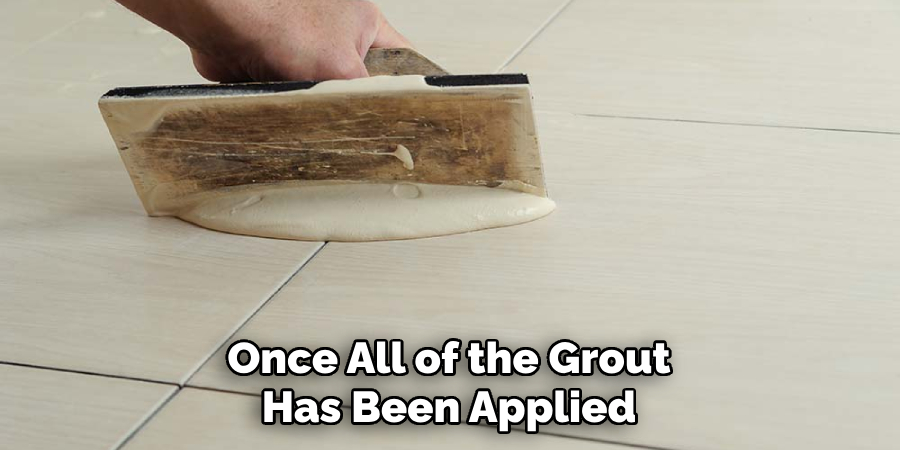
Using a rubber float, apply and press your grout into each space between your tiles. Be sure to take care when spreading as you don’t want excess grout build up on any of the sides. If you do, simply use a sponge or soft brush to wipe it away. You may need to repeat this process for each section of the wall in order to ensure a consistent look.
Step 9: Clean the Excess Grout
Once all of the grout has been applied, you can begin cleaning up any excess that may have been left behind. Using a soft brush or sponge, gently wipe away any extra grout from the tile surface. But don’t worry if you can’t get it all off, this will be taken care of in the next step. You may even find that a toothbrush can come in handy for getting into the hard-to-reach areas.
Step 10: Seal the Grout Lines
After the grout lines have had time to dry (we recommend waiting at least 24 hours before attempting this step), it’s time to seal them with a sealant specifically designed for use on tiles. This will help protect your shower from water damage and staining. It’s also a good idea to apply the sealant in multiple thin coats for extra protection.
Step 11: Enjoy Your Newly Remodeled Shower!
That’s it! Your newly remodeled shower with tile is now ready to be enjoyed. All that’s left now is to step back and admire your handiwork, knowing that it will last for years to come. Always remember to clean your shower tile regularly and reseal the grout lines every few months to maintain its beautiful look.
We hope this guide on how to remodel a shower with tile has been helpful in walking you through the process of successfully tiling your shower. With just 11 simple steps, you can have a beautiful new look in no time at all!
Do You Need to Hire a Professional?
If you’re not comfortable with tiling your own shower, it’s always a good idea to hire a professional. A qualified tile contractor will be able to assist you in the installation process and provide advice on any potential problems that may arise during the project. It’s always better to be safe than sorry when it comes to tackling a project as large as tiling a shower.
Frequently Asked Questions
Q: What Type of Drill Bit is Best for Cutting Tile?
A: The best type of drill bit for cutting tile is a masonry bit. This will ensure that you get a clean, even cut when drilling into your tile.
Q: How Long Should the Grout Set Before Sealing?
A: We recommend waiting at least 24 hours before attempting to seal the grout lines. This will give it enough time to properly set and bond with the tiles.
Q: Can I Tile Over an Existing Surface?
A: Yes, you can tile over existing surfaces as long as they are in good condition and free of cracks or damage. Be sure to prep the surface thoroughly before beginning tiling in order to ensure a successful project.
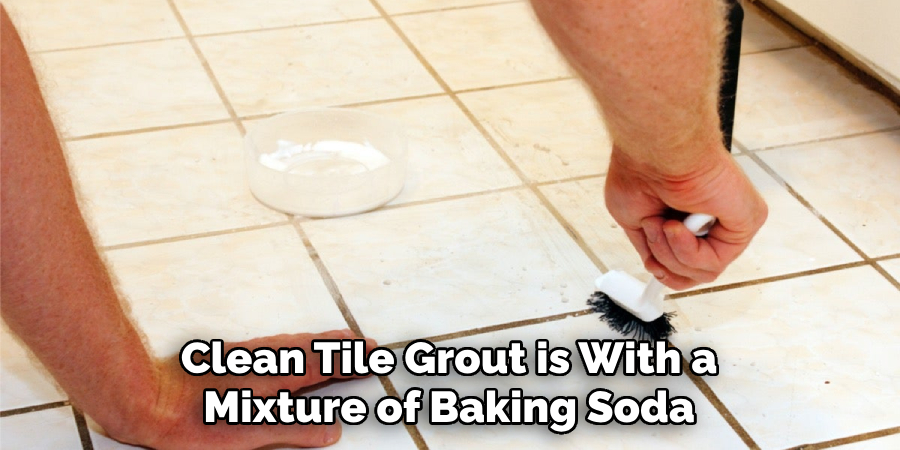
Q: What is the Best Way to Clean Tile Grout?
A: The best way to clean tile grout is with a mixture of baking soda, water, and white vinegar. Simply mix up this solution and apply it to the grout lines using a soft brush or sponge. Let it sit for a few minutes before rinsing away with warm water.
Conclusion
Now that you know the basics of remodeling a shower with tile, it’s time to get to work and let your creative side shine. Getting ready for a successful project means having a plan in place and making sure that you have put safety as your top priority throughout the entire process.
With the right tools and materials, tiling shower walls can be achieved in this one-weekend home improvement project. As daunting as it may seem, taking the plunge and updating your shower will be well worth it!
Not only will you enjoy seeing the finished product but you’ll also increase both the value of your house and its appeal for potential buyers. Take the step towards completing your desired look and don’t forget to take some “before” and “after” shots – they’ll be a great way of showing off what an amazing job you have done! Thanks for reading this article on how to remodel a shower with tile.

