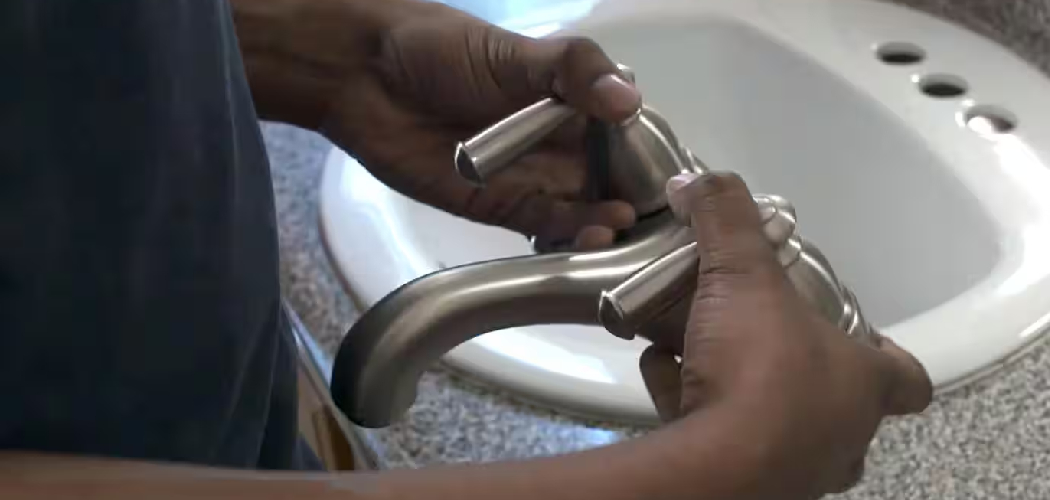
Removing a bathroom faucet is a task that many homeowners encounter at some point, whether it’s due to the need for replacement, upgrading to a more modern fixture, repairing a leak, or simply deep cleaning hard-to-reach areas. While the idea of taking apart plumbing might seem intimidating at first, rest assured that it’s a manageable process even for DIYers with just basic tools and a bit of patience. With the right approach, anyone can learn how to remove a bathroom faucet from a sink safely and efficiently.
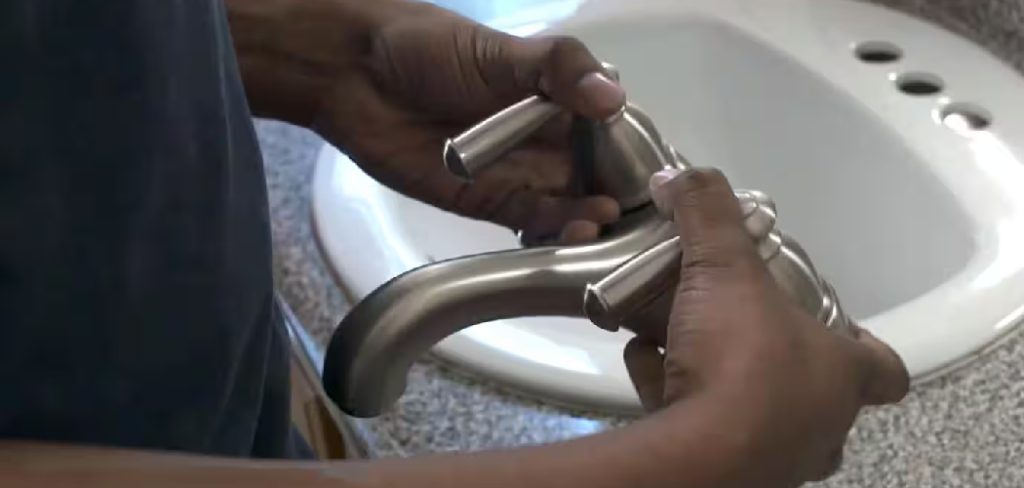
This guide’s purpose is to provide clear, step-by-step instructions to help you confidently tackle this project. From understanding the tools you’ll need to navigating potential challenges like stuck bolts or awkward spaces, this article will equip you with the knowledge to complete the job without unnecessary hassle. Whether you’re a novice or have tackled DIY projects before, you’re in the right place to get started!
Understanding Your Faucet Type
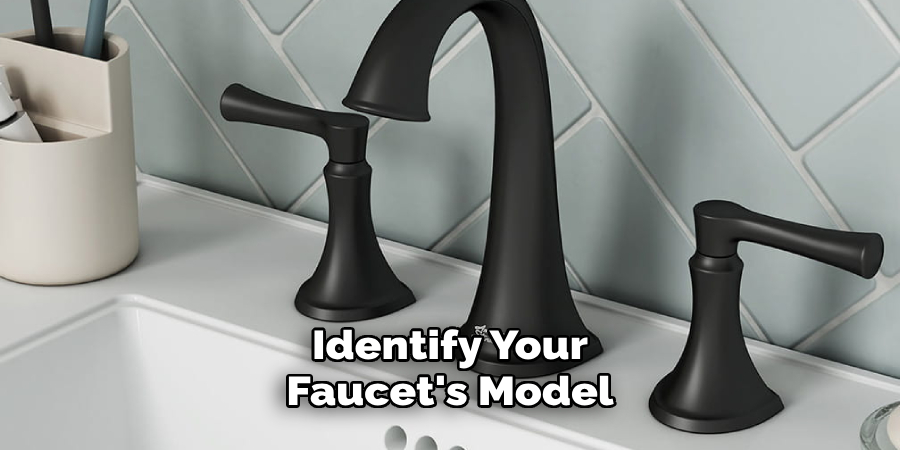
Before starting the removal process, it’s essential to understand the type of faucet you’re dealing with, as this can affect the steps required. Faucets generally come in a few common configurations. Centerset faucets feature a compact design where the spout and handles are part of a single unit, making them straightforward to remove. Widespread faucets, on the other hand, have separate hot and cold water handles, which typically require more disassembly. Single-hole faucets have one connection point, simplifying the process in most cases, while wall-mounted faucets pose unique challenges due to their placement and hidden plumbing connections.
The material and age of your faucet can also influence removal difficulty. Older faucets, particularly those made from metal, may suffer from corrosion or rust buildup, complicating the process. Additionally, mineral deposits from hard water can make components stick together, requiring extra effort and possibly penetrating oil to loosen them.
To make the removal process smoother, try to identify your faucet’s model number or manufacturer label, usually located on the underside of the faucet or near the base. Knowing these details can help you research removal instructions specific to your faucet and choose compatible replacement parts for the project. Taking this preparatory step ensures you’re ready to proceed efficiently.
Tools and Supplies Needed
Essential Tools
To successfully remove and replace your faucet, gather the following essential tools:
- Adjustable Wrench: For loosening and tightening nuts and bolts.
- Basin Wrench: Designed to reach tight spaces beneath the sink.
- Bucket: To catch any residual water and avoid spills.
- Towels: Useful for drying surfaces and cleaning up water.
- Putty Knife: To scrape away old seals or putty.
- Penetrating Oil: To help loosen stubborn, corroded components.
Safety Gear
Prioritizing safety is crucial. Make sure to have the following items on hand:
- Gloves: To protect your hands from sharp edges.
- Flashlight: To illuminate dark areas under the sink.
- Safety Glasses: To shield your eyes from debris or dripping water.
Optional but Helpful Items
These additional items can make the process smoother and more efficient:
- Headlamp: Provides hands-free lighting for better visibility under the sink.
- Small Mirror: Helps you view hard-to-see areas behind hardware.
Preparing the Area
Proper preparation ensures a smooth and efficient process when working under the sink. Follow these steps to prepare the area before starting your repairs or maintenance:
Turn Off the Water Supply
Locate the hot and cold water shut-off valves under the sink. These are typically small, round knobs or levers connected to the pipes leading to the faucet. Turn each valve clockwise to stop the water flow. If the valves are stiff, use a towel or pair of pliers for a better grip. Confirm the water is off by testing the faucet and ensuring no water flows.
Relieve Water Pressure
After ensuring the water supply is off, turn on the faucet to release any remaining water trapped in the pipes. Allow the faucet to run until it stops dripping completely. This reduces pressure and minimizes potential leaks during your work.
Clear the Cabinet Area
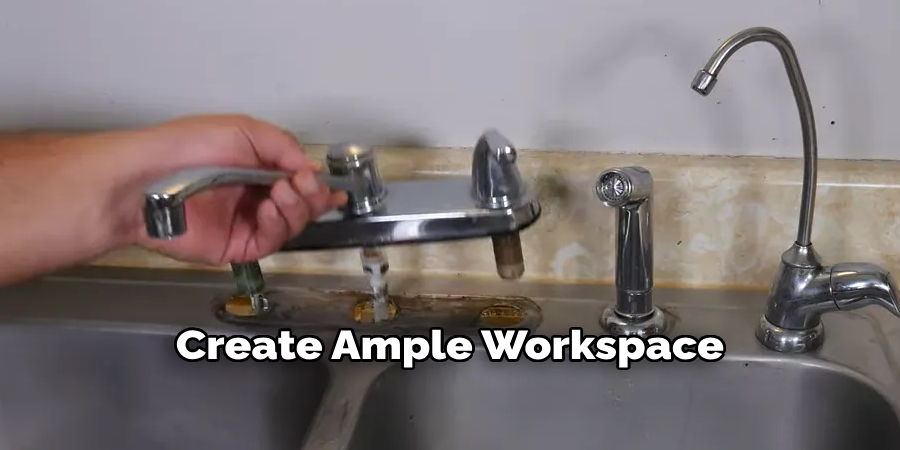
To create ample workspace, remove any items stored under the sink. Cleaning out the cabinet will also prevent tools or debris from damaging your belongings. It’s a good opportunity to inspect the area for any signs of moisture or damage.
Protect the Area
Place old towels or a small bucket beneath the sink and faucet to catch any residual water drips during the process. This step helps keep the area dry and reduces cleanup time, keeping your workspace tidy throughout the task.
Disconnecting Water Supply Lines
Loosening the Lines
To begin, locate the nuts that attach the water supply lines to the faucet and shut-off valves. Using an adjustable wrench, carefully turn the nuts counterclockwise to loosen them. Depending on the condition of the fittings, they should come apart with steady pressure. Take care not to apply too much force, as this can damage the nuts or the supply lines. If space is limited, consider using a basin wrench for easier access to hard-to-reach fittings.
Handling Rusted or Stubborn Nuts
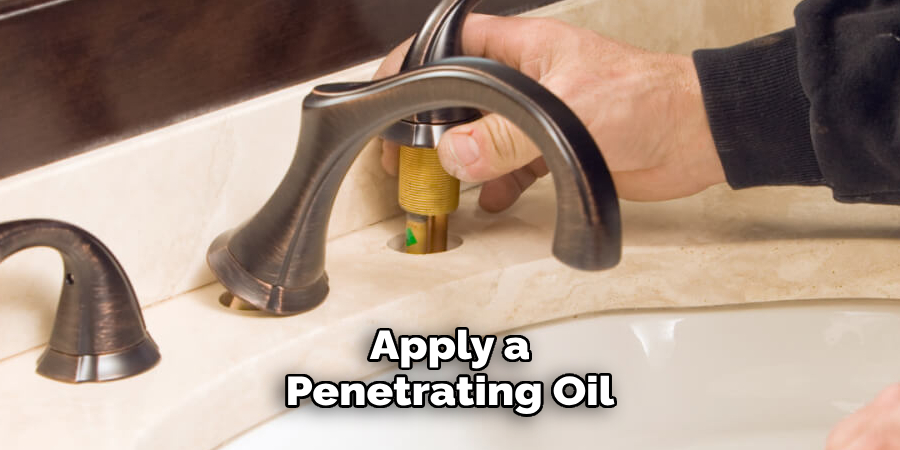
Occasionally, you may encounter rusted or overly tight nuts that resist loosening. Apply a penetrating oil to the affected area and allow it to sit for a few minutes to break up any corrosion. Afterward, try loosening the nut again with your wrench. If it remains stuck, gently tap the wrench handle to create slight movement, but be careful not to overdo it, as this could cause cracking or bending of the fittings. Persistence and patience are key to avoiding damage.
Labeling or Taking Photos
Before fully disconnecting the lines, it can be beneficial to label each connection or take detailed photos. This step serves as a valuable reference point during reinstallation or if new upgrades are installed. Clear documentation ensures that the setup is accurate, saving time and reducing confusion in later stages of the process.
Checking the Lines for Reuse
If you plan to reuse the existing water supply lines, inspect them thoroughly for any signs of wear and tear, including cracks, fraying, or leaks. If the lines appear damaged or past their prime, replacement is a safer option to ensure reliable functionality. Proper assessment prevents potential issues and ensures a secure, long-lasting connection.
How to Remove a Bathroom Faucet From a Sink: Removing the Faucet Mounting Hardware
Accessing the Mounting Nuts
To begin the removal process, locate the mounting nuts that secure the faucet to the sink. Typically, these are found beneath the sink in a tight, hard-to-reach space. Using a basin wrench is essential for this step, as it is specifically designed to access nuts in confined areas. Position the wrench carefully to get a firm grip on the nut, and then turn it counterclockwise to loosen. Ensure adequate lighting under the sink to identify the exact placement of the hardware.
Dealing with Tight or Corroded Nuts
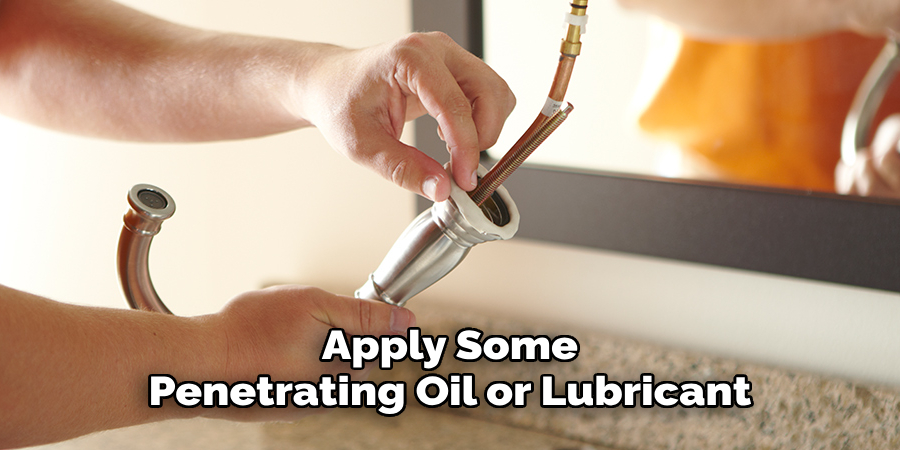
If the mounting nuts are difficult to turn because of tightness or corrosion, apply some penetrating oil or lubricant to the threads and wait a few minutes for it to work its way in. Using steady pressure with the basin wrench can help avoid damaging the nut or surrounding components. For particularly stubborn nuts, gently heating them with a hairdryer can cause the metal to expand slightly, making the removal process easier. Avoid using excessive force to prevent bending or breaking the mounting hardware.
Removing the Faucet Body
Once the nuts are fully loosened, you can remove the faucet body from above the sink. Grasp the faucet firmly and gently lift it to break its seal from the sink. If the faucet body feels stuck, lightly wiggle it side to side to free it. Ensure no connected water lines or mounting hardware are pulling against the faucet as you lift.
Removing Any Old Sealant
After the faucet is removed, inspect the sink’s surface for any leftover sealant, such as plumber’s putty or silicone. Use a putty knife to gently scrape away the residue, being careful not to scratch or damage the sink’s finish. Employ a steady hand and work methodically around the area to ensure all remnants are removed.
Cleaning the Sink Surface
With the sealant removed, wipe the sink surface clean using a damp cloth or sponge. Pay close attention to the area where the faucet was mounted, as any remaining debris can interfere with the new faucet’s installation. A clean, smooth surface ensures a tight, secure seal and optimal performance for your updated setup. Make sure the sink is completely dry before proceeding to the next steps.
Common Challenges and How to Overcome Them
Dealing with Corrosion
Corrosion can make removing old faucet parts extremely difficult. To identify corroded areas, look for discoloration, rust, or buildup around connections and fasteners. To soften stuck parts, apply white vinegar or a commercial penetrating lubricant to the affected areas. Allow it to sit for 10–15 minutes before attempting to loosen the components with careful, gentle force to avoid further damage.
Hard-to-Reach Spaces
Working in tight or awkward spaces is another common obstacle. Use specialized tools like basin wrenches or offset screwdrivers designed for such situations. Additionally, employing a mirror and a bright light can improve visibility in narrow areas, allowing you to see clearly and work more effectively without straining.
Broken or Stripped Parts
If a nut or bolt snaps during removal, it’s important to stay calm. Use a bolt extractor or a pair of locking pliers to remove the broken piece. For stripped fasteners, try gripping them with specially designed tools, such as a stripped screw remover or rubber band for additional grip.
Conclusion
Removing a bathroom faucet might seem challenging, but breaking it into manageable steps makes the process straightforward. Start by shutting off the water supply to avoid leaks. Next, disconnect the water lines and remove the mounting hardware securing the faucet. Finally, carefully lift out the faucet.
Remember, even if it’s your first time, learning how to remove a bathroom faucet from a sink is achievable with patience and the proper tools. Once complete, you can move on to installing a new faucet, cleaning the area, or seeking professional assistance if needed. With determination, any DIYer can handle this task!

