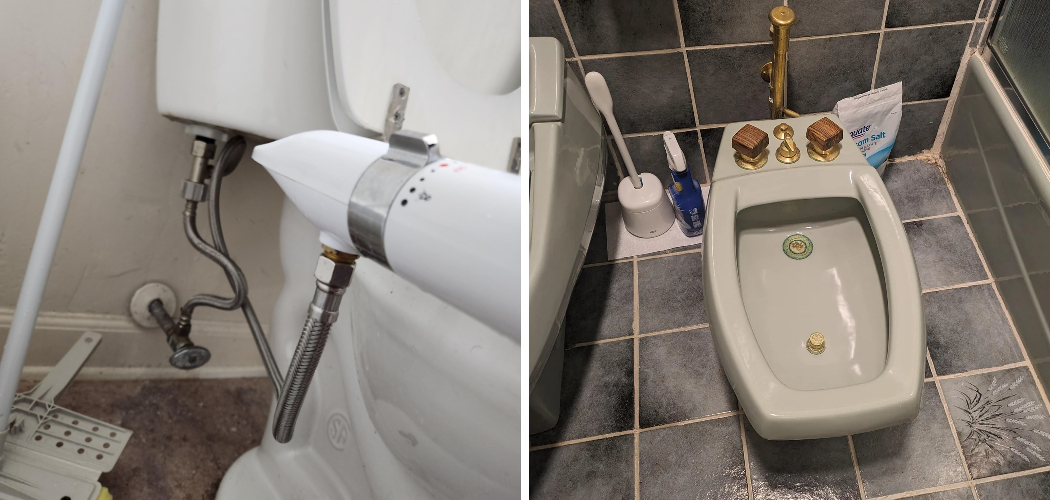
Removing a bidet from a toilet can be necessary for several reasons, such as upgrading to a different model, carrying out repairs, or transitioning to a non-bidet setup. This article aims to provide a comprehensive guide on how to remove a bidet from toilet, ensuring that the process is straightforward to follow. By detailing each step, from turning off the water supply to disconnecting the bidet and removing any remaining components, we aim to empower readers to tackle this task confidently. Whether you’re looking to replace your current bidet with a newer version or simply need to perform maintenance, this guide will offer the clear instructions needed for successful removal.
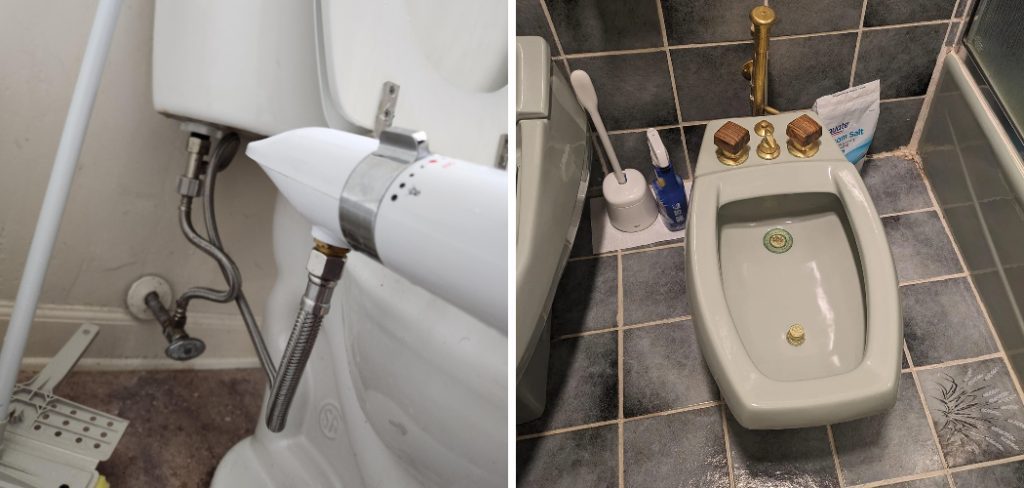
Tools and Materials Needed
Essential Tools
You will need a few essential tools to successfully remove a bidet from a toilet. First, a wrench or pliers will help you disconnect the water supply line. A screwdriver is necessary for removing any screws or bolts that secure the bidet in place. Additionally, a bucket is essential to catch any residual water during the disconnection process, and towels or rags are useful for cleaning up any spills.
Materials
You may require some materials in addition to tools for the job. If you plan to replace the bidet with a new model, it is advisable to purchase a new toilet seat that fits your toilet. You might also want to have the plumber’s tape on hand, which will be useful for reinstallation to ensure a watertight seal around connections after you’ve removed the bidet.
Preparing for Removal
Turning Off the Water Supply
Before starting the removal process, it’s crucial to locate and turn off the toilet’s water supply valve. This valve is typically found on the wall behind the toilet, connected to the water line. Turning it clockwise will shut off the flow of water. Ensuring that the water is off is essential to prevent leaks and spills, which could complicate the removal process and create unnecessary mess.
Emptying the Bidet and Toilet
Once the water supply is turned off, flush the toilet to drain both the tank and the bowl. This will help minimize the amount of water present during the removal process. After flushing, use a sponge or towel to soak up any remaining water in the bowl and bidet. This step is vital to keep the area clean and prevent any accidental spills as you disconnect the fixtures.

Disconnecting the Bidet
Disconnecting the Water Supply Line
To disconnect the water supply line from the bidet, first, ensure a bucket is positioned beneath the connection to catch any residual water. Using a wrench or pliers, locate the nut connecting the water supply line to the bidet and turn it counterclockwise. It may require some effort if it has been tightly secured, so don’t hesitate to use penetrating oil if necessary.
Once the nut is loosened, fully unscrew it and then gently pull the water supply line away from the connection. Be cautious; some water may still escape, so keep your bucket underneath to catch any drips. After disconnecting the line, set it aside in a clean, dry area to avoid contamination, and ensure that the valve remains closed to prevent any leaks.
Removing the Bidet Mounting Bolts
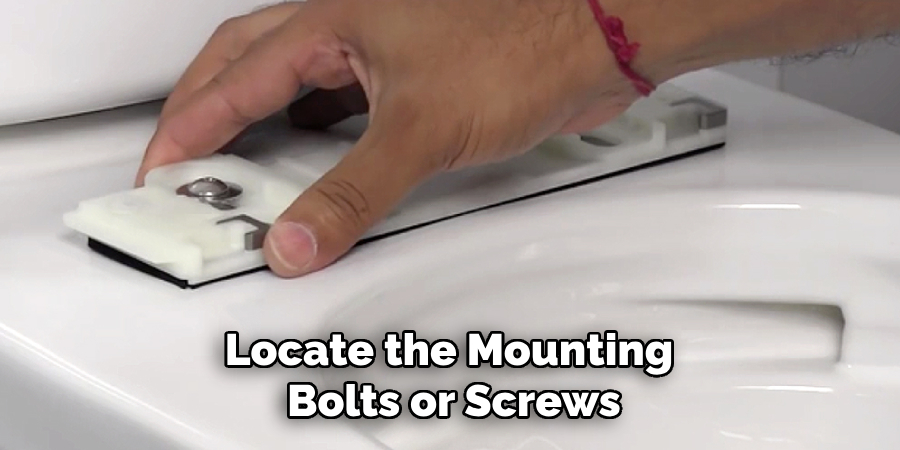
Next, locate the mounting bolts or screws that secure the bidet to the toilet. These are typically found underneath the bidet at the back where it meets the toilet. Carelessly unscrew the bolts by turning them counterclockwise using a screwdriver or an adjustable wrench. Sometimes, you may need to apply some pressure to loosen rusted bolts; if that’s the case, consider using penetrating oil to assist in the process. Once all the bolts are removed, gently lift the bidet off the toilet, being careful not to damage the toilet surface.
If any hardware remains attached to the bidet, such as rubber washers or spacers, make sure to collect and set these aside for possible reuse. Afterward, inspect the area for any debris or residue left behind to ensure a smooth transition to the next steps in the removal process.
How to Remove a Bidet from Toilet: Removing the Bidet Components
Removing the Bidet Seat
If your bidet includes a seat attachment, you’ll also need to remove it. Start by locating the screws or bolts that secure the bidet seat to the toilet. These are usually found underneath the seat, where it meets the toilet bowl. Using a screwdriver or appropriate wrench, unscrew the fasteners by turning them counterclockwise. Be mindful to support the seat as you loosen the last screw to avoid it falling.
Once all screws are removed, gently lift the bidet seat off the toilet, taking care not to scratch the ceramic surface. If any rubber washers are present, make sure to collect these for potential reuse. After successfully detaching the seat, set it aside in a safe location to avoid any damage during the cleaning process.
Cleaning the Area
After the bidet components have been removed, it’s essential to thoroughly clean the area around the toilet. Begin by collecting any debris or water that may have accumulated during the disconnection process. Next, spray a disinfectant cleaner on the toilet’s surface and surrounding area, including the sides and the floor. Use a cloth or sponge to wipe down every surface, ensuring that you reach any corners or crevices where residue may have settled.
Pay special attention to any sticky spots or grime left behind from the bidet. Once you’ve finished cleaning, consider using a clean, dry cloth to polish the surfaces and remove any leftover moisture, as this will help prevent slips or odors. Ensuring a clean area is crucial for aesthetic purposes and maintaining hygiene before reinstalling any new fixtures.
Replacing the Toilet Seat (if applicable)
Selecting a New Toilet Seat
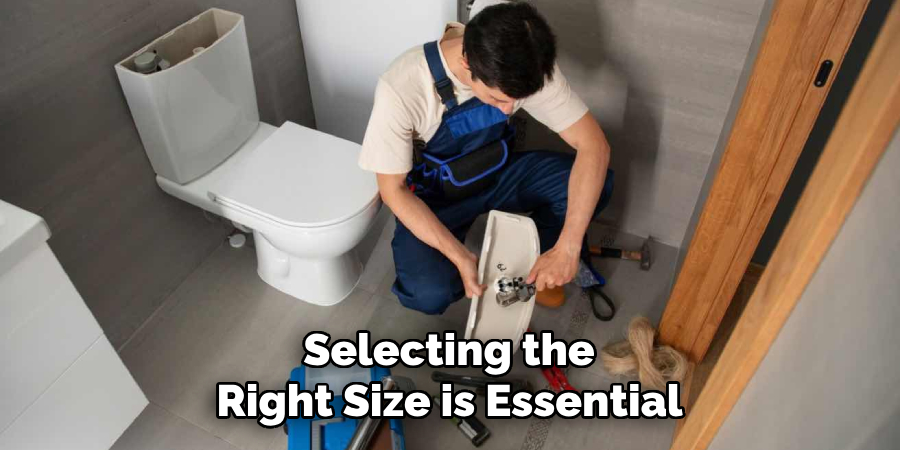
When choosing a new toilet seat, selecting the right size is essential to ensure a proper fit. Toilet seats generally come in two main shapes: standard (round) and elongated. Measure the length and width of your toilet bowl before purchasing to determine which type is suitable. Additionally, consider features such as material and color to match your bathroom decor and ensure durability.
Installing the New Seat
To install the new toilet seat, begin by aligning the seat over the bolt holes on the toilet bowl. Ensure that the mounting holes on the seat line up directly with those on the toilet. Once aligned, place the washers on top of the holes and secure the seat using the provided nuts. Tighten the nuts until they are snug, but be careful not to overtighten them as this may crack the ceramic. Check that everything is secure before usage.
Checking for Leaks and Final Adjustments
Inspecting for Leaks
After replacing the toilet seat, it’s crucial to check for leaks. First, turn the water supply back on and observe the area around the base of the toilet and where the water supply line connects. Look for any signs of leakage, such as dripping water or dampness. If any leaks are detected, turn the water supply off immediately.
Making Final Adjustments
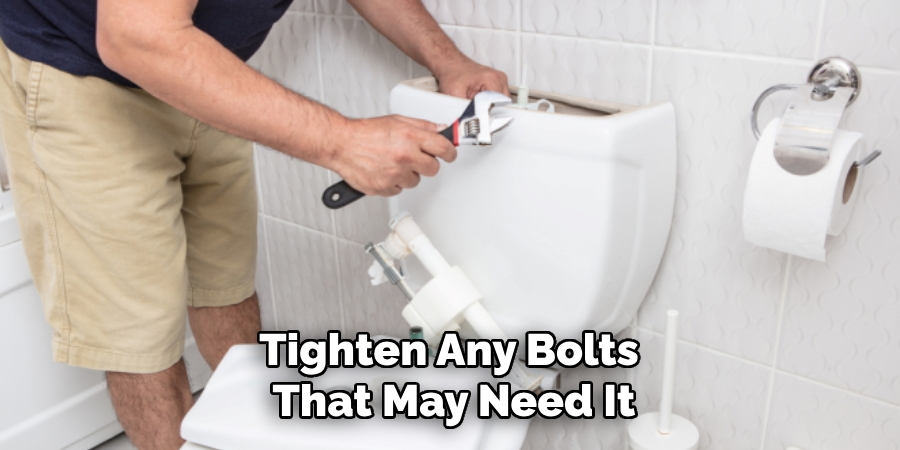
If everything appears to be functioning well, make any necessary final adjustments. Tighten any bolts that may need it, ensuring that the toilet seat is secure and properly aligned. Double-check all connections for tightness to prevent leaks over time.
Troubleshooting Common Issues
Handling Residual Leaks
If you encounter residual leaks after installing the new fixtures, start by carefully tightening the connections. Inspect the seals for any signs of damage, as worn or improperly placed seals can lead to leaks. Using the plumber’s tape around the connection threads can help ensure a watertight seal.
Dealing with Stuck Bolts or Screws
For stuck or rusted bolts and screws, apply penetrating oil to help loosen them. Allow the oil to sit for a few minutes, then attempt to remove the bolts again. If they continue to resist, applying gentle heat can expand the metal and break the rust’s grip. In cases where screws or bolts are damaged, consider replacing them with new hardware.
Frequently Asked Questions (FAQs)
1. How Do I Know if My Bidet Needs to Be Replaced?
If your bidet leaks, has cracks or physical damage, or the spray function is inconsistent or ineffective, it may be time to consider replacing it. Regular wear and tear or outdated models can also prompt a replacement for better performance and features.
2. Can I Install a Bidet Myself, or Should I hire a professional?
While many homeowners opt to install a bidet themselves with the right tools and guidance, hiring a professional is recommended if you’re uncomfortable with plumbing work. A professional can ensure a proper installation and help avoid potential issues such as leaks or improper connections.
3. What Types of Bidets Are Available?
Bidets come in various types, including standalone bidets, bidet toilet seats, and handheld bidet sprayers. Each type offers different advantages, such as ease of installation and functionality, so choosing one that best fits your bathroom setup and personal preferences is essential.
4. How Often Should I Clean My Bidet?
It’s important to regularly clean your bidet to maintain hygiene and functionality. A general guideline is cleaning it every few weeks or more frequently if it is used heavily. Follow the manufacturer’s recommendations for cleaning solutions and avoid harsh chemicals that could damage the unit.
Conclusion
In summary, the process of how to remove a bidet from toilet involves several key steps: preparing for removal, disconnecting the bidet, cleaning the area, and replacing the toilet seat if applicable. Taking your time with each step is essential to ensure a successful outcome. Always double-check that all connections are tight and that any potential leaks are addressed. With careful attention and the right tools, anyone can successfully remove a bidet and maintain their toilet in good working condition.

