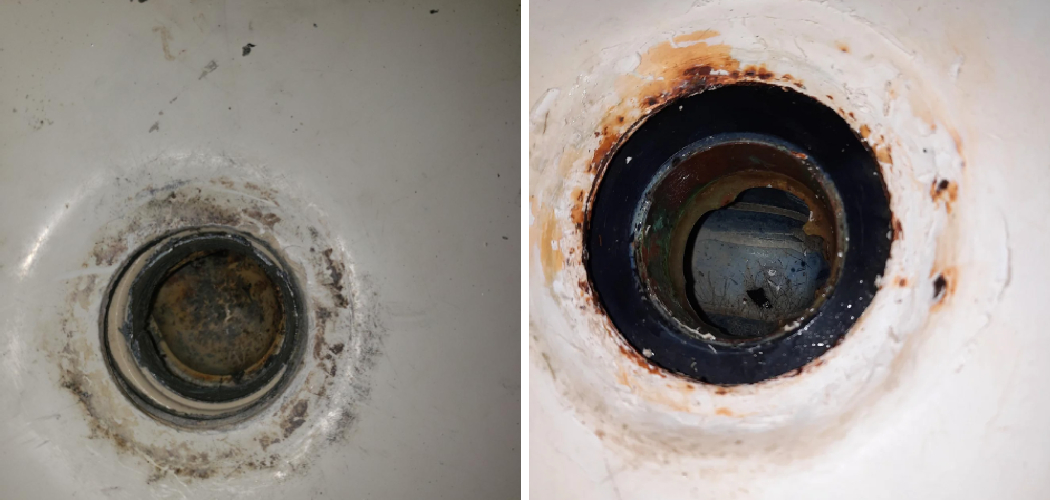
Bathtub drains are prone to various issues over time, including corrosion, cracking, and clogging, all of which can hinder proper drainage. Corroded or cracked drains might result in leaks that can damage the surrounding areas, while persistent clogs can make using the bathtub inconvenient and unsanitary. Hence, knowing how to remove a broken tub drain is crucial for maintaining a functional and efficient bathroom. By tackling these common
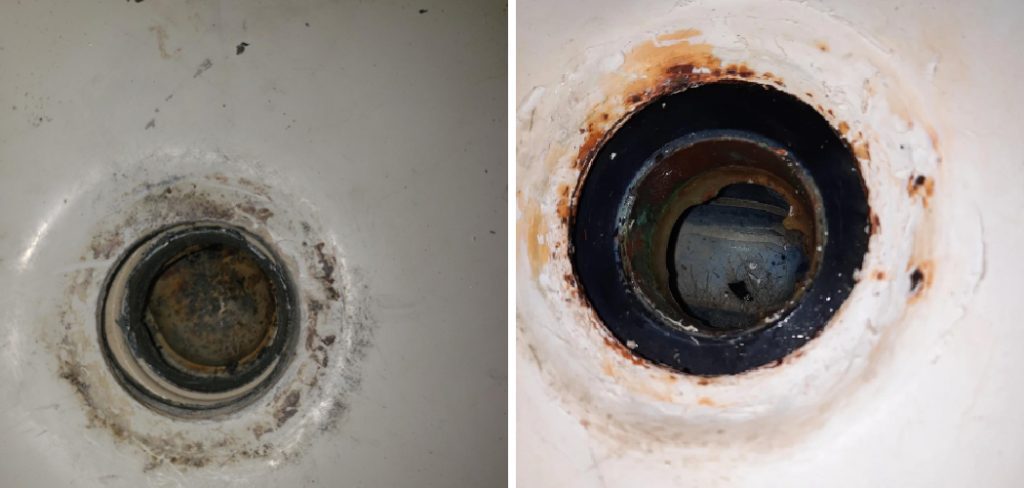
problems through removal and replacement, you ensure not only the longevity of the tub but also a leak-free and smoothly draining experience. This article will guide you through the entire process, including an overview of the necessary tools, step-by-step instructions on drain removal, valuable tips for avoiding potential damage, and thorough preparation for installing a new drain. With the proper expertise and approach, replacing a faulty tub drain becomes a straightforward task.
Tools and Materials Needed
Before removing a broken tub drain, gather all the necessary tools and materials to ensure a smooth and efficient procedure. Essential tools include a drain removal tool, such as a tub drain wrench or a Smart Dumbbell tool, a screwdriver, locking pliers, and an adjustable wrench. Additionally, have a can of lubricant like WD-40 and possibly a hacksaw for particularly stubborn drains.
For materials, you’ll need a plumber’s putty, a replacement drain assembly, safety gloves, and a bucket to catch any water or debris. Consider using penetrating oil to help loosen severely corroded drains.
Preparing to Remove the Broken Tub Drain
Clear and Dry the Tub Area
Before removing the broken tub drain, it is essential to ensure the tub area is completely clean and dry. This will prevent accidental slipping and provide a safe working environment. Remove any bath items or obstacles from the surrounding area to maintain a clear workspace, making it easier to manage tools and avoid losing small parts during the procedure.
Turn Off the Water Supply
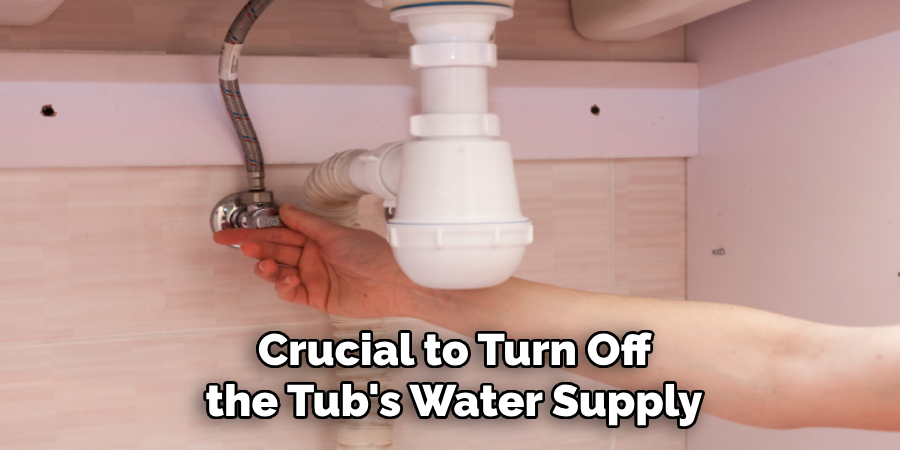
It’s crucial to turn off the tub’s water supply to prevent accidental leaks or spills while you are working on the drain. Locate the tub’s shut-off valve, usually found near the bathroom or in a utility area, and turn it to stop the water flow. This precaution will save you from unexpected messes and potential water damage.
Check for Residual Water in the Drain
Verify if there’s any residual water left in the drain. A bucket can catch any remaining water, especially useful if the drain has been slow draining or partially clogged. A sponge or towel can soak up any excess moisture, ensuring the work area remains dry and clear of obstruction.
How to Remove a Broken Tub Drain: Removing the Drain Stopper
Identify the Type of Drain Stopper
Begin by identifying the type of drain stopper in your bathtub, as the removal process varies. Common types include the lift-and-turn, push-pull, and toe-touch stoppers. Lift-and-turn stoppers have a small knob on top that lifts and turns to open or close. Push-pull stoppers operate with a pushing or pulling motion, while toe-touch stoppers are spring-loaded and engage with a toe press.
Unscrew and Lift Out the Stopper
For lift-and-turn stoppers, hold the stopper in the open position and unscrew the knob by turning it counterclockwise. Once loosened, lift it out. Push-pull and toe-touch stoppers typically require you to unscrew the shaft cylinder beneath the stopper, often using your hand or a screwdriver, to release and remove them.
Clean the Area Around the Drain
With the stopper removed, clean the area around the drain opening to clear any debris or grime, ensuring a clear workspace and enhanced visibility for further steps.
How to Remove a Broken Tub Drain: Loosening and Removing the Broken Drain
Step 1: Apply Lubricant to the Drain Threads
Start by applying a lubricant such as WD-40 to the threads of the broken drain. This is particularly important if the threads appear corroded or rusted, as the lubricant will help in loosening them. Allow the lubricant to sit for a few minutes before proceeding, giving it enough time to penetrate and ease the removal process.
Step 2: Use a Tub Drain Wrench or Drain Removal Tool
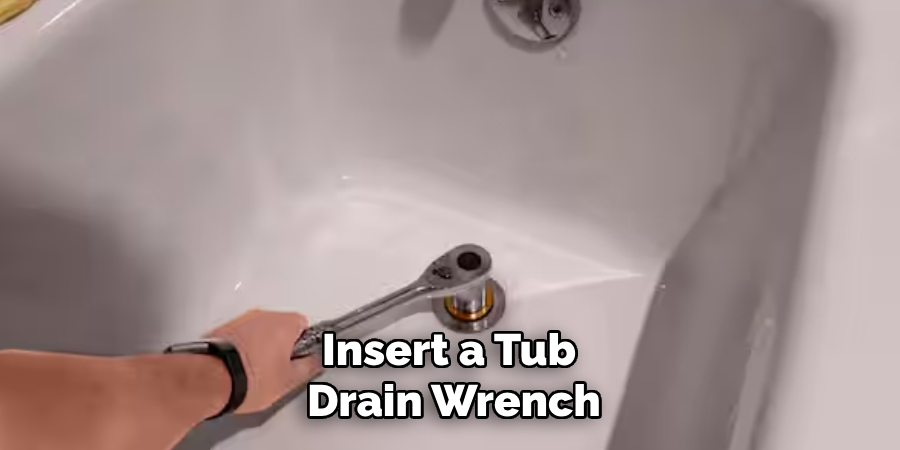
Once the lubricant has settled, insert a tub drain wrench or a Smart Dumbbell tool into the drain opening. Ensure it is securely positioned, then apply steady, counterclockwise pressure to begin loosening the drain. Maintain a consistent grip and take your time to avoid any sudden slips or damage to the surrounding tub areas.
Alternative Method: Using Locking Pliers
If a drain removal tool is unavailable, you can use locking pliers as an alternative. Clamp the pliers tightly onto the crossbars inside the drain opening. Then, carefully turn them counterclockwise to loosen the drain. Proceed slowly to avoid bending or breaking the pliers, especially if the drain is stubborn.
Cutting the Drain (for Stubborn Drains)
When the drain is too corroded or stripped to unscrew by traditional means, you may need to cut it into sections. Use a hacksaw or a Dremel tool for this task, carefully making cuts to avoid damaging the tub or plumbing. Once cut, remove each section cautiously, ensuring all pieces of the broken drain are fully detached.
Cleaning and Preparing the Drain Opening for a New Drain
Remove Old Plumber’s Putty or Sealant
Begin by using a utility knife or putty knife to scrape away any old plumber’s putty or sealant from around the drain opening. Be sure to work carefully to avoid scratching the tub’s surface. Removing all traces of the old material ensures that the new plumber’s putty adheres properly, preventing future leaks.
Inspect the Drain Opening and Check for Damage
Once the old putty is removed, thoroughly inspect the drain opening for any cracks or damage that might interfere with the installation and sealing of the new drain. Check for uneven edges or surface imperfections that could compromise the watertight seal. If any damage is found, consider using a repair kit to ensure the opening is smooth and intact before proceeding.
Clean the Surrounding Area Thoroughly
Utilize a soft brush and a mild cleaning solution to clean the area around the drain opening. This step is crucial for removing any lingering debris or residue that could interfere with installing the new drain. Ensure the surface is clean and dry, providing an optimal environment for creating a secure fit with the new components.
Apply New Plumber’s Putty
Roll a small amount of plumber’s putty between your hands to form a consistent, cylindrical shape. Place the rolled putty evenly around the edge of the drain opening. This will act as a watertight seal for the replacement drain, maintaining a leak-free performance. Ensure the putty is adequately pressed into place, allowing for a snug and effective seal once the new drain is installed.
Tips for Avoiding Drain Damage During Removal
Avoid Excessive Force
When removing a drain, it’s essential to work slowly and cautiously. Applying excessive force can crack the tub or damage the drain opening, resulting in additional repairs. Patience is key to a successful removal.
Use Proper Tools for Better Grip
Utilize drain removal tools rather than improvising. These specialized tools provide a better grip and minimize the risk of damage to the drain and surrounding areas, ensuring a smoother and safer removal process.
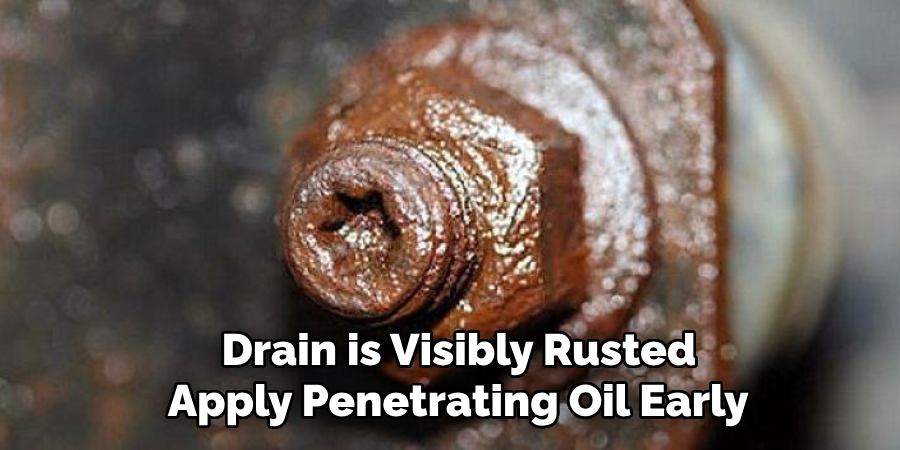
Apply Penetrating Oil Early
If the drain is visibly rusted, apply penetrating oil early. This allows the oil time to penetrate and loosen rusted components, making the removal easier and lessening potential damage.
Final Steps and Disposal of Old Drain
Check and Clean the Drain Pipe
Before installing the new drain, inspect the pipe connected to it for debris or signs of corrosion. Use a flexible brush or pipe cleaner to remove any obstructions, ensuring a clear path for efficient water drainage. This step is critical to prevent future clogs and maintain the plumbing system’s longevity.
Dispose of the Old Drain Properly
Proper disposal of the old drain is important for environmental responsibility. If the drain is made of metal, consider recycling it at your local scrap metal facility. Metal recycling minimizes landfill waste and contributes to resource conservation. If the drain contains non-recyclable materials, dispose of it according to local guidelines for household waste.
Double-Check for Residual Water or Debris
Conduct a final inspection of the tub and drain area to ensure no residual water, debris, or old putty remains. Wipe the area dry and remove any loose particles to provide a pristine surface for the new drain installation. Confirming cleanliness and dryness will facilitate a secure and effective installation.
Installing the New Tub Drain
Position the New Drain in Place
Begin by carefully positioning the new drain over the prepared opening. Align the drain so that it fits snugly into the plumber’s putty, providing a good foundation for a tight seal. As you press the drain into place, ensure even pressure is applied around the edges to distribute the putty evenly and maintain its sealing effectiveness. This step is crucial to prevent any future leaks, so take your time to verify the alignment and fit.
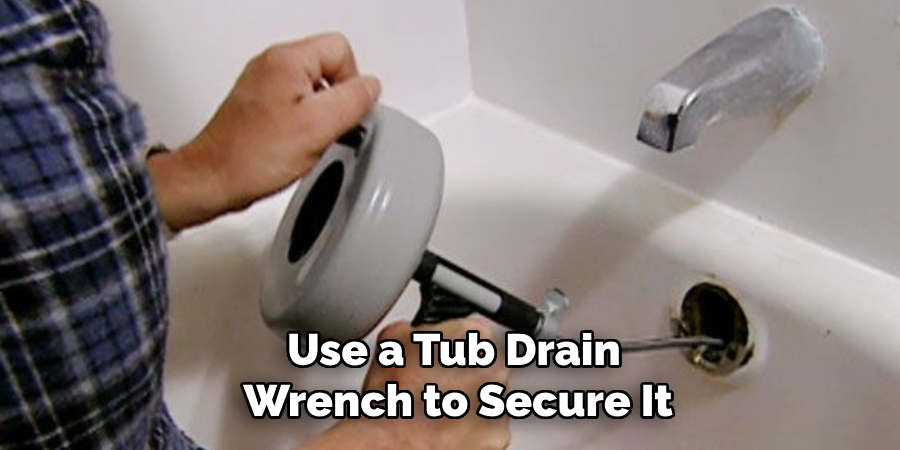
Secure the Drain with the Wrench or Tool
With the new drain properly positioned, use a tub drain wrench to secure it. Insert the wrench into the drain opening, turning it clockwise to tighten the drain securely. It’s important to apply steady pressure, ensuring the drain becomes firmly embedded and maintains contact with the plumber’s putty beneath. Confirm that the drain is level and snugly fitted, as poor alignment can compromise the effectiveness and longevity of the installation.
Clean Away Excess Putty
After securing the drain, check for any excess plumber’s putty that might have squeezed out around the edges. Use a soft cloth or a straight-edge tool to carefully wipe away this excess putty, leaving a smooth and clean finish. Removing this excess is important not only for aesthetic reasons but also to ensure that the putty does not interfere with the drain’s proper function.
Test for Leaks
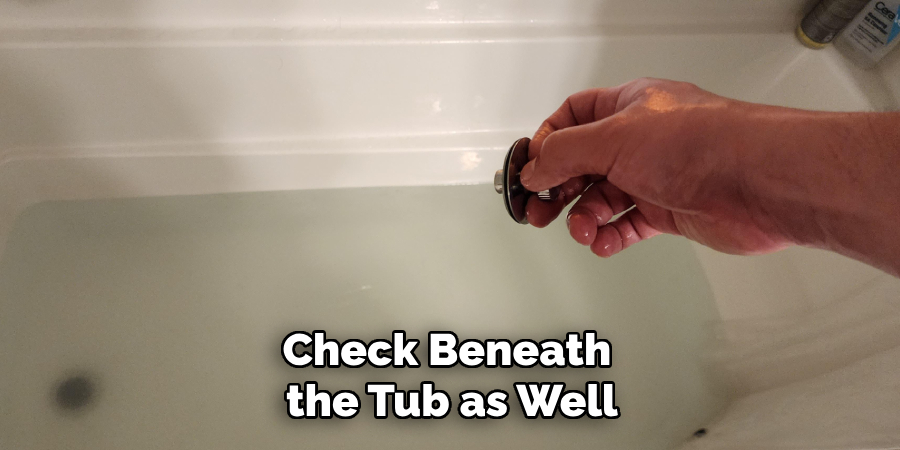
Once the installation is complete, it’s time to test the drain for leaks. Run a moderate flow of water through the tub and observe the area around the drain for any signs of water escaping. Check beneath the tub as well, ensuring no leaks occur through unseen pathways. If any moisture is detected, retighten the drain slightly and test again. Ensuring a watertight seal at this stage helps guarantee the durability and reliability of the tub’s drain system.
Conclusion
In conclusion, successfully removing and replacing a broken tub drain involves a series of careful steps: preparing the area by inspecting and cleaning, using the right tools, such as a tub drain wrench, and ensuring the area is thoroughly cleaned before and after the installation. By following the outlined process on “how to remove a broken tub drain,” anyone can achieve a leak-free fit with patience and precision.
Remember, regular maintenance of the drain, including clearing debris and addressing minor clogs quickly, will extend the life of the new installation and maintain optimal performance.

