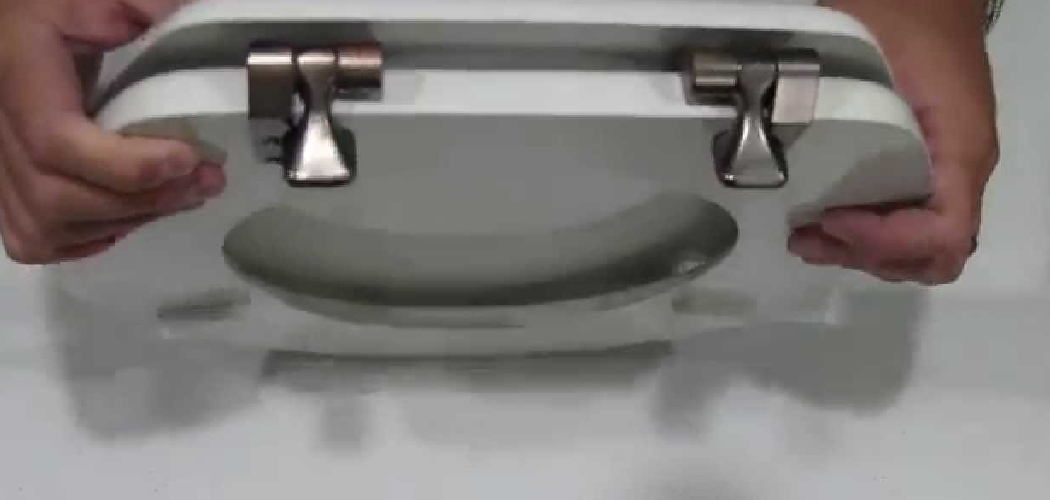
Learning how to remove a Mayfair toilet seat is a valuable skill for maintaining your bathroom’s cleanliness and functionality. Over time, toilet seats may need replacement due to wear, damage, or a desire for an upgrade. Knowing how to remove the seat makes cleaning more effective, repairs simpler, and upgrades more accessible. This process is straightforward with the right tools and understanding, enabling anyone to handle it efficiently.
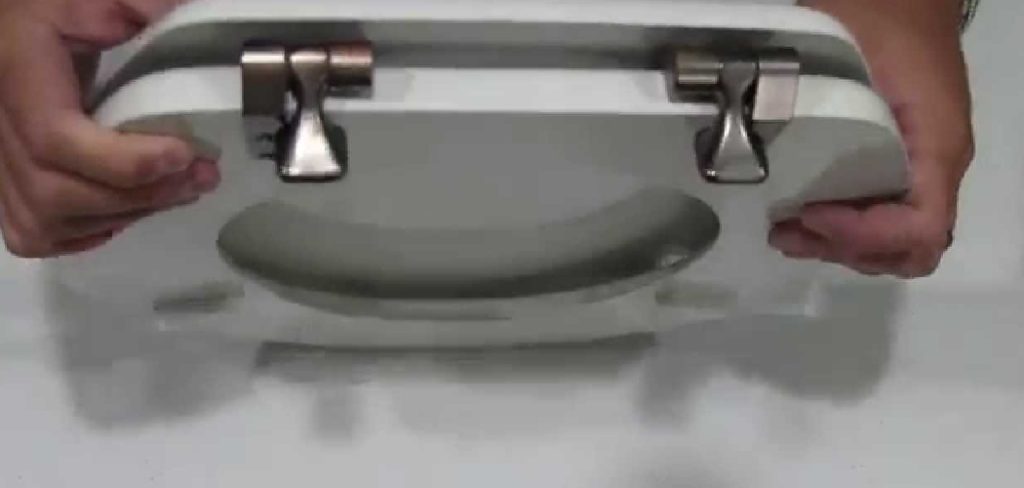
The purpose of this article is to provide a clear, step-by-step guide on how to remove a Mayfair toilet seat. Whether you’re dealing with stubborn bolts or navigating rusted screws, this guide will walk you through the necessary tools, techniques, and solutions to common challenges. By following these instructions, you can ensure your toilet seat is replaced or maintained properly, saving time and ensuring the cleanliness and comfort of your bathroom setup.
Materials and Tools Needed
Before removing your Mayfair toilet seat, it’s essential to have the right tools and materials at hand. Preparing ahead will make the task smoother and help you tackle any unexpected challenges.
Essential Tools
- Flathead or Phillips screwdriver (depending on the screw type): These are crucial for loosening and removing the screws that secure the toilet seat.
- Adjustable wrench or pliers: These tools come in handy if the screws are too tight or require extra leverage to loosen.
- Clean cloth or paper towel: Use these to clean the seat area after removal and to ensure your workspace stays tidy throughout the process.
Optional Tools
- Lubricant (WD-40 or similar): Ideal for dealing with rusted or stuck screws, as it helps to break down rust and ease screw removal.
- Replacement toilet seat: If you’re not just removing the seat but replacing it, having your new toilet seat ready ensures a seamless transition.
By having these tools ready, you can minimize disruptions and complete the task efficiently, leaving your bathroom refreshed and functional.
Understanding the Mayfair Toilet Seat Attachment
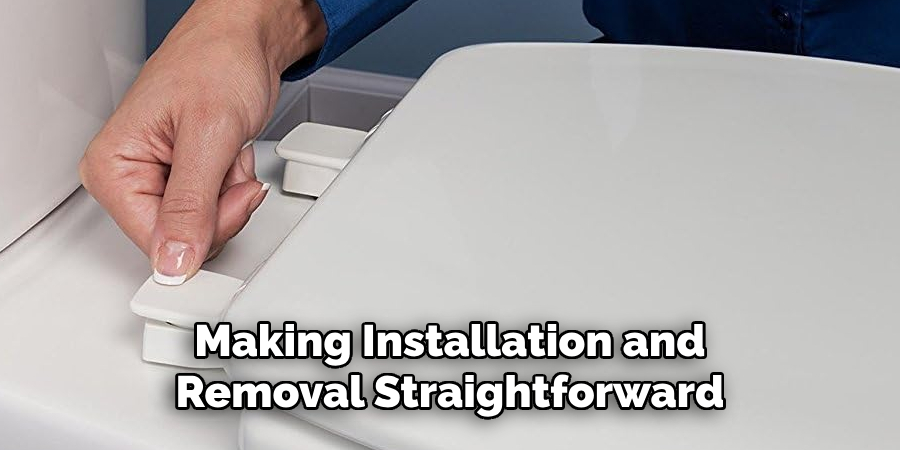
Mayfair toilet seats offer reliable and user-friendly attachment systems, making installation and removal straightforward. To successfully remove or replace a Mayfair toilet seat, it’s essential to understand the types of attachments available and how to locate the bolts.
Types of Attachments on Mayfair Toilet Seats
- Standard Bolt and Nut System: This traditional system is the most common method of attachment. The seat is secured with screws that run through bolts, held in place by nuts underneath the toilet bowl. A wrench or screwdriver is usually required to tighten or remove these screws.
- Quick-Release System: Modern Mayfair models often feature a quick-release mechanism. This tool-free system allows you to remove the toilet seat effortlessly by disengaging the locking mechanism, simplifying cleaning and maintenance.
Locating the Bolts
The bolts holding the seat in place are typically found at the rear of the toilet bowl, just near the hinges of the seat. To locate them, lift the seat and examine the areas on either side where the hinge assembly connects to the bowl. Understanding the difference between the front and back bolts is crucial, as this knowledge helps you approach removal in an organized manner, reducing the risk of damage to your toilet.
How to Remove a Mayfair Toilet Seat: Step-by-Step Guide
Step 1: Locate the Bolts
Begin by identifying the bolts that secure the Mayfair toilet seat to the bowl. These bolts are typically positioned at the back of the seat, near the hinges, and are often covered with plastic caps. To access the bolts, gently remove the caps using your fingers or a small flat tool, such as a flathead screwdriver, being careful not to damage the caps or the surrounding area.
Step 2: Loosen the Bolts
Once the bolts are exposed, use a screwdriver to turn them counterclockwise. A flathead or Phillips screwdriver will generally work, depending on the type of screw head present. Employ pliers or an adjustable wrench for additional grip and leverage if the bolts are particularly tight or corroded. Applying a little lubricant to stubborn bolts can also help ease the process. Take care not to use excessive force to avoid damaging the toilet bowl.
Step 3: Remove the Seat
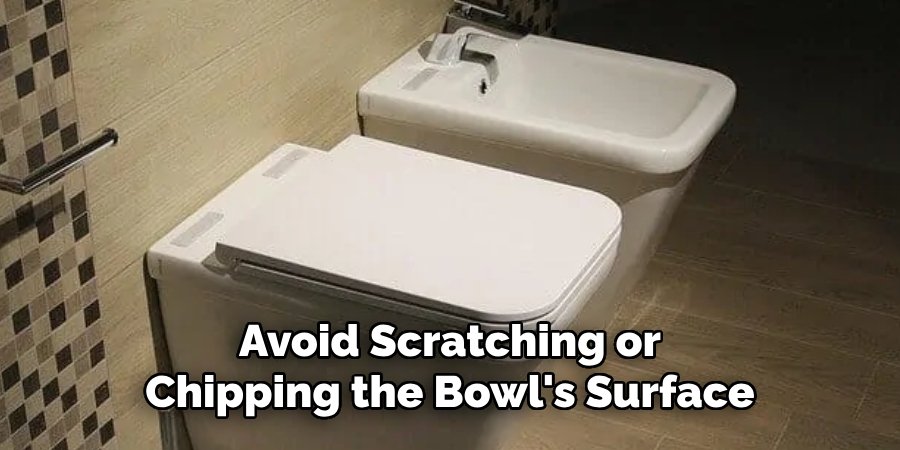
After the bolts have been completely unscrewed, gently lift the toilet seat away from the bowl. If the seat feels stuck, wiggle it back and forth slightly to loosen it. Ensure that you handle the seat carefully to avoid scratching or chipping the bowl’s surface. Once removed, you can thoroughly clean the area around the hinges before installing a new seat.
Dealing with Stubborn or Rusted Screws
When faced with stubborn or rusted screws during toilet seat removal, additional steps may be required to loosen them without causing damage. Here are some effective methods to handle this situation:
Step 1: Applying Lubricant
If screws are rusted or difficult to turn, a lubricant such as WD-40 can be a valuable tool. Spray the lubricant directly onto the screws and the affected area. Allow it to sit for 10-15 minutes to penetrate and loosen the rust. This should make it easier to unscrew them with minimal effort.
Step 2: Using Pliers or a Wrench
If the screws remain stuck, you may need to use pliers or an adjustable wrench. These tools provide a better grip and leverage compared to a regular screwdriver. Securely clamp the tool onto the screw head or nut and gently turn counterclockwise to loosen. Be patient and apply steady pressure to avoid stripping the screw or causing damage to the surrounding area.
Step 3: Alternative Methods
For screws that are too rusted or damaged to remove through simple tools, alternative methods may be necessary. A hacksaw can be used to cut through the screw or bolt carefully. Alternatively, a bolt cutter is effective for thicker, heavily rusted bolts. While using any of these methods, ensure the toilet bowl is protected by placing a barrier, such as a cloth or cardboard, to prevent accidental scratches or chips.
By following these steps, even the most stubborn screws can be dealt with effectively while preserving the integrity of your toilet and its components.
Cleaning the Toilet Area After Removing the Seat
Once the old toilet seat has been removed, it’s crucial to clean the area thoroughly to ensure hygiene and prepare for the installation of a new seat. Follow these steps for effective cleaning:
Step 1: Wipe Down the Bolt Area
Using a clean, damp cloth, carefully wipe away any dirt, grime, or residue left behind around the bolt holes after removing the toilet seat. If needed, use a mild soap solution to loosen any stubborn debris. This ensures a fresh and clean surface for the next steps.
Step 2: Sanitizing
Sanitize the area around the bolt holes to eliminate germs and bacteria that may have accumulated. Use a disinfectant wipe or a mixture of water and vinegar as a natural cleaning solution. Pay close attention to the edges and corners, ensuring the area is completely cleaned and sanitized.
Step 3: Preparing for Replacement
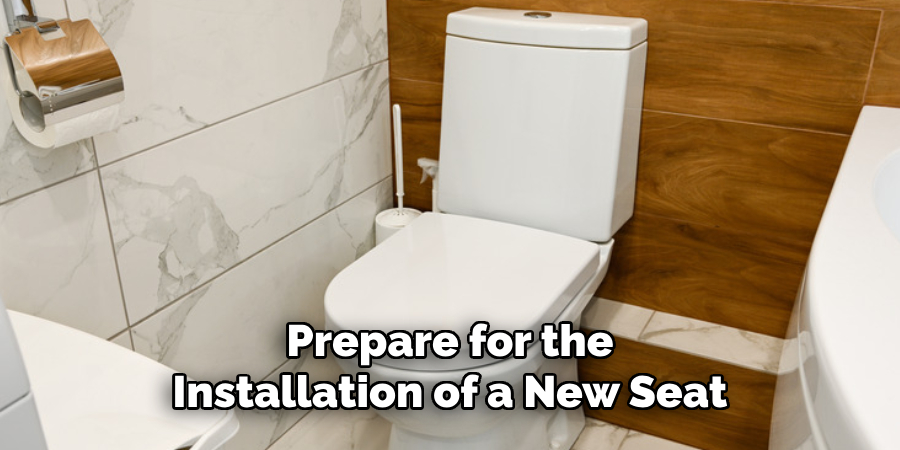
If installing a new toilet seat, ensure the bolt holes are completely dry and free of any cleaning residue. Inspect the area to confirm it’s smooth and clean, as this will help the new seat fit securely and prevent long-term damage or corrosion.
Installing a New Mayfair Toilet Seat
Step 1: Position the New Seat
Place the new Mayfair toilet seat onto the toilet bowl, ensuring that the bolt holes on the seat align perfectly with the holes on the bowl. Proper alignment is crucial to guarantee a secure fit and avoid issues during installation. Take your time to position it correctly before continuing.
Step 2: Inserting and Tightening the Bolts
Once the seat is aligned, insert the bolts through the designated holes on the seat and the bowl. Use the provided nuts and screws to secure the bolts. While tightening, use a screwdriver or wrench to ensure the bolts are firmly in place. Be cautious not to over-tighten, as this can crack the materials or cause undue stress on the components.
Step 3: Test the Seat
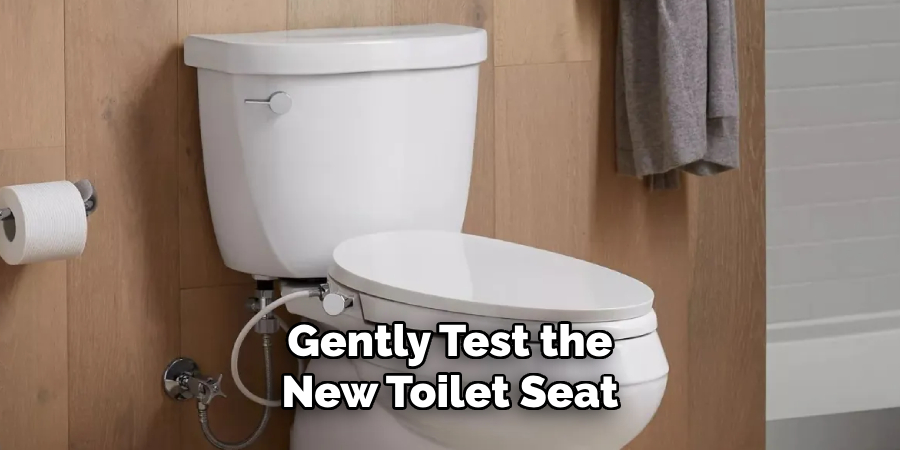
After securing the bolts, gently test the new toilet seat by moving it slightly to ensure it is properly fixed and does not wobble. Open and close the seat to confirm smooth operation. If the seat feels loose, make minor adjustments to the bolts until it is stable and secure. Taking the time to test ensures your Mayfair toilet seat provides reliable and comfortable use for the long term.
Conclusion
Removing and replacing a Mayfair toilet seat is a straightforward process that involves unscrewing the bolts, addressing any rusted screws, and thoroughly cleaning the surrounding area before installing the new seat. Ensuring your toilet seat is clean and in good condition is essential for maintaining both hygiene and comfort. Always handle the bolts gently during removal to avoid damaging the toilet bowl. By following these steps carefully, you can easily learn how to remove a Mayfair toilet seat and replace it with confidence, ensuring reliable and comfortable use for years to come.

